
Published on
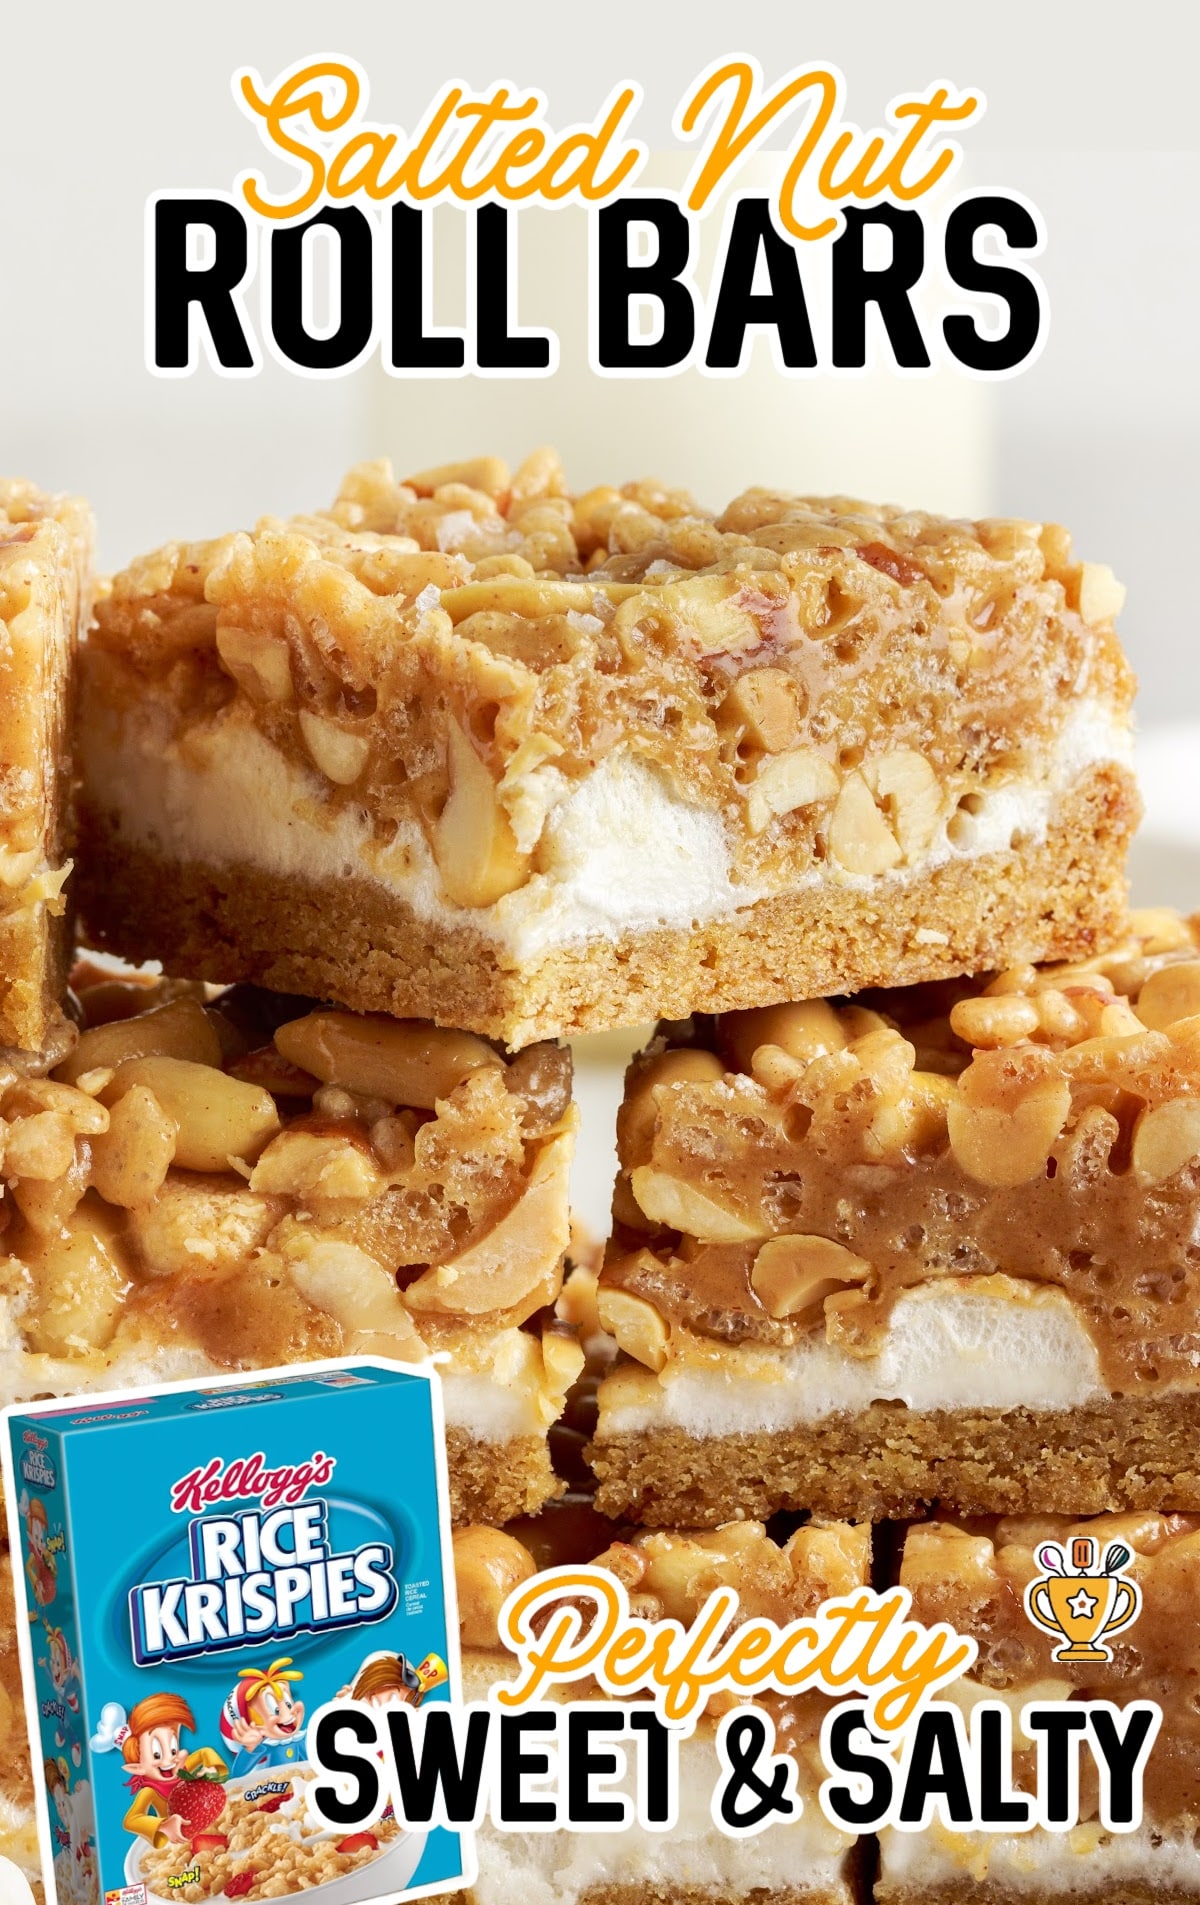
Salted Nut Roll Bars

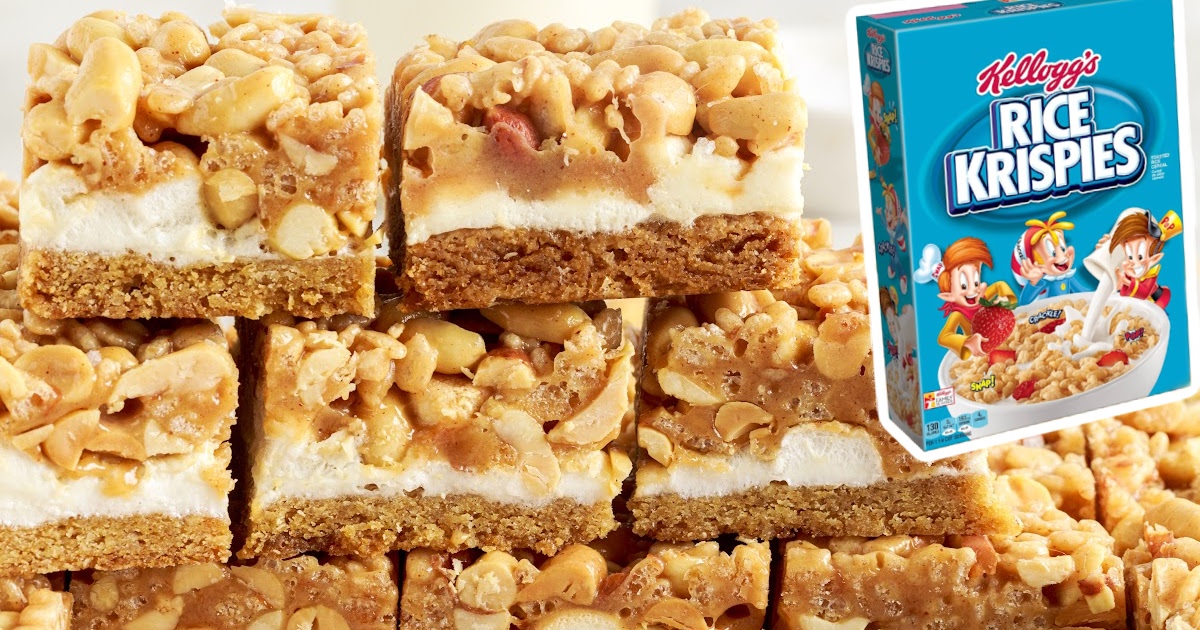
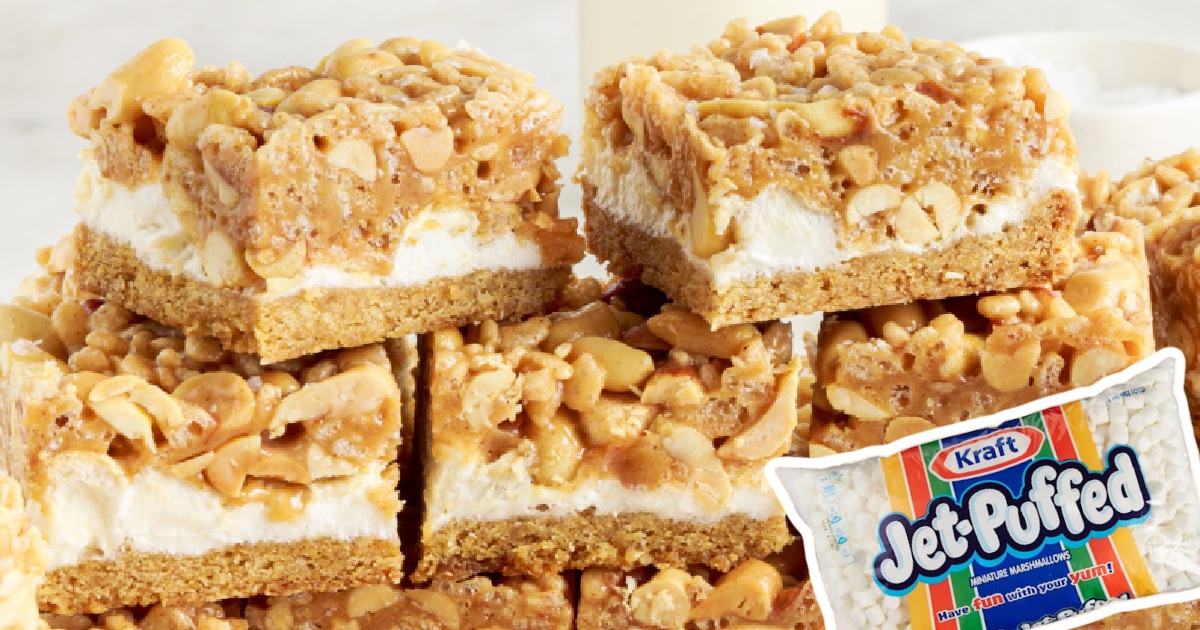
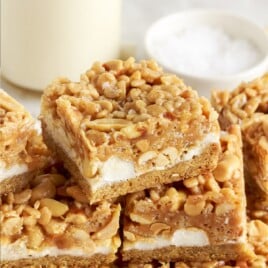
Salted Nut Roll Bars combine sweet marshmallow, caramel, and crunchy peanuts into a delicious treat. Perfect for any occasion, they’re quick, easy, and irresistible!
Jump to RecipeTable of Contents

Craving a sweet and salty treat? These Salted Nut Roll Bars are packed with crunchy peanuts, gooey marshmallow, and caramel goodness! Perfect for satisfying your snack cravings, this easy-to-make recipe will quickly become a family favorite. Whip up a batch today and enjoy the irresistible combination of flavors in every bite.
This recipe is easy to make, and you can follow the guide below for perfect results. We’ve included step-by-step photos and directions, along with pro tips and tricks to help you out. Plus, check out the FAQ section for answers to the most frequently asked questions!
More Recipes ⭐ Coconut Cookies | Turtle Brownies | Rocky Road Cookies
Get ready to wow your taste buds with these Salted Nut Roll Bars! In just 30 minutes, you can create a mouthwatering treat that’s perfect for parties, potlucks, or a special dessert. The combination of crunchy peanuts, gooey marshmallow, and rich caramel makes these bars irresistible. Make a batch today and discover why this sweet and salty delight stands out as a must-try recipe!
Ingredients
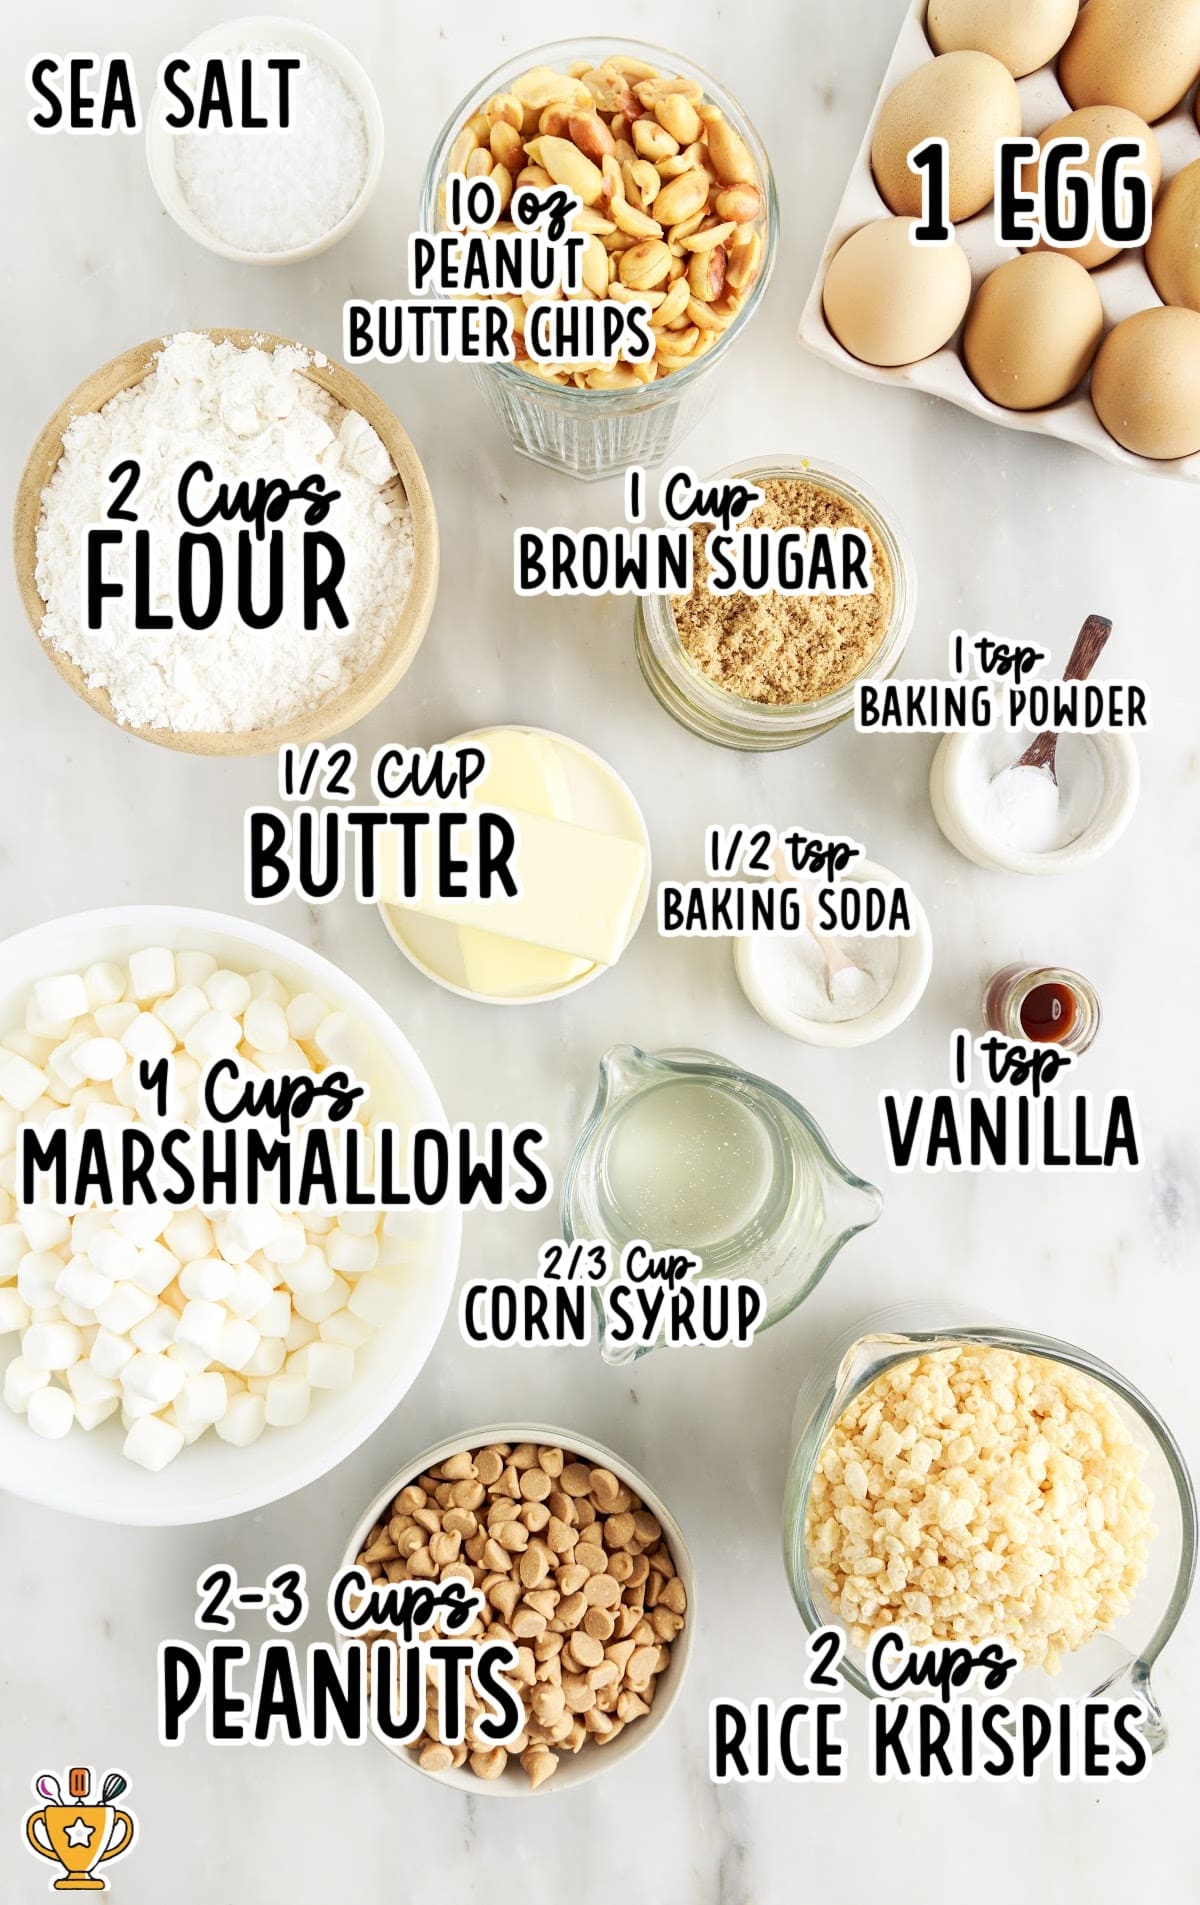
What you'll need to make this Salted Nut Roll Bars recipe:
For The Crust:
- 2 cups of all-purpose flour
- 1 cup of packed light brown sugar
- 1 teaspoon of baking powder
- ½ teaspoon of baking soda
- 1 large egg
- ½ cup of unsalted butter, melted
- 1 teaspoon of vanilla extract
For The Topping:
- 4 cups of miniature marshmallows
- 10-ounce bag of peanut butter chips
- ⅔ cup of light corn syrup
- ½ cup of unsalted butter
- 2-3 cups of salted peanuts
- 2 cups of Rice Krispies cereal
- Flaky sea salt (optional)
Pro Tip
You can vary the amount of Rice Krispies and peanuts you add to the topping. I wouldn’t add more than about 3 cups of peanuts as the balance of salty and sweet will start to lean toward too salty.
Substitutions and Additions
Personalize your Salted Nut Roll Bars recipe by swapping out ingredients and adding delicious extras! These simple changes can make your bars uniquely yours. Here are some top substitutions and additions:
Add Dried Fruit: Include dried cranberries or raisins to add a chewy, fruity contrast to your Salted Nut Roll Bars. These easy substitutions and additions can easily be swapped out while still maintaining the deliciousness of this
Substitute Peanuts: Use almonds or cashews for a different nutty flavor in your Salted Nut Roll Bars.
Substitute Marshmallows: Swap marshmallows with peanut butter chips for a creamier, richer taste in your bars.
Add Chocolate Chips: Mix in some chocolate chips for a sweet twist that complements the salty peanuts.
How to Make Salted Nut Roll Bars
Follow along with our step-by-step pictures, instructions, and tips to make these delicious Salted Nut Roll Bars. Let’s get started and create a sweet and salty treat you’ll love!
FIRST STEP: Preheat the oven to 350°F. Line a 9×13 baking pan lined with a piece of parchment paper.
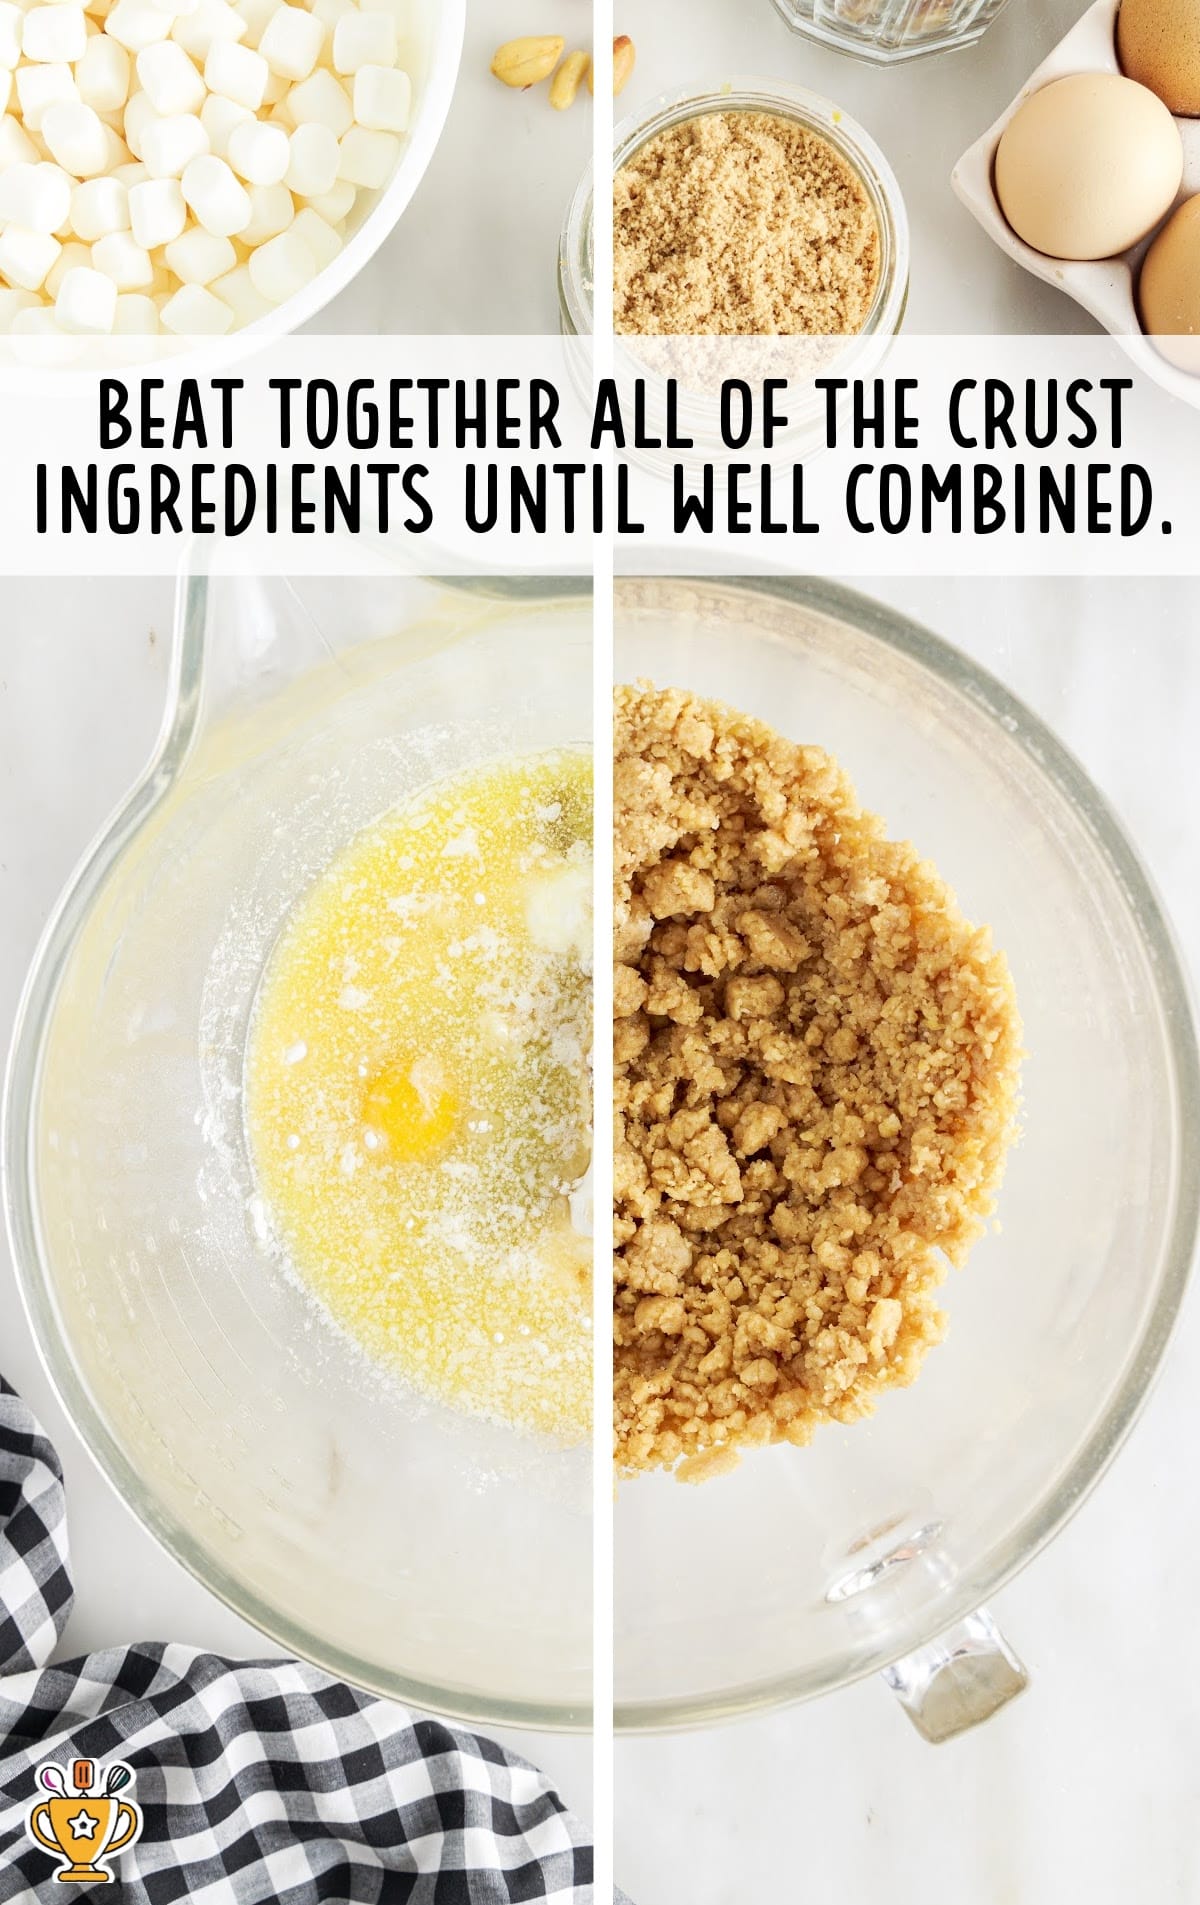
SECOND STEP: In a medium bowl, beat together the crust ingredients until well combined.
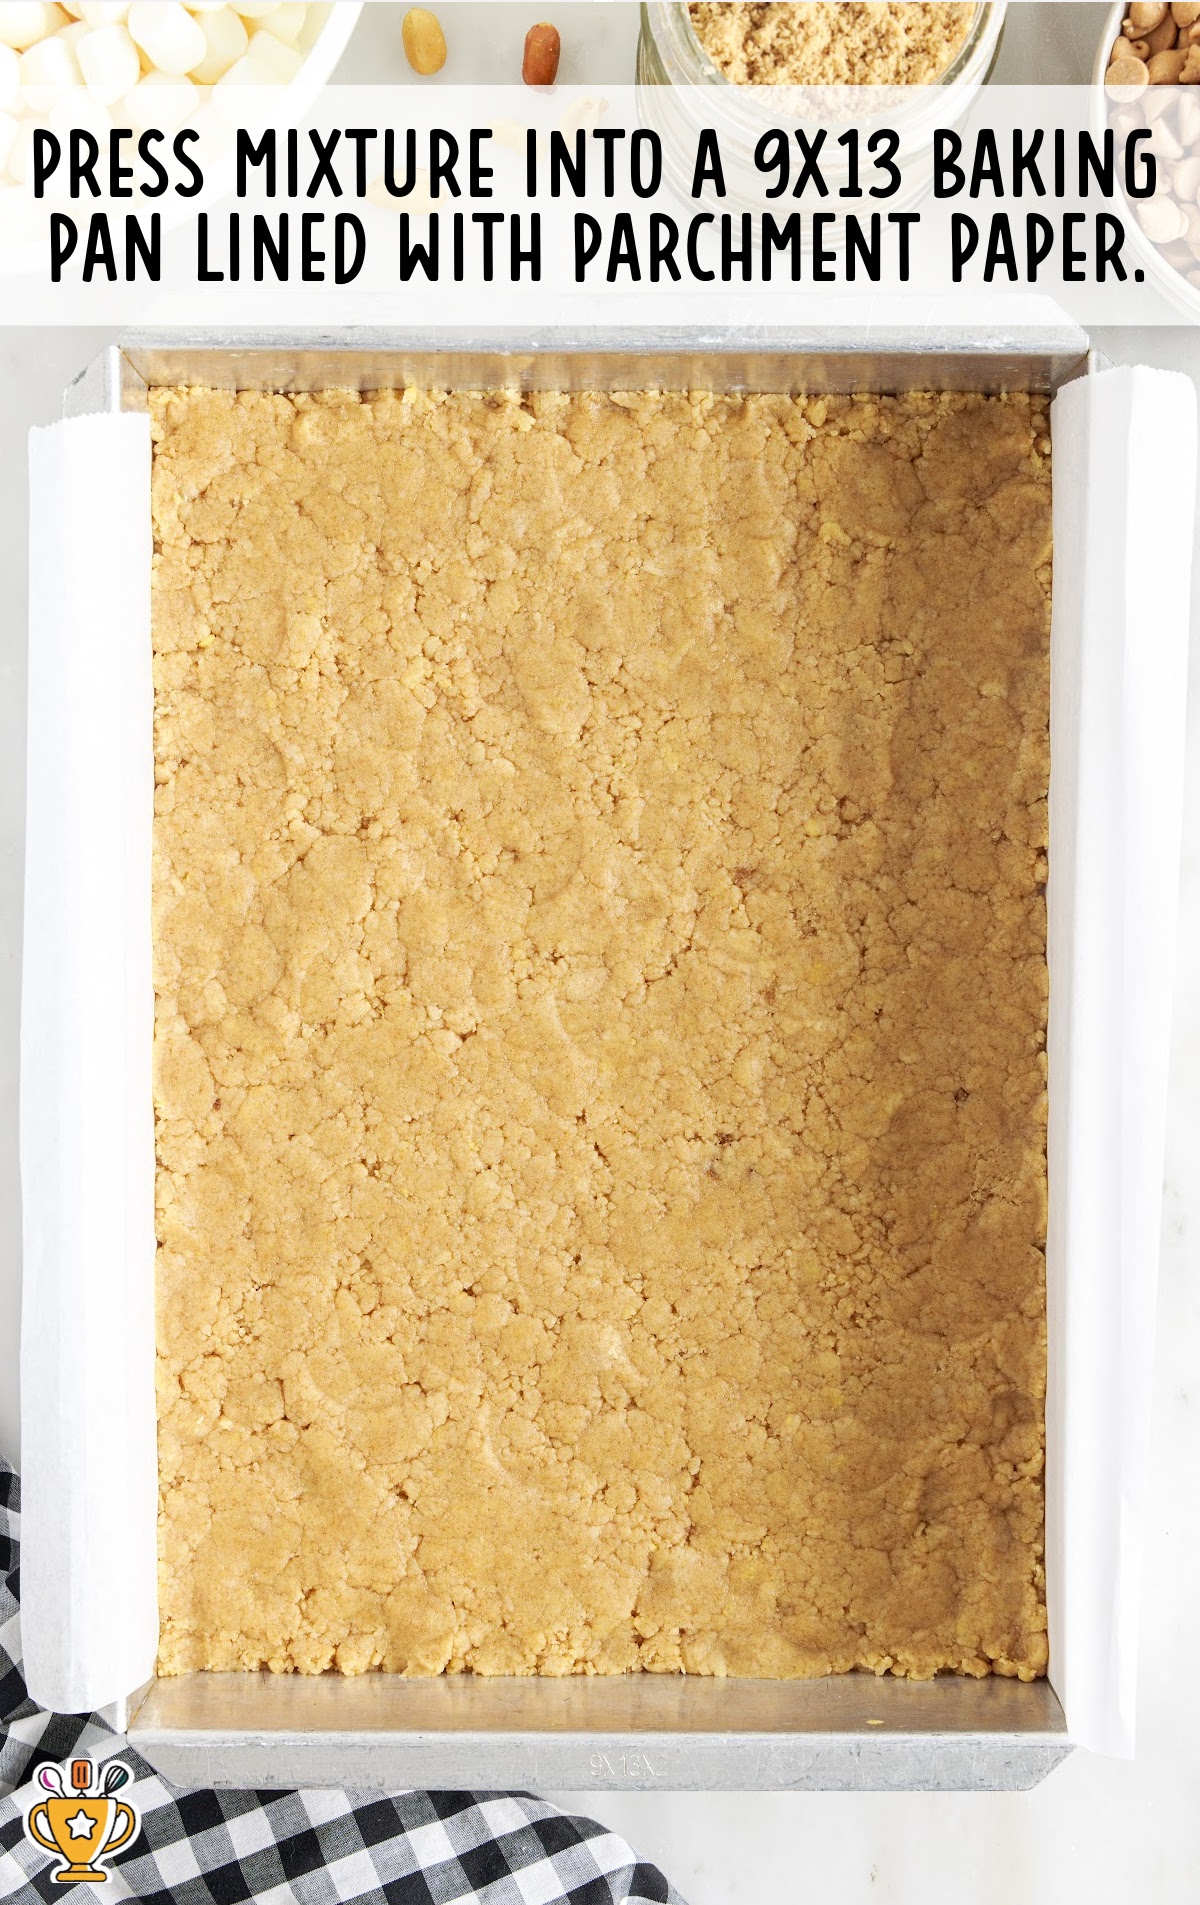
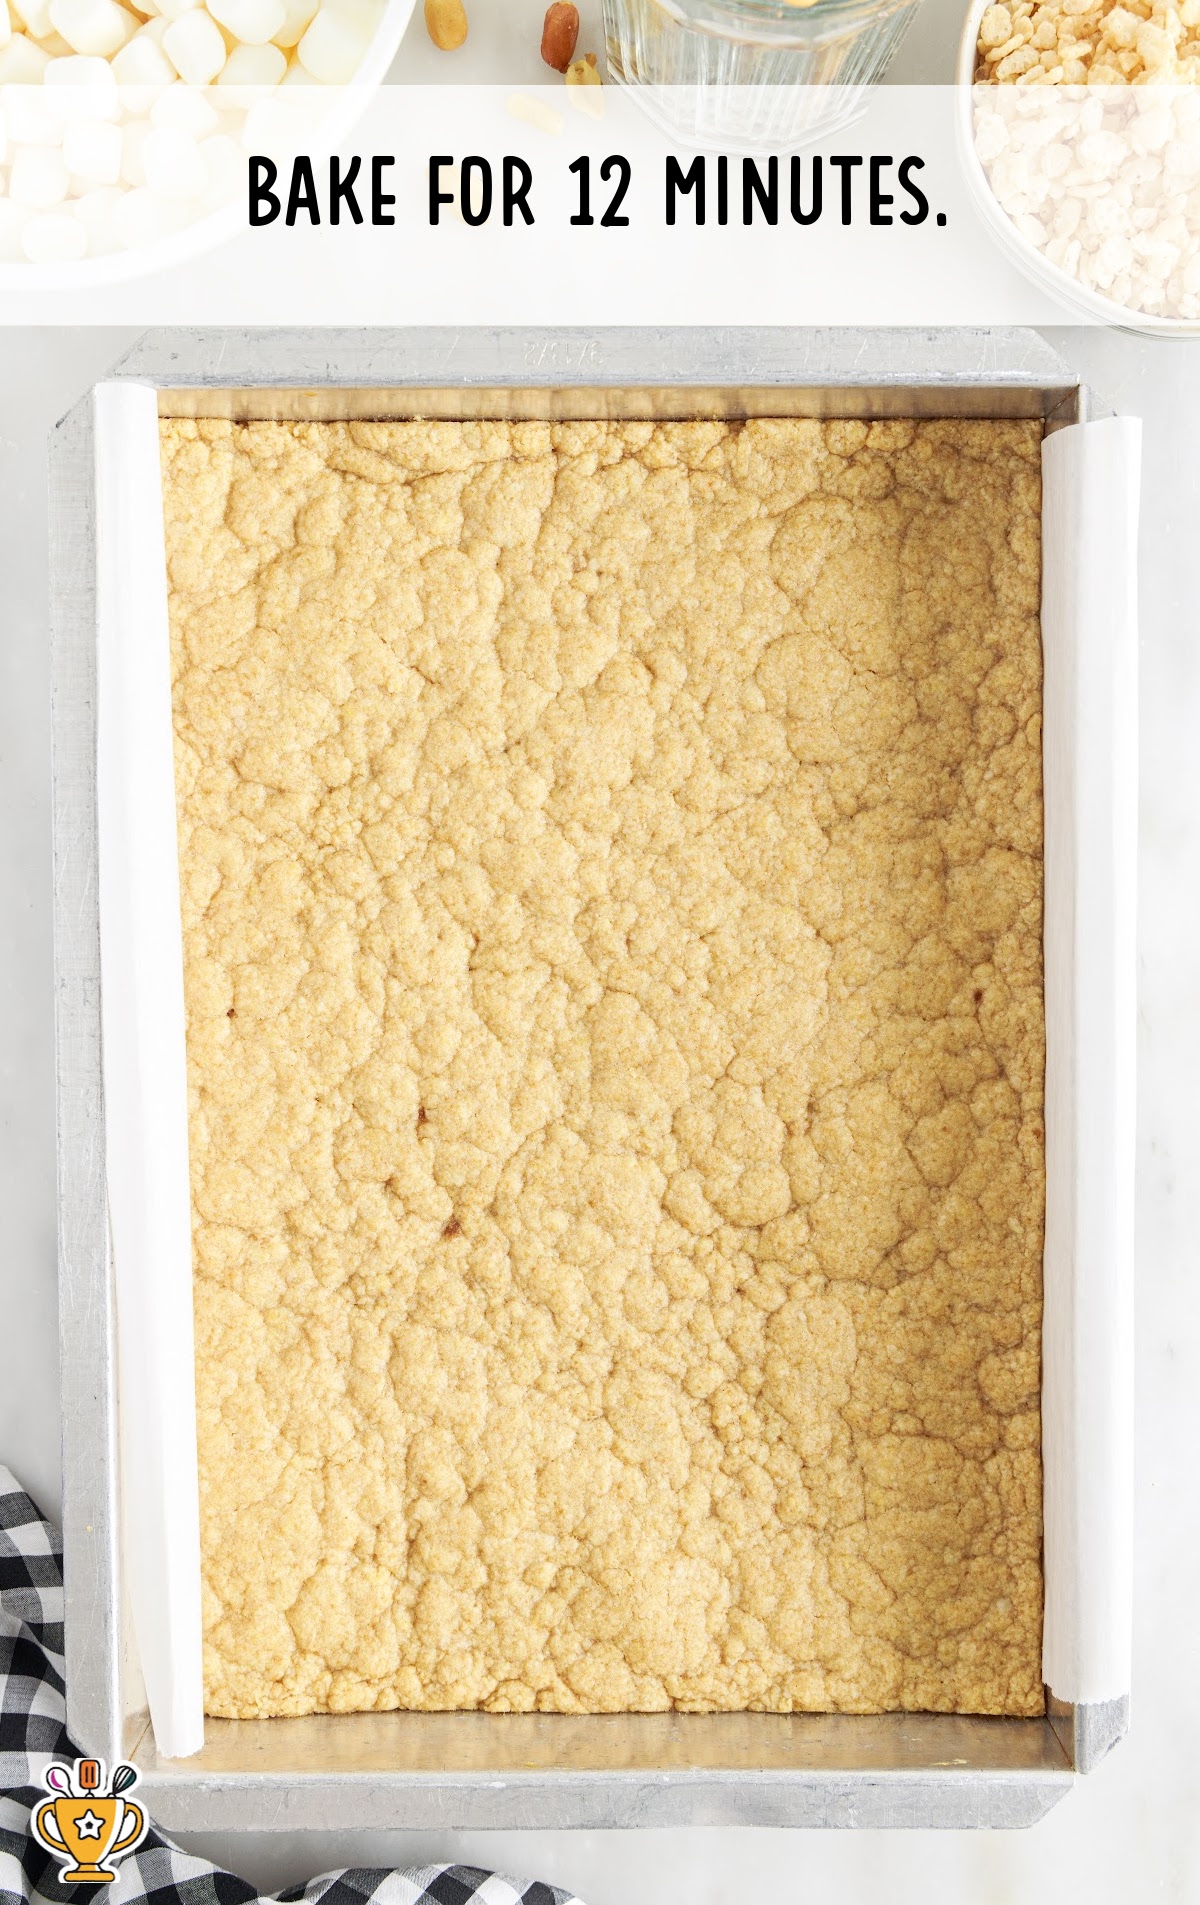
THIRD STEP: Press the mixture into the bottom of the pan
FOURTH STEP: Bake for 12 minutes.
Pro Tip
Oven temperatures vary and may need to be recalibrated periodically to ensure they are accurate. Make sure to keep a close eye on your crust as the suggested baking time approaches.
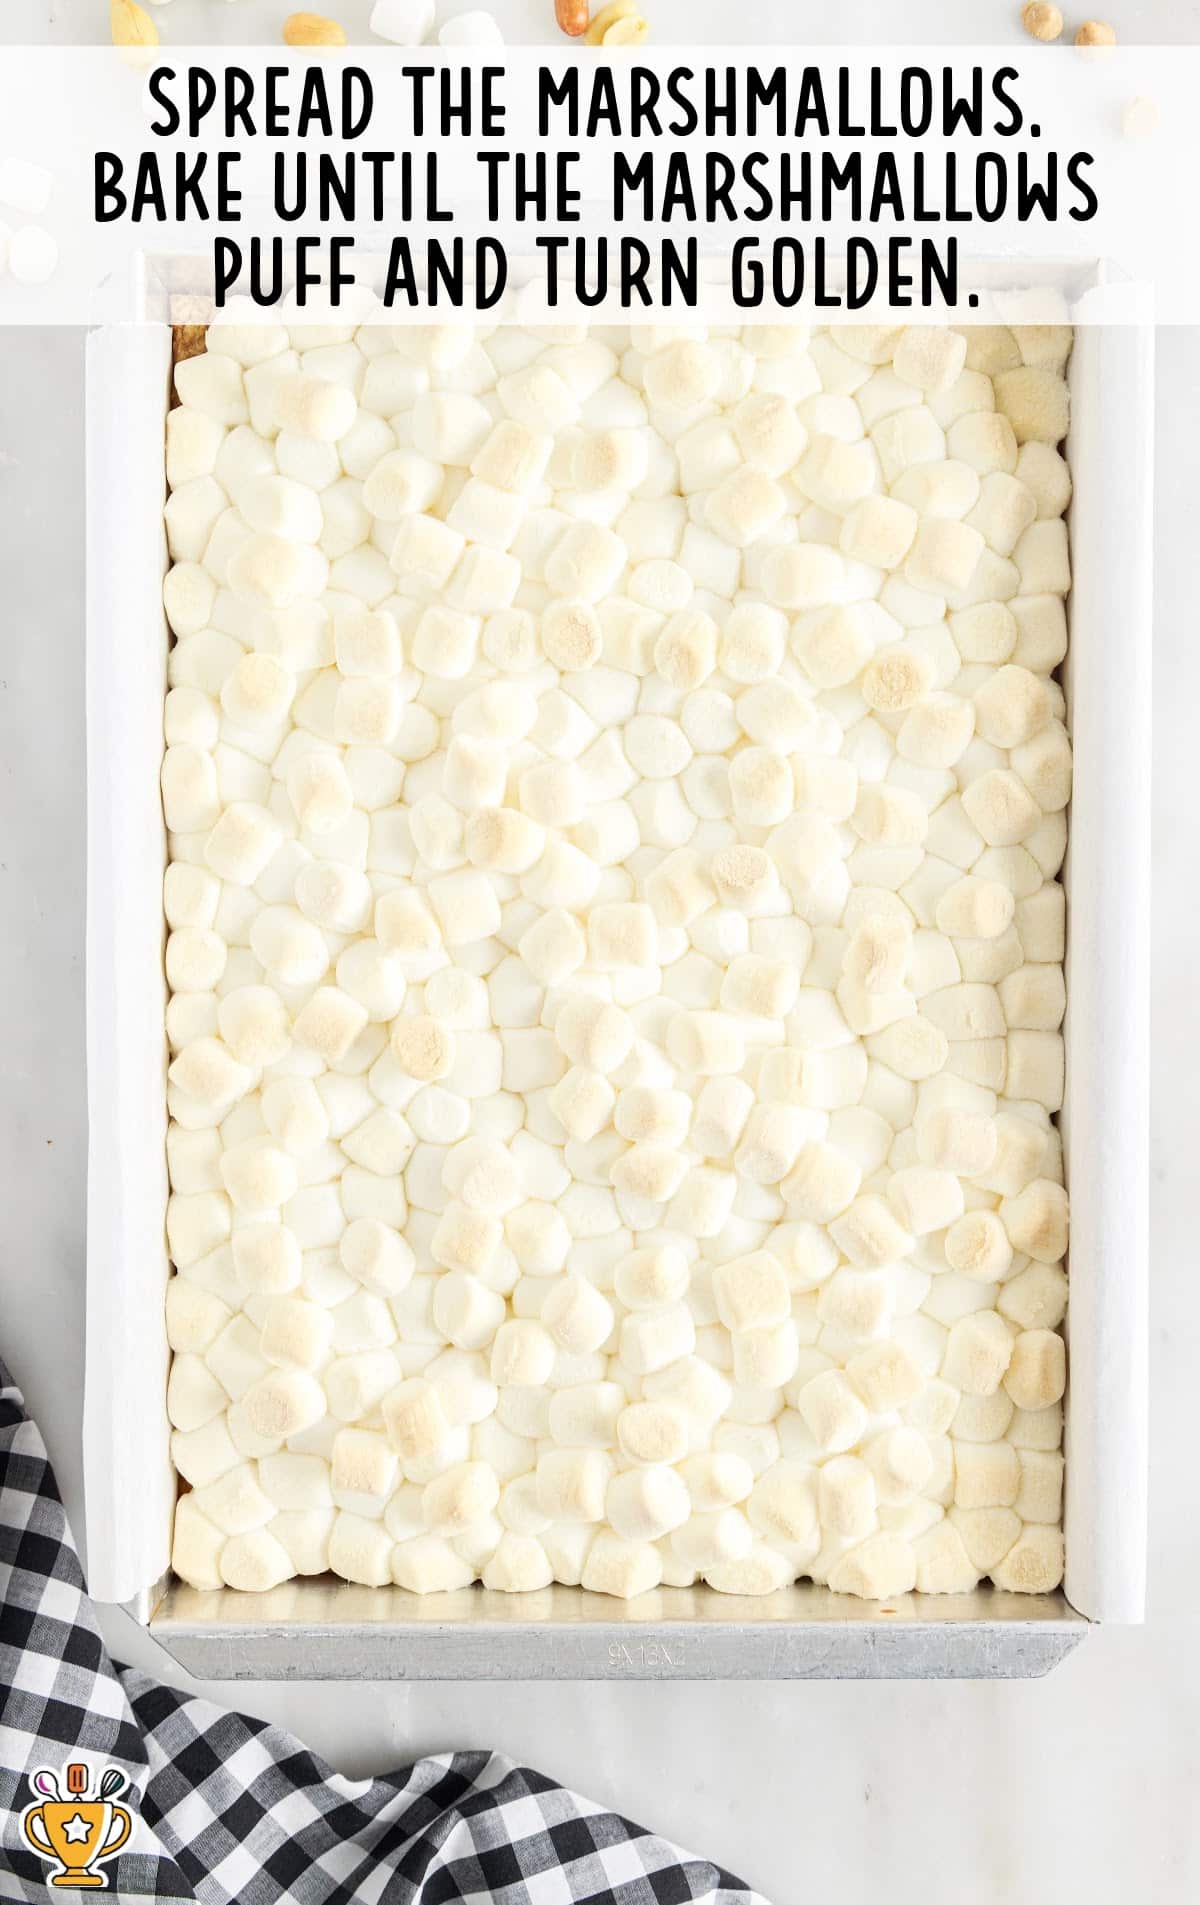
FIFTH STEP: Remove the crust from the oven and immediately spread the mini marshmallows over the crust.
Place the baking dish back into the oven and bake until the marshmallows puff and begin to turn golden, another 12 to 15 minutes.
Pro Tip
The topping mixture takes just a couple of minutes to melt and come together. Start making the topping about 5 minutes after you have put the marshmallow-topped cookie base back into the oven.
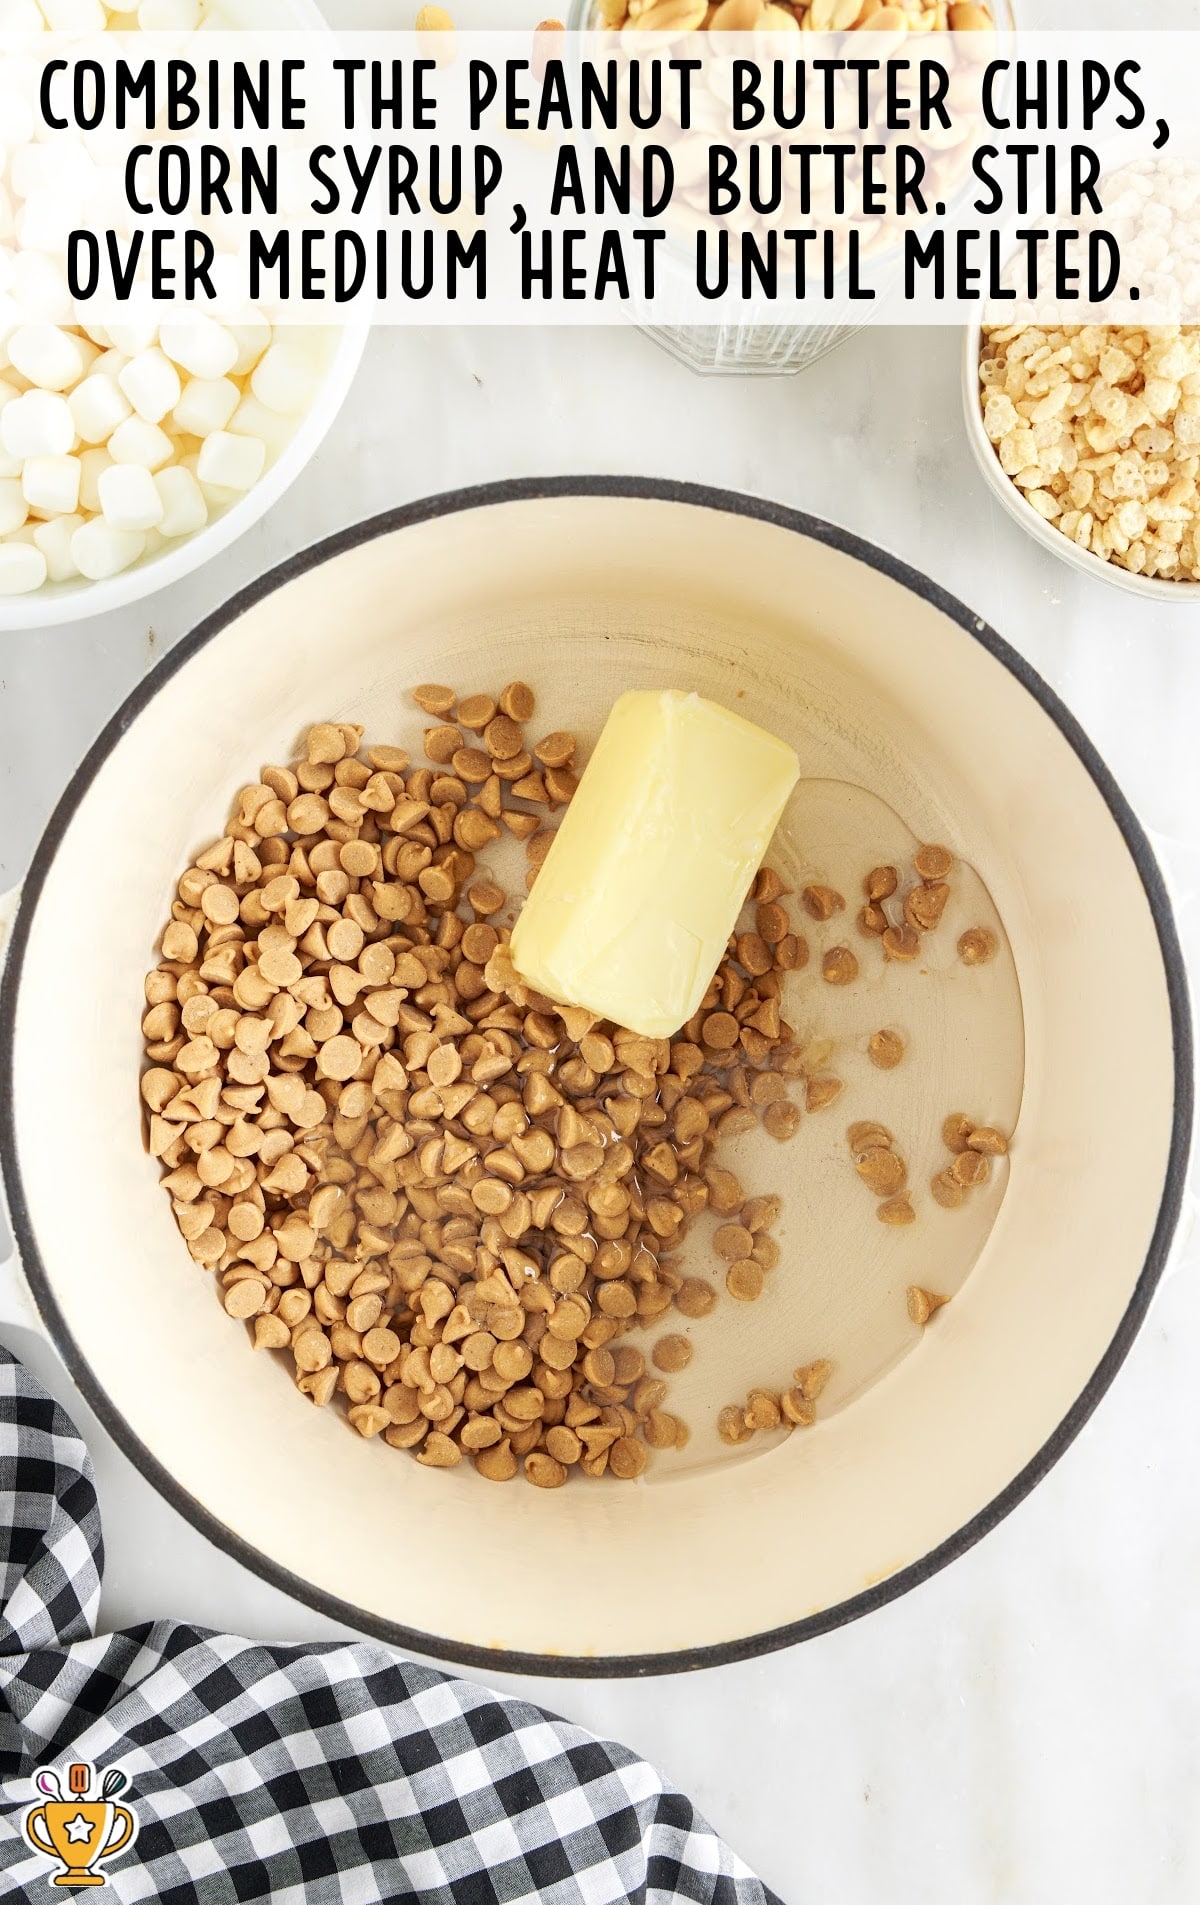
SIXTH STEP: Meanwhile, combine the peanut butter chips, corn syrup, and butter in a medium saucepan.
Stir over medium heat until the peanut butter mixture is melted and fully combined.
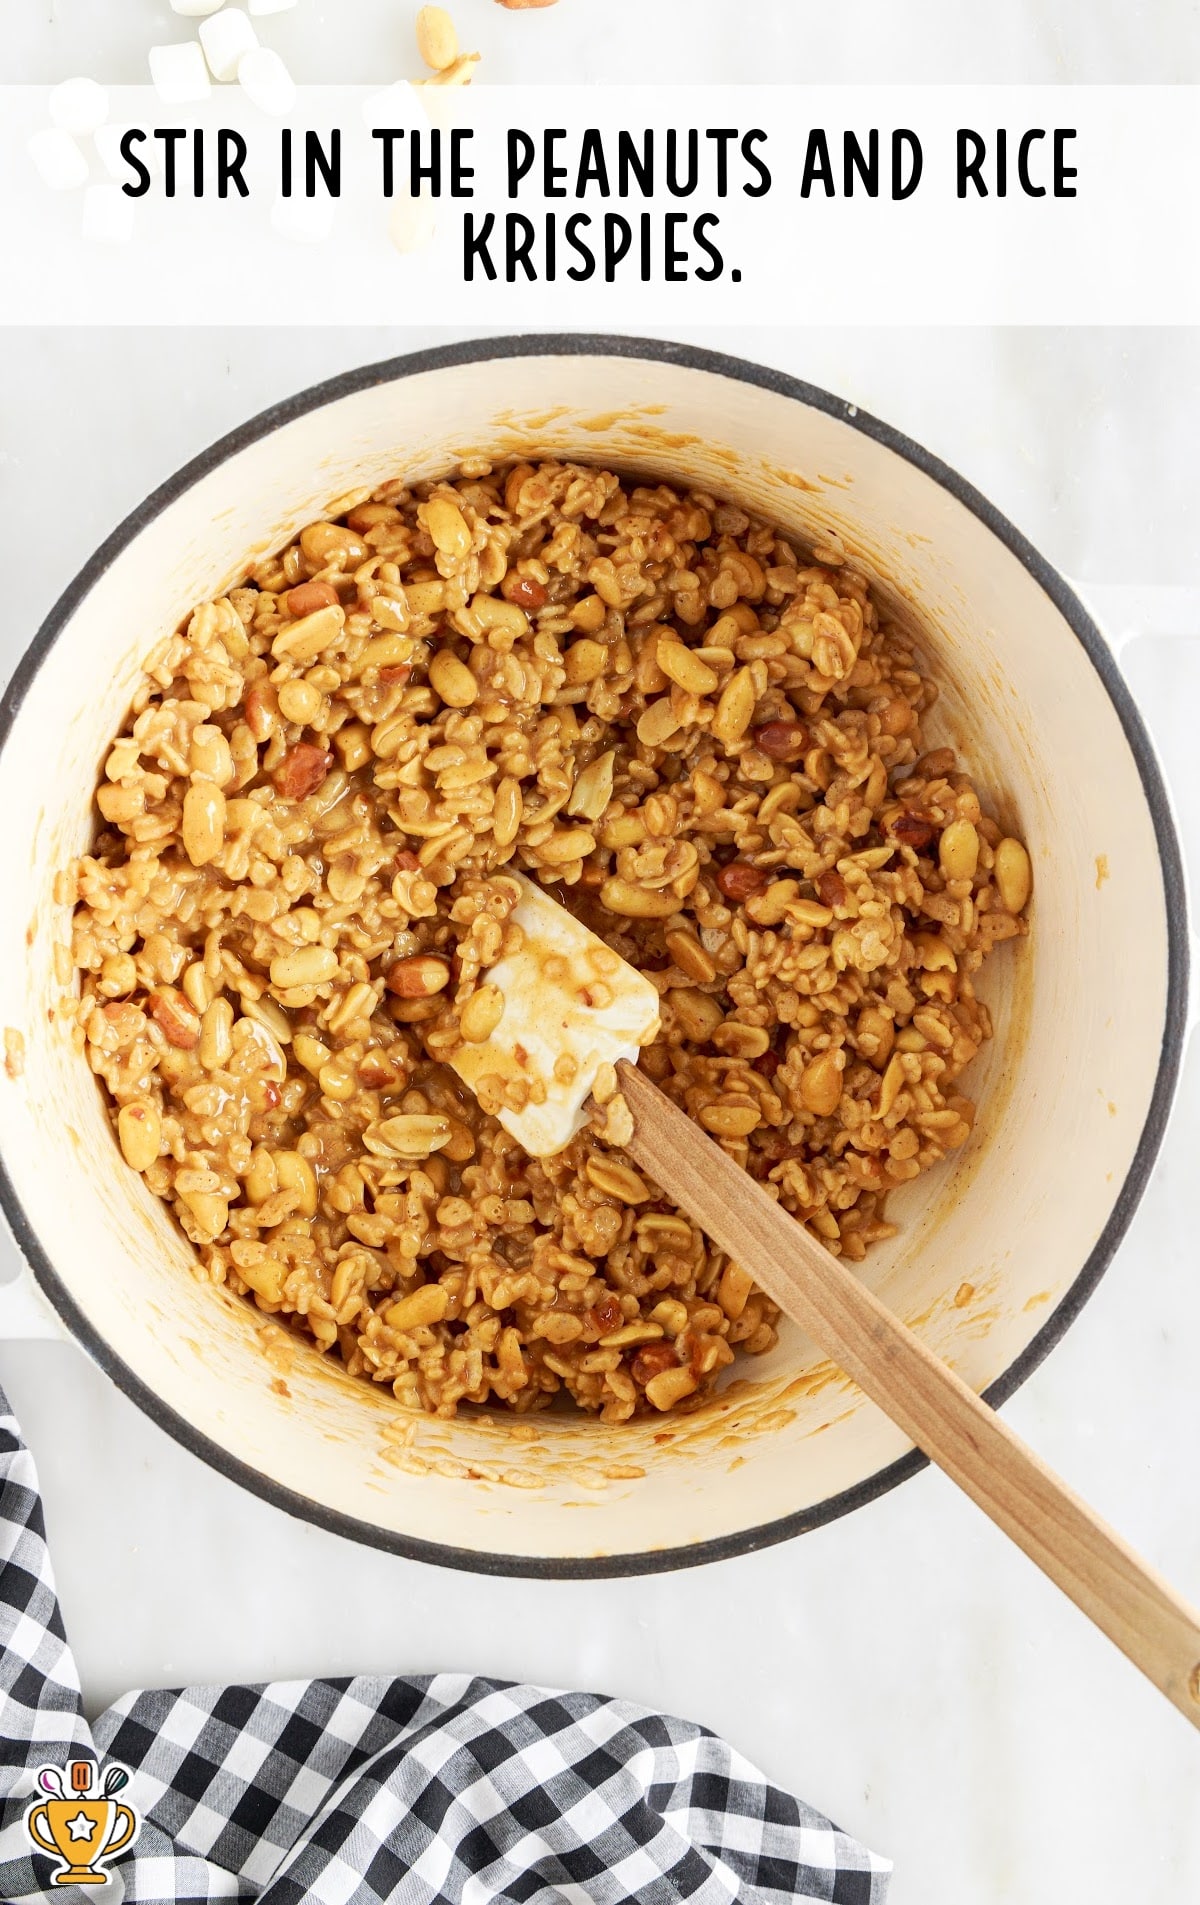
SEVENTH STEP: Stir the peanuts and Rice Krispies into the melted mixture.
EIGHTH STEP: Spread the topping mixture over the puffed and golden marshmallows and leave the baking dish to cool completely.
Pro Tip
When you add the topping over the marshmallows, use a lightly greased spatula to press the topping down into the marshmallows and form a flat top.

NINTH STEP: When cooled, lift from the baking dish and cut into bars using a sharp knife.
How To Serve Salted Nut Roll Bars
These Salted Nut Roll Bars are perfect for any occasion! Serve them at parties, family gatherings, or just as a special treat. Here are some fun ways to serve this delicious recipe:
- Birthday Parties: Kids and adults will love these sweet and salty bars at birthday parties. Pair them with cupcakes and chocolate chip cookies for a dessert table everyone will rave about.
- Holiday Celebrations: These bars make a festive addition to holiday gatherings, especially during the fall and winter seasons. Serve them with warm apple cider and gingerbread cookies to create a cozy holiday spread.
- Game Nights: Whip up a batch for game nights with friends or family. These bars are easy to eat and pair well with popcorn and pretzels for a snack-filled evening.

Why You'll Love This Salted Nut Roll Bars Recipe
Salted Nut Roll Bars are more than just a snack—they're a beloved favorite for many delicious reasons.
- A Perfect Balance of Flavors: These bars blend the satisfying crunch of peanuts with the soft, gooey sweetness of marshmallow and caramel. Each bite delivers a perfect harmony of salty and sweet, making it hard to resist.
- Ideal for Any Occasion: Whether you’re celebrating a special event or enjoying a casual get-together, these bars are a crowd-pleaser. Their versatility makes them a hit at birthday parties, holiday celebrations, and even simple family nights.
- Quick and Easy to Make: With just 30 minutes from start to finish, you can whip up these bars in no time. The simple ingredients and straightforward process mean you’ll be enjoying them before you know it.
Salted Nut Roll Bars are more than just a treat—they’re a beloved favorite that brings joy and flavor to every bite.
Recipe FAQ
How do I prevent the marshmallow from sticking to my hands?
Coat your hands with a little butter or cooking spray before handling the marshmallow mixture to avoid sticking.
Can I use a different type of nut in this recipe?
Yes, you can easily swap peanuts for other nuts like almonds or cashews to create a different flavor.
How do I know when the caramel mixture is ready?
The caramel mixture is ready when it’s smooth, golden, and slightly thickened, which usually takes about 5-7 minutes.
How long should I let the bars cool before cutting?
Let the bars cool completely for about an hour to ensure they hold their shape when cutting.

Serving FAQ
What’s the best way to cut Salted Nut Roll Bars?
Use a sharp knife and wipe it clean between cuts for neat, even slices.
Can I serve these bars warm or should they be completely cooled?
These bars are best served completely cooled so they hold their shape and the flavors fully set.
How should I present Salted Nut Roll Bars at a party?
Cut the bars into bite-sized pieces and arrange them on a decorative platter for easy grabbing.
Are these bars suitable for kids' parties?
Yes, kids love the sweet and salty combination, making these bars a hit at any children’s party.
Storage FAQ
Follow the directions, tips, and tricks below for optimal storage of your Salted Nut Roll Bars. From making ahead to reheating, we’ve got you covered!
Can I prepare Salted Nut Roll Bars ahead of time?
Yes, you can make the bars a day ahead. Store them in an airtight container to keep them fresh.
What's the best way to store leftover Salted Nut Roll Bars?
Store leftover bars in an airtight container at room temperature. They’ll stay delicious for up to three days.
Can I freeze Salted Nut Roll Bars?
Yes, wrap the bars tightly in plastic wrap and then in foil. Freeze them for up to one month.
How do I thaw and serve frozen Salted Nut Roll Bars?
Thaw the bars at room temperature for a few hours before serving. They’ll taste just as good as fresh.
Can I reheat Salted Nut Roll Bars in the microwave?
Yes, reheat the bars in the microwave for 10-15 seconds for a warm, gooey treat, but be careful not to overheat.
Salted Nut Roll Bars
Salted Nut Roll Bars combine sweet marshmallow, caramel, and crunchy peanuts into a delicious treat. Perfect for any occasion, they’re quick, easy, and irresistible!
Did you try this recipe?Let our readers know how it turned out by Leaving a Review!
Ingredients
Crust
- 2 cups all-purpose flour
- 1 cup packed light brown sugar
- 1 teaspoon baking powder
- ½ teaspoon baking soda
- 1 large egg
- ½ cup unsalted butter (melted)
- 1 teaspoon vanilla extract
Topping
- 4 cups miniature marshmallows
- 10 ounce bag peanut butter chips
- ⅔ cup light corn syrup
- ½ cup unsalted butter
- 2 to 3 cups salted peanuts
- 2 cups Rice Krispies cereal
- Flaky sea salt (optional)
DIRECTIONS
- Preheat the oven to 350°F.
- In a medium mixing bowl, beat together all of the crust ingredients until well combined. Press mixture into a 9×13 baking pan lined with parchment paper.
- Bake for 12 minutes.
- Remove the crust from the oven and immediately spread the mini marshmallows over the crust. Place the baking dish back into the oven and bake until the marshmallows puff and begin to turn golden, another 12 to 15 minutes.
- Meanwhile, combine the peanut butter chips, corn syrup, and butter in a medium saucepan and stir over medium heat until melted and fully combined.
- Stir in the peanuts and Rice Krispies.
- Spread the topping mixture over the puffed and golden marshmallows and leave the baking dish to cool completely.
- When cooled, lift from the baking dish and cut into bars.
Notes
- You can vary the amount of Rice Krispies and peanuts you add to the topping. I wouldn’t add more than about 3 cups of peanuts as the balance of salty and sweet will start to lean toward too salty.
- Oven temperatures vary and may need to be recalibrated periodically to ensure they are accurate. Make sure to keep a close eye on your crust as the suggested baking time approaches.
- The topping mixture takes just a couple of minutes to melt and come together. Start making the topping about 5 minutes after you have put the marshmallow-topped cookie base back into the oven.
- When you add the topping over the marshmallows, use a lightly greased spatula to press the topping down into the marshmallows and form a flat top.
Nutrition
Calories: 369kcal | Carbohydrates: 47g | Protein: 7g | Fat: 19g | Saturated Fat: 8g | Polyunsaturated Fat: 3g | Monounsaturated Fat: 6g | Trans Fat: 0.4g | Cholesterol: 36mg | Sodium: 143mg | Potassium: 191mg | Fiber: 2g | Sugar: 28g | Vitamin A: 535IU | Vitamin C: 2mg | Calcium: 45mg | Iron: 2mg
HAVE YOU TRIED THIS RECIPE?Follow me on Pinterest @bestblogrecipes


Leave a Comment