
Published on
Apple Pie Recipe

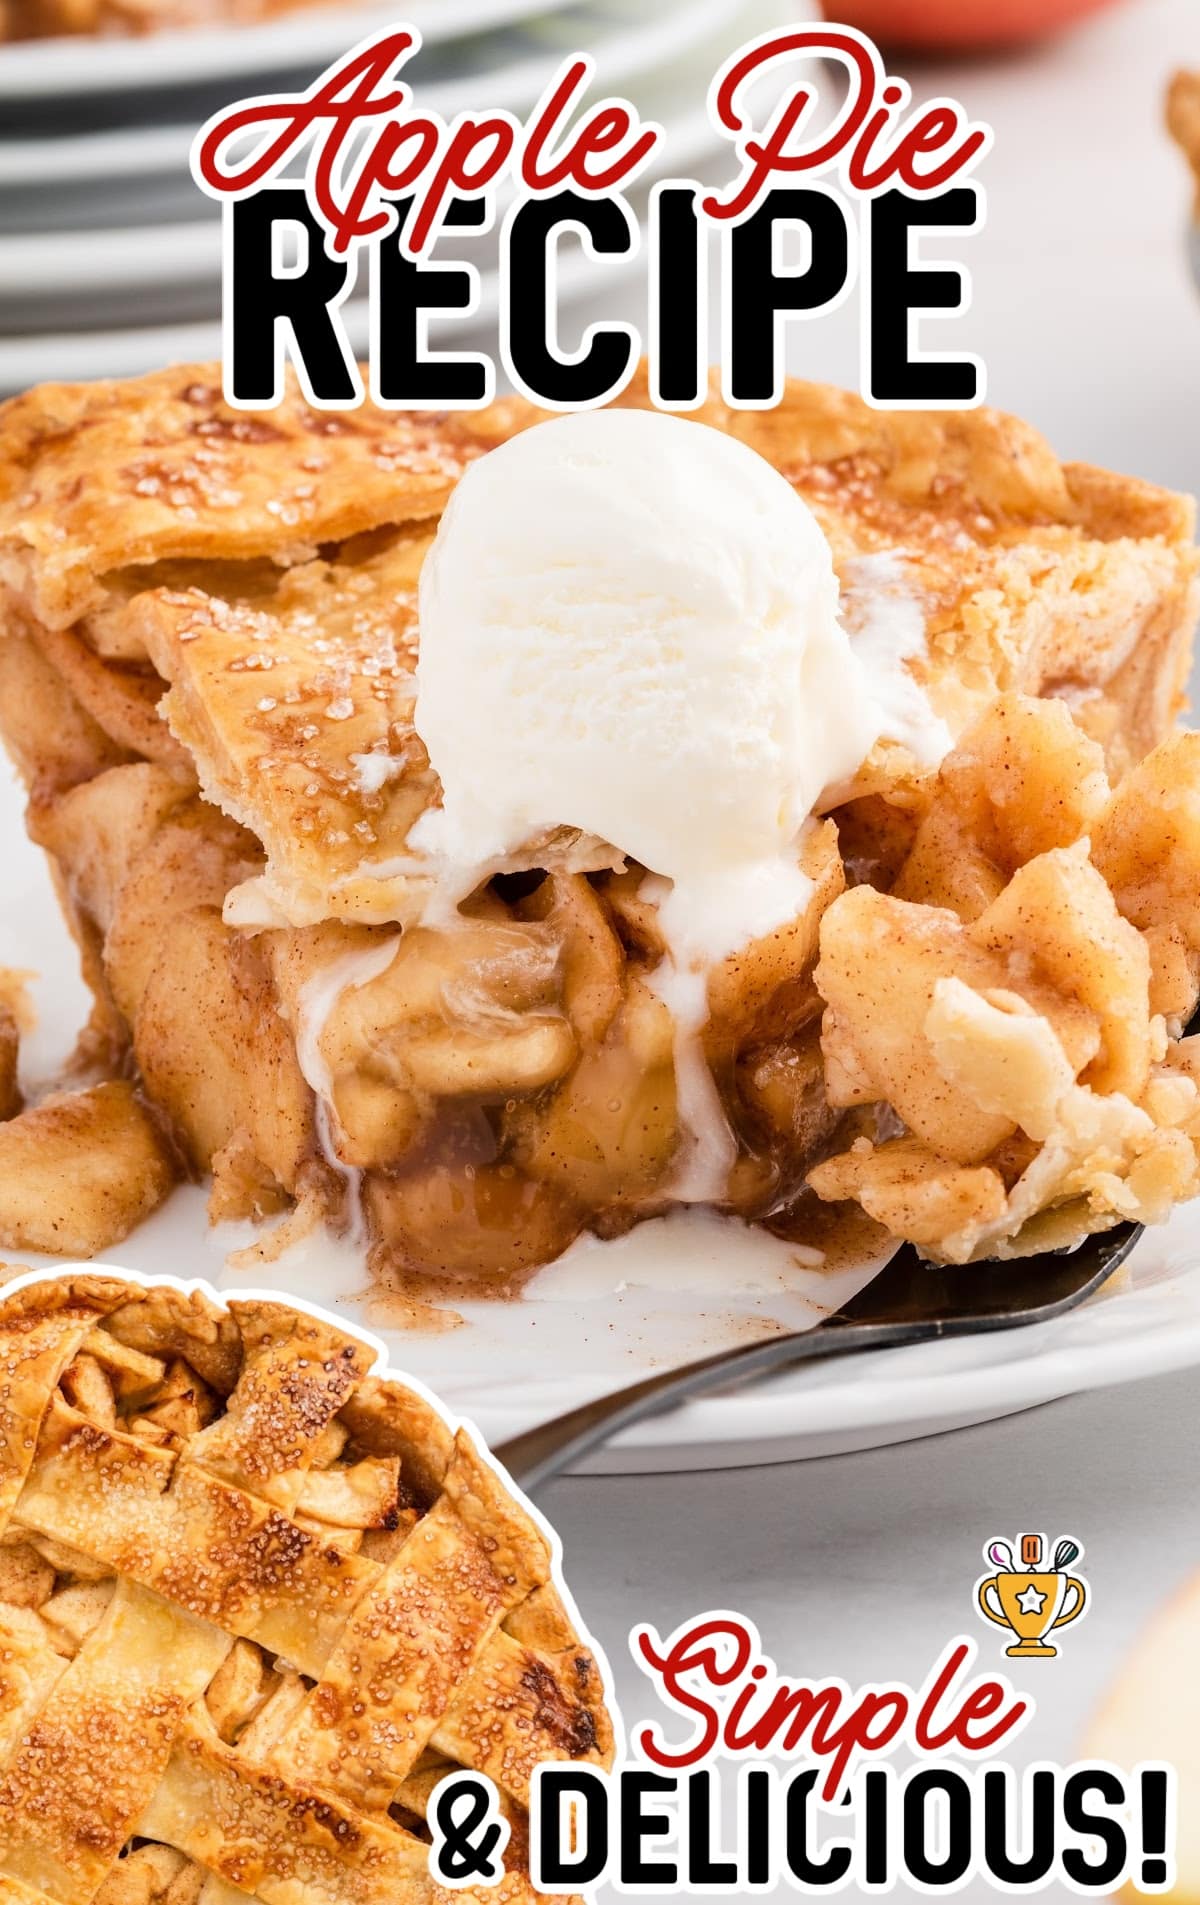
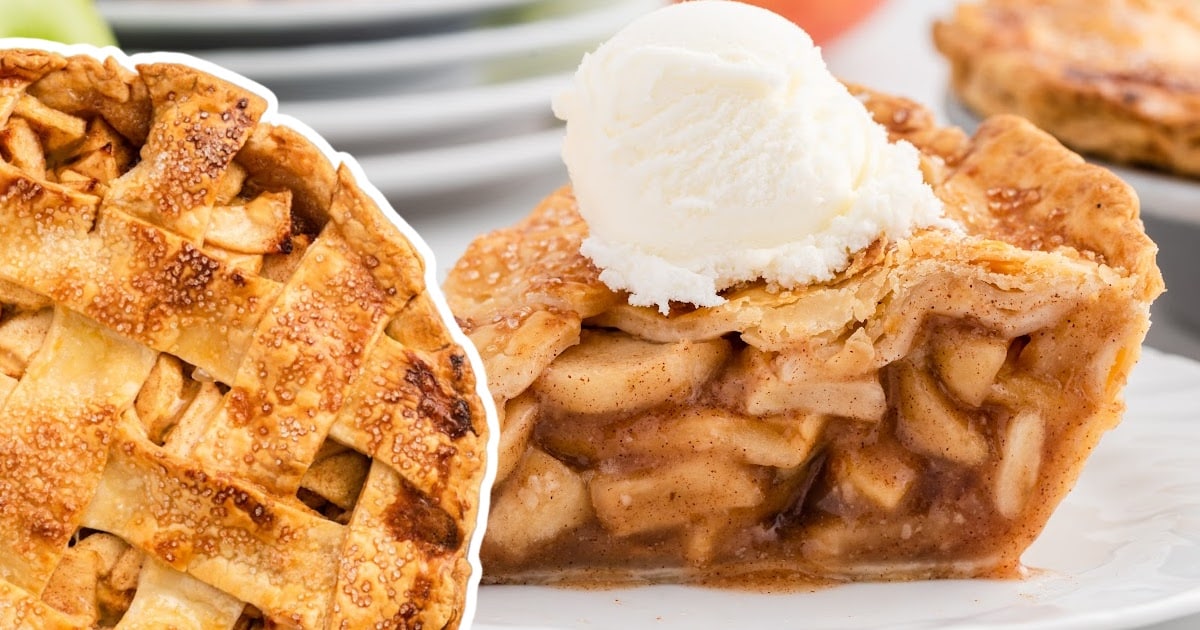
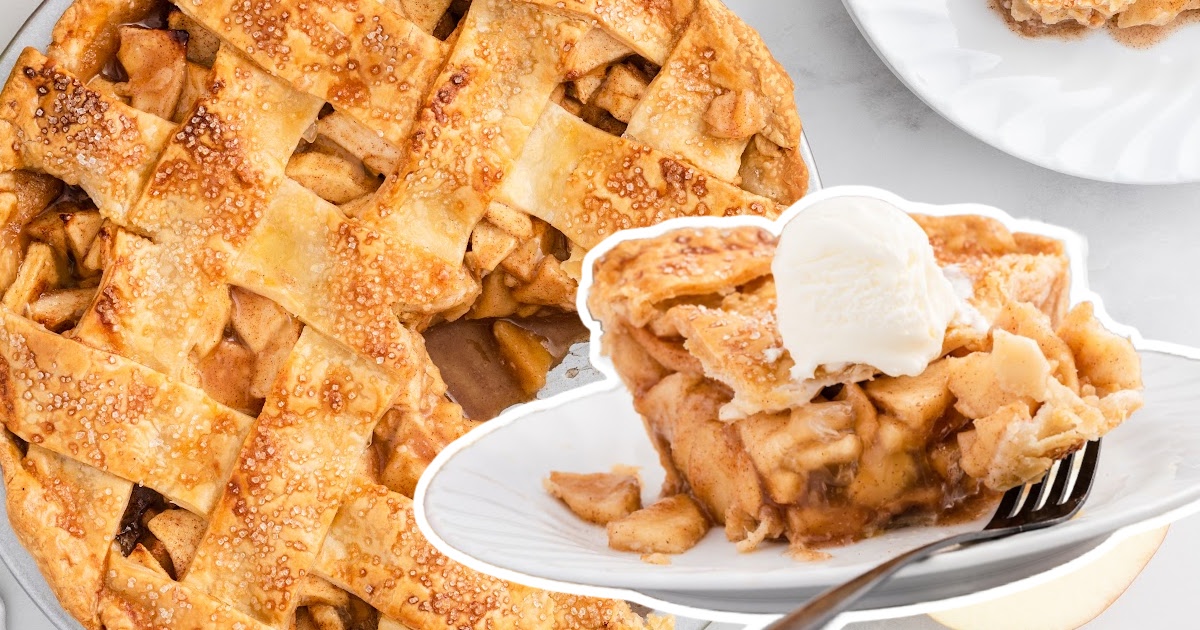
This classic apple pie features sweet, spiced apples and a buttery, flaky crust perfect for any occasion. It's an easy, crowd-pleasing dessert that brings warmth and comfort to your table.
Jump to RecipeTable of Contents
Nothing beats a warm, homemade apple pie fresh from your oven! Our easy apple pie recipe combines sweet, spiced apples with a flaky, buttery crust. It's perfect for cozy fall days or any time you crave a classic dessert, since this pie will fill your kitchen with mouthwatering aromas. Get ready to wow your family and friends with every delicious slice!
This recipe is easy to make, and you can follow the guide below with step-by-step photos and directions. We include pro tips and tricks to help you bake the perfect pie. Plus, we answer the most frequently asked questions so you can bake with confidence.
More Recipes ⭐ Lemon Cream Cheese Pie | Pistachio Pie | Banana Fluff
This apple pie recipe comes together in just under an hour, making it perfect for any occasion. With its sweet, spiced apples and buttery, flaky crust, this pie is a crowd-pleaser at parties, dinners, or holiday gatherings. The rich aroma will fill your kitchen, tempting everyone to grab a slice. You’ll love how easy it is to create a dessert that tastes like it’s straight out of a bakery.
Ingredients
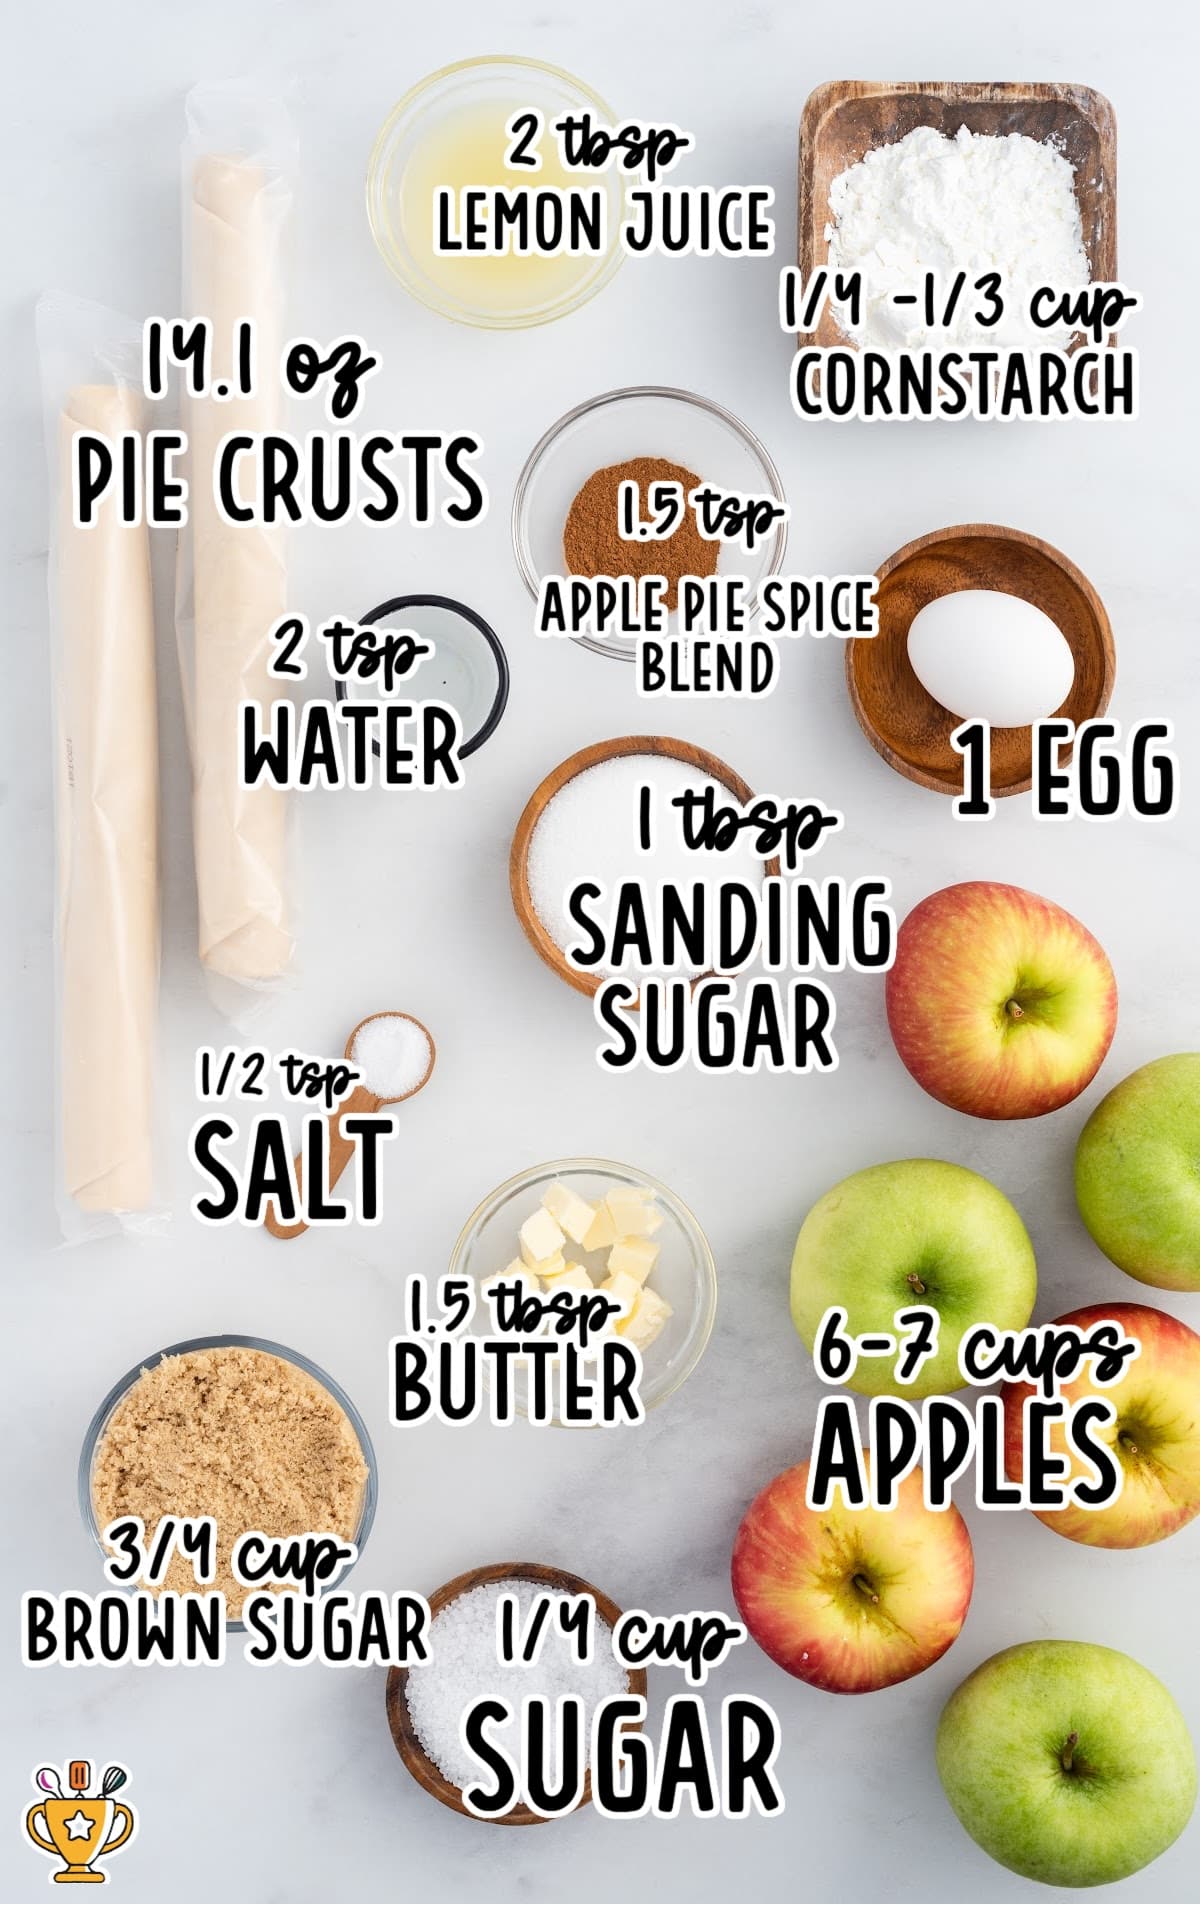
What you'll need to make this Apple Pie recipe:
- 6 to 7 cups of sliced apples (from a combination of 3 large Granny Smith and 3 large Honeycrisp apples)
- ¾ cup of light brown sugar
- ¼ cup of granulated sugar
- 1½ teaspoons of apple pie spice blend
- ½ teaspoon of salt
- 2 tablespoons of fresh lemon juice
- 1 (14.1-ounce) package of Pillsbury ready-made pie crusts (you will use both crusts)
- ¼ to ⅓ cup of cornstarch (this amount will vary based on the amount of liquid your apples yield. I had 1 cup of liquid and used ⅓ cup of cornstarch for this pie. If you have less liquid, you can stick with the ¼ cup cornstarch)
- 1½ tablespoons of unsalted butter, cold, cut into small cubes
- 1 egg
- 2 teaspoons of water
- 1 tablespoon of coarse sanding sugar, optional
Substitutions and Additions
Personalize your apple pie recipe by swapping out ingredients and adding delicious extras! These simple changes can make your pie uniquely yours. Here are some top substitutions and additions:
Crust Substitute: Try a graham cracker or oatmeal cookie crust for a unique and delicious base. Many ingredients can easily be swapped out while still maintaining the deliciousness of this American dessert recipe.
Substitute Apples: Pears or peaches are great for a different fruit twist in your apple pie.
Substitute Sugar: Brown sugar or honey also add a richer, deeper flavor in your filling.
Add Nuts: Sprinkle chopped pecans or walnuts into the filling to add a crunchy texture and nutty flavor.
Add Spices: Another suggestion is to add a pinch of cardamom or nutmeg to the filling for a warm, spiced flavor that stands out.
How to Make this Apple Pie Recipe
Pro Tip
I like to make my apple pies the day before I want to serve them. This is to allow them to cool completely and have all the juices firm up so that you can get a nice beautiful slice for serving. You can also heat up individual slices in the microwave for 30 to 45 seconds and then add a scoop of vanilla ice cream.
Follow along with our pictures, step-by-step instructions, and helpful tips and tricks below. Let’s get started on your delicious apple pie!
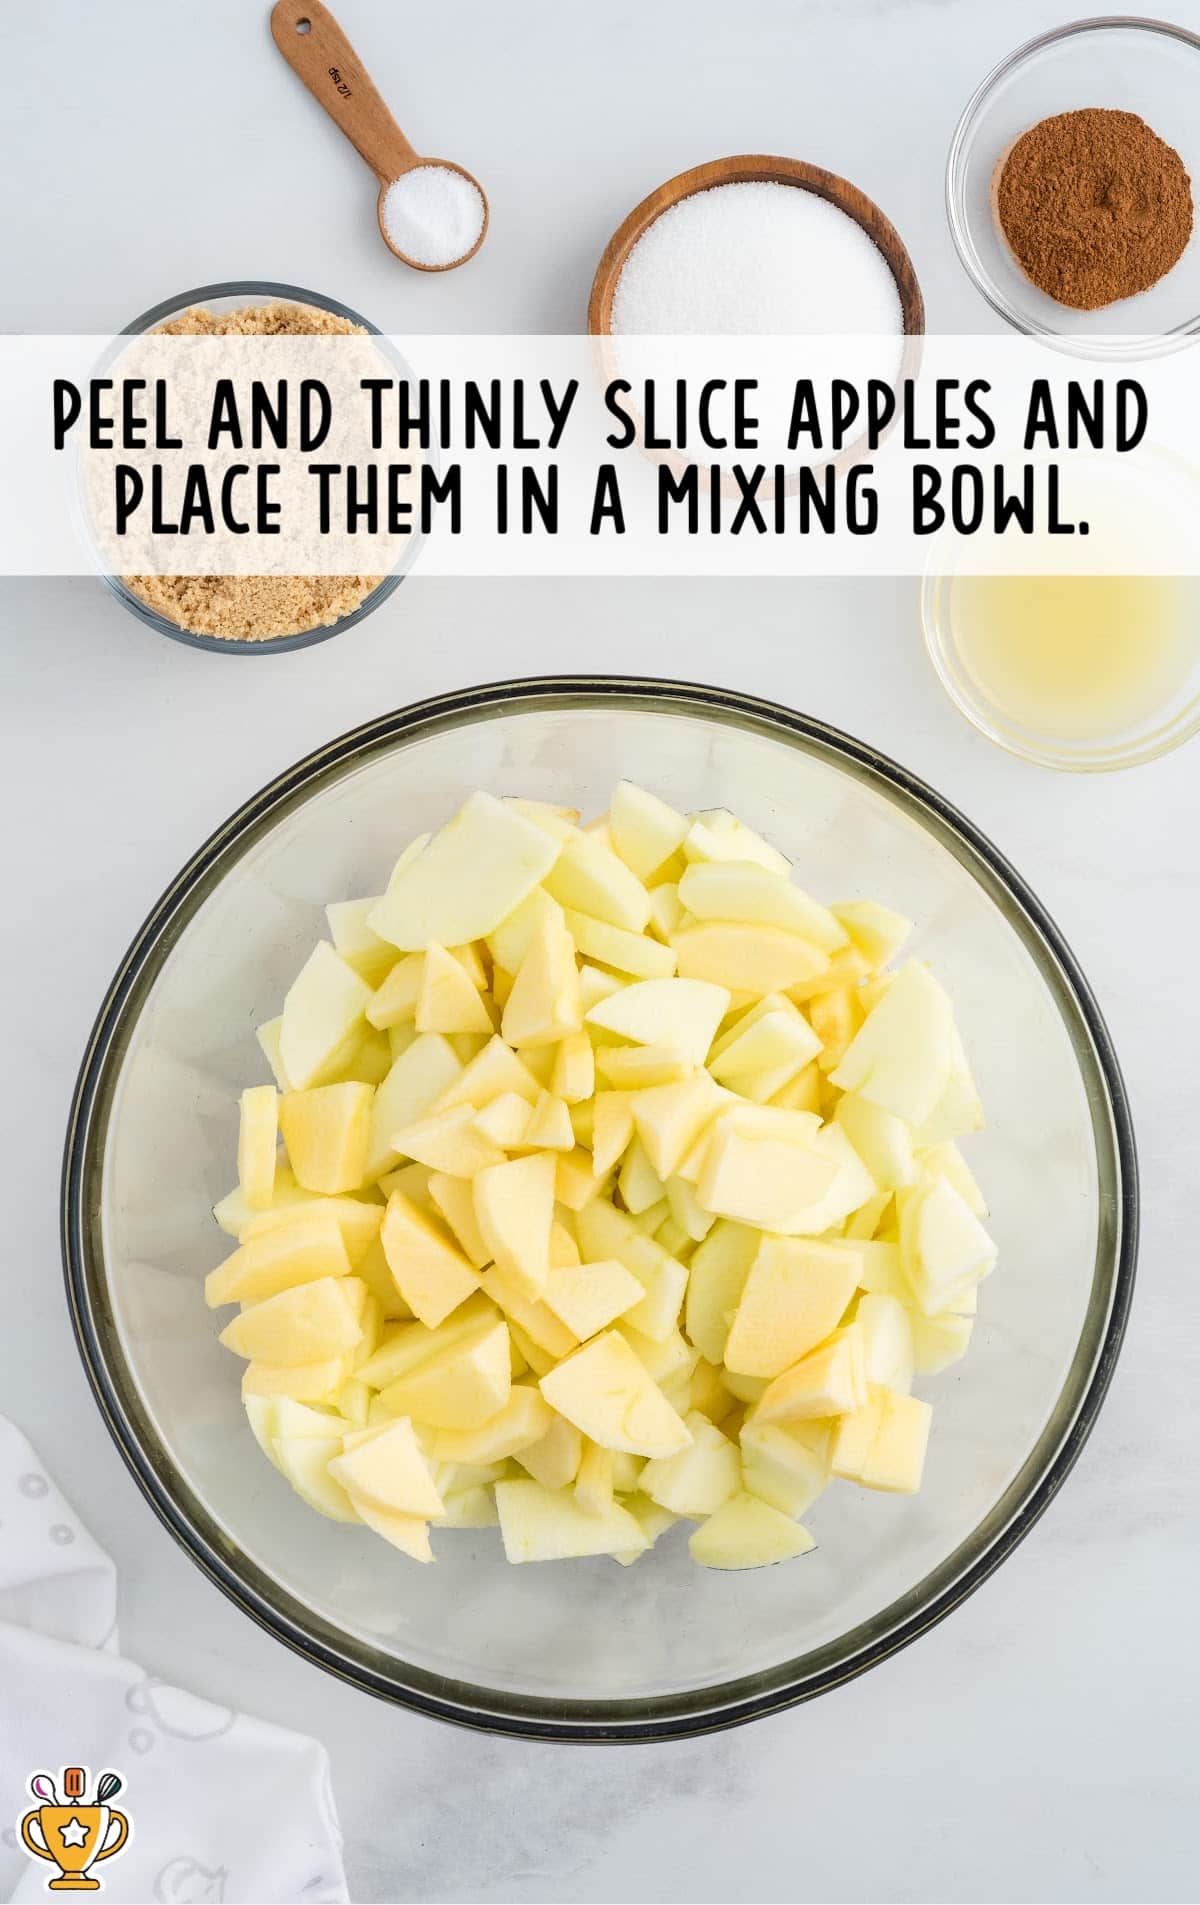
FIRST STEP: Peel, core, and slice the Granny Smith and Honeycrisp apples into ¼-inch slices. Cut those slices in half so you have smaller, bite-size pieces of apples. Place the apples into a large mixing bowl.
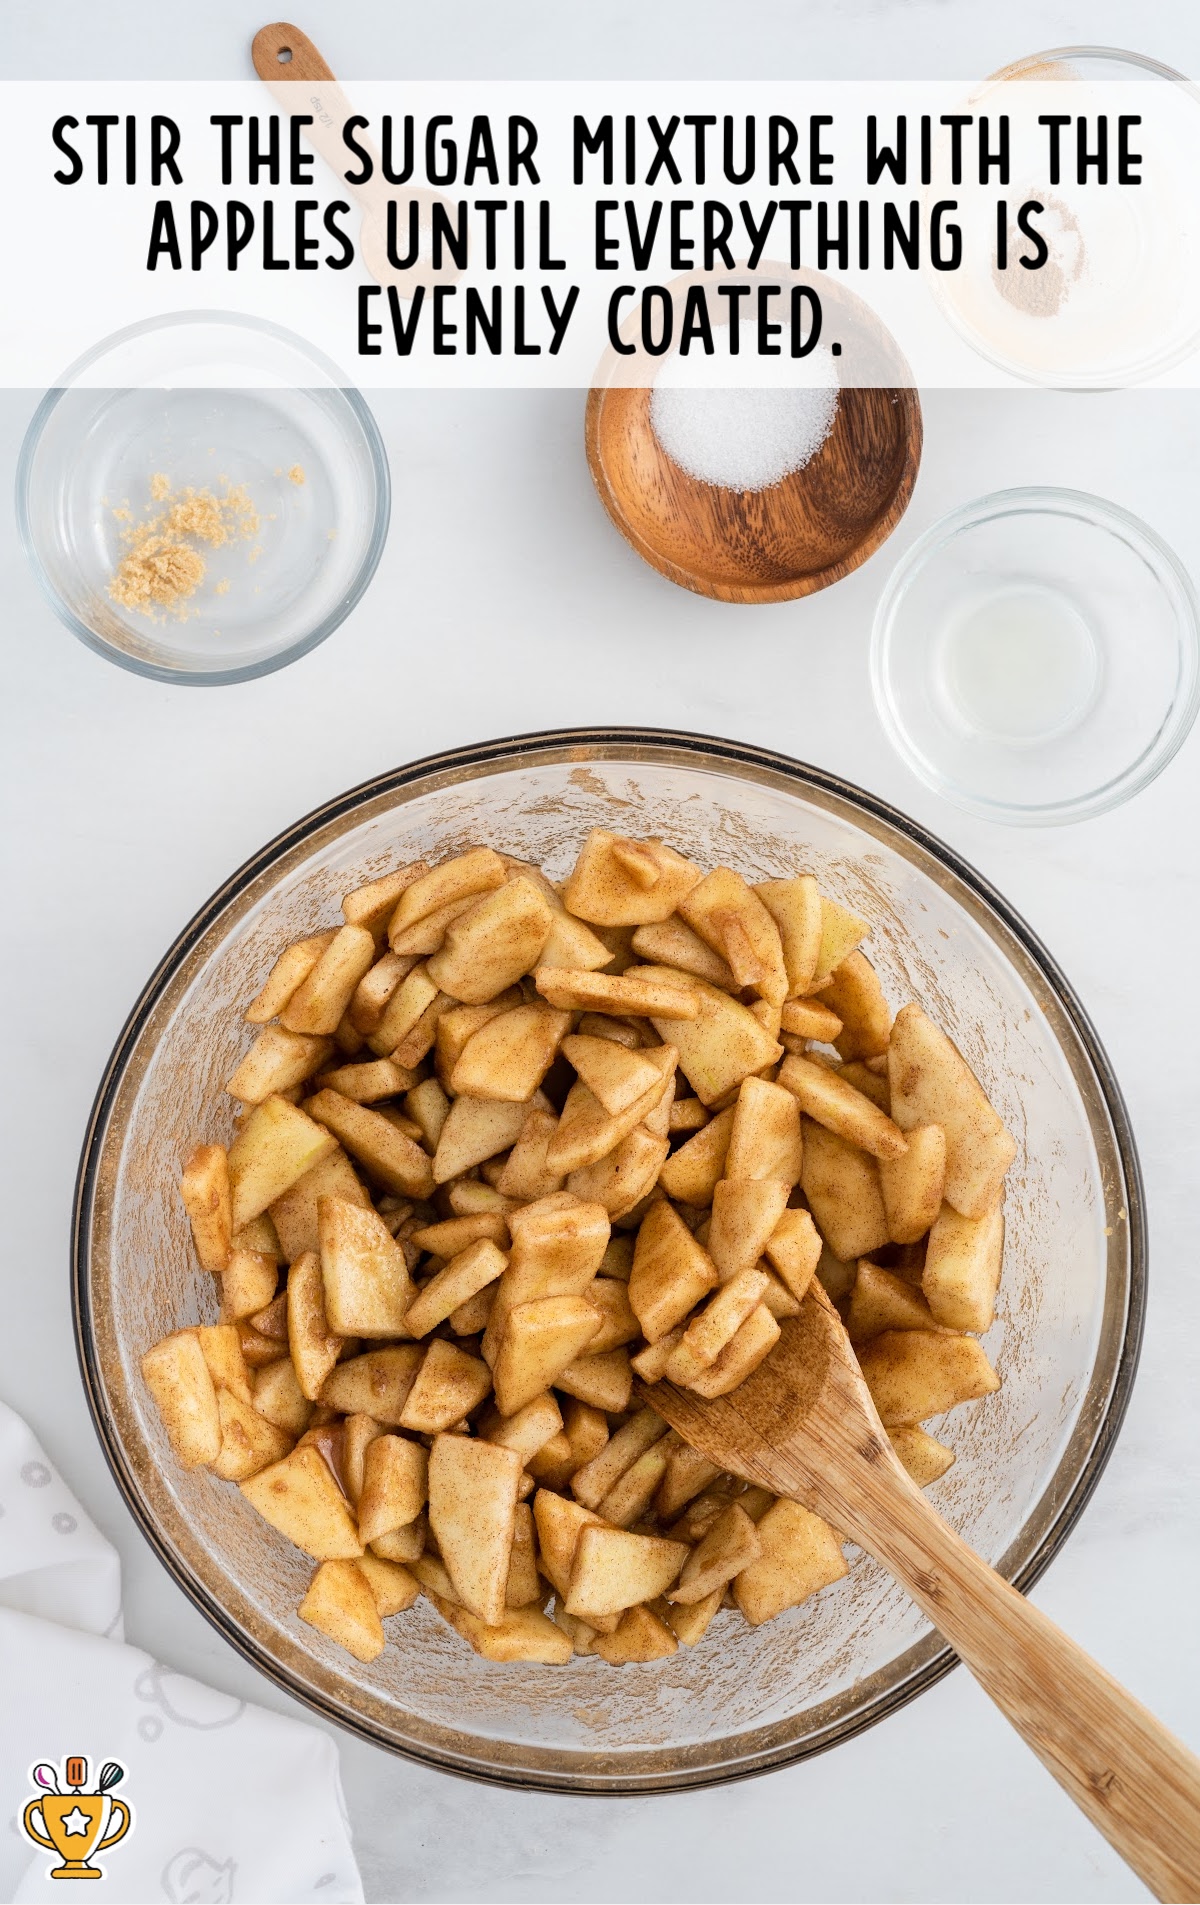
SECOND STEP: Add the light brown sugar, granulated sugar, apple pie spice blend, salt, and lemon juice to the apple slices. Stir to evenly coat all the apple slices in the sugar and spices, then, set aside for 1 hour to allow the juices to come out of the apples.
THIRD STEP: Preheat the oven to 400°F, then place a 9-inch pie plate on top of a parchment-lined rimmed baking tray. This will make sure that any juices that may bubble out from your pie do not spill into your oven and create a mess.
FOURTH STEP: While your oven is preheating, thaw and unroll both your pie crusts according to the package instructions.
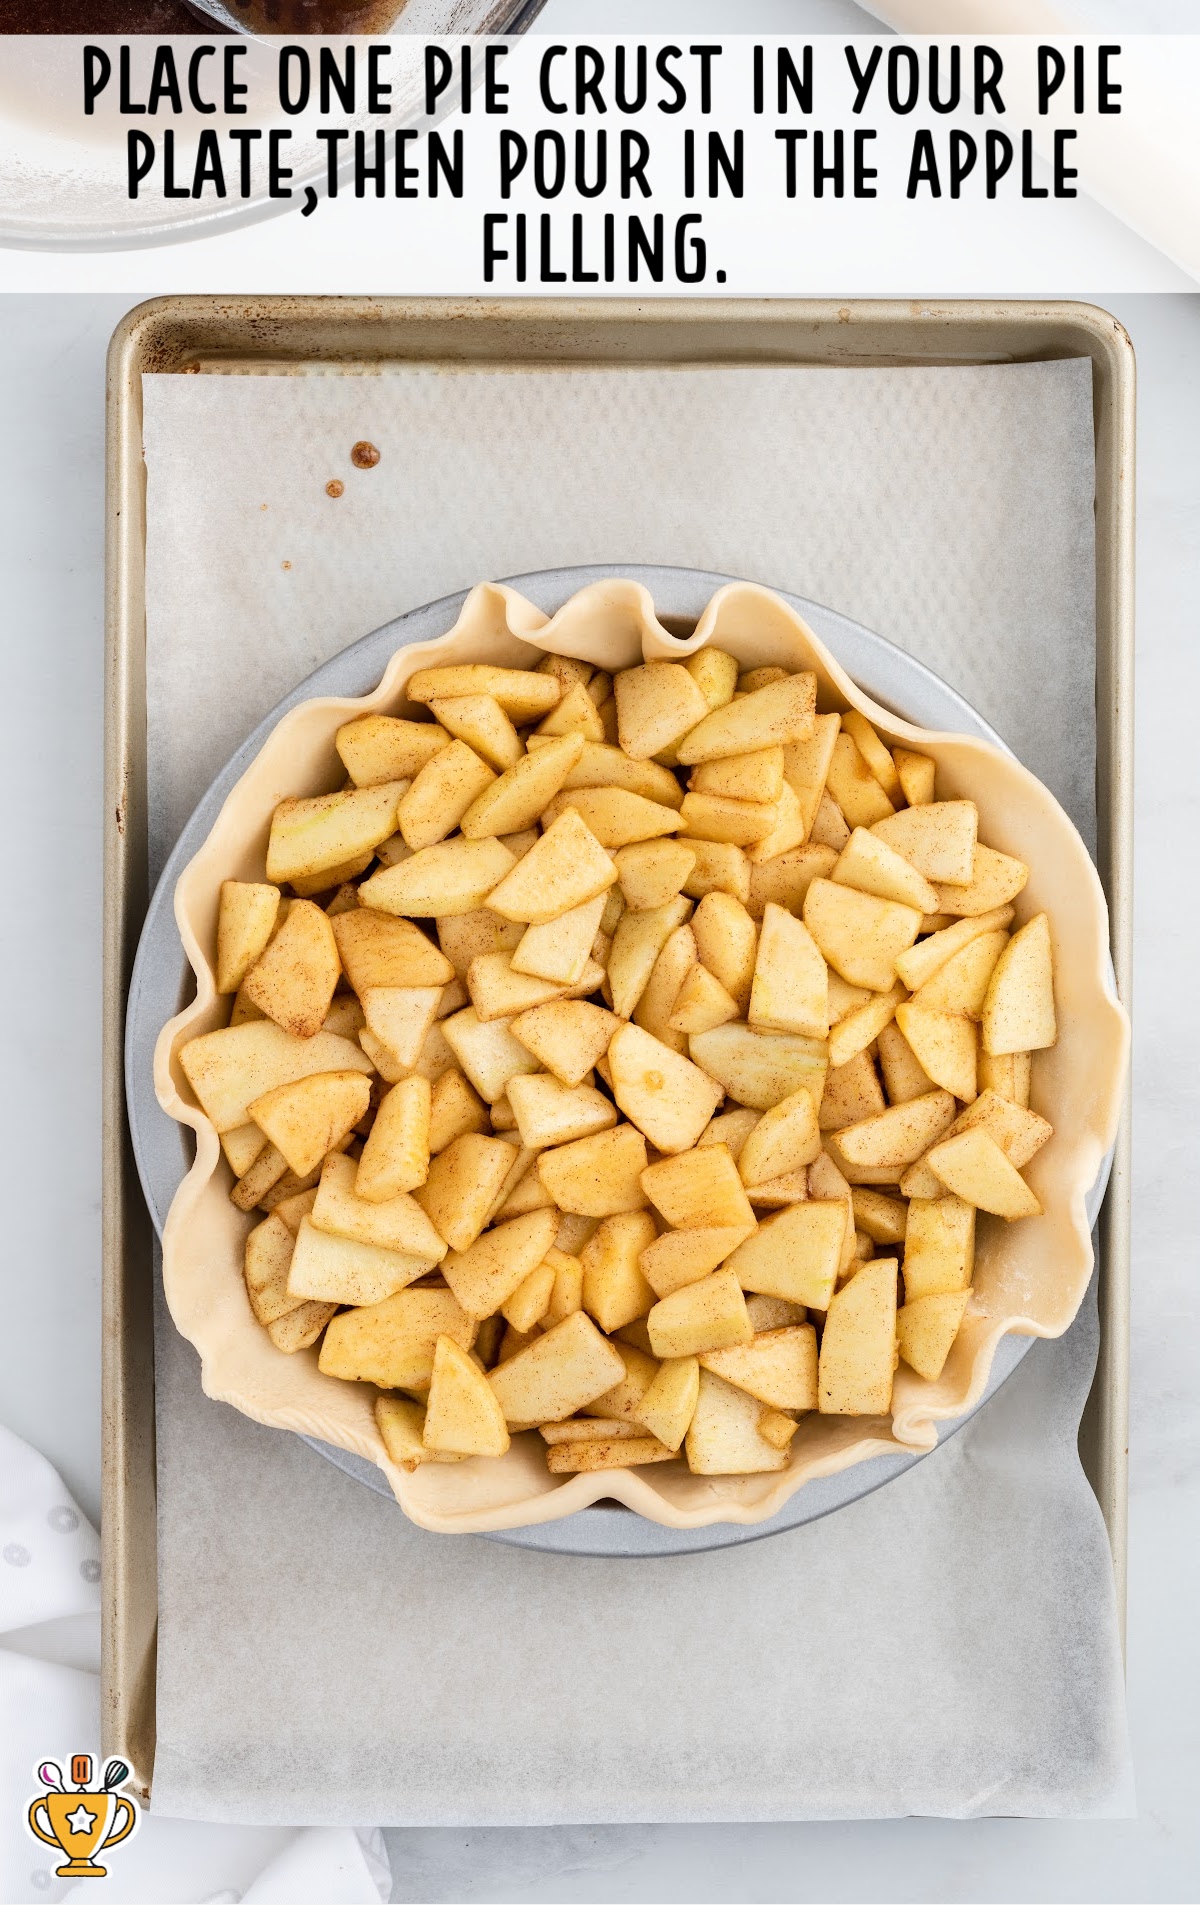
FIFTH STEP: Place one of the unrolled pie crusts into the pie plate.
SIXTH STEP: Using a slotted spoon, transfer the apples into the pie crust. Next, spread them out into an even layer, however, do not pack them in tight.
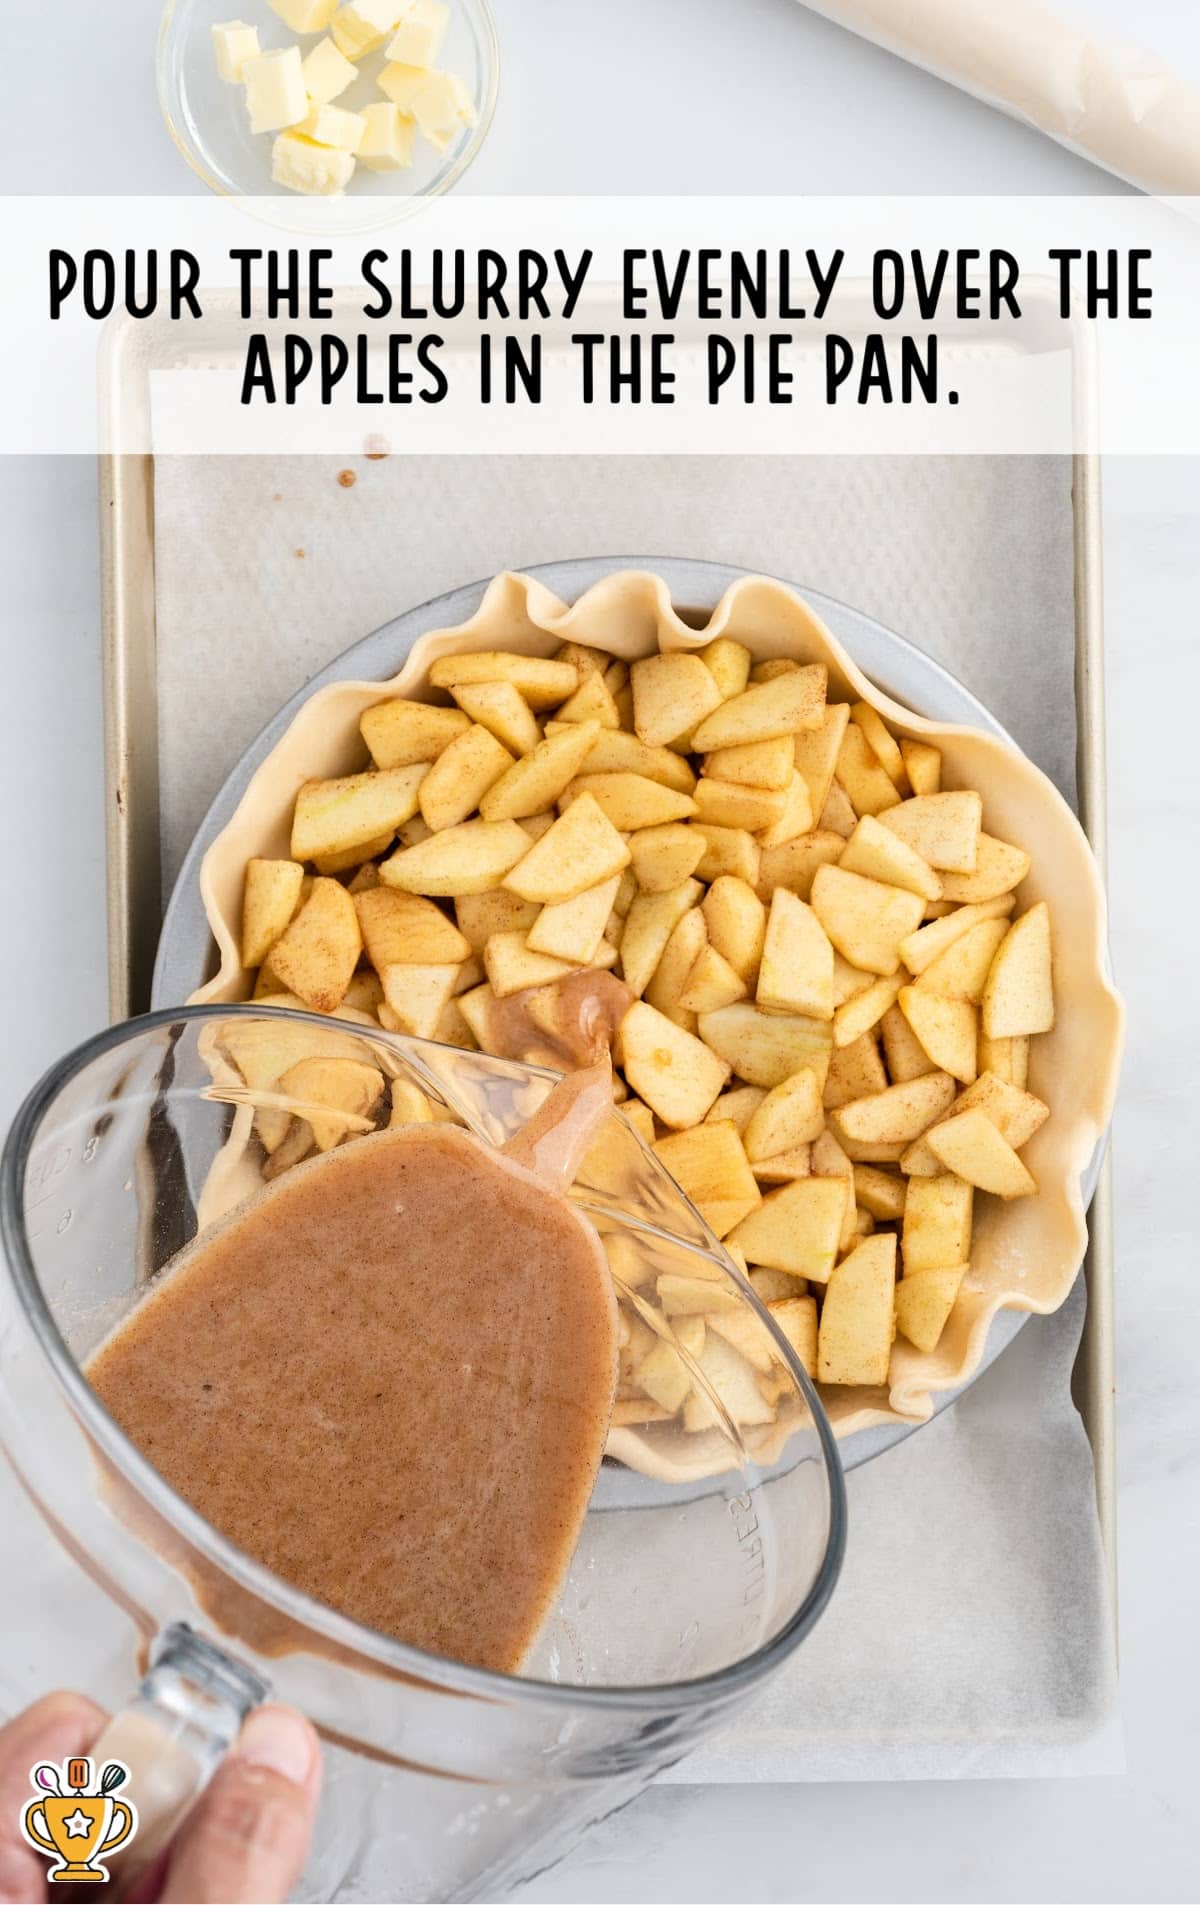
SEVENTH STEP: Add the cornstarch to the bowl with the remaining juices and whisk to create a slurry. You do not want any lumps of cornstarch remaining. Pour the slurry evenly over the apples in the pie pan.
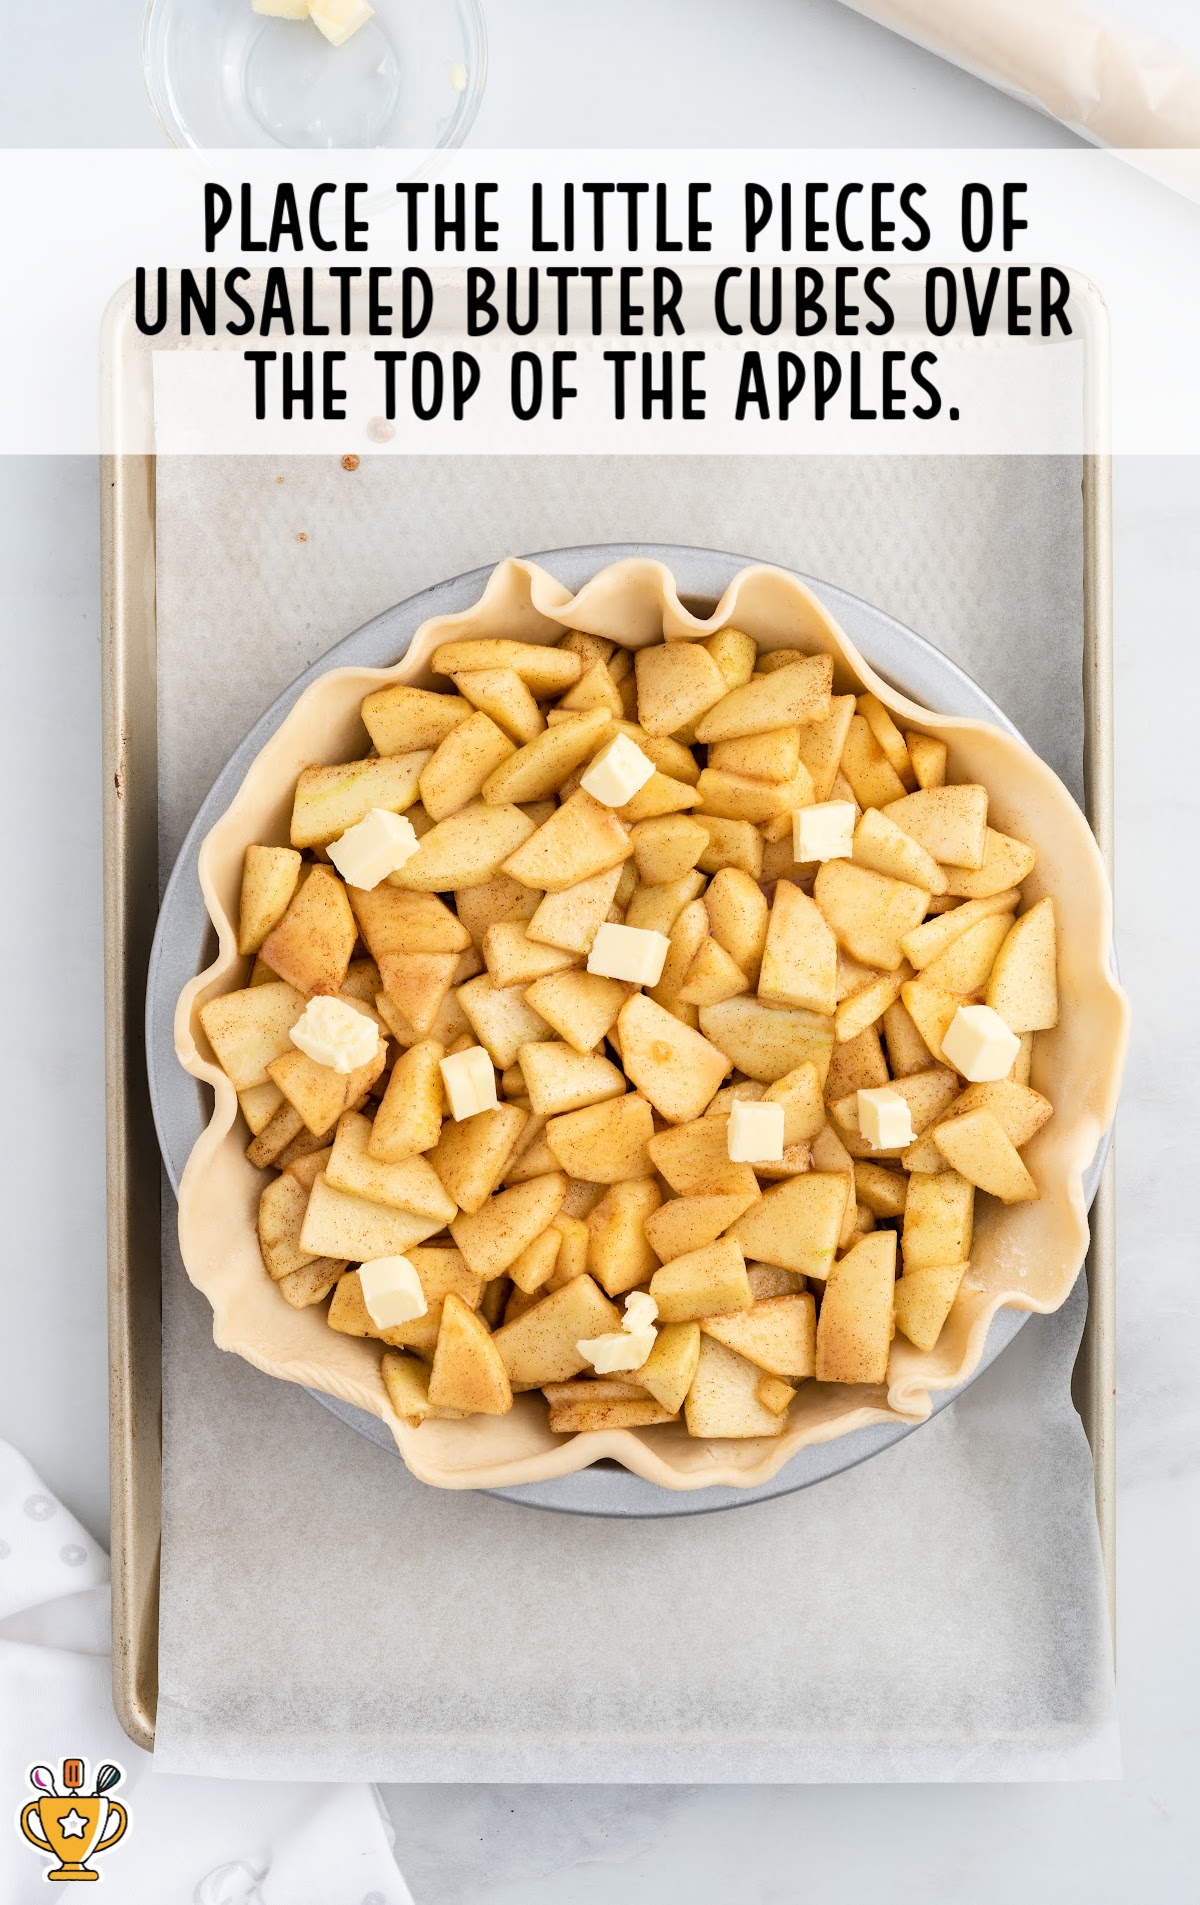
EIGHTH STEP: Randomly place the little pieces of unsalted butter cubes over the top of the apples.
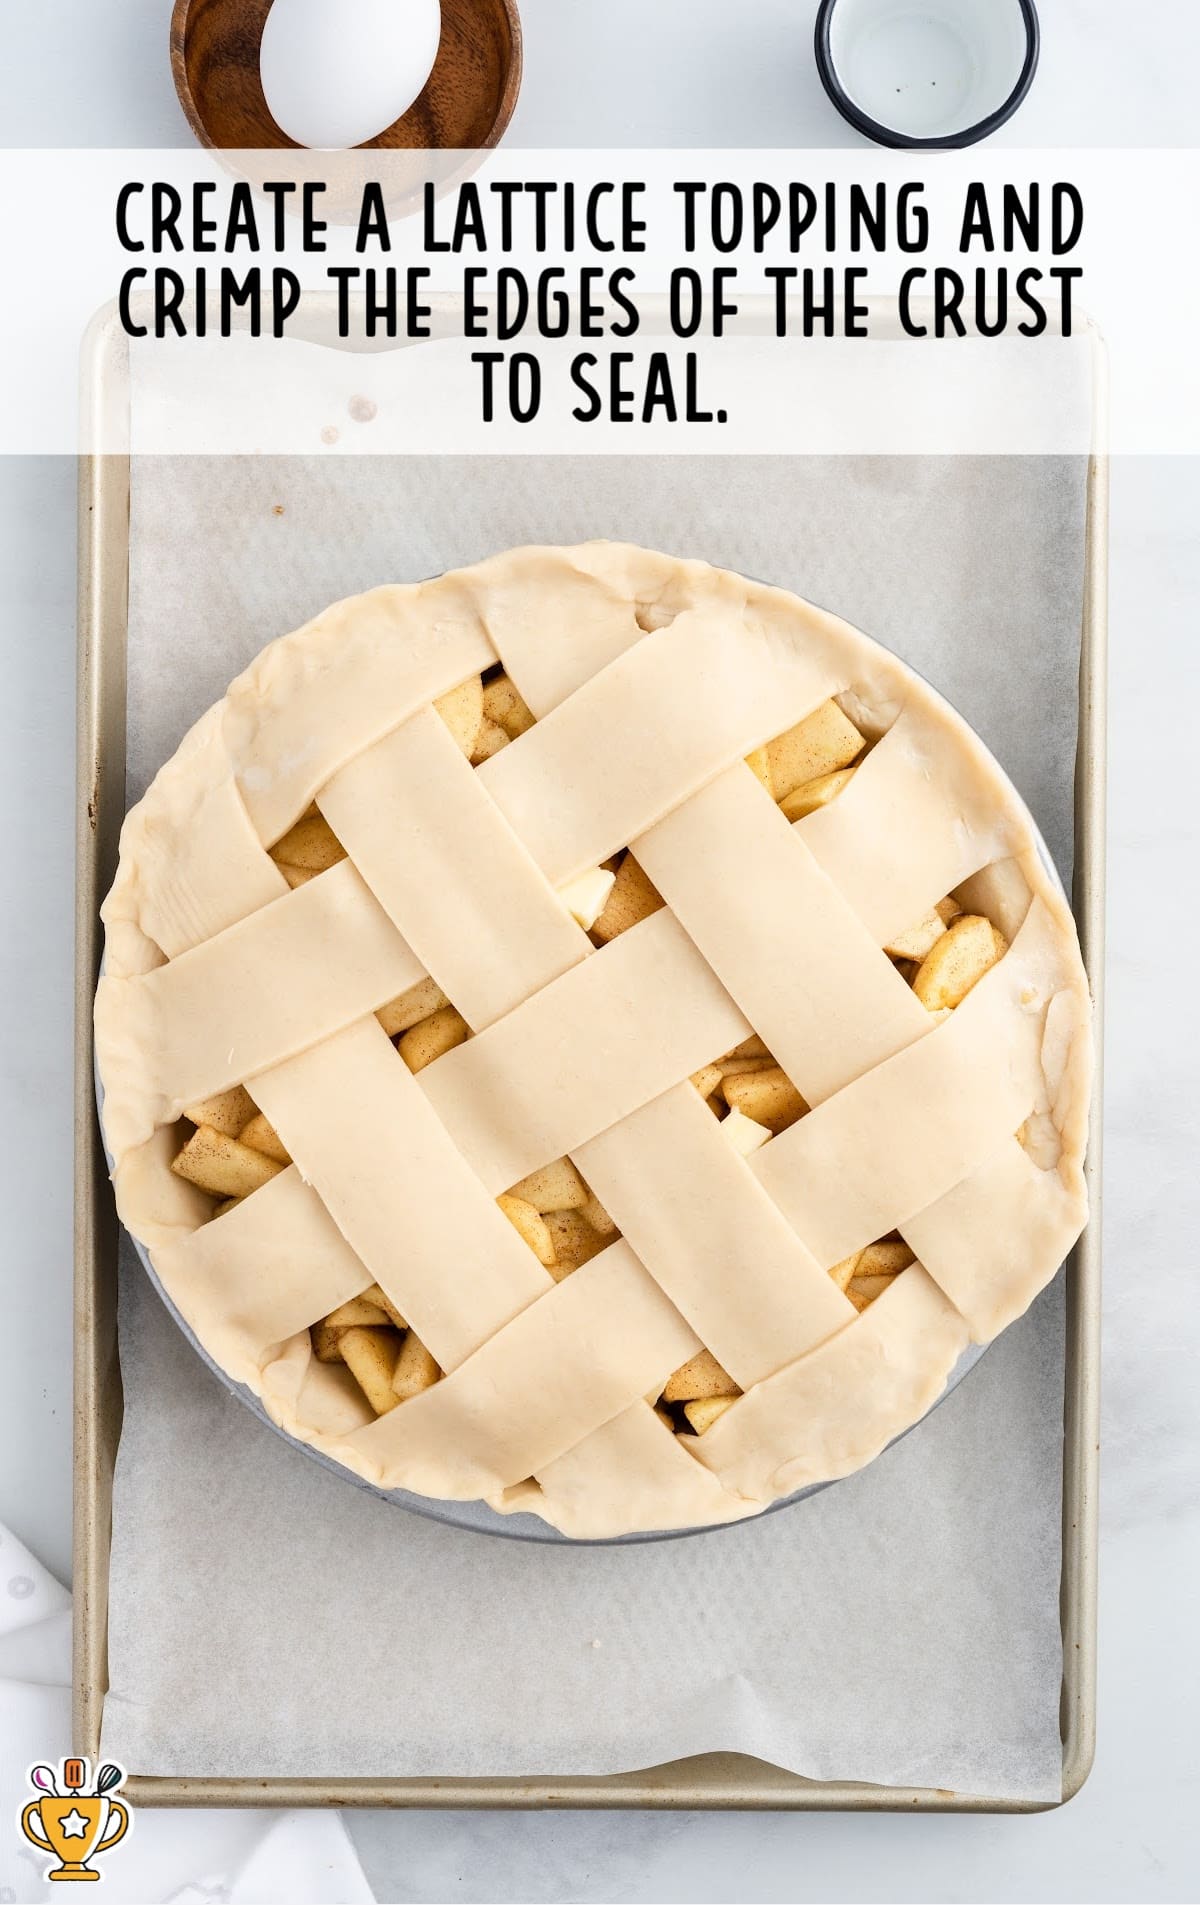
NINTH STEP: Using a sharp paring knife, cut 1½-inch strips from the second unrolled pie crust. You will create a lattice topping and crimp the edges of the crust to seal.
Pro Tip
I love a lattice top crust for my apple pies. These are very easy to do and there are so many tutorials online that will give you step-by-step instructions. If they intimidate you, or you just prefer a solid top crust that is fine too.
You just want to make sure you have at least 4 to 6 slits in the top crust as vents to allow the steam to escape while your apple pie is baking. If you do not have the vents, then your top crust will expand and your juices will not be able to cook down as all the steam will be trapped.
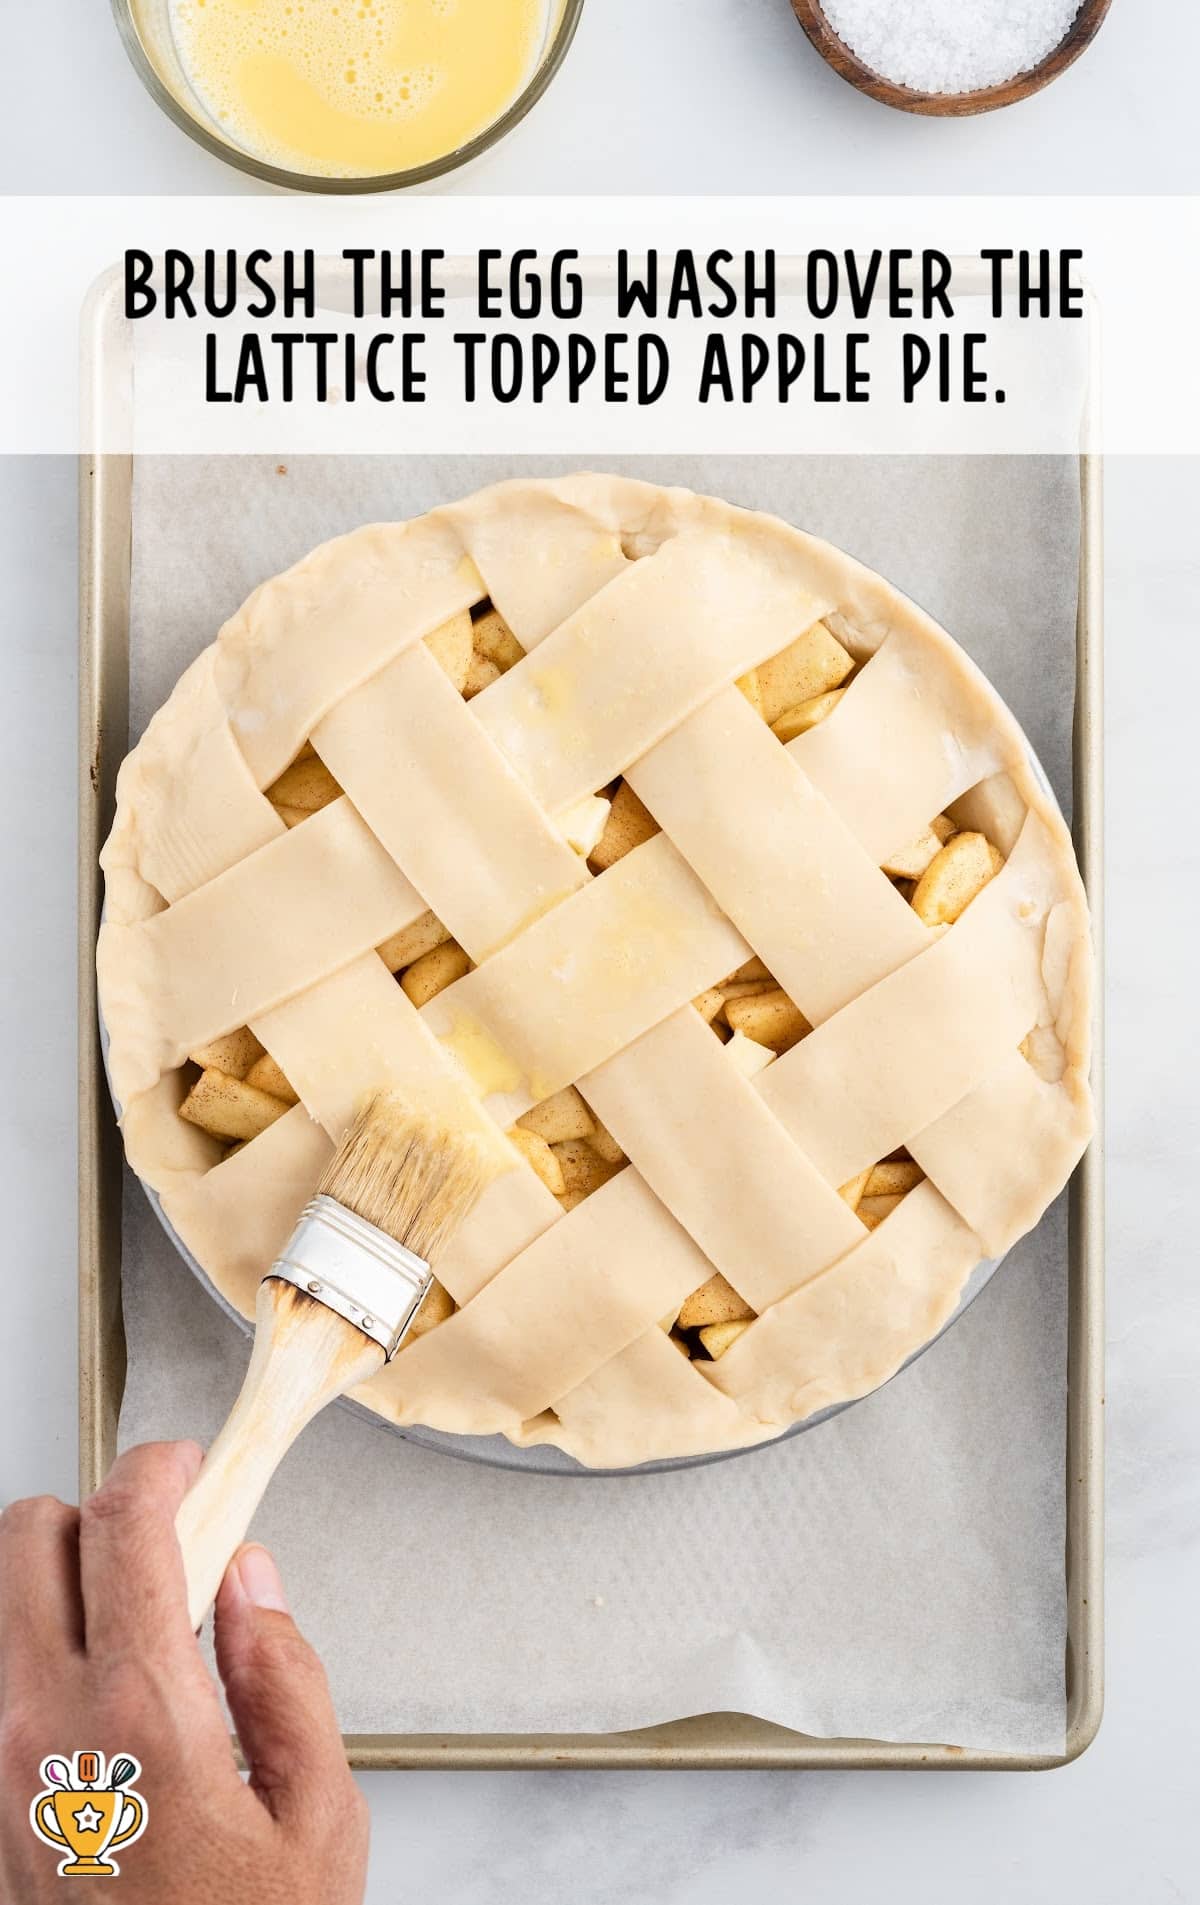
TENTH STEP: In a small bowl, whisk together the egg and water to create an egg wash. Then, using a pastry brush, brush the egg wash over the lattice-topped apple pie.
ELEVENTH STEP: Sprinkle the coarse sanding sugar over the top of the lattice crust. The egg wash will help keep the sanding sugar adhered to the crust. This is an optional step, but it does create a beautiful crust with a great little crunch to it.
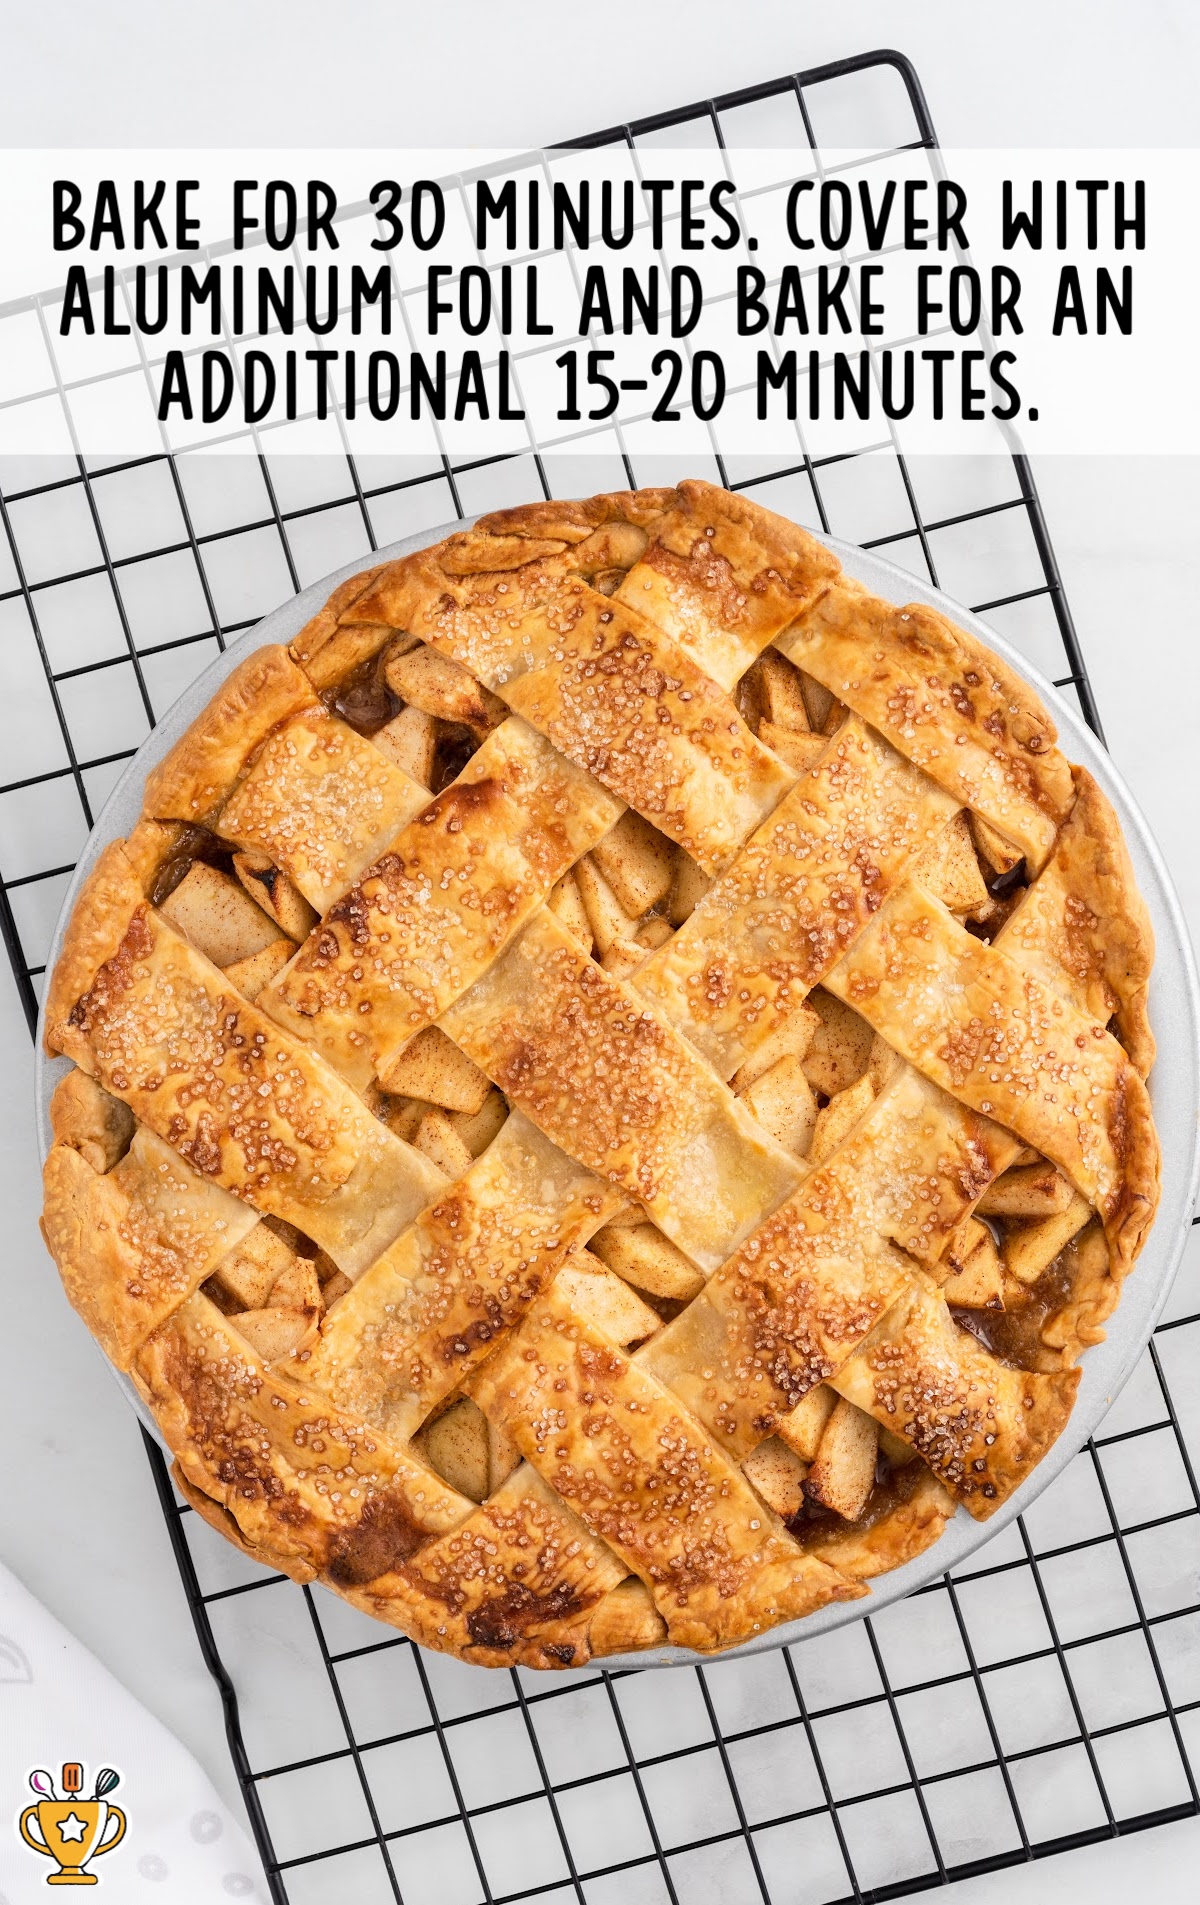
TWELFTH STEP: Bake for 30 minutes. At this point, you may want to tent your apple pie with aluminum foil to prevent your crust from over-browning. Bake for an additional 15 to 20 minutes.
Pro Tip
Oven temperatures vary and may need to be recalibrated periodically to ensure they are accurate, so make sure to keep a close eye on your pie as the suggested baking time approaches.
THIRTEENTH STEP: Allow your apple pie to cool completely before slicing and serving.
How To Serve Apple Pie
This apple pie is perfect for any occasion, whether it's a cozy family dinner or a special celebration. Here are three fun and delicious ways to serve this recipe:
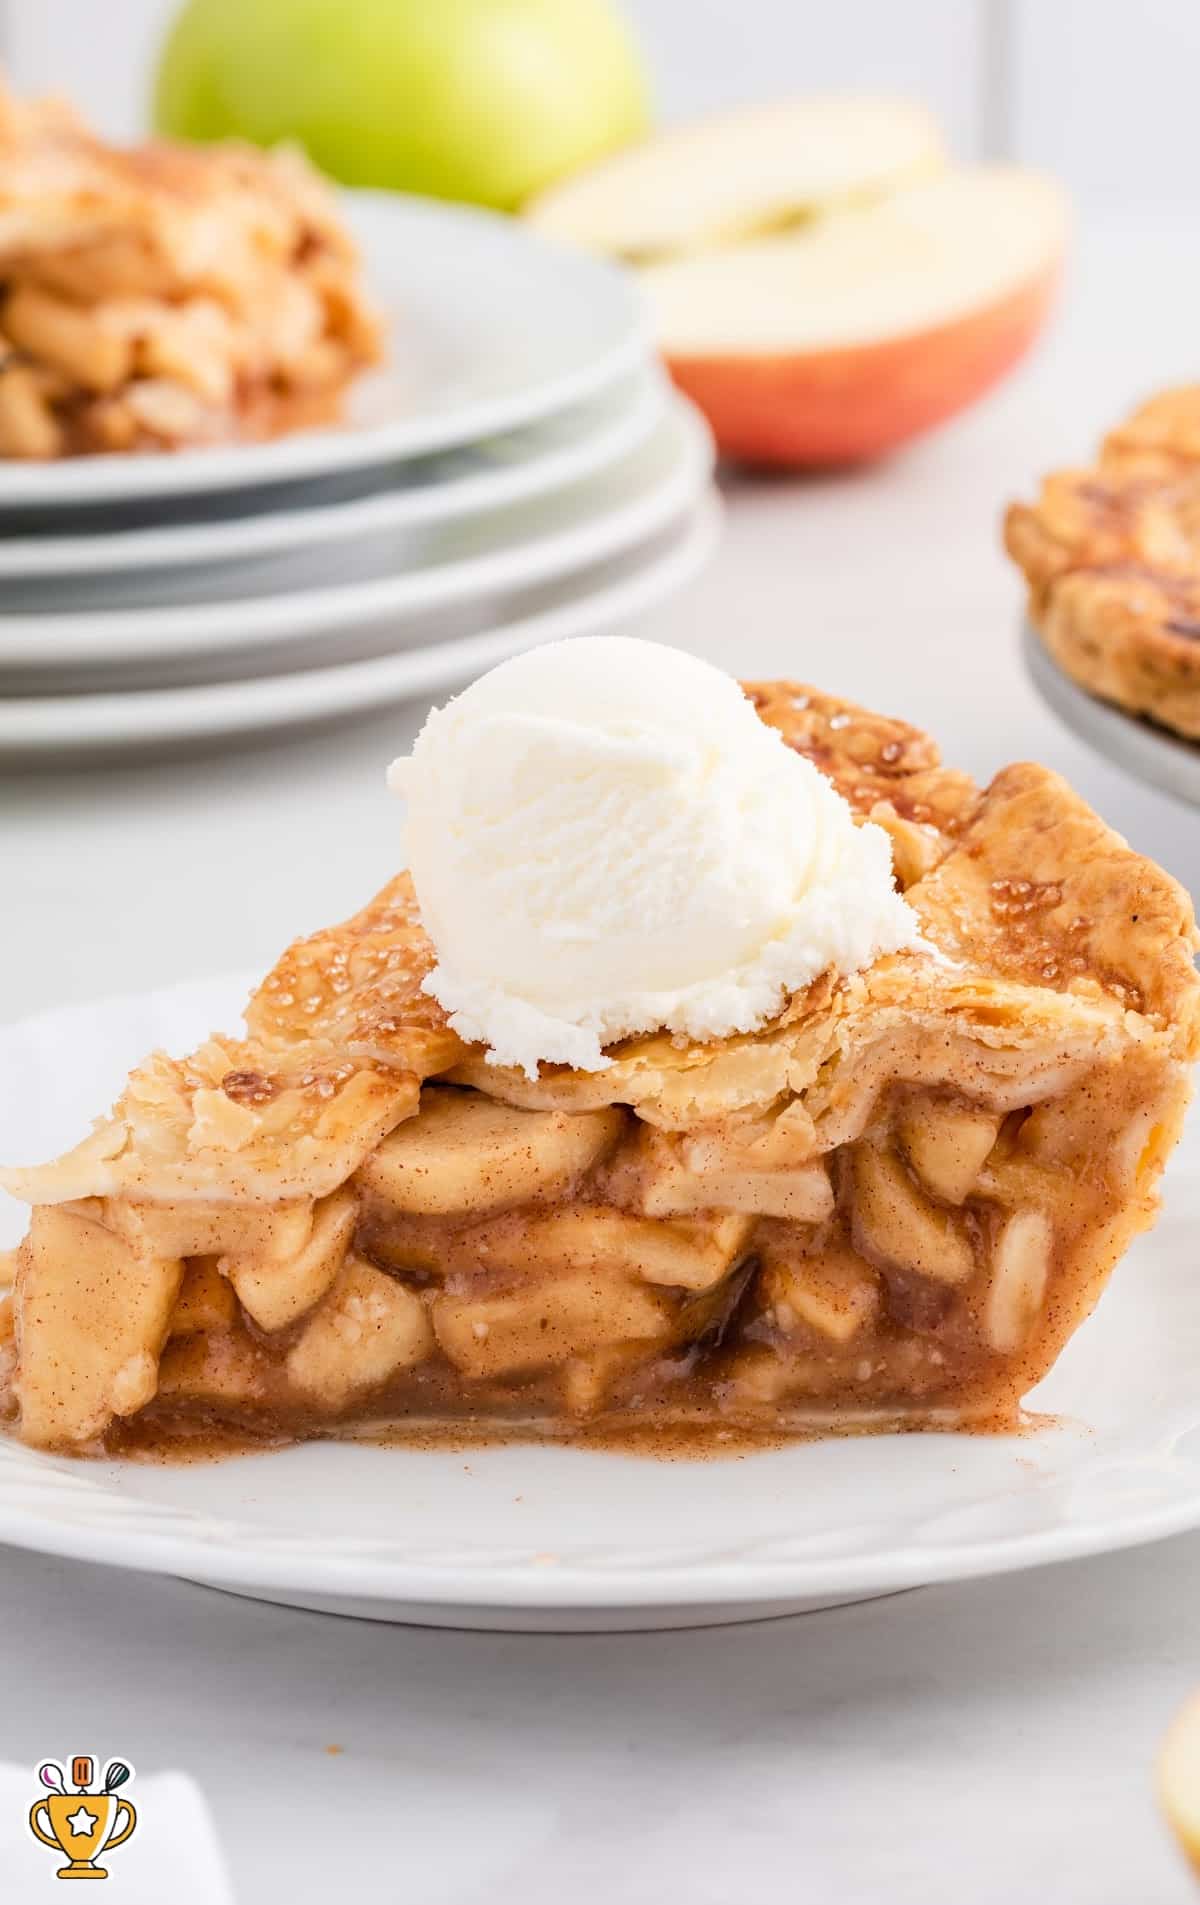
- Family Gatherings: Serve this pie warm with a scoop of vanilla ice cream. Kids and adults alike will love the sweet, spiced flavors. Pair it with hot cocoa or apple cider for a cozy treat.
- Holiday Celebrations: Apple pie is a classic dessert for Thanksgiving or Christmas. Its comforting aroma and taste bring everyone together. Serve it with whipped cream and a side of pecan pie for a festive dessert spread.
- Weekend Brunch: Make brunch extra special by serving apple pie alongside a cheese platter and fresh fruit. The sweet and savory combination will delight your guests. Pair with a caramel latte or spiced tea, because this will make for a perfect morning treat.
Why You'll Love This Apple Pie Recipe
Apple Pie is more than just a dessert—it's a beloved favorite for several irresistible reasons:
- A Classic Comfort: This recipe combines sweet, spiced apples with a flaky, buttery crust, creating a comforting treat that warms the soul. Because each bite offers a perfect blend of textures and flavors, you'll keep coming back for more.
- Evokes Cherished Memories: For many, apple pie brings back memories of family gatherings, festive holidays, or cozy autumn evenings. Its familiar taste and aroma make it a comforting classic that feels like home.
- Perfectly Balanced Flavors: The sweet apples, rich spices, and buttery crust create a harmonious flavor profile that satisfies every craving. This pie is more than just a dessert—it's a sensory experience that delights with every slice.
Apple Pie isn’t just delicious—it’s a timeless treat that brings joy and comfort to any occasion.
Recipe FAQ
How do I keep the bottom crust from getting soggy?
To avoid a soggy bottom crust, pre-bake it for 10 minutes before adding the apple filling. This creates a crisp barrier that keeps the crust flaky.
How do I know when my apple pie is done baking?
Your apple pie is done when the crust is golden brown and the filling bubbles through the vents, because this ensures the filling is fully cooked and the crust is perfectly crispy.
Can I use different types of apples in the same pie?
Yes, mixing sweet and tart apples adds depth and complexity to your pie’s flavor. Combine varieties like Granny Smith and Honeycrisp for the best results.
How do I prevent the crust edges from burning?
To prevent burnt edges, cover the crust with aluminum foil or a pie shield during the last 15 minutes of baking. This protects the edges while allowing the rest of the pie to cook evenly.
Serving FAQ
What is the best way to serve apple pie?
Serve apple pie warm with a scoop of vanilla ice cream or a dollop of whipped cream for the ultimate comfort dessert.
How do I cut apple pie without it falling apart?
Let the pie cool for at least 30 minutes before slicing. Use a sharp knife to make clean, even cuts.
Can I serve apple pie at room temperature?
Yes, apple pie tastes delicious at room temperature. The flavors meld together beautifully, making it perfect for any occasion.
How should I present apple pie for a special occasion?
Serve the pie on a decorative plate or cake stand. Then, add a sprinkle of cinnamon or powdered sugar for an elegant touch.

Storage FAQ
Follow the directions, tips, and tricks below for the best way to store your apple pie. From making ahead to reheating, we’ve got you covered!
Can I prepare apple pie ahead of time?
Yes, you can bake the apple pie a day in advance. Let it cool, then cover and store at room temperature.
What’s the best way to store leftover apple pie?
Store leftover apple pie in an airtight container or tightly wrapped with plastic wrap. It will stay fresh at room temperature for up to two days.
Can I freeze apple pie?
Yes, you can freeze the baked apple pie. Wrap it tightly in aluminum foil or plastic wrap, then freeze for up to three months.
How do I thaw and reheat frozen apple pie?
Thaw the pie in the fridge overnight. Reheat it in a 350°F oven for 15-20 minutes until warmed through and the crust is crispy.
How should I reheat apple pie when ready to serve?
Reheat the pie in a preheated oven at 350°F for 10-15 minutes. This ensures the crust stays flaky and the filling warms evenly.
Can I reheat apple pie in the microwave?
Yes, you can microwave individual slices for 20-30 seconds, but be careful not to overheat, as the crust may lose its crispness.


Apple Pie Recipe
This classic apple pie features sweet, spiced apples and a buttery, flaky crust perfect for any occasion. It's an easy, crowd-pleasing dessert that brings warmth and comfort to your table.
Did you try this recipe?Let our readers know how it turned out by Leaving a Review!
Ingredients
- 6 to 7 cups sliced apples (from a combination of 3 large Granny Smith and 3 large Honeycrisp apples)
- ¾ cup light brown sugar
- ¼ cup granulated sugar
- 1½ teaspoons apple pie spice blend
- ½ teaspoon salt
- 2 tablespoons fresh lemon juice
- 1 package Pillsbury ready-made pie crusts (you will use both crusts (14.1-ounce package))
- ¼ to ⅓ cup cornstarch (this amount will vary based on the amount of liquid your apples yield. I had 1 cup of liquid and used ⅓ cup cornstarch for this pie. If you have less liquid you can stick with the ¼ cup cornstarch)
- 1½ tablespoons unsalted butter (cold and cut into small cubes)
- 1 egg
- 2 teaspoons water
- 1 tablespoon coarse sanding sugar (optional)
DIRECTIONS
- Peel, core, and slice the Granny Smith and Honeycrisp apples into ¼-inch slices. Cut those slices in half so you have smaller, bite-size pieces of apples. Place the apples into a large mixing bowl.
- Add the light brown sugar, granulated sugar, apple pie spice blend, salt, and lemon juice to the apple slices. Stir to evenly coat all the apple slices in the sugar and spices. Set aside for 1 hour to allow the juices to come out of the apples.
- Preheat the oven to 400°F. Place a 9-inch pie plate on top of a parchment-lined rimmed baking tray. This will make sure that any juices that may bubble out from your pie do not spill into your oven and create a mess.
- While your oven is preheating, thaw and unroll both your pie crusts according to the package instructions.
- Place one of the unrolled pie crusts into the pie plate.
- Using a slotted spoon, transfer the apples into the pie crust. Spread them out into an even layer. Do not pack them in tight.
- Add the cornstarch to the bowl with the remaining juices and whisk to create a slurry. You do not want any lumps of cornstarch remaining. Pour the slurry evenly over the apples in the pie pan.
- Randomly place the little pieces of unsalted butter cubes over the top of the apples.
- Using a sharp paring knife, cut 1½-inch strips from the second unrolled pie crust. You will create a lattice topping and crimp the edges of the crust to seal.
- In a small bowl, whisk together the egg and water to create an egg wash. Using a pastry brush, brush the egg wash over the lattice-topped apple pie.
- Sprinkle the coarse sanding sugar over the top of the lattice crust. The egg wash will help keep the sanding sugar adhered to the crust. This is an optional step but it does create a beautiful crust with a great little crunch to it.
- Bake for 30 minutes. At this point, you may want to tent your apple pie with aluminum foil to prevent your crust from over-browning. Bake for an additional 15 to 20 minutes.
- Allow your apple pie to cool completely before slicing and serving.
Notes
- I like to make my apple pies the day before I want to serve them. This is to allow them to cool completely and have all the juices firm up so that you can get a nice beautiful slice for serving. You can heat up individual slices in the microwave for 30 to 45 seconds and then add a scoop of vanilla ice cream.
- I love a lattice top crust for my apple pies. These are very easy to do and there are so many tutorials online that will give you step-by-step instructions. If they intimidate you, or you just prefer a solid top crust that is fine too. You just want to make sure you have at least 4 to 6 slits in the top crust as vents to allow the steam to escape while your apple pie is baking. If you do not have the vents then your top crust will expand and your juices will not be able to cook down as all the steam will be trapped.
- Oven temperatures vary and may need to be recalibrated periodically to ensure they are accurate. Make sure to keep a close eye on your pie as the suggested baking time approaches.
- Make sure you use a very sharp serrated knife to get a nice, clean cut when slicing your apple pie.
Nutrition
Calories: 299kcal | Carbohydrates: 56g | Protein: 2g | Fat: 8g | Saturated Fat: 3g | Polyunsaturated Fat: 1g | Monounsaturated Fat: 3g | Trans Fat: 0.1g | Cholesterol: 26mg | Sodium: 248mg | Potassium: 172mg | Fiber: 3g | Sugar: 38g | Vitamin A: 162IU | Vitamin C: 6mg | Calcium: 46mg | Iron: 1mg
HAVE YOU TRIED THIS RECIPE?Follow me on Pinterest @bestblogrecipes


Leave a Comment