
Published on
Caramels

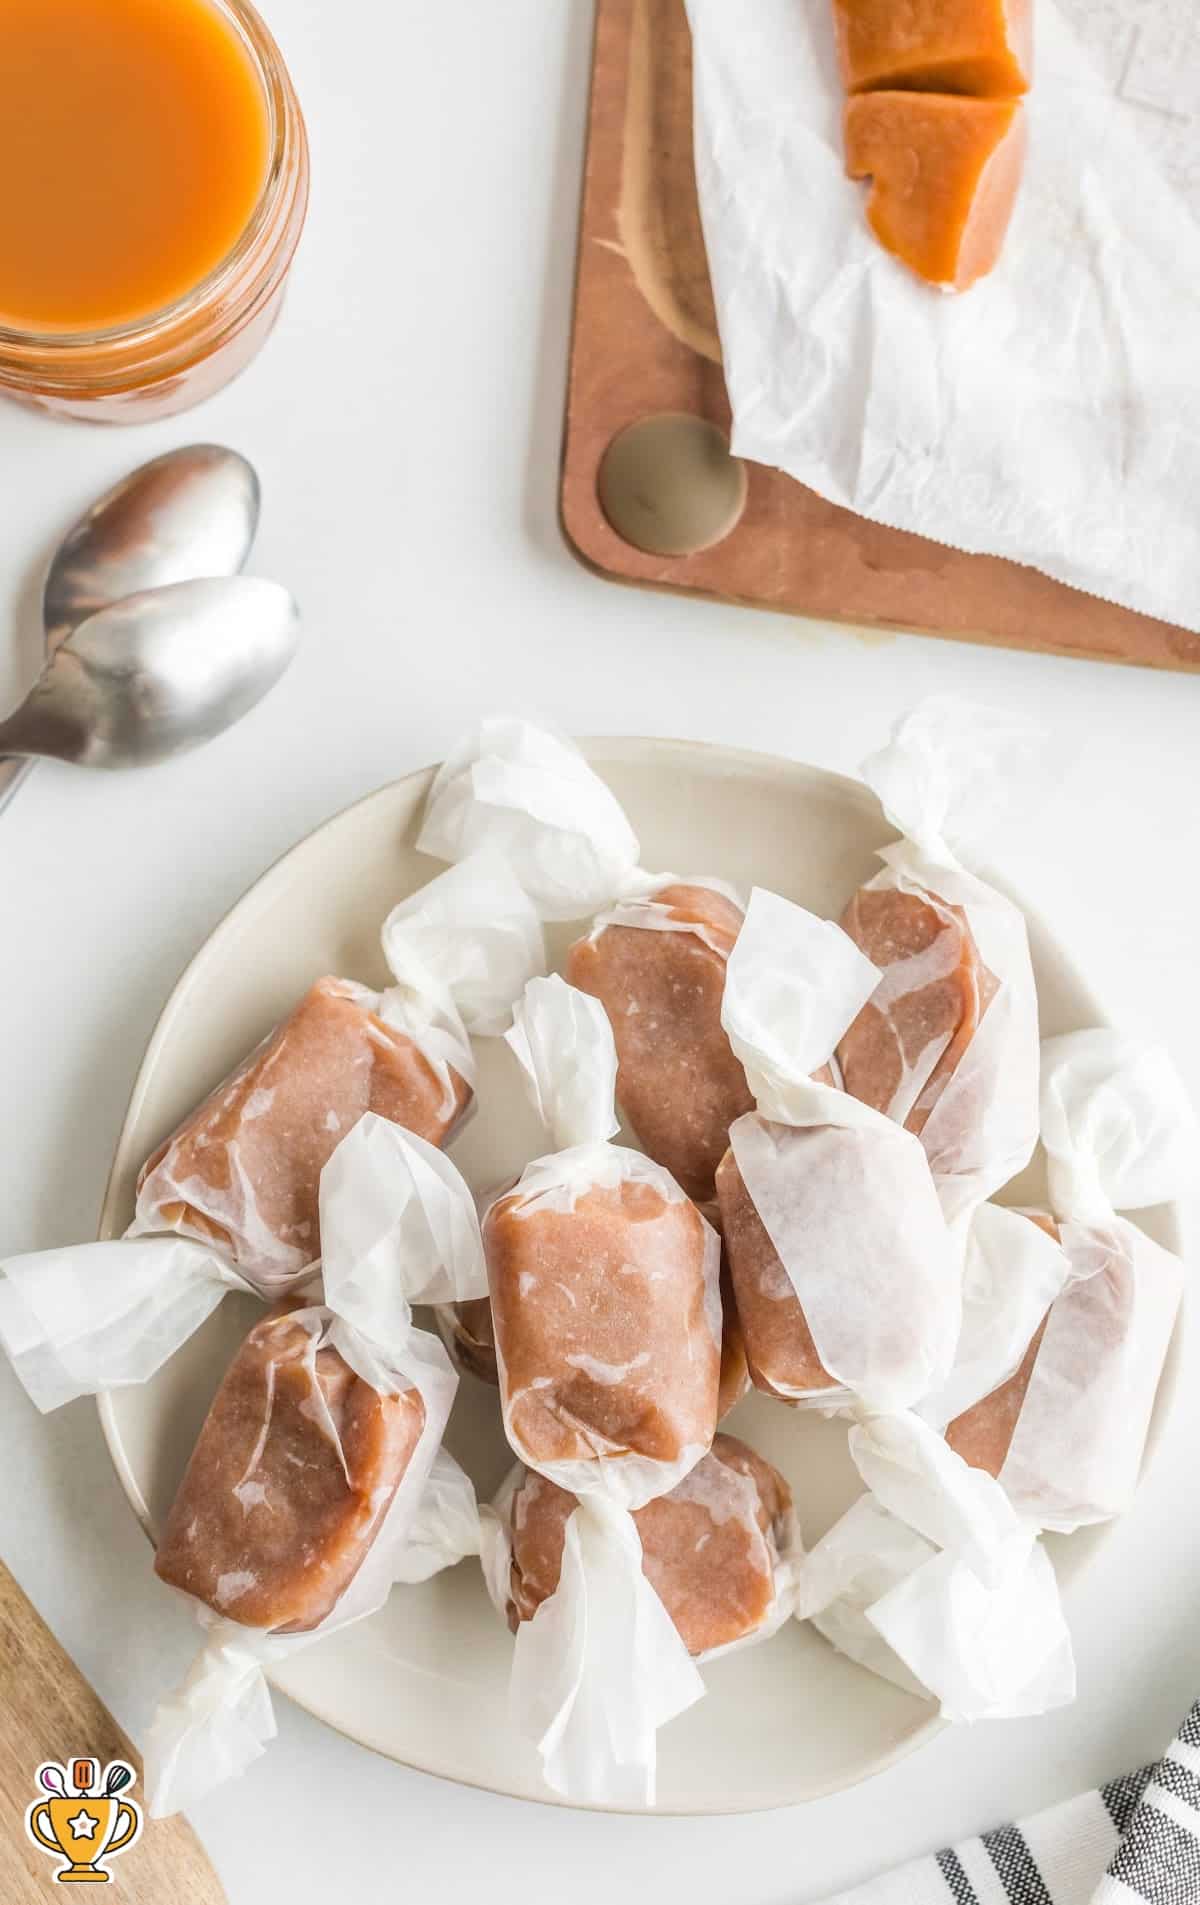
Homemade caramels are rich, buttery, and melt-in-your-mouth delicious. With just a few ingredients, you can create the perfect sweet treat!
Jump to RecipeTable of Contents

Get ready to make homemade caramels that melt in your mouth! This easy caramel recipe delivers rich, buttery treats perfect for any occasion. With just a few simple ingredients, you can whip up a batch that’s so good, you’ll never want store-bought again. Make your kitchen smell amazing and satisfy your sweet tooth all in one go!
This caramel recipe is super easy to make, and you can follow the guide below. We’ve included step-by-step photos and directions, along with pro tips and tricks to help you master it. Plus, check out the most frequently asked questions to get all your answers in one place!
More Recipes ⭐ Apple Chips | Fried Pickles | Brown Sugar Grilled Pineapple
This recipe for homemade caramel candy takes just 30 minutes to make and tastes like it came from a candy shop! Perfect for parties, potlucks, or a special treat, these buttery caramels will impress everyone with their rich flavor and chewy texture. The best part? You only need a few simple ingredients to create a sweet treat that’s way better than store-bought. Give them a try and watch them disappear in no time!
Ingredients
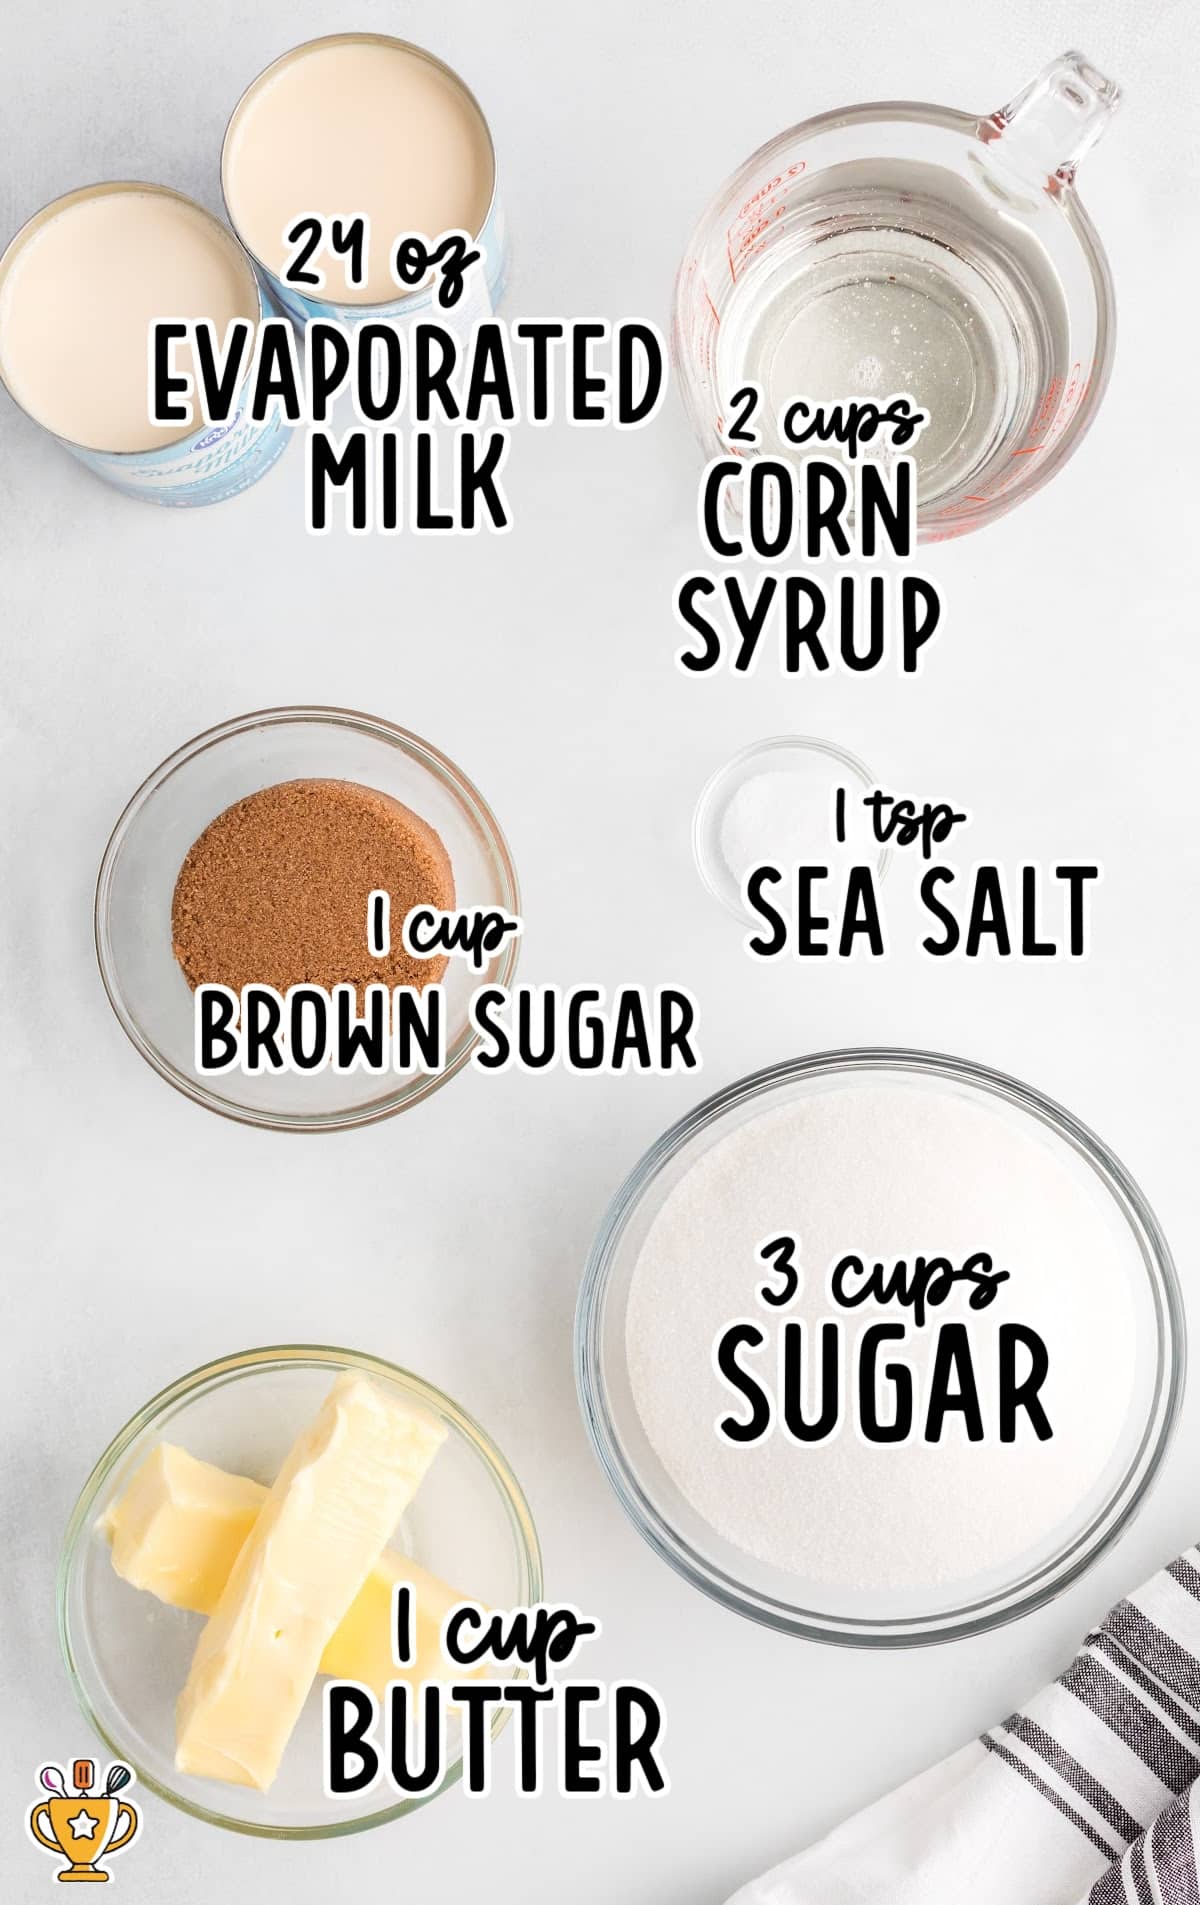
What you'll need to make this Caramels recipe:
- 3 cups of granulated sugar
- 1 cup of brown sugar
- 1 cup of unsalted butter, softened
- 2 cups of light corn syrup
- 1 teaspoon of sea salt
- 2 (12-ounce) cans of evaporated milk
Substitutions and Additions
Personalize your caramel recipe by swapping out ingredients and adding delicious extras! These simple changes can make your caramel candies uniquely yours. Here are some top substitutions and additions:
Add Vanilla Extract: Stir in a teaspoon of vanilla extract for a classic, warm flavor in every caramel bite. These easy substitutions and additions can easily be swapped out while still maintaining the deliciousness of this
Substitute Heavy Cream: Use coconut milk for a dairy-free version that adds a hint of tropical flavor to your caramel candy.
Substitute Granulated Sugar: Swap with brown sugar for a richer, deeper flavor in your homemade caramels.
Add Sea Salt: Sprinkle sea salt on top for a sweet and salty twist that takes your caramels to the next level.
How to Make Caramels
Follow along with our step-by-step pictures, instructions, and tips to make perfect caramel candies every time. Let’s get started and create something delicious!
FIRST STEP: Prepare a 9×13-inch pan with parchment paper.
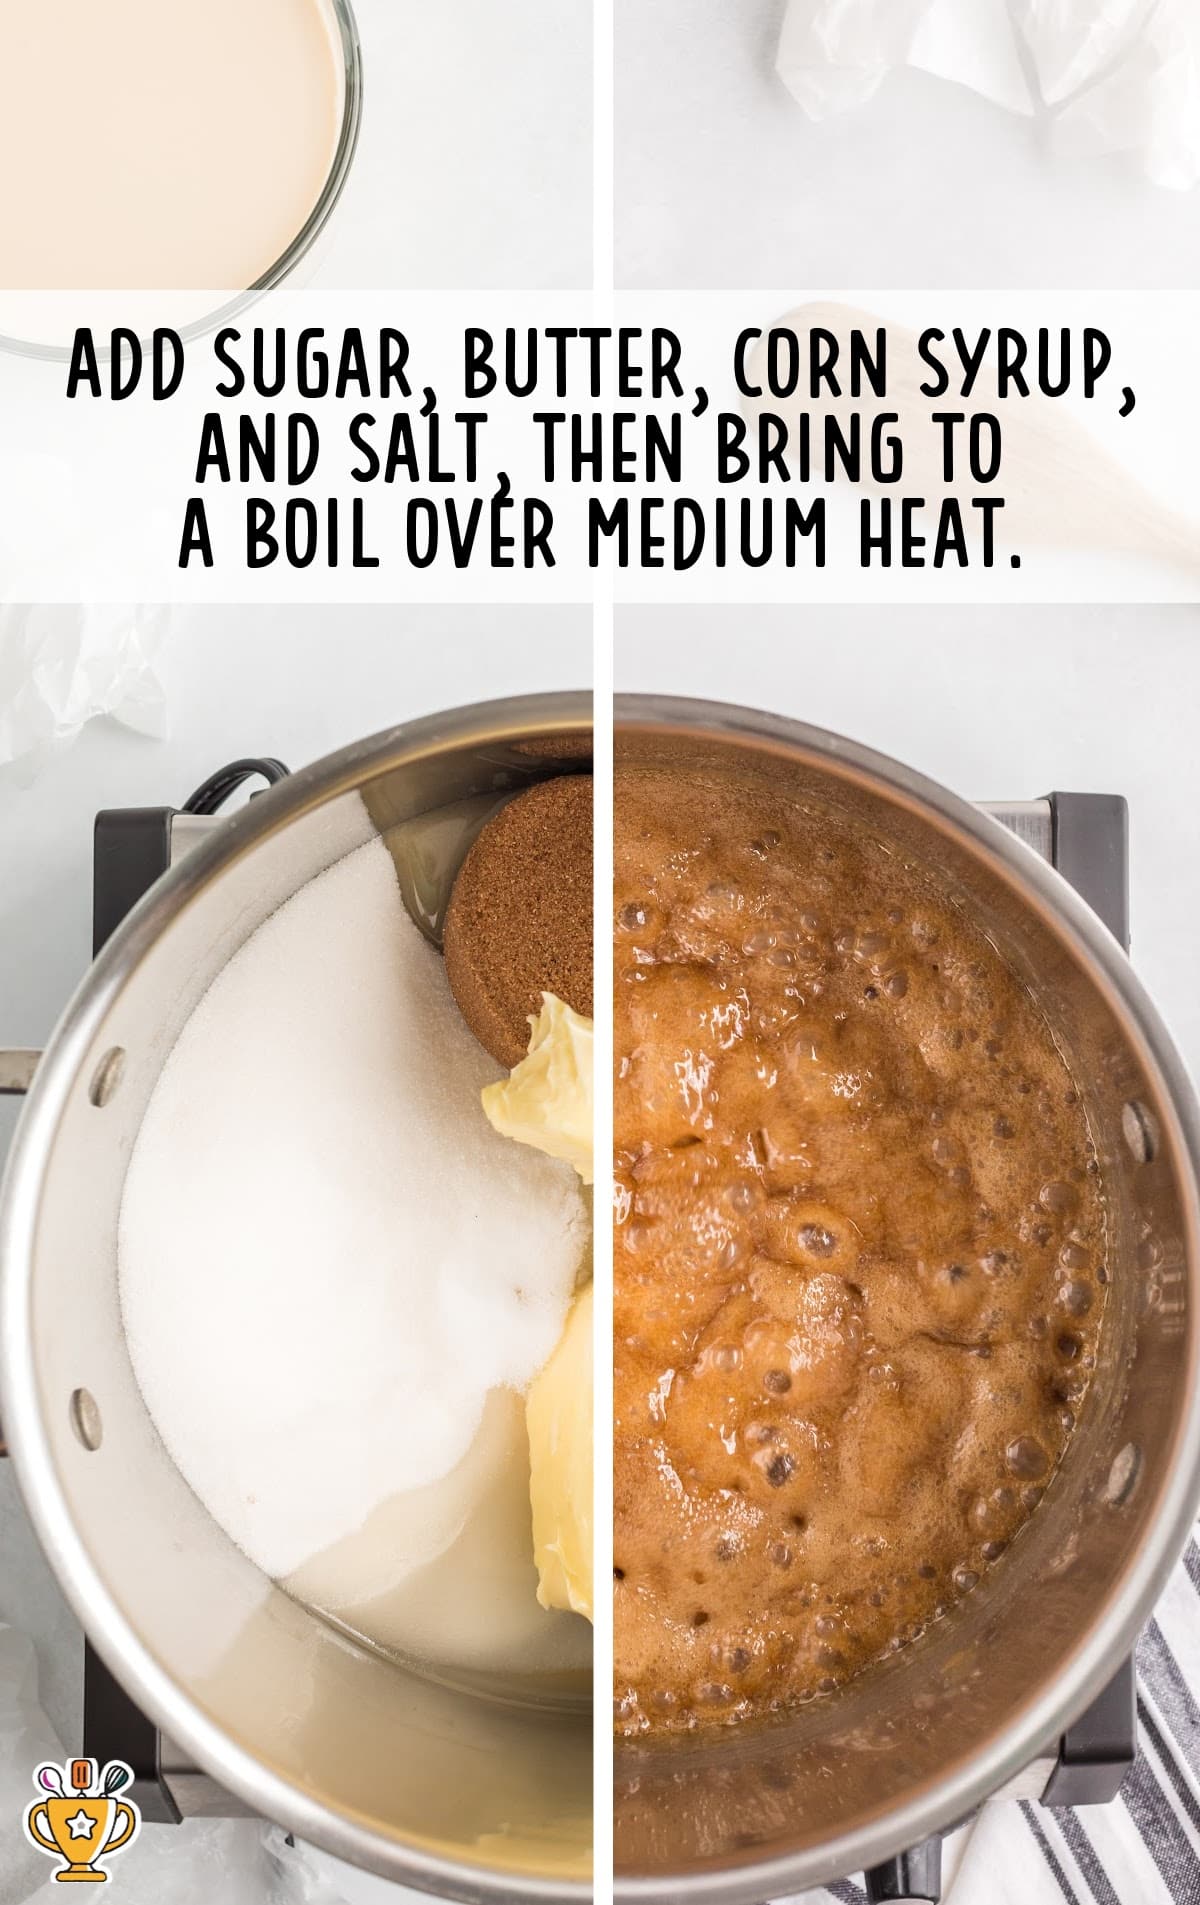
SECOND STEP: Add the sugars, butter, corn syrup, and salt to a heavy-bottomed saucepan or 5-quart stockpot, then bring to a boil over medium heat.
Pro Tip
Make sure you are using a heavy-bottomed pan. Thin pots tend to heat unevenly and may not give you the desired results.
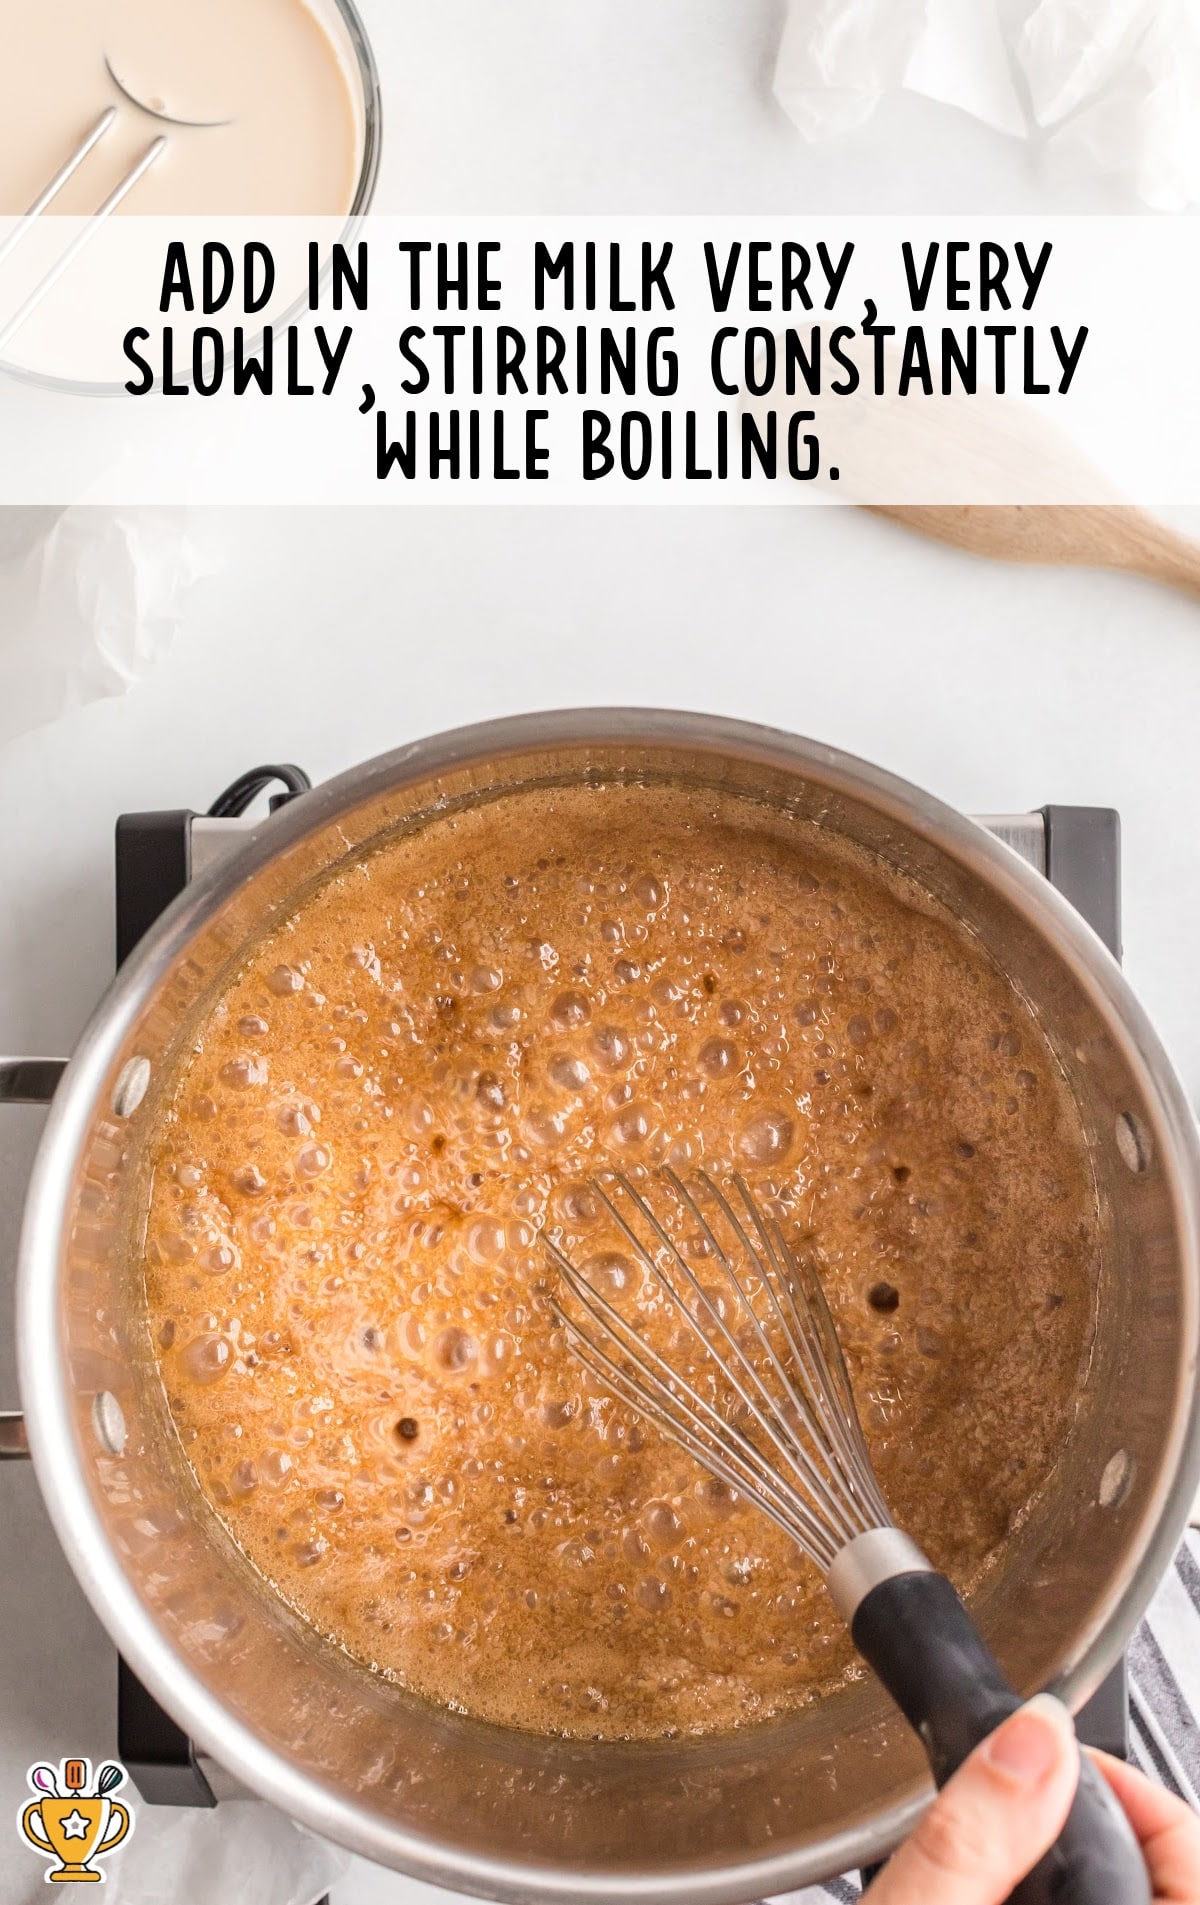
THIRD STEP: Add in the milk very, very slowly, whisking/stirring constantly while boiling. Make sure the addition of the milk isn’t slowing the boil.
This should take about 20 minutes.
FOURTH STEP: Lower to medium-low heat and attach a candy thermometer to the pan.
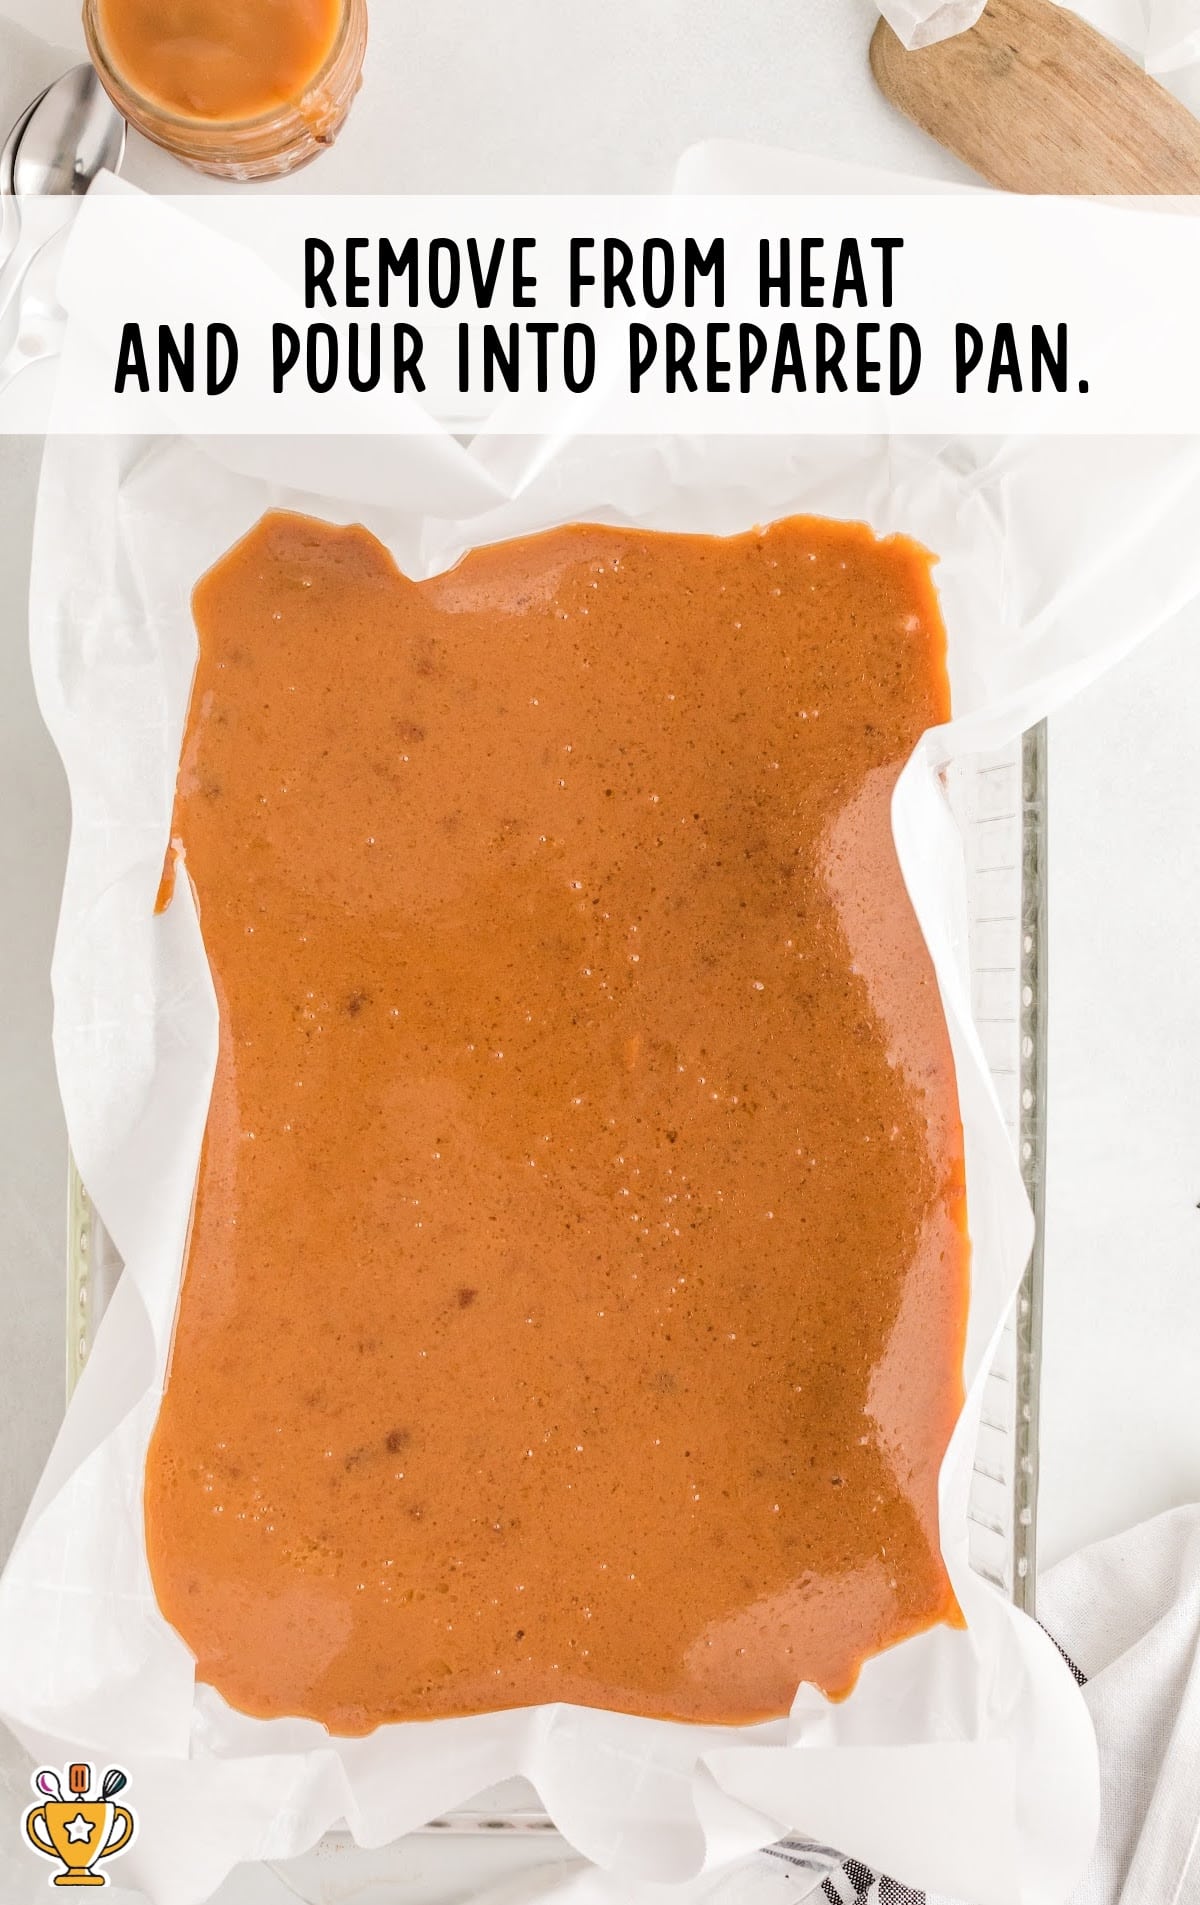
Heat, stirring often until the mixture reaches 238°F. Remove from the heat immediately and pour into the prepared pan.
Pro Tip
The temperature is key when making caramel. Make sure you are using a candy thermometer so that you can be precise.
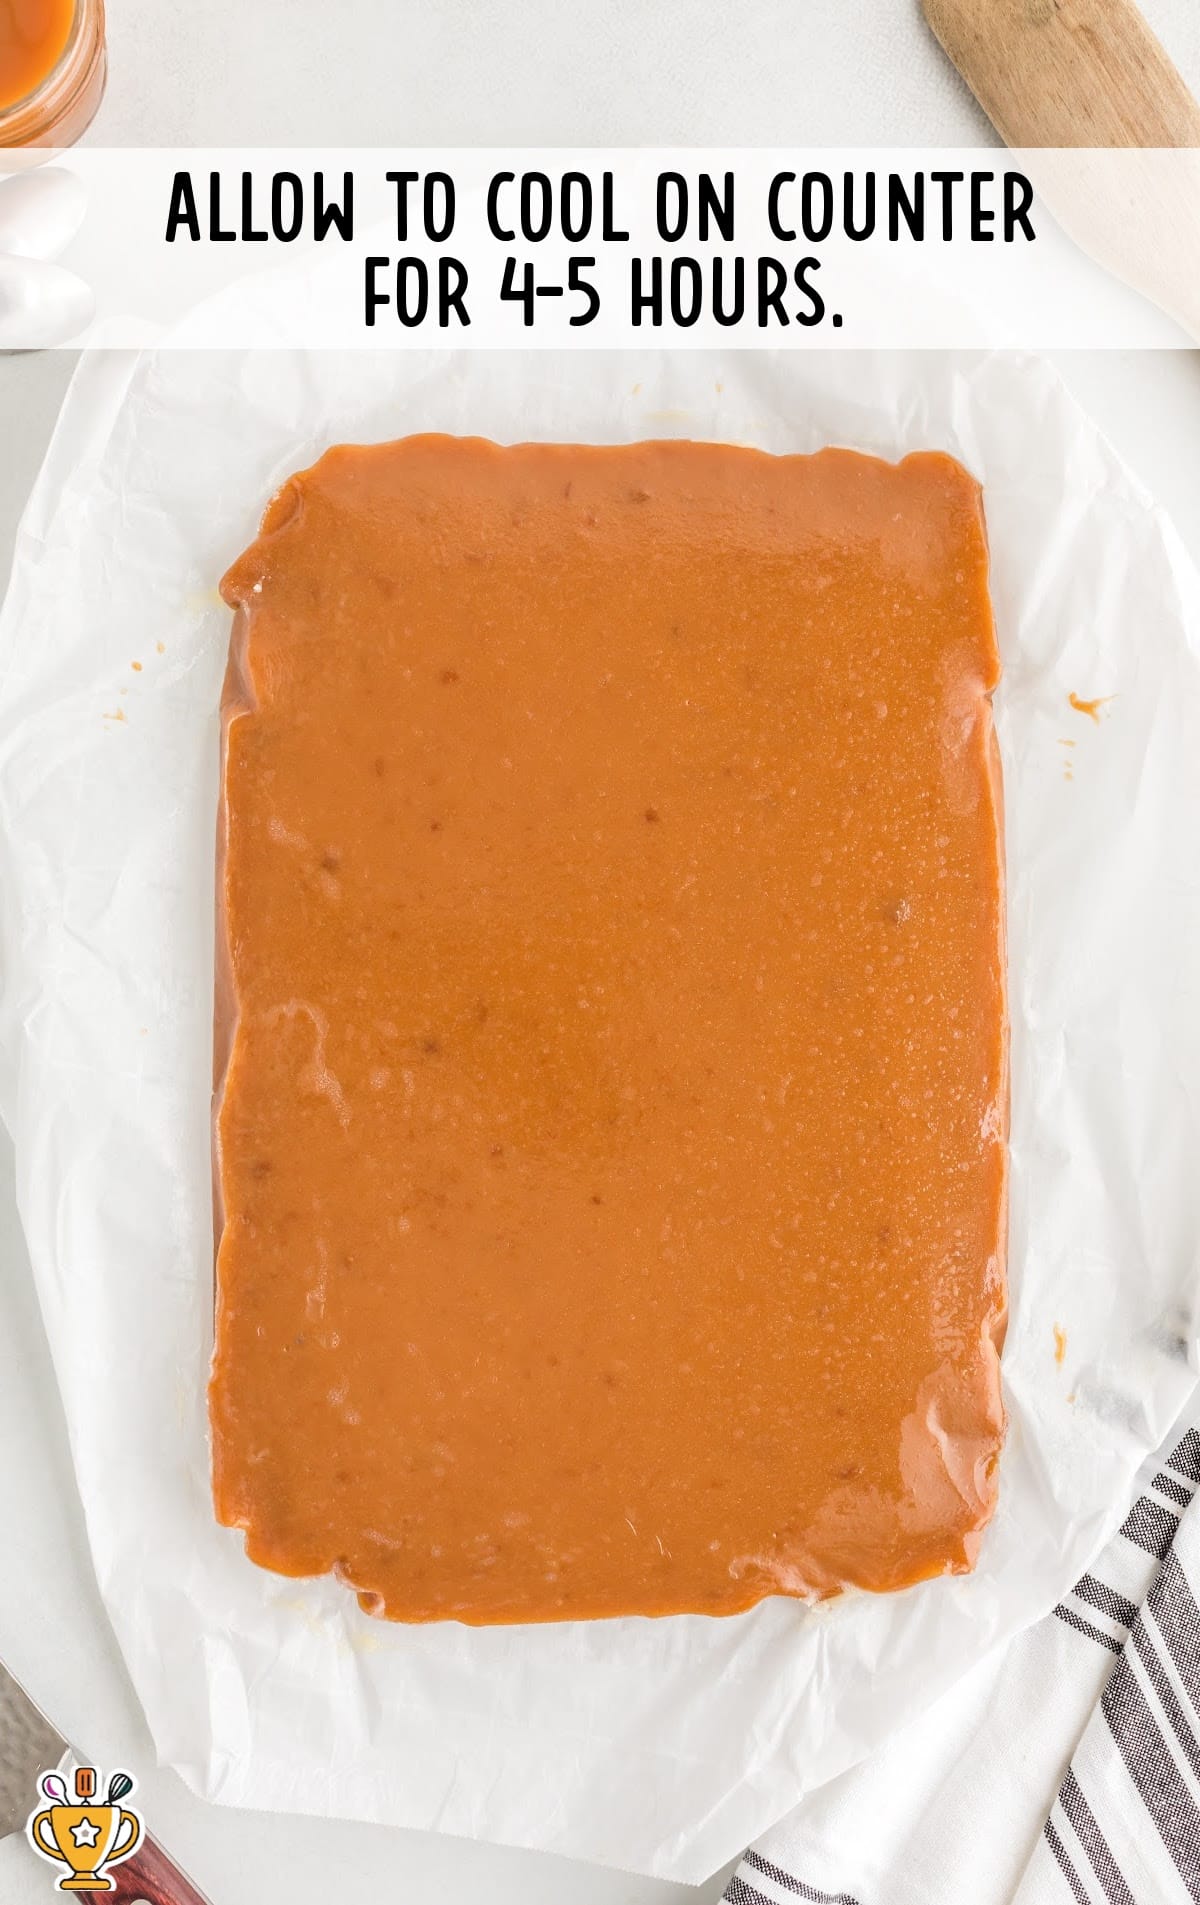
FIFTH STEP: Allow caramel to cool on the counter for four to five hours.
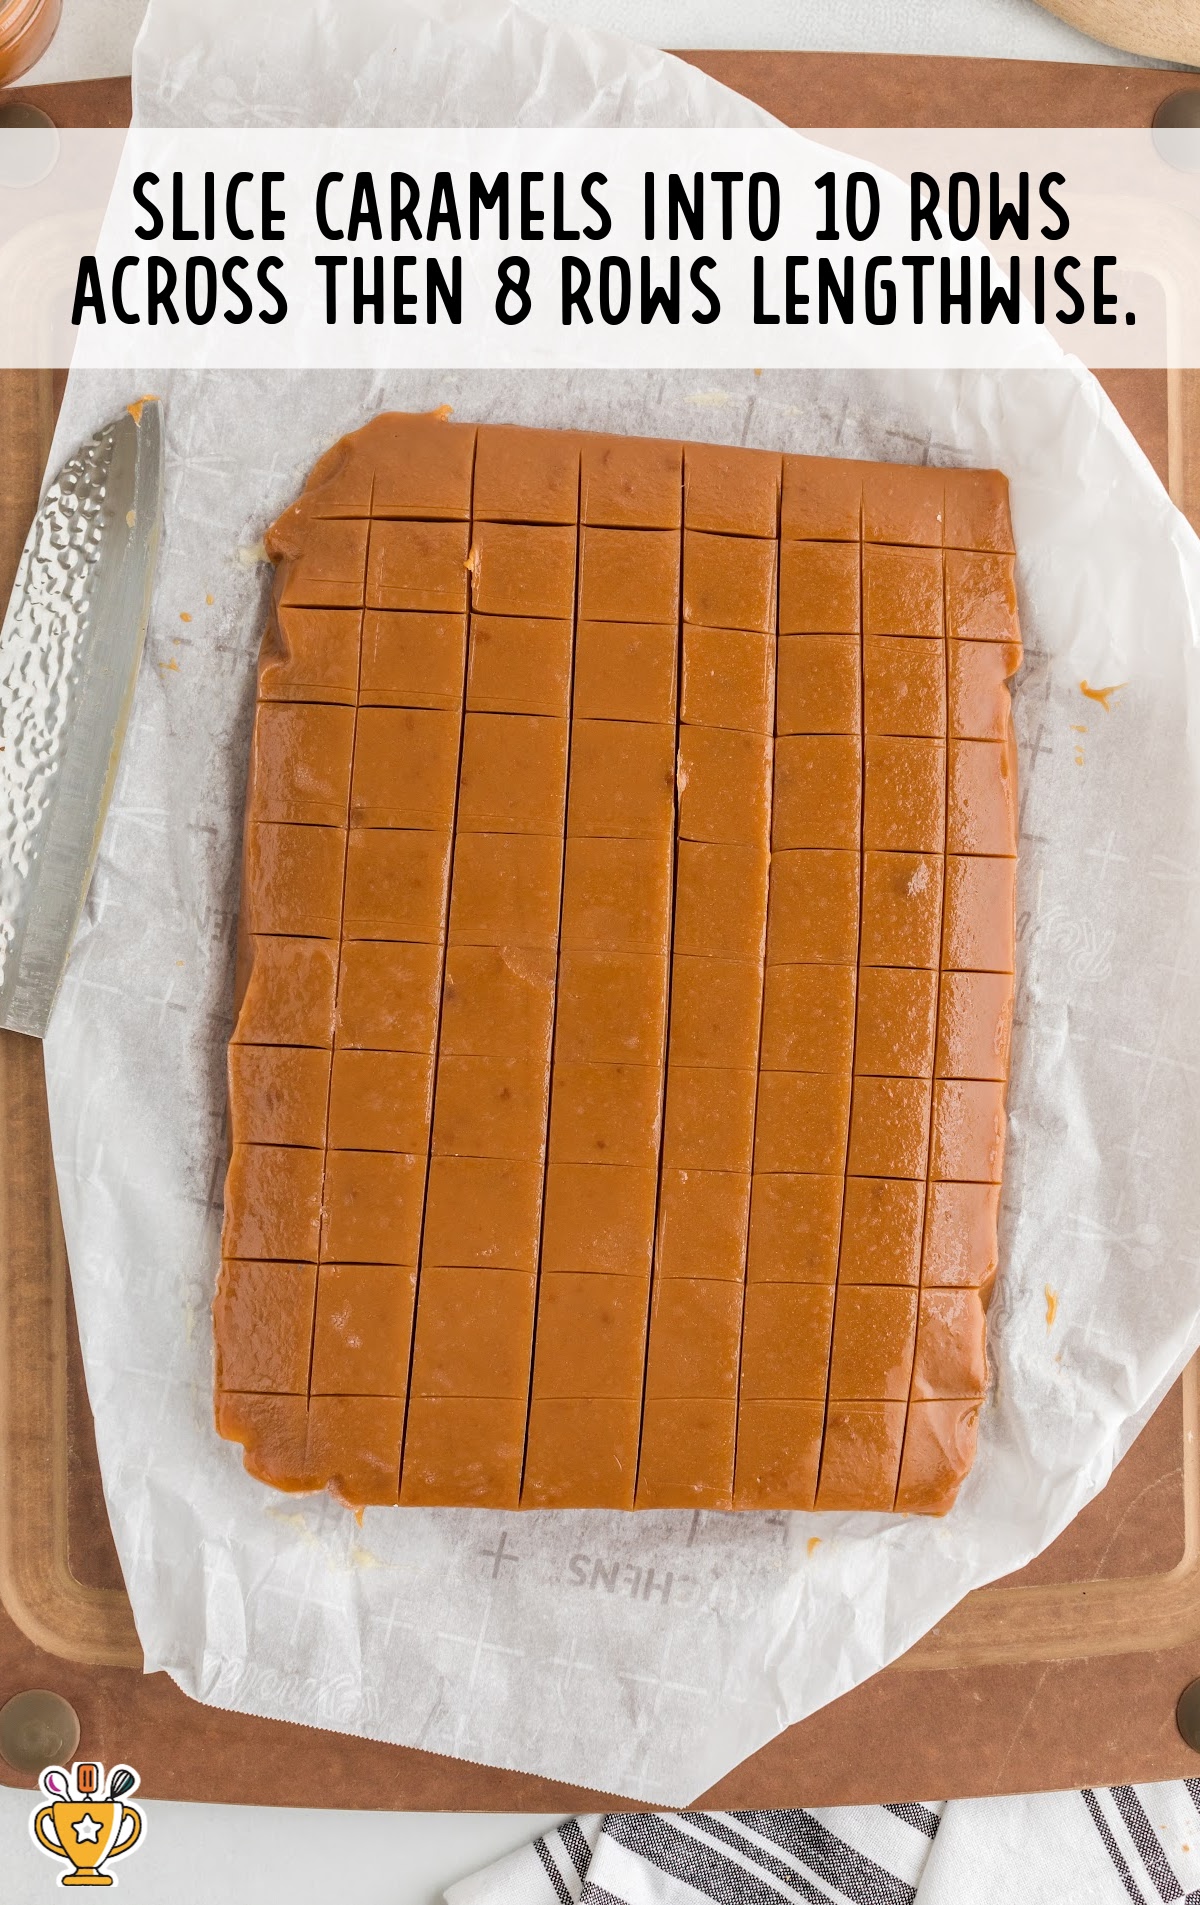
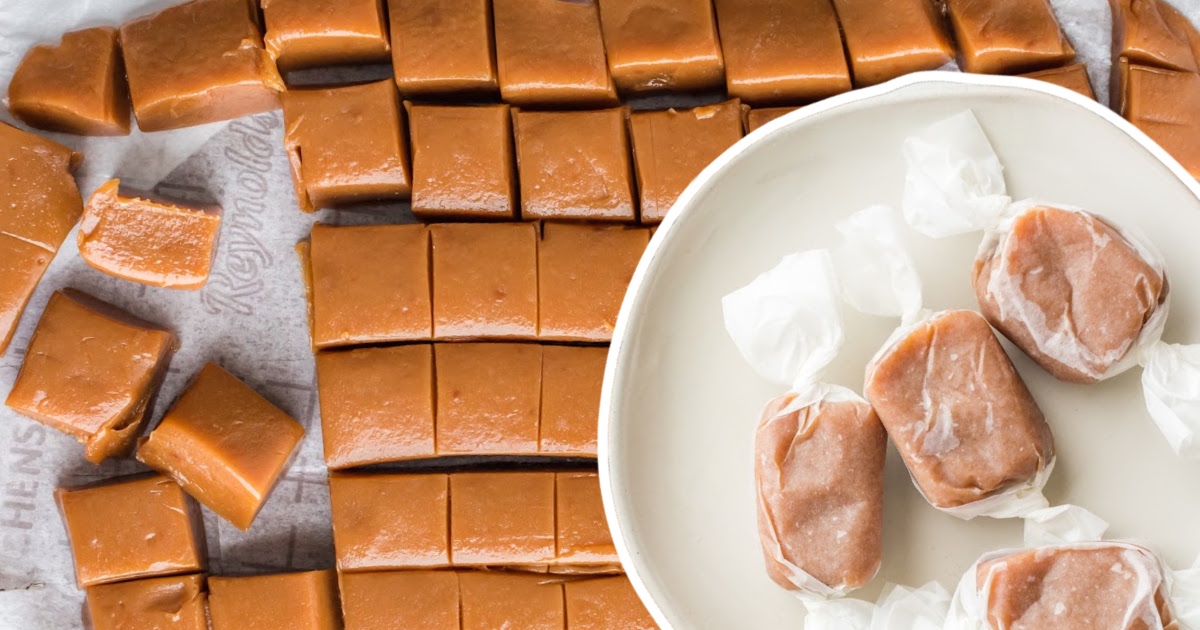
SIXTH STEP: Wet a sharp knife with cold water, and slice the caramel slab into ten rows across, then eight rows lengthwise (or desired size/shape).
Pro Tip
If you’re having difficulty cutting the caramels, you can throw them in the freezer for about 15 minutes to harden them up and make them easier to work with.
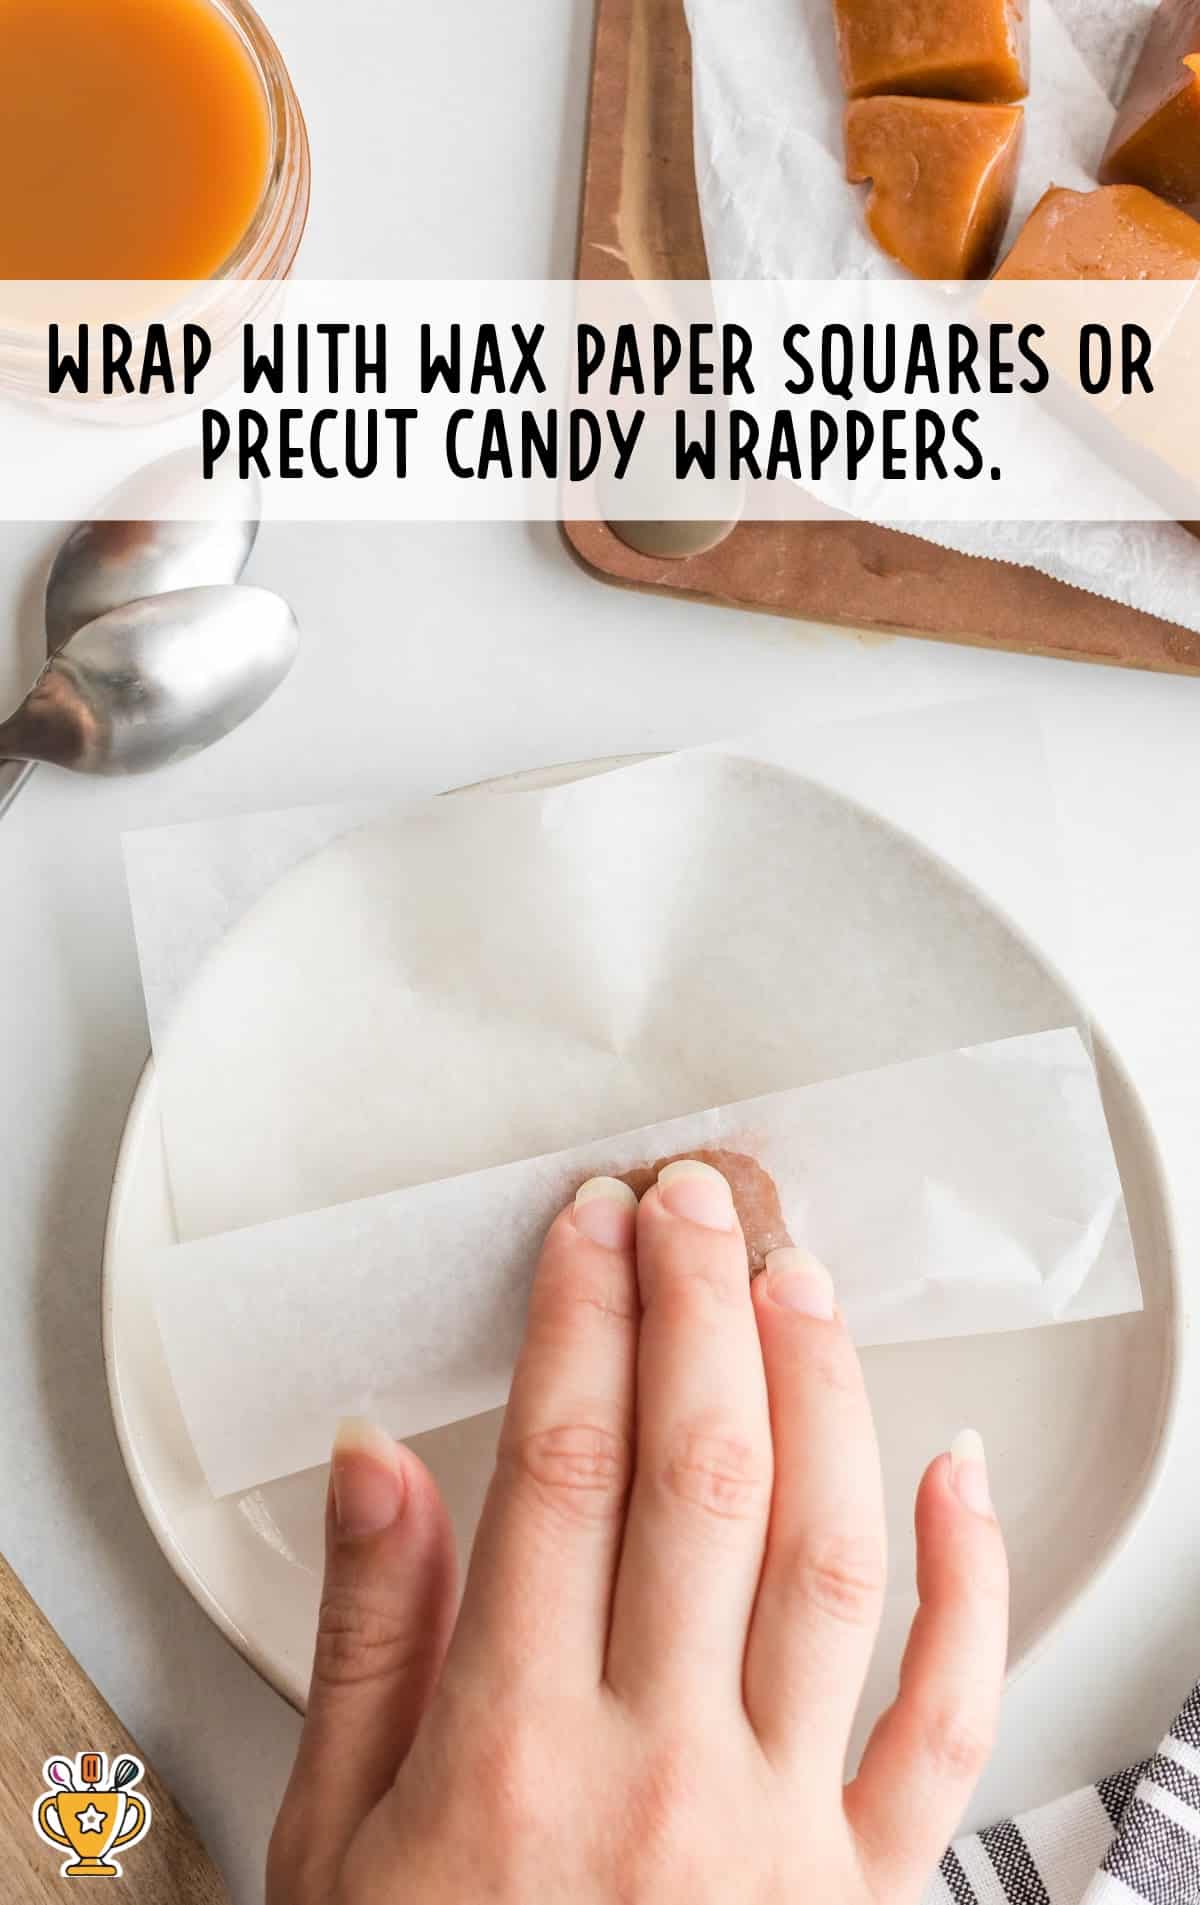
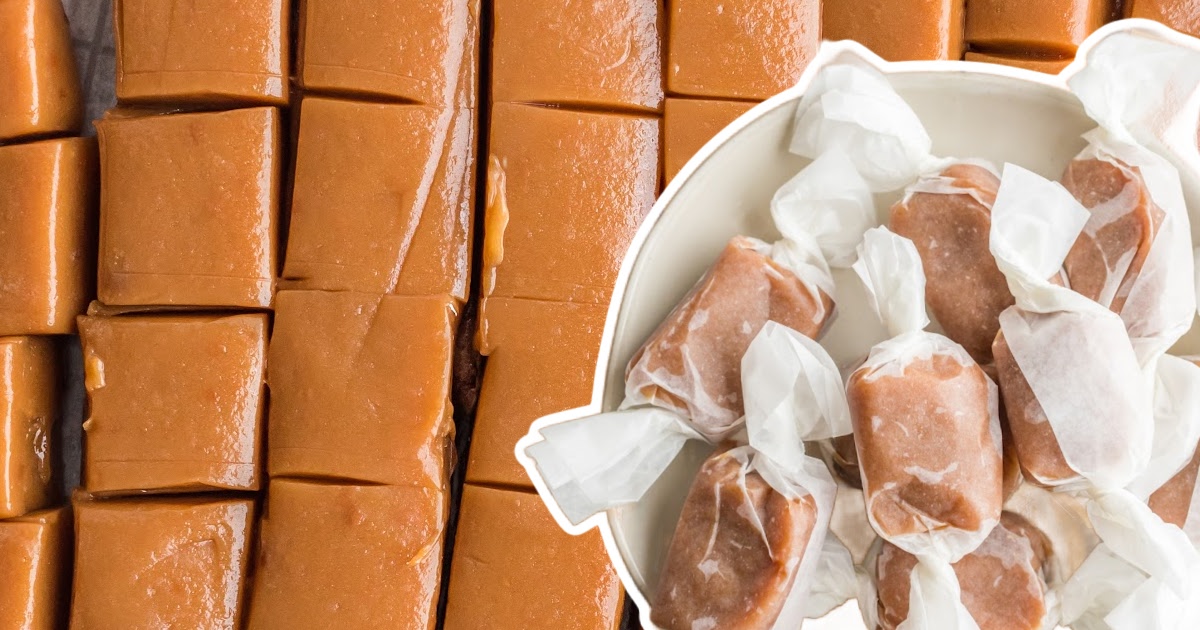
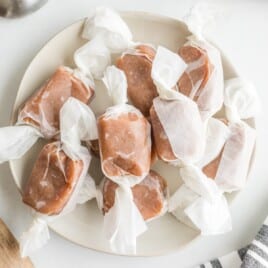
SEVENTH STEP: Wrap with wax paper squares or pre-cut candy wrappers.
How To Serve
Caramels are a versatile treat that everyone loves. Whether for a party, a holiday, or just a sweet snack, these candies are sure to please.
- Perfect for Holidays: These homemade caramel candies make a delightful gift during the holiday season. Pair them with a warm cup of hot cocoa for a cozy winter treat.
- Great for Parties: Serve these caramels at birthday parties or family gatherings. Kids and adults alike will enjoy this sweet treat. Complement them with a platter of fresh fruit and cheese.
- Ideal for Special Occasions: These pieces of caramel are a great addition to dessert tables at weddings or baby showers. Their rich flavor pairs beautifully with a glass of champagne or sparkling cider.
Why You'll Love This Caramels Recipe
Homemade caramels are more than just a sweet treat—they're a beloved favorite for many delightful reasons:
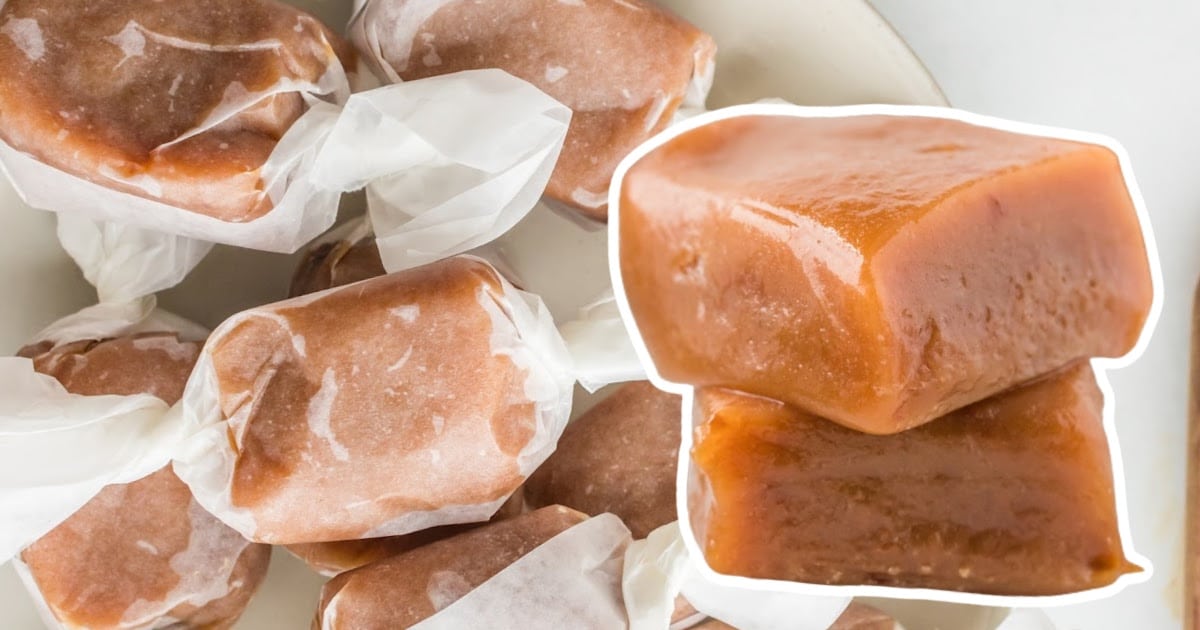
- Rich, Buttery Goodness: These caramels are packed with a deep, buttery flavor that melts in your mouth. Every bite offers a perfect balance of sweetness and richness, making them impossible to resist.
- Simple Ingredients, Big Flavor: With just a few pantry staples, you can create a batch of caramels that tastes like it came from a gourmet candy shop. The simplicity of the recipe allows the flavors to shine.
- A Classic Treat for Any Occasion: Whether you're celebrating a special moment or just craving something sweet, these candies fit the bill. Their timeless appeal makes them a go-to favorite for everyone.
Homemade caramels aren’t just delicious—they're a comforting treat that adds a touch of sweetness to any day.
Caramels Recipe FAQ
Why are my caramels too hard?
Overcooking the caramel can make it too hard. Use a candy thermometer to ensure the temperature stays within the recommended range.
How do I prevent my caramel from sticking to the pan?
Line your pan with parchment paper or grease it well with butter to prevent sticking. This helps remove the caramels easily.
Can I make caramels without a candy thermometer?
Yes, but it's tricky. Use the "soft ball" method by dropping a small amount of caramel into cold water. It should form a soft, pliable ball when it's ready.
Why did my caramel mixture separate while cooking?
Stirring too vigorously or at the wrong time can cause separation. Stir gently and consistently for smooth, creamy caramels.
Serving FAQ
How should I serve homemade caramels at a party?
Serve caramels in small, bite-sized pieces arranged on a decorative platter. They’re easy to grab and enjoy.
Can I wrap homemade caramels as gifts?
Yes, wrap each caramel in wax paper or cellophane for a cute and practical way to share these sweet treats.
What’s the best way to cut homemade caramels?
Use a sharp, lightly buttered knife to cut caramels into squares. This prevents sticking and ensures clean edges.
How do I make caramels easier to handle when serving?
Slightly chill the caramels before cutting. This firms them up, making them easier to handle and serve.
Storage FAQ
Follow the directions, tips, and tricks below for the best storage of your homemade caramels. From making ahead to reheating, we’ve got you covered!
Can I prepare homemade caramels ahead of time?
Yes, you can make the caramels ahead and store them in an airtight container at room temperature for up to two weeks.
What’s the best way to store leftover caramels?
Store leftover caramels in an airtight container at room temperature. They will stay fresh for up to two weeks.
Can I freeze homemade caramels?
Yes, wrap each caramel in wax paper and store them in an airtight container in the freezer for up to three months.
How do I thaw and reheat frozen caramels?
Thaw frozen caramels at room temperature for a few hours. Reheat gently in the microwave in 5-second increments if needed.
How should I reheat caramels when ready to serve?
Reheat caramels in the microwave for a few seconds, just until soft and chewy, but not melted.
Can I reheat caramels in the microwave?
Yes, reheat caramels in the microwave in short 5-second bursts to avoid over-melting or burning.
Caramels
Homemade caramels are rich, buttery, and melt-in-your-mouth delicious. With just a few ingredients, you can create the perfect sweet treat!
Did you try this recipe?Let our readers know how it turned out by Leaving a Review!
Ingredients
- 3 cups granulated sugar
- 1 cup brown sugar
- 1 cup unsalted butter (softened)
- 2 cups light corn syrup
- 1 teaspoon sea salt
- 24 ounces evaporated milk
DIRECTIONS
- Prepare a 9×13 pan with parchment paper.
- Add the sugars, butter, corn syrup, and salt to a heavy-bottomed saucepan, then bring to a boil over medium heat.
- Add in the milk very, very slowly, whisking/stirring constantly while boiling. Make sure the addition of the milk isn’t slowing the boil. This should take about 20 minutes.
- Lower to medium-low heat and attach a candy thermometer, heat stirring often until mixture reaches 238°F. Remove from heat immediately and pour into the prepared pan.
- Allow to cool on the counter for 4 to 5 hours.
- Wet a sharp knife with cold water, and slice caramels into 10 rows across, then 8 rows lengthwise (or desired size/shape).
- Wrap with wax paper squares or pre-cut candy wrappers.
Notes
- Make sure you are using a heavy-bottomed pan. Thin pots tend to heat unevenly and may not give you the desired results.
- The temperature is key when making caramels. Make sure you are using a candy thermometer so that you can be precise.
- If you’re having difficulty cutting the caramels, you can throw them in the freezer for about 15 minutes to harden them up and make them easier to work with.
Nutrition
Calories: 95kcal | Carbohydrates: 18g | Protein: 1g | Fat: 3g | Saturated Fat: 2g | Polyunsaturated Fat: 0.1g | Monounsaturated Fat: 1g | Trans Fat: 0.1g | Cholesterol: 9mg | Sodium: 45mg | Potassium: 30mg | Sugar: 18g | Vitamin A: 91IU | Vitamin C: 0.2mg | Calcium: 26mg | Iron: 0.04mg
HAVE YOU TRIED THIS RECIPE?Follow me on Pinterest @bestblogrecipes


Leave a Comment