
Last updated on
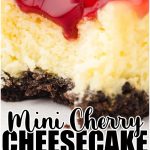
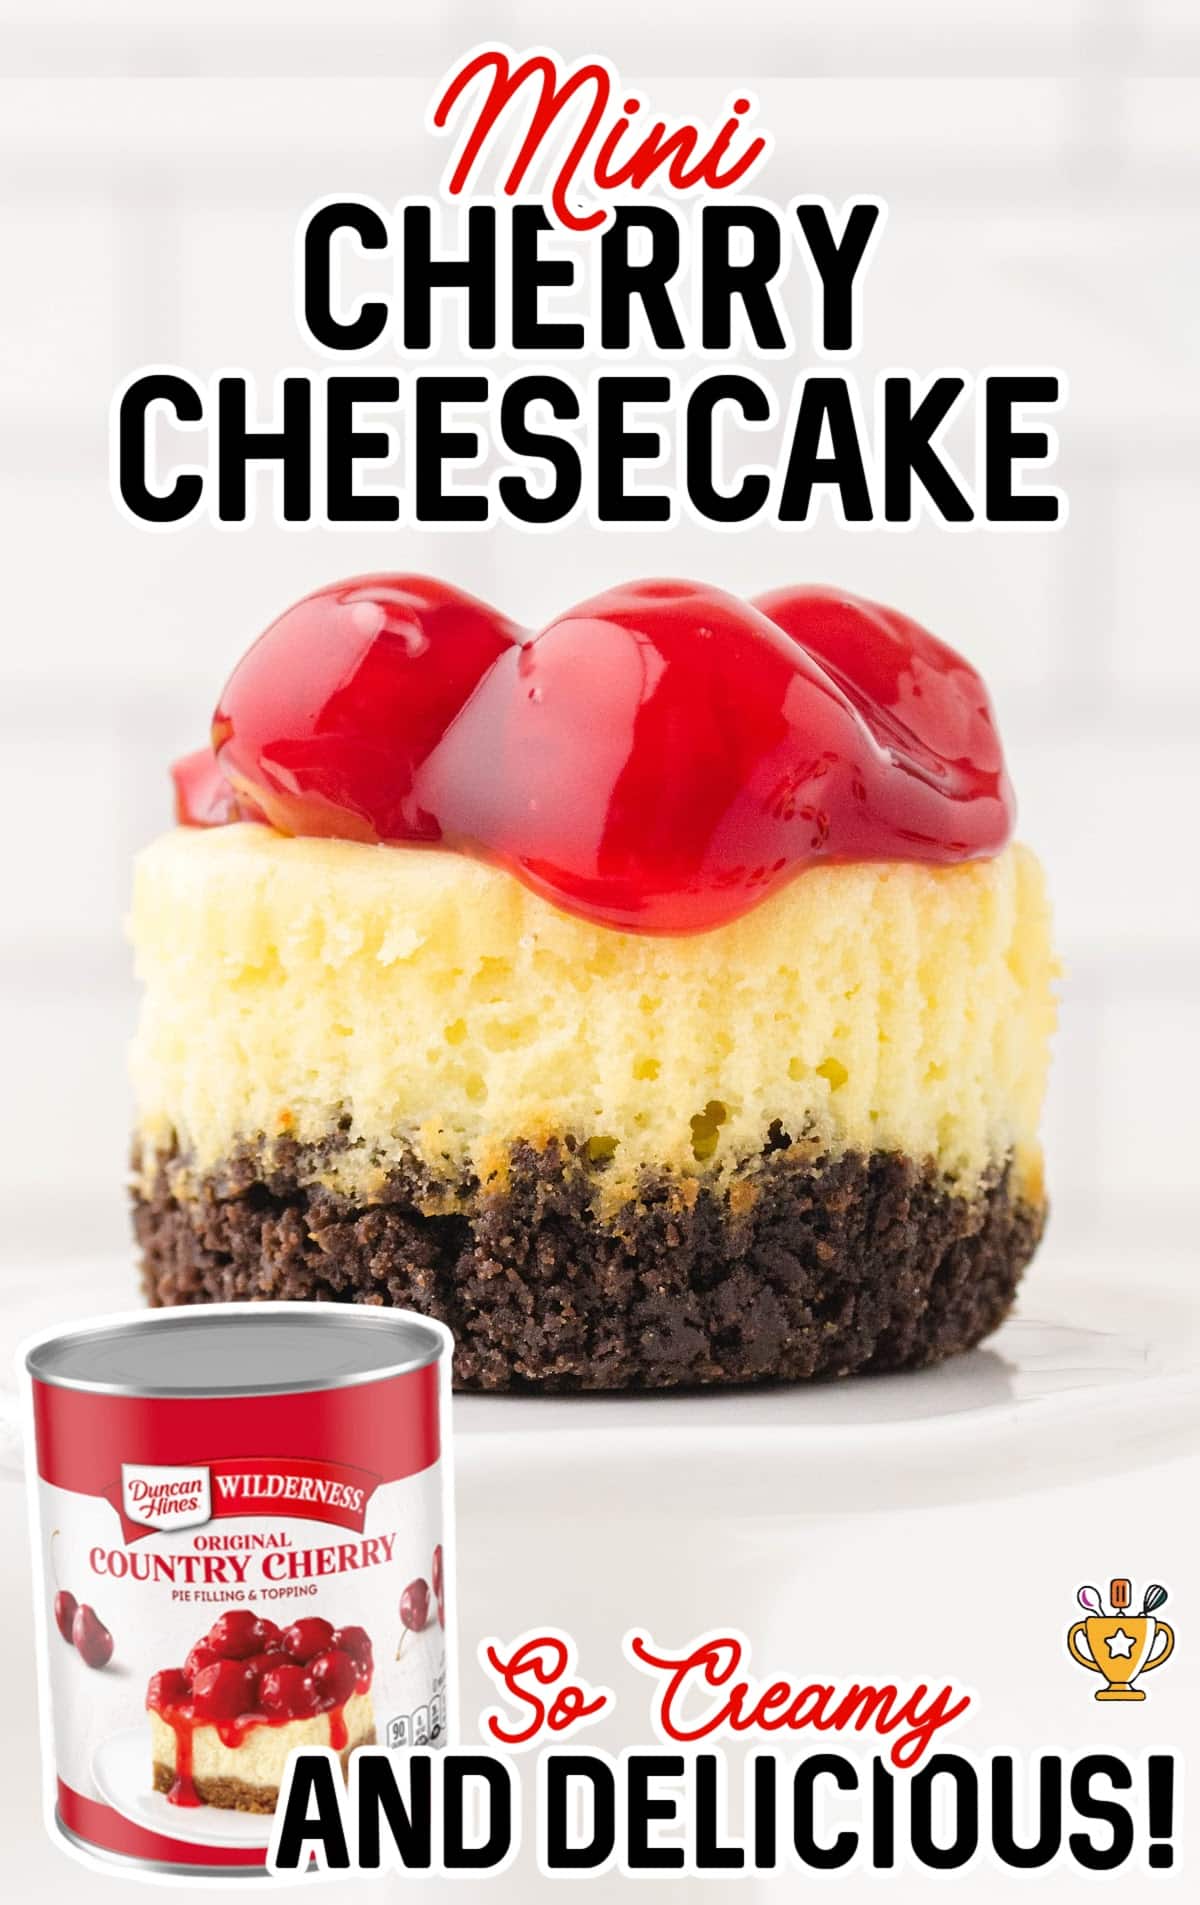
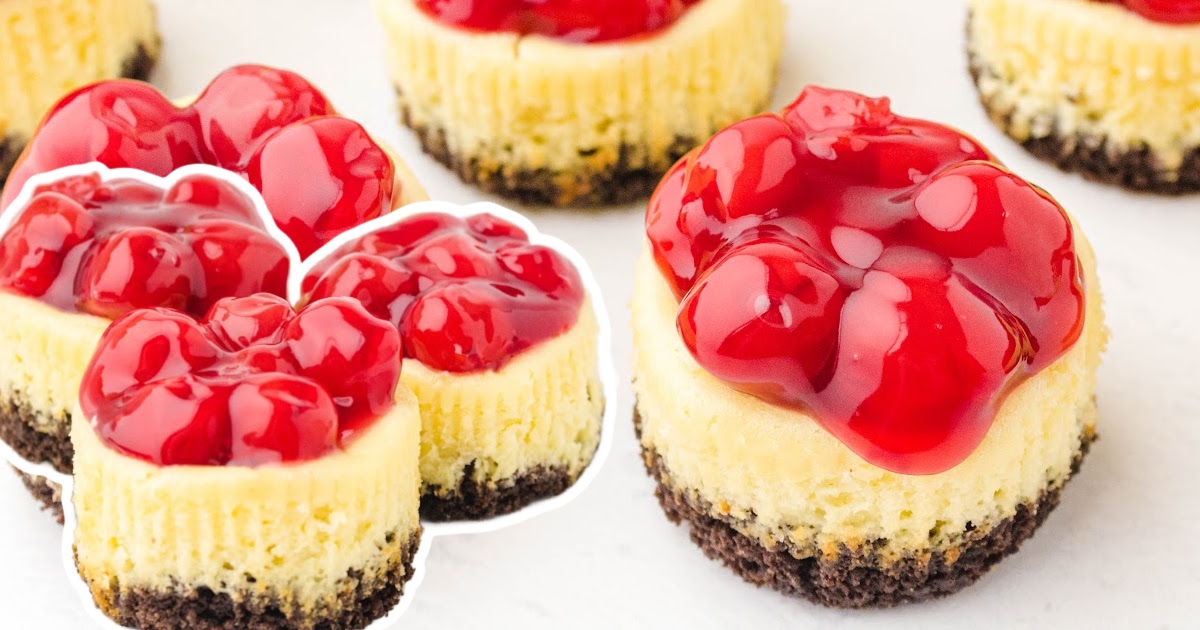
Mini Cherry Cheesecake

Mini cherry cheesecakes combine creamy filling, a crunchy crust, and sweet cherries for a perfect bite-sized treat. They're easy to make, perfect for parties, and always a crowd favorite!
Jump to RecipeTable of Contents


Mini cherry cheesecake is the perfect treat for any occasion. These bite-sized delights are rich, creamy, and topped with sweet cherry goodness. Whether for a party or a family night, they’ll disappear in no time! Easy to make and full of flavor, this mini cherry cheesecake recipe will wow your guests.
This recipe is easy to make and includes a step-by-step guide with photos. We’ve also included pro tips and tricks to ensure perfect results every time. Plus, check out the frequently asked questions for all the answers you need!
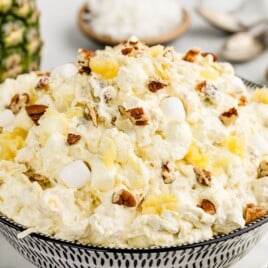
More Recipes ⭐ Chocolate Cherry Cookies | Cherry Bread | Mini Oreo Cheesecake
These mini cherry cheesecake bites are quick and easy to make, taking just forty minutes from start to finish. Perfect for parties, potlucks, or any special occasion, they’re sure to impress your guests!
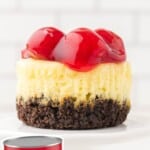
What makes this recipe so great is the combination of a buttery crust, creamy cheesecake filling, and sweet cherry topping. These mini desserts are not only delicious, but also fun to serve and eat!
Ingredients for Mini Cherry Cheesecake
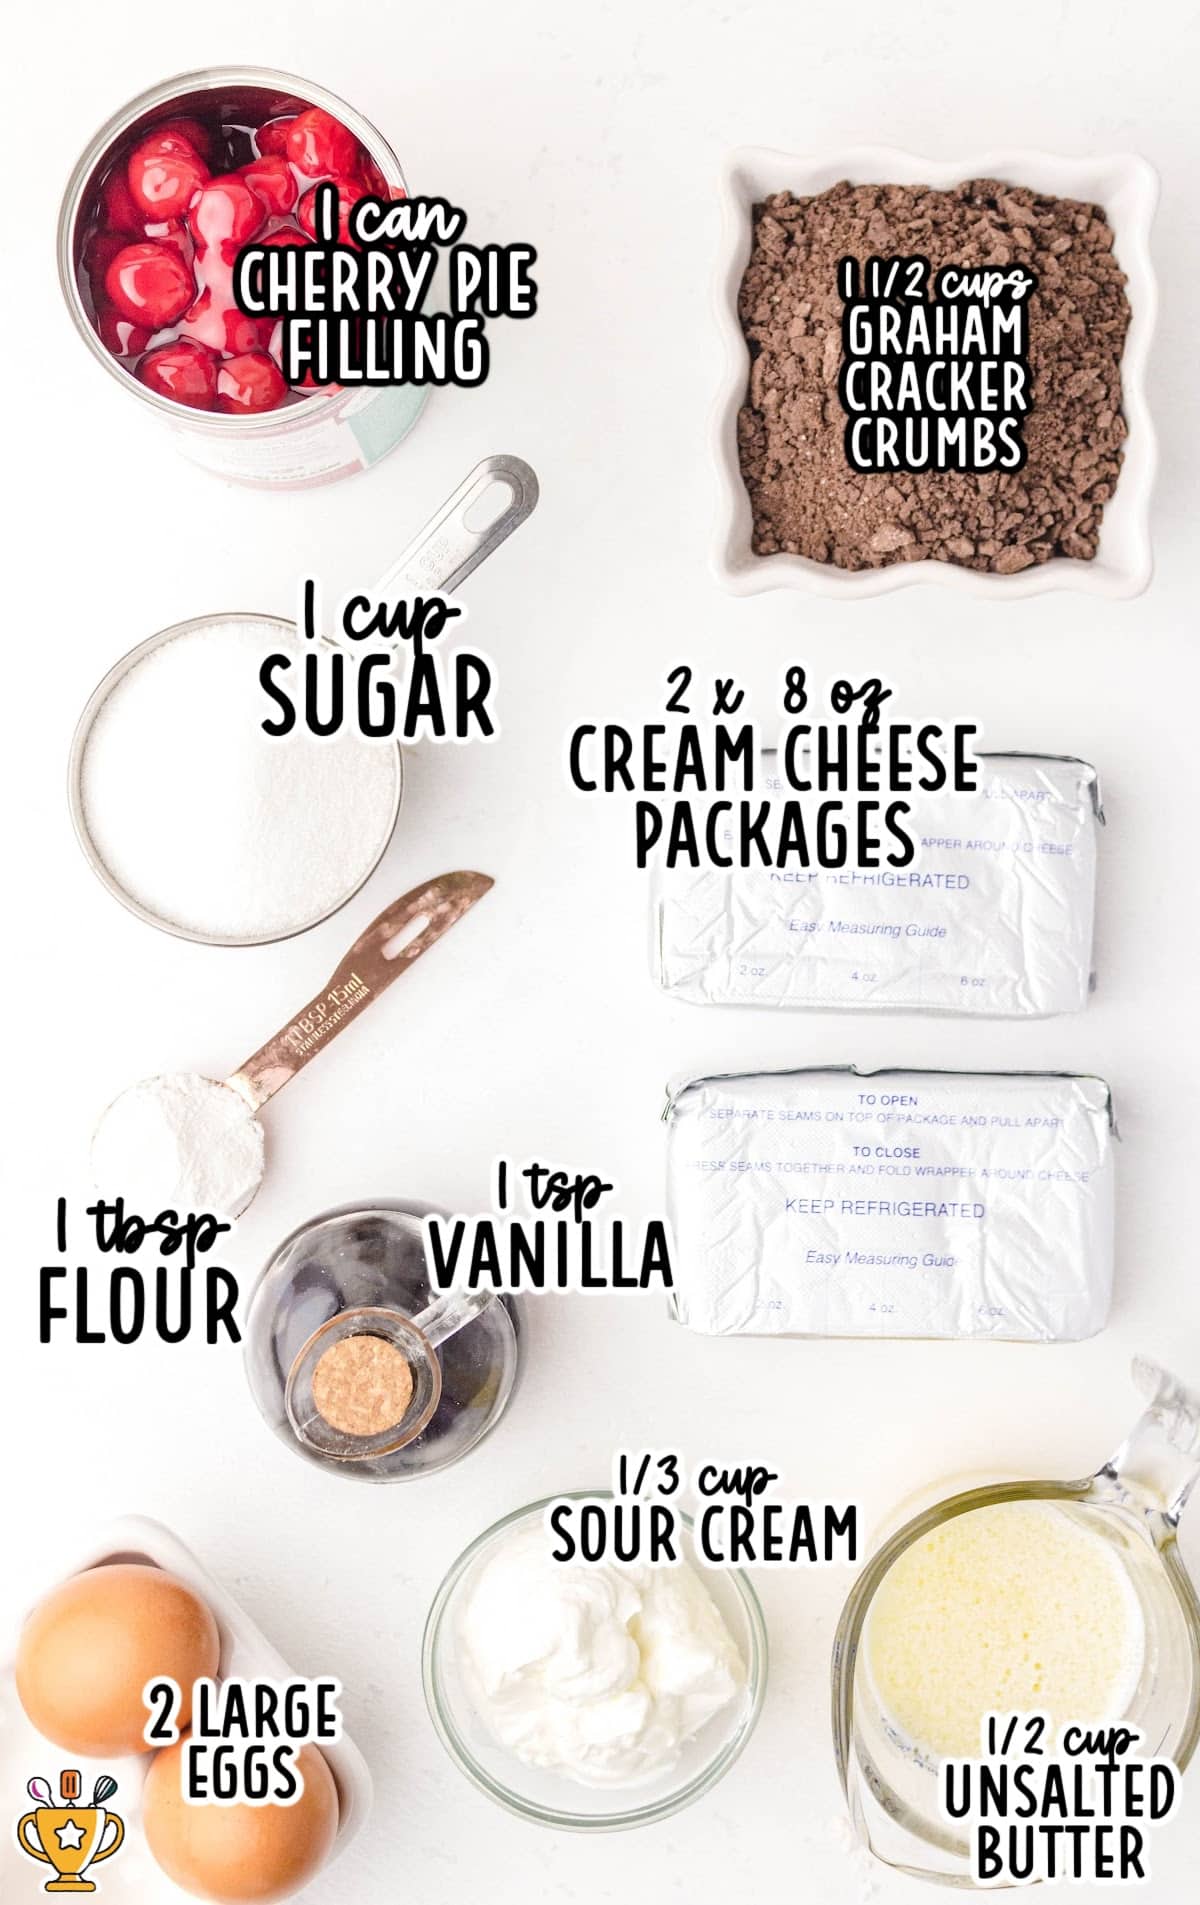
What you'll need to make this Mini Cherry Cheesecake recipe:
- ½ cup of unsalted butter, melted
- 1½ cups of graham cracker crumbs
- 2 (8-ounce) packages of cream cheese, softened
- 1 cup of white sugar
- 2 large eggs
- ⅓ cup of sour cream
- 1 teaspoon of vanilla extract
- 1 tablespoon of all-purpose flour
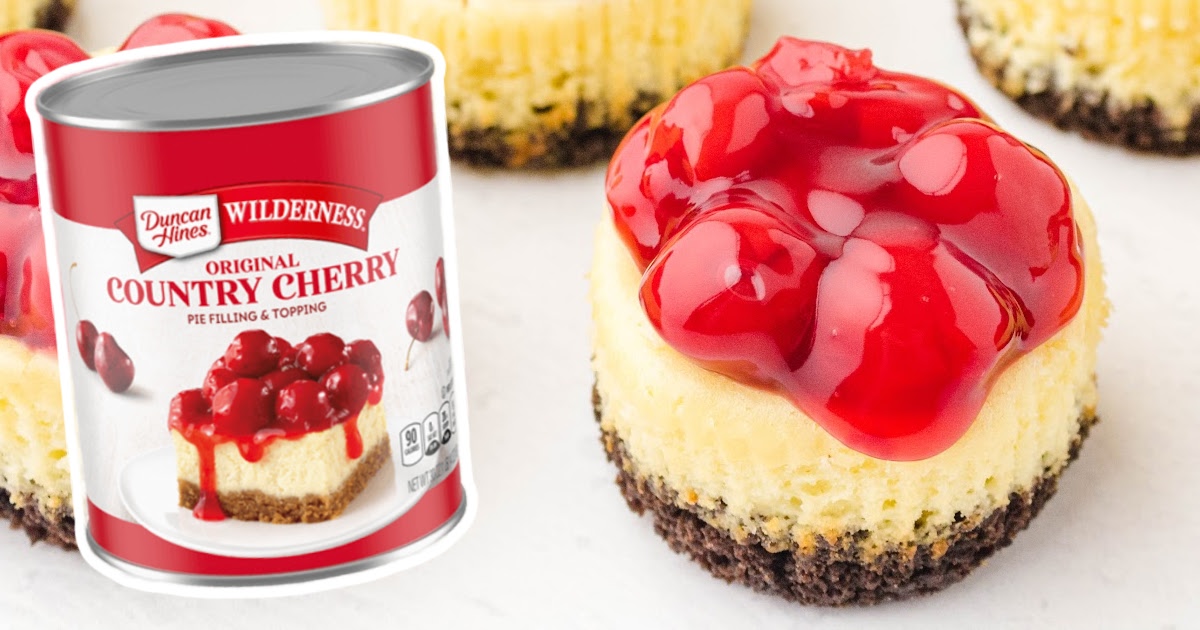
- 1 can of cherry pie filling
Substitutions and Additions
Experiment by swapping out ingredients and adding tasty extras! These simple changes will make your cheesecakes truly your own. Here are some top substitutions and additions:
Substitute Graham Cracker Crust: Use vanilla wafer crumbs or Oreo cookies for a unique, flavorful crust.
Substitute Cream Cheese: Try mascarpone cheese for a richer, smoother texture in the cheesecake filling.
Add Fresh Fruit: Top with strawberries, blueberries, or raspberries instead of cherries for a fresh twist.
Add Caramel: Drizzle with caramel sauce before serving.
How to Make Mini Cherry Cheesecake
Follow along with our step-by-step instructions and pictures for easy-to-make miniature cherry cheesecakes. Be sure to check out our pro tips and tricks below. Let’s get started and create these delicious treats!
FIRST STEP: Preheat oven to 350°F. Fill 18 muffin tins with foil-lined wrappers.
Pro Tip
The wrappers with the foil lining peel better from this dessert.
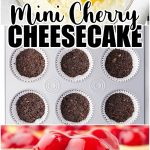
SECOND STEP: In a medium bowl, stir together the melted butter and graham cracker crumbs until mixed.
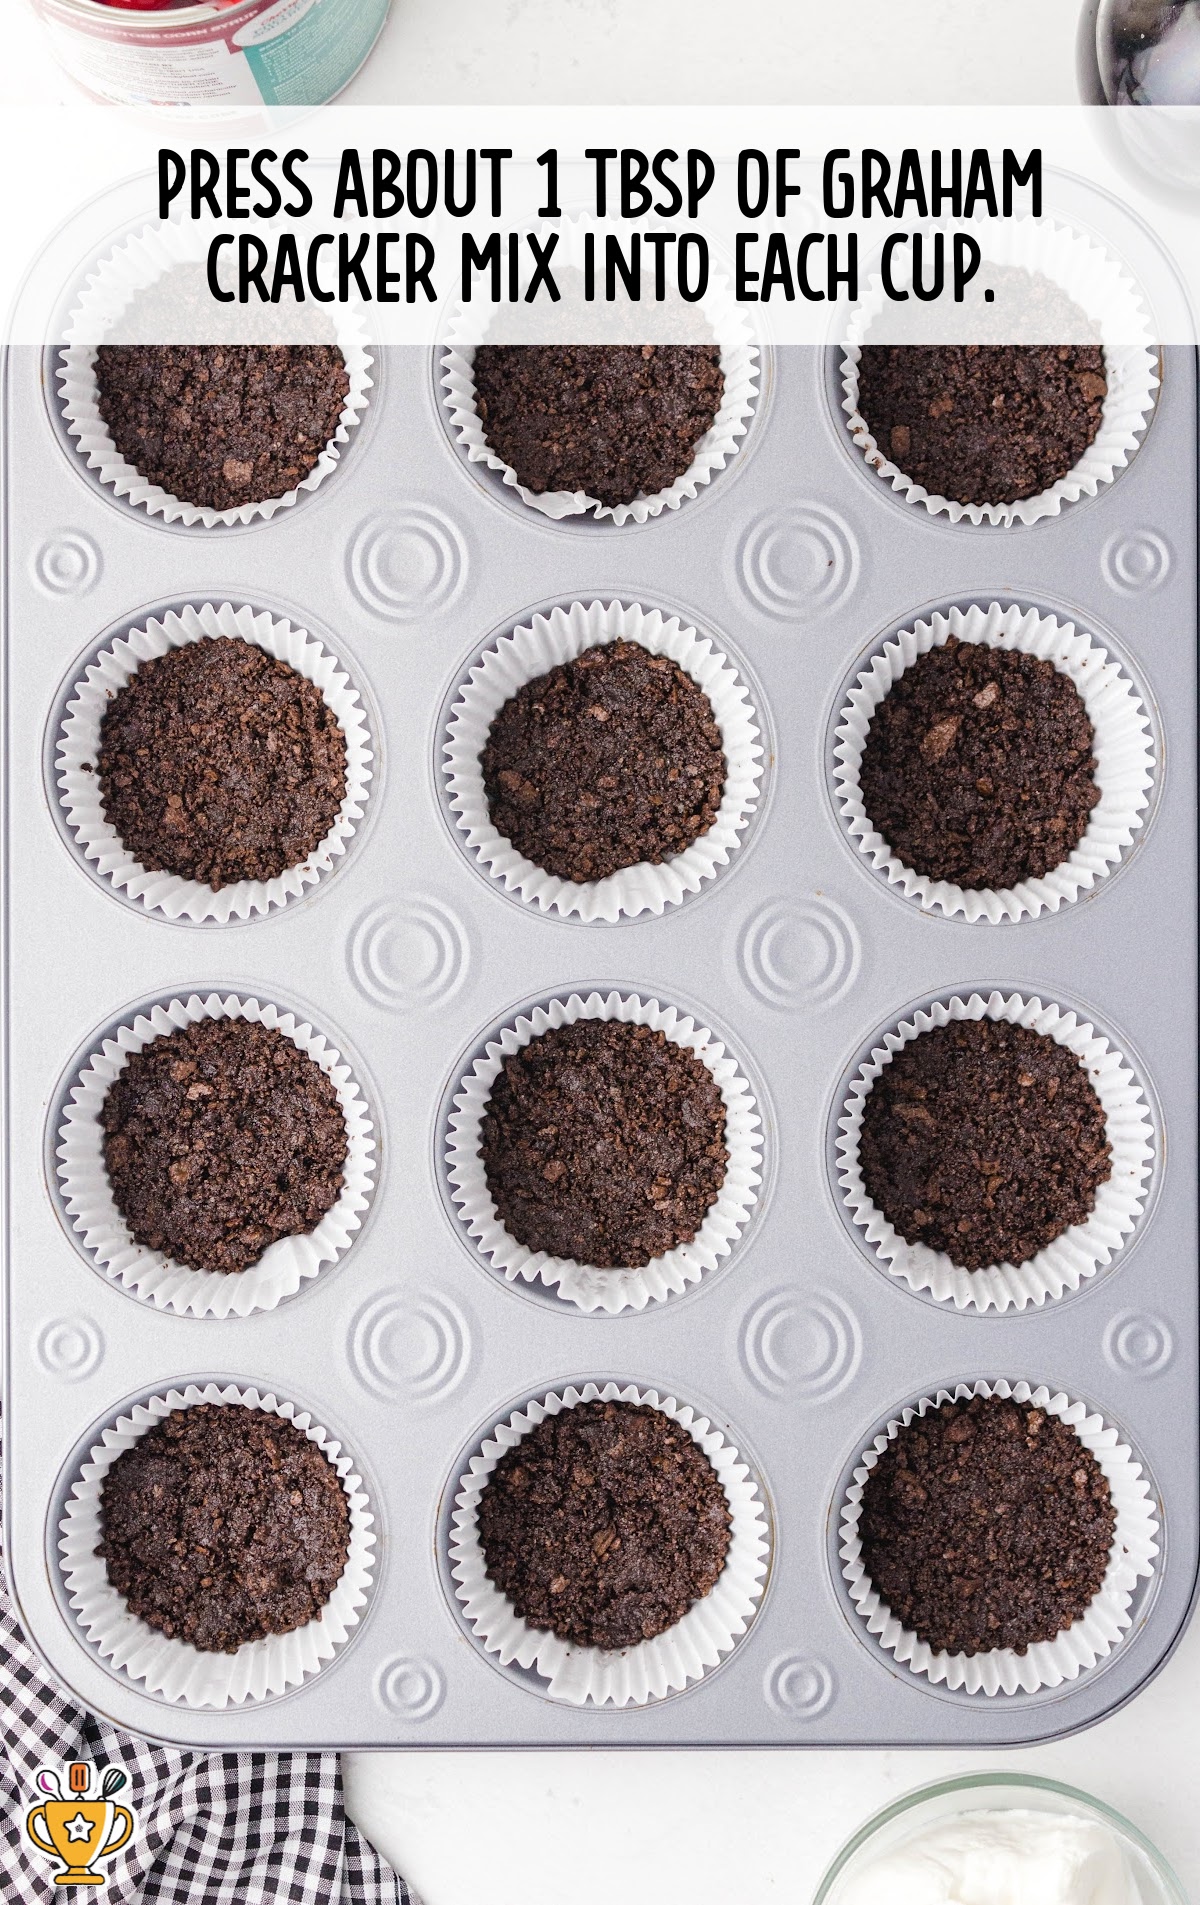
THIRD STEP: Press about one tablespoon of the graham cracker crumb and butter mixture in the bottom of each cupcake wrapper.
FOURTH STEP: In a large bowl, beat cream cheese with white sugar until smooth. Scrape down the sides of the bowl often.
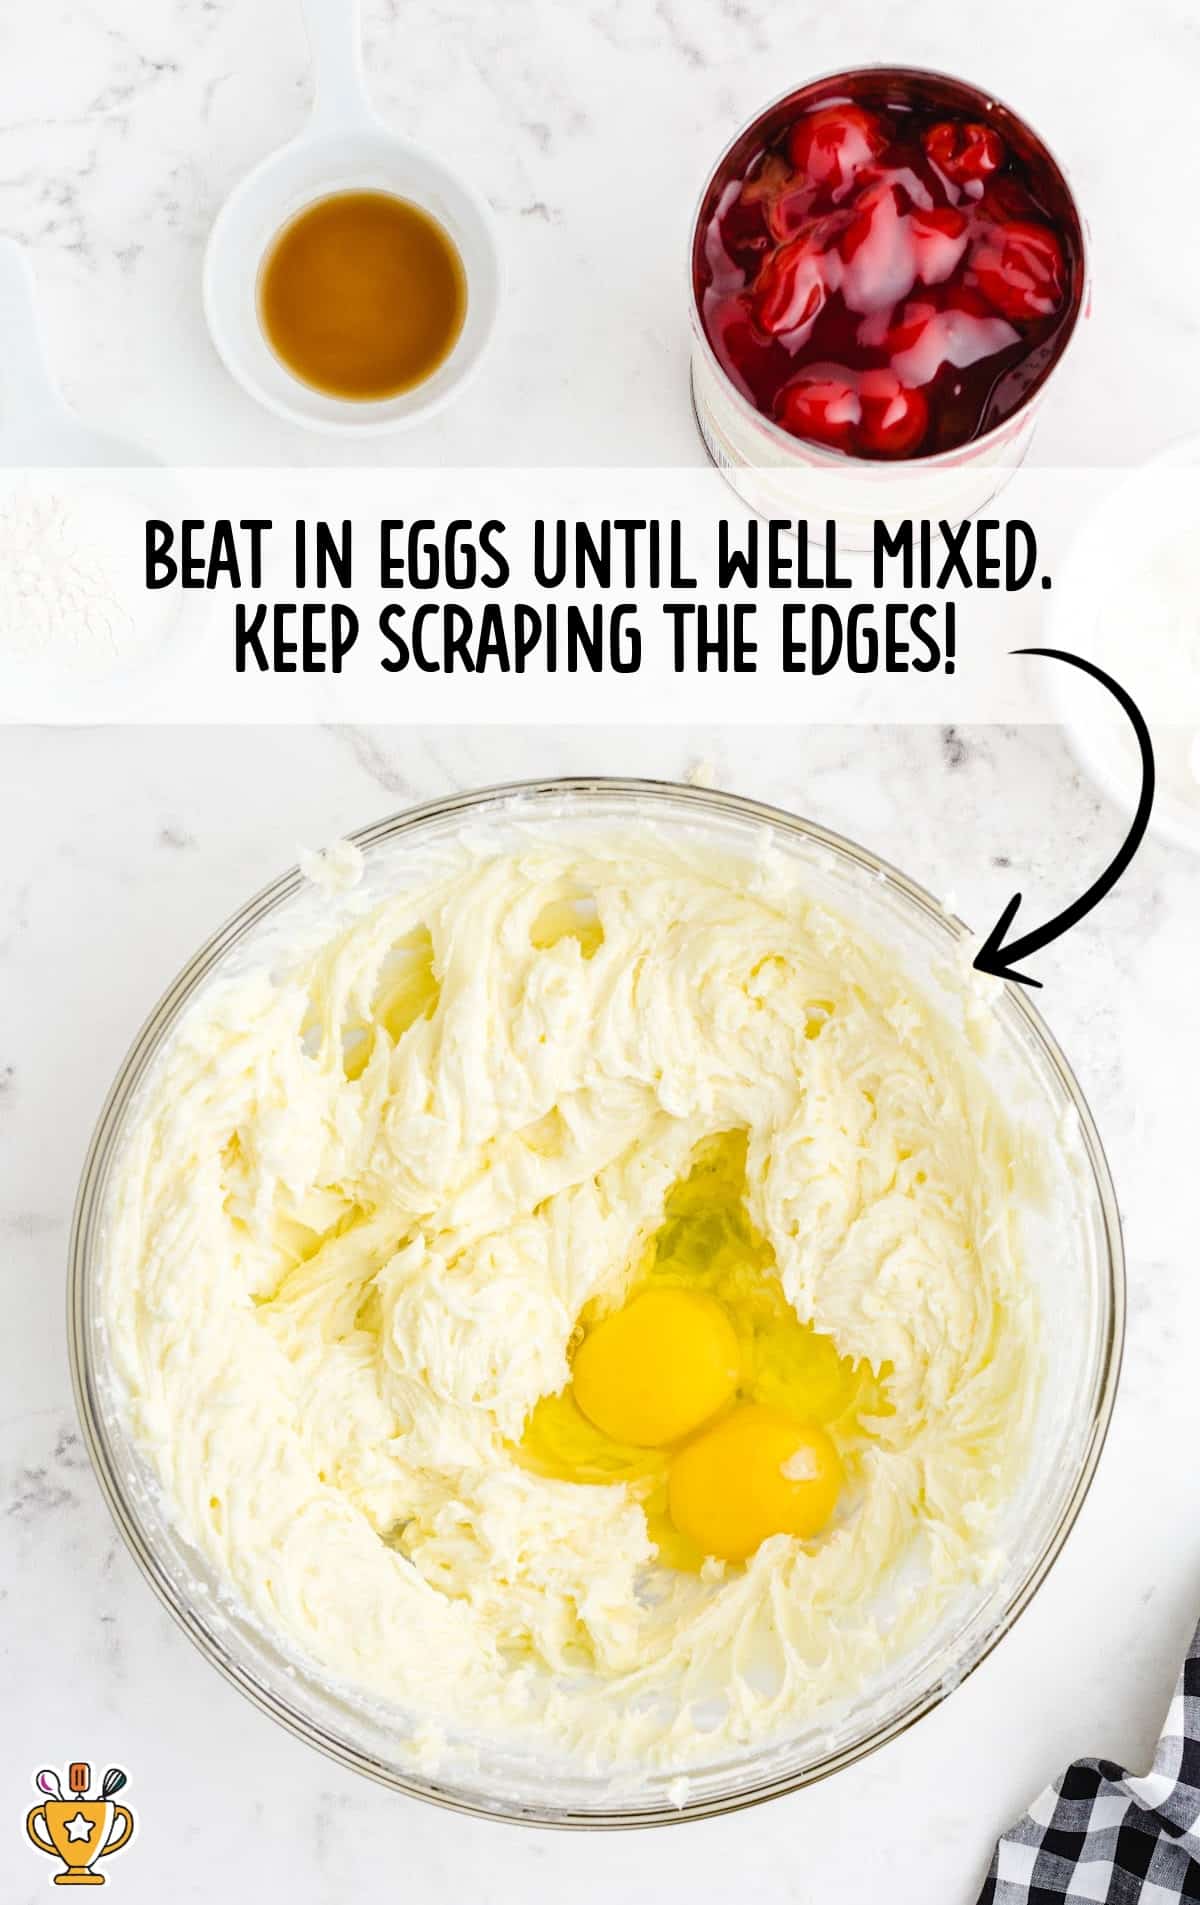
FIFTH STEP: Beat in eggs until well mixed. Again, scrape down the sides of the bowl often.
SIXTH STEP: Beat in sour cream, vanilla, and flour until well mixed.
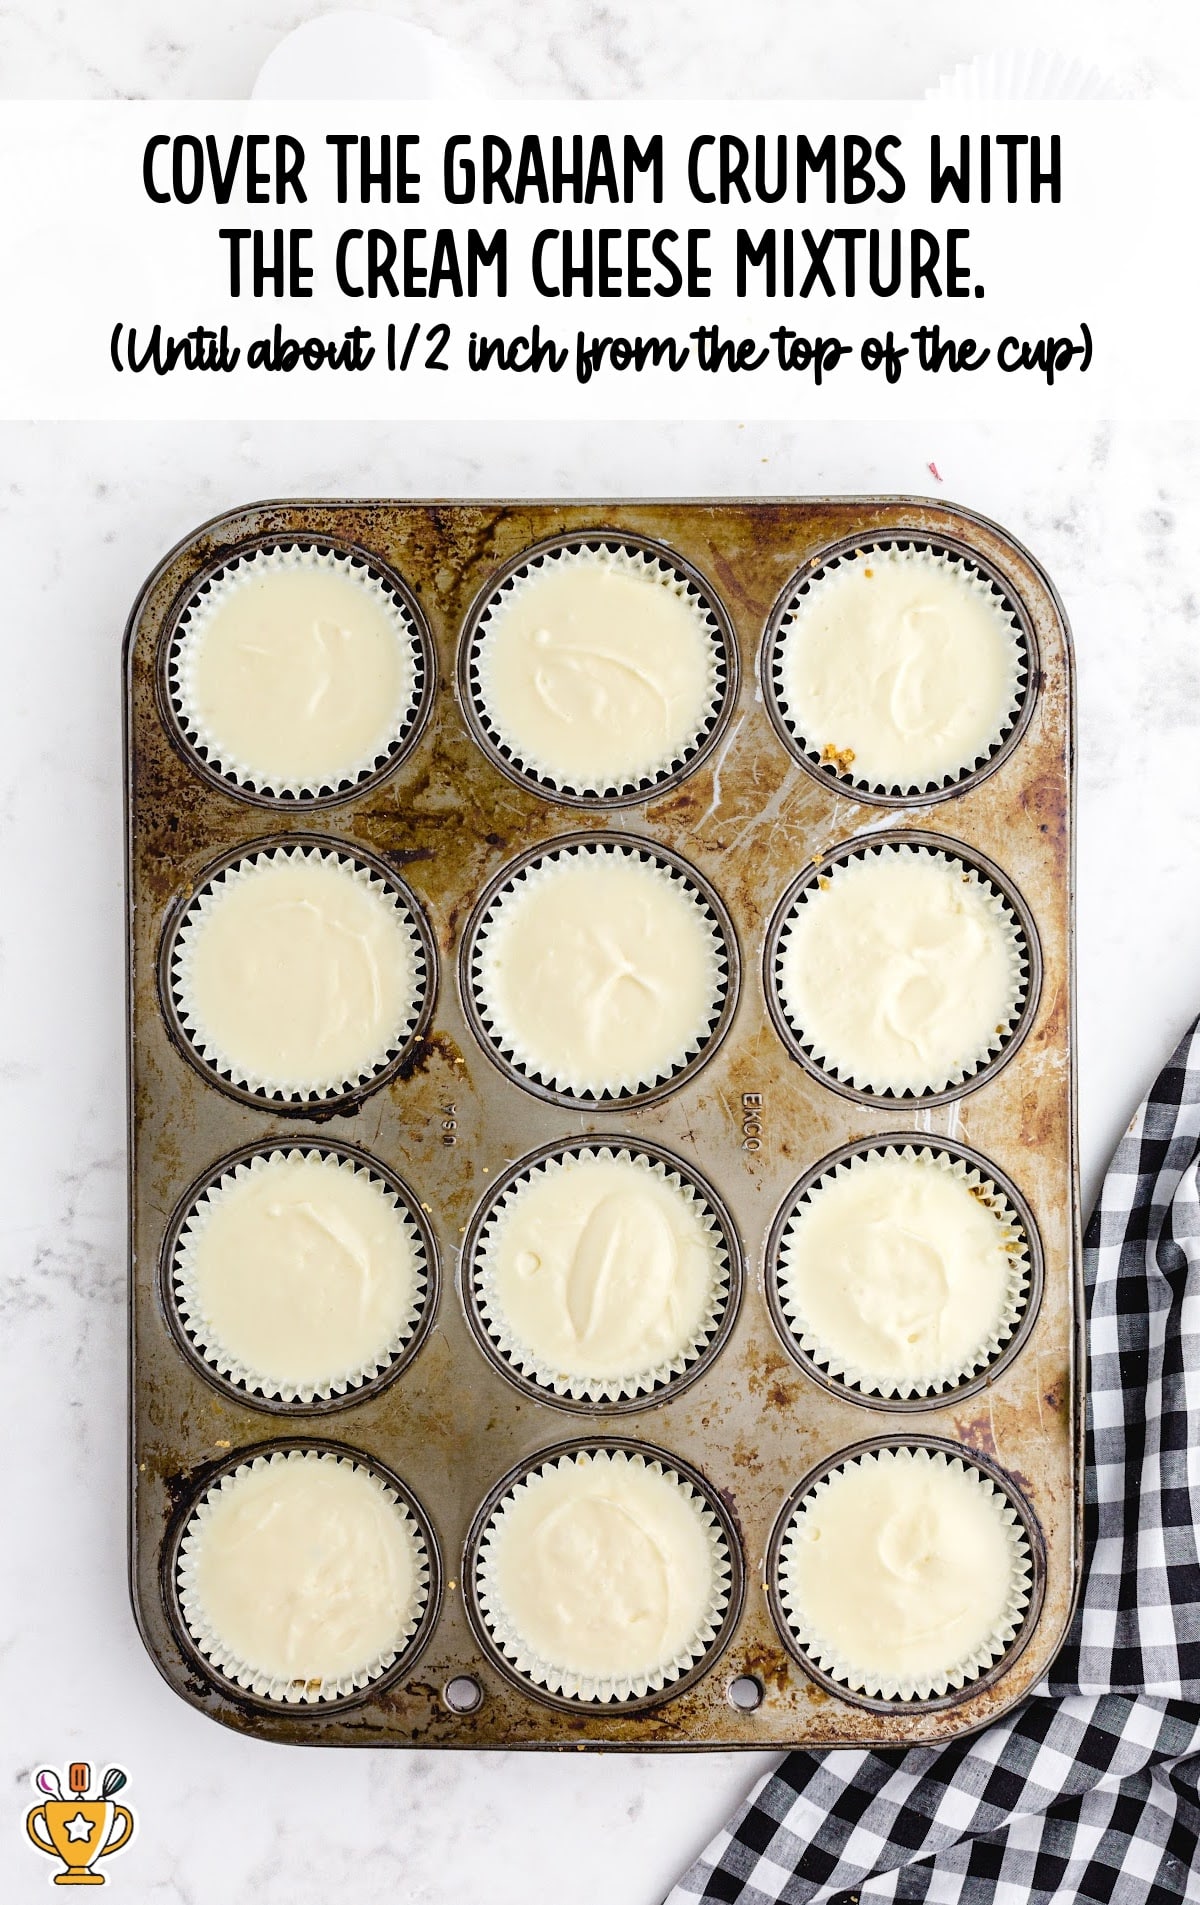
SEVENTH STEP: Scoop the cheesecake mixture into each cupcake wrapper. Fill until each is filled to about ½ inch from the top. They will rise a bit while baking, so don’t overfill.
EIGHTH STEP: Baking 20 to 25 minutes. They’re done when still just slightly soft in the middle.
Pro Tip
Oven temperatures vary and may need to be recalibrated periodically to ensure they are accurate. Make sure to keep a close eye on your cheesecakes as the suggested baking time approaches.
NINTH STEP: Remove from oven and let cool for 20 minutes before placing in the fridge to cool completely.
These will need to cool in the fridge for at least two hours before serving.
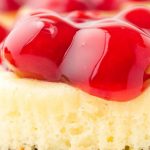
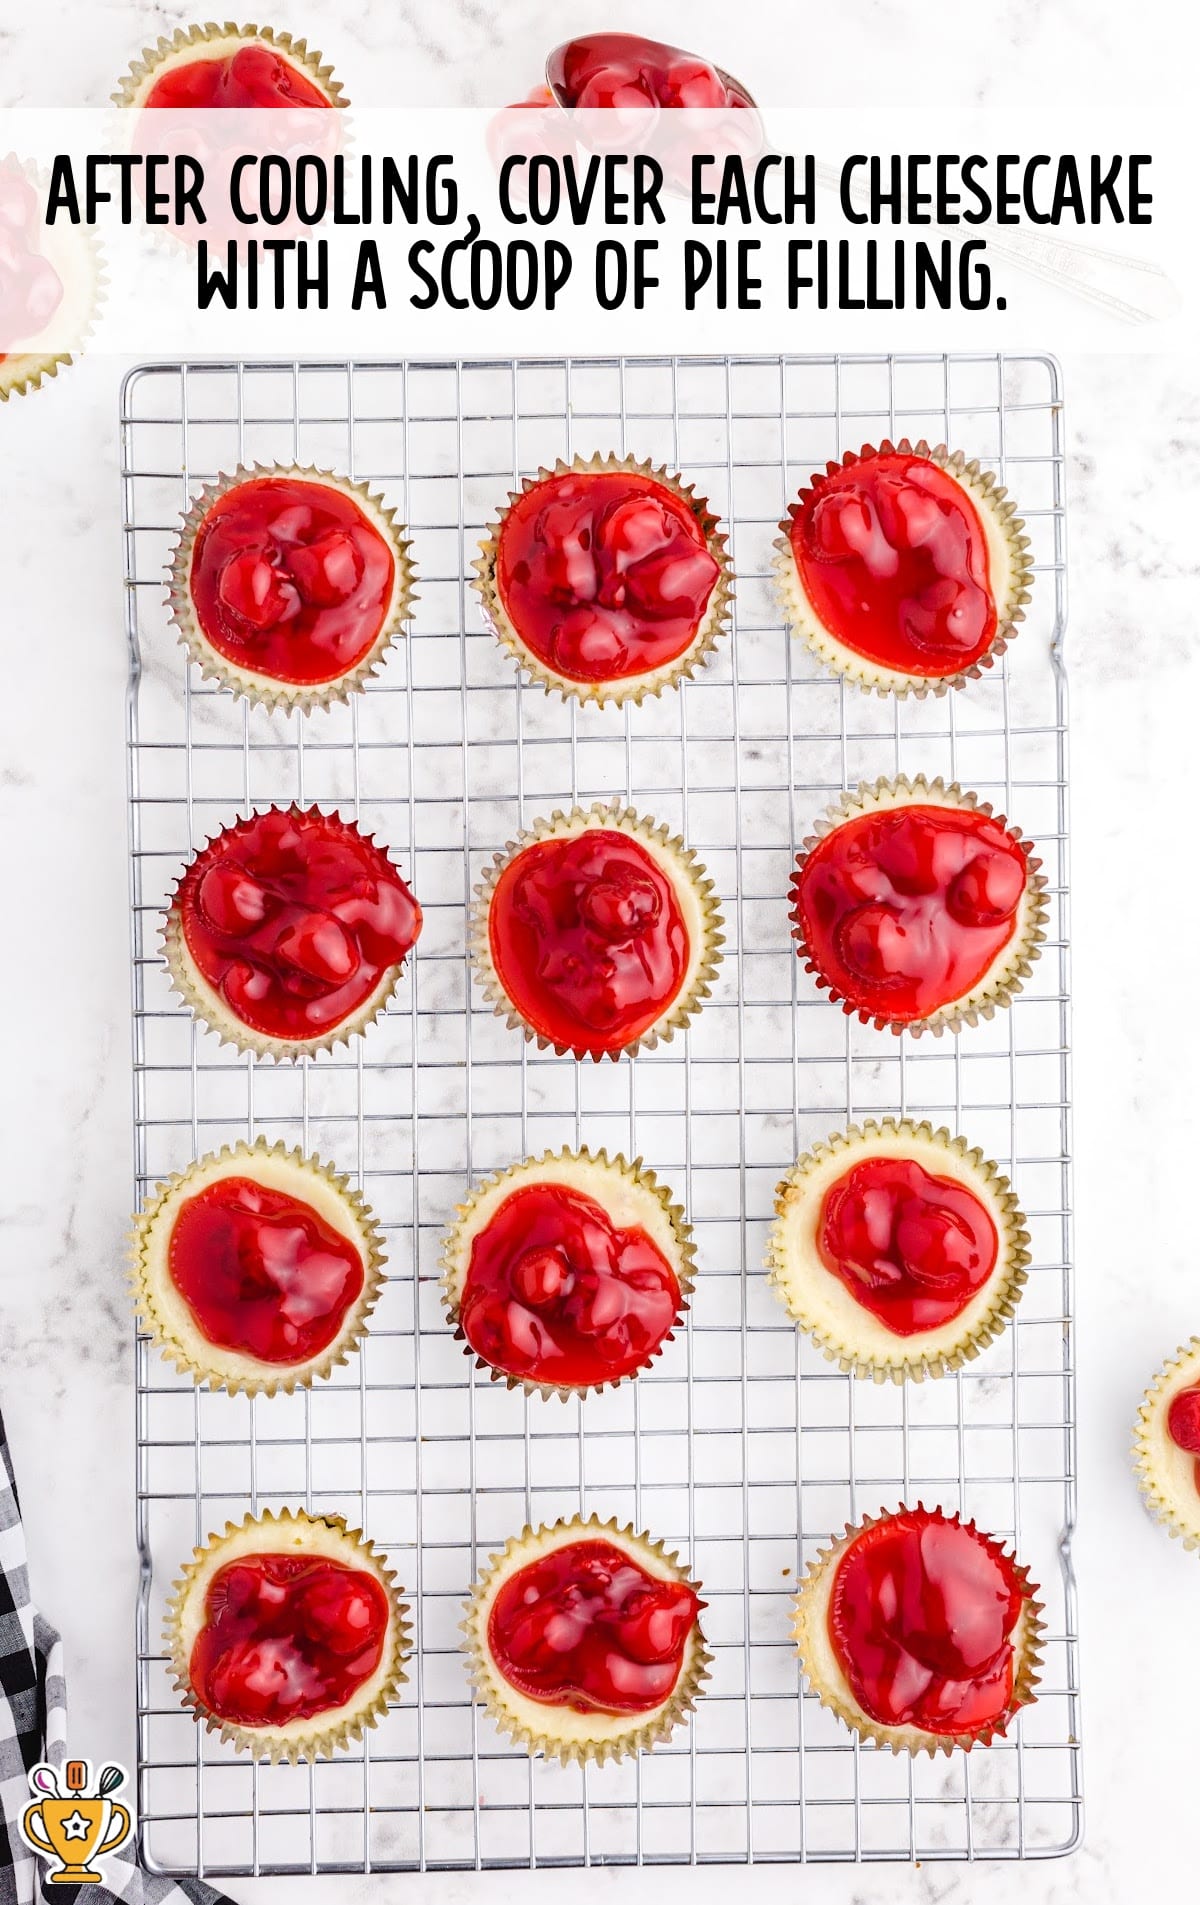
TENTH STEP: After cooling, top each cheesecake with a scoop of cherry pie filling.
How To Serve Mini Cherry Cheesecake
Mini cherry cheesecakes are perfect for many occasions. You can serve them at parties, family gatherings, or seasonal events. They also work well for both kids and adults. Here’s how to serve this delicious recipe!
- Perfect for parties: These mini cheesecakes make great bite-sized treats for any celebration. Serve them at birthdays or holiday parties for a fun, sweet touch. Pair them with a refreshing sangria or cinnamon toast crunch shot for a festive spread.
- Great for summer gatherings: Mini cherry cheesecakes are a refreshing, cool treat for warm weather. Serve them at barbecues or picnics to beat the heat. Complement them with a chilled glass of punch or pumpkin soup for a seasonal flavor combination.
- Holiday dessert idea: These cheesecakes add a special touch to any holiday gathering. Serve them at Christmas, Thanksgiving, or even Easter. They pair perfectly with a creamy starburst cocktail or a batch of orange cookies for a festive dessert table.
Why You'll Love This Cherry Cheesecakes Recipe
Our cherry cheesecake bites recipe is an instant favorite for so many reasons. From their easy prep to their irresistible flavor, here's why people love them:
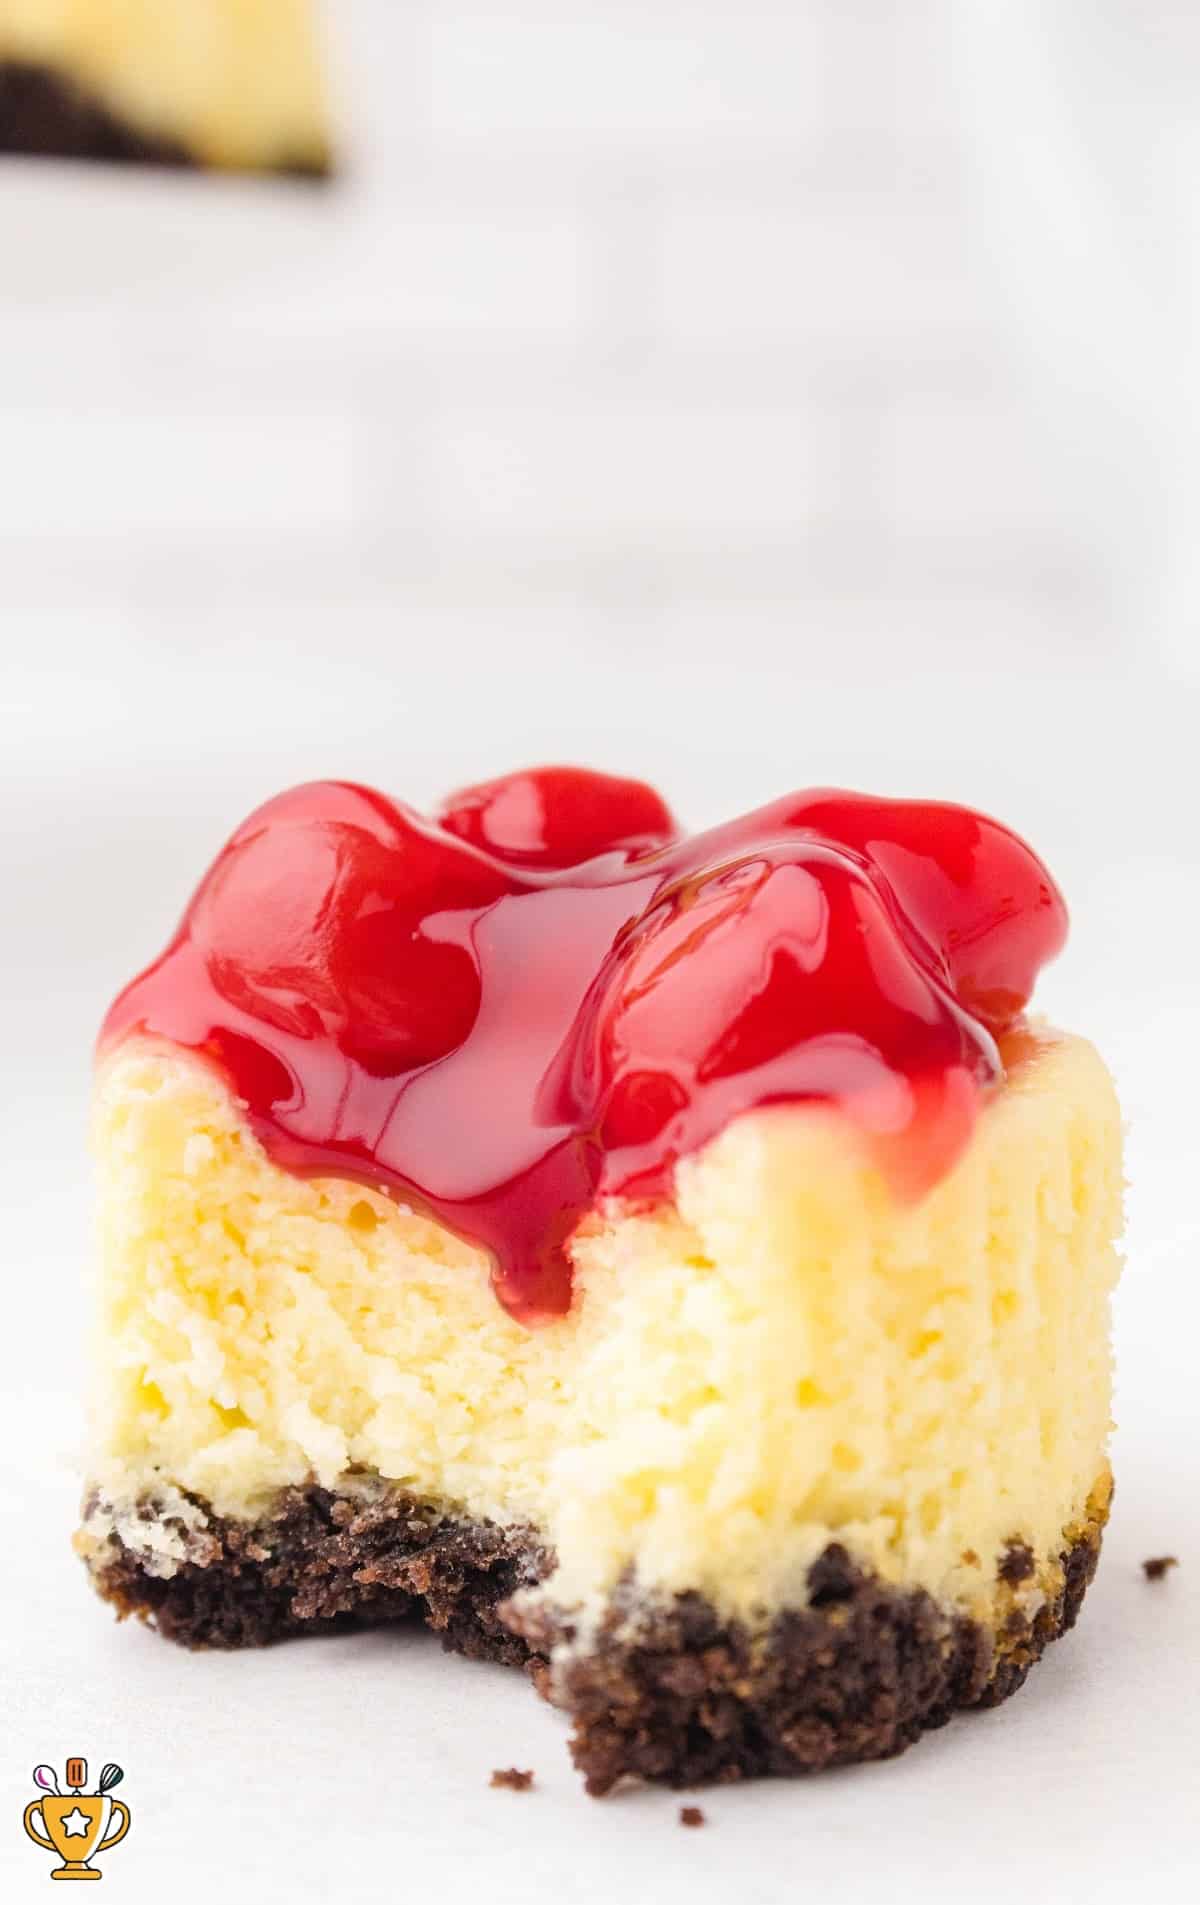
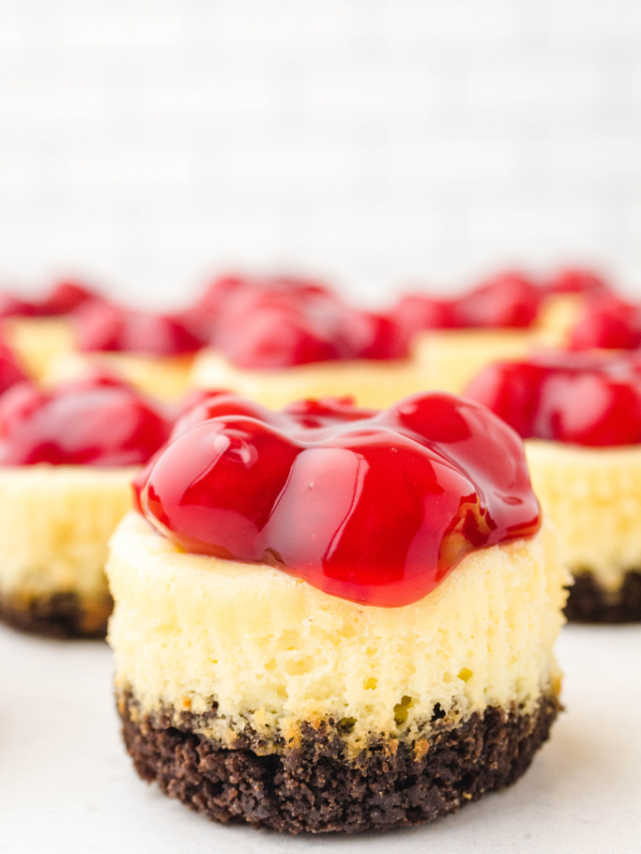
- A burst of sweetness in every bite: Cherry mini cheesecakes combine a creamy, rich filling with a buttery crust and sweet cherry topping. The balanced flavors keep you coming back for more with each mini bite-sized treat. This recipe works for casual snacking or as a show-stopping dessert.
- A perfect balance of textures: The crust adds a satisfying crunch, while the smooth cheesecake filling creates a melt-in-your-mouth experience. Together, they deliver the ideal combination of creamy and crunchy. Whether you're serving them at a family gathering or a dinner party, they’re sure to be a hit.
- Quick and simple to prepare: This easy recipe requires minimal prep time, making it a go-to choice for busy days. With step-by-step instructions, even beginners can make this treat look and taste like a pro. You'll love how simple it is to make such a stunning dessert in no time.
Mini cherry cheesecakes are such a delightful way to impress your guests or treat yourself.
Recipe FAQ
How long do mini cherry cheesecakes need to set?
Allow the mini cheesecakes to chill in the fridge for at least two to three hours before serving. This helps them set properly.
Can I make mini cherry cheesecakes ahead of time?
Yes! You can prepare them the day before. Just cover them tightly and refrigerate until ready to serve.
Do I need a special pan for mini cherry cheesecakes?
A standard muffin tin works perfectly for this recipe. It creates perfect portions for each individual cheesecake.
Can I use fresh cherries instead of canned for the topping?
Yes, fresh cherries add a great touch! Just make sure to pit and slice them for easy topping.
Serving FAQ
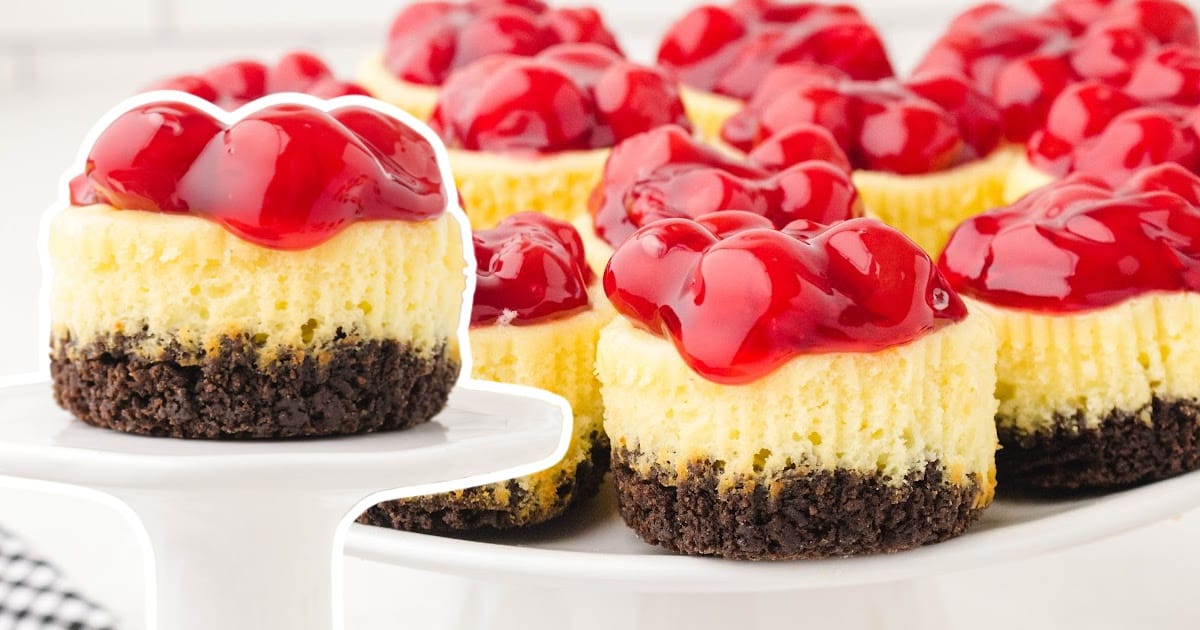
How should I present mini cherry cheesecakes at a party?
Arrange the mini cheesecakes on a colorful platter for a fun and inviting display. Add fresh mint leaves for a pop of color.
Can I serve mini cherry cheesecakes at a family dinner?
Absolutely! These mini cheesecakes make a perfect, easy-to-eat dessert for family dinners. Serve them as a sweet finale.
What’s the best way to serve mini cherry cheesecakes at a buffet?
Place mini cherry cheesecakes in individual cupcake liners. This makes them easy to grab and enjoy without the mess.
Can I serve mini cherry cheesecakes for a holiday celebration?
Yes! Mini cherry cheesecakes work beautifully for holiday gatherings. They’re festive, fun, and perfect for sharing with loved ones.
Storage FAQ
Follow the directions, tips, and tricks below for optimal storage of mini cherry cheesecakes. From making ahead to serving, we’ve got you covered with the best practices for keeping your treats fresh and delicious!
Can I make mini cherry cheesecakes ahead of time?
Yes, prepare them the day before and store them in the fridge. They will stay fresh and delicious for up to two days.
What’s the best way to store mini cherry cheesecakes?
Store them in an airtight container in the fridge. This will keep them fresh for up to two days.
Can I freeze mini cherry cheesecakes?
While mini cheesecakes taste best fresh, you can freeze them. Just wrap them tightly in plastic wrap and store them in a freezer-safe container.
How do I thaw and reheat frozen mini cherry cheesecakes?
Thaw mini cheesecakes in the fridge overnight. Serve them chilled or at room temperature for the best texture and flavor.


Mini Cherry Cheesecake
Mini cherry cheesecakes combine creamy filling, a crunchy crust, and sweet cherries for a perfect bite-sized treat. They're easy to make, perfect for parties, and always a crowd favorite!
Did you try this recipe?Let our readers know how it turned out by Leaving a Review!
Ingredients
- ½ cup unsalted butter (melted)
- 1½ cups graham cracker crumbs
- 16 ounces cream cheese (softened)
- 1 cup white sugar
- 2 large eggs
- ⅓ cup sour cream
- 1 teaspoon vanilla extract
- 1 tablespoon all-purpose flour
- 1 can cherry pie filling
DIRECTIONS
- Preheat oven to 350°F.
- Fill 18 muffin tins with foil-lined wrappers. The wrappers with the inside foil lining peel better from this dessert.
- In a medium bowl, stir together melted butter and graham cracker crumbs until mixed.
- Press about 1 tablespoon of graham cracker crumb and butter mixture in the bottom of each cupcake wrapper.
- In a large bowl, beat the cream cheese with the white sugar until smooth. Scrape down the sides of the bowl often.
- Beat in the eggs until well mixed. Again, scrape down the sides of the bowl often.
- Beat in the sour cream, vanilla, and flour until well mixed.
- Scoop the cheesecake mixture into each cupcake wrapper. Fill until each is filled to about ½ inch from the top. They will rise a bit while baking, so don’t overfill.
- Baking 20 to 25 minutes. They’re done when still just slightly jiggly in the middle.
- Remove from oven and let cool for 20 minutes before placing in fridge to cool completely. These will need to cool in fridge for at least two hours before serving.
- Top each with a scoop of cherry pie filling before serving.
Notes
- The wrappers with the foil lining peel better from this dessert. Oven temperatures vary and may need to be recalibrated periodically to ensure they are accurate.
- Make sure to keep a close eye on your cheesecakes as the suggested baking time approaches.
Nutrition
Calories: 218kcal | Carbohydrates: 19g | Protein: 3g | Fat: 15g | Saturated Fat: 9g | Polyunsaturated Fat: 1g | Monounsaturated Fat: 4g | Trans Fat: 0.2g | Cholesterol: 58mg | Sodium: 139mg | Potassium: 60mg | Fiber: 0.2g | Sugar: 14g | Vitamin A: 533IU | Vitamin C: 0.002mg | Calcium: 40mg | Iron: 0.4mg
HAVE YOU TRIED THIS RECIPE?Follow me on Pinterest @bestblogrecipes
More Recipes

Comments
Michelle says
How would you store these and can you freeze them? Thanks!
Layne Henderson says
Hi, Michelle - you can freeze the cheesecakes in an airtight, freezer-safe container and then thaw in the fridge before topping with the cherry pie filling and serving. Enjoy!
Lynda says
My family loves these things🤗❤️
Ronnie says
How long would these cook for the mini-cupcake size?
Yessi Santana says
Prep time: 15 minutes, Cook Time: 25 minutes