
Last updated on
Fruity Pebble Treats

Fruity pebble treats mix gooey marshmallows with crunchy cereal for a fast and fun no-bake dessert. Kids and adults both love these bright and crispy bars.
Jump to RecipeTable of Contents

Make these colorful fruity pebble treats with just a few ingredients and one pan. Each chewy bite packs fruity crunch and marshmallow goodness. Kids and adults both grab seconds, so make a double batch. Bring these to parties, bake sales, or after-school snack time for a guaranteed win.
This recipe is super easy to make, and you can follow the simple guide below. We’ve included step-by-step photos, directions, and helpful pro tips and tricks. You’ll also find answers to the most frequently asked recipe questions, all in one place.

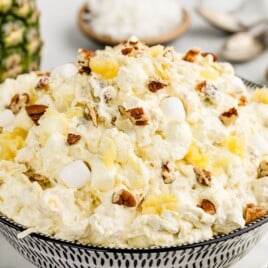
More Recipes ⭐ Creamy Fruit Salad | Chocolate Fudge | Rice Krispie Treats
You can make these fruity pebbles treats in just five minutes with three simple ingredients and no baking required. Let them rest and they're ready to serve. These gooey, crispy, loaded with sweet marshmallow treats bring flavor in every colorful bite.
These fun cereal bars always steal the show at birthday parties, bake sales, and school snacks. Make them at home for a fast, kid-approved dessert that’s easy and fun.
Ingredients for Fruity Pebble Rice Krispie Treats
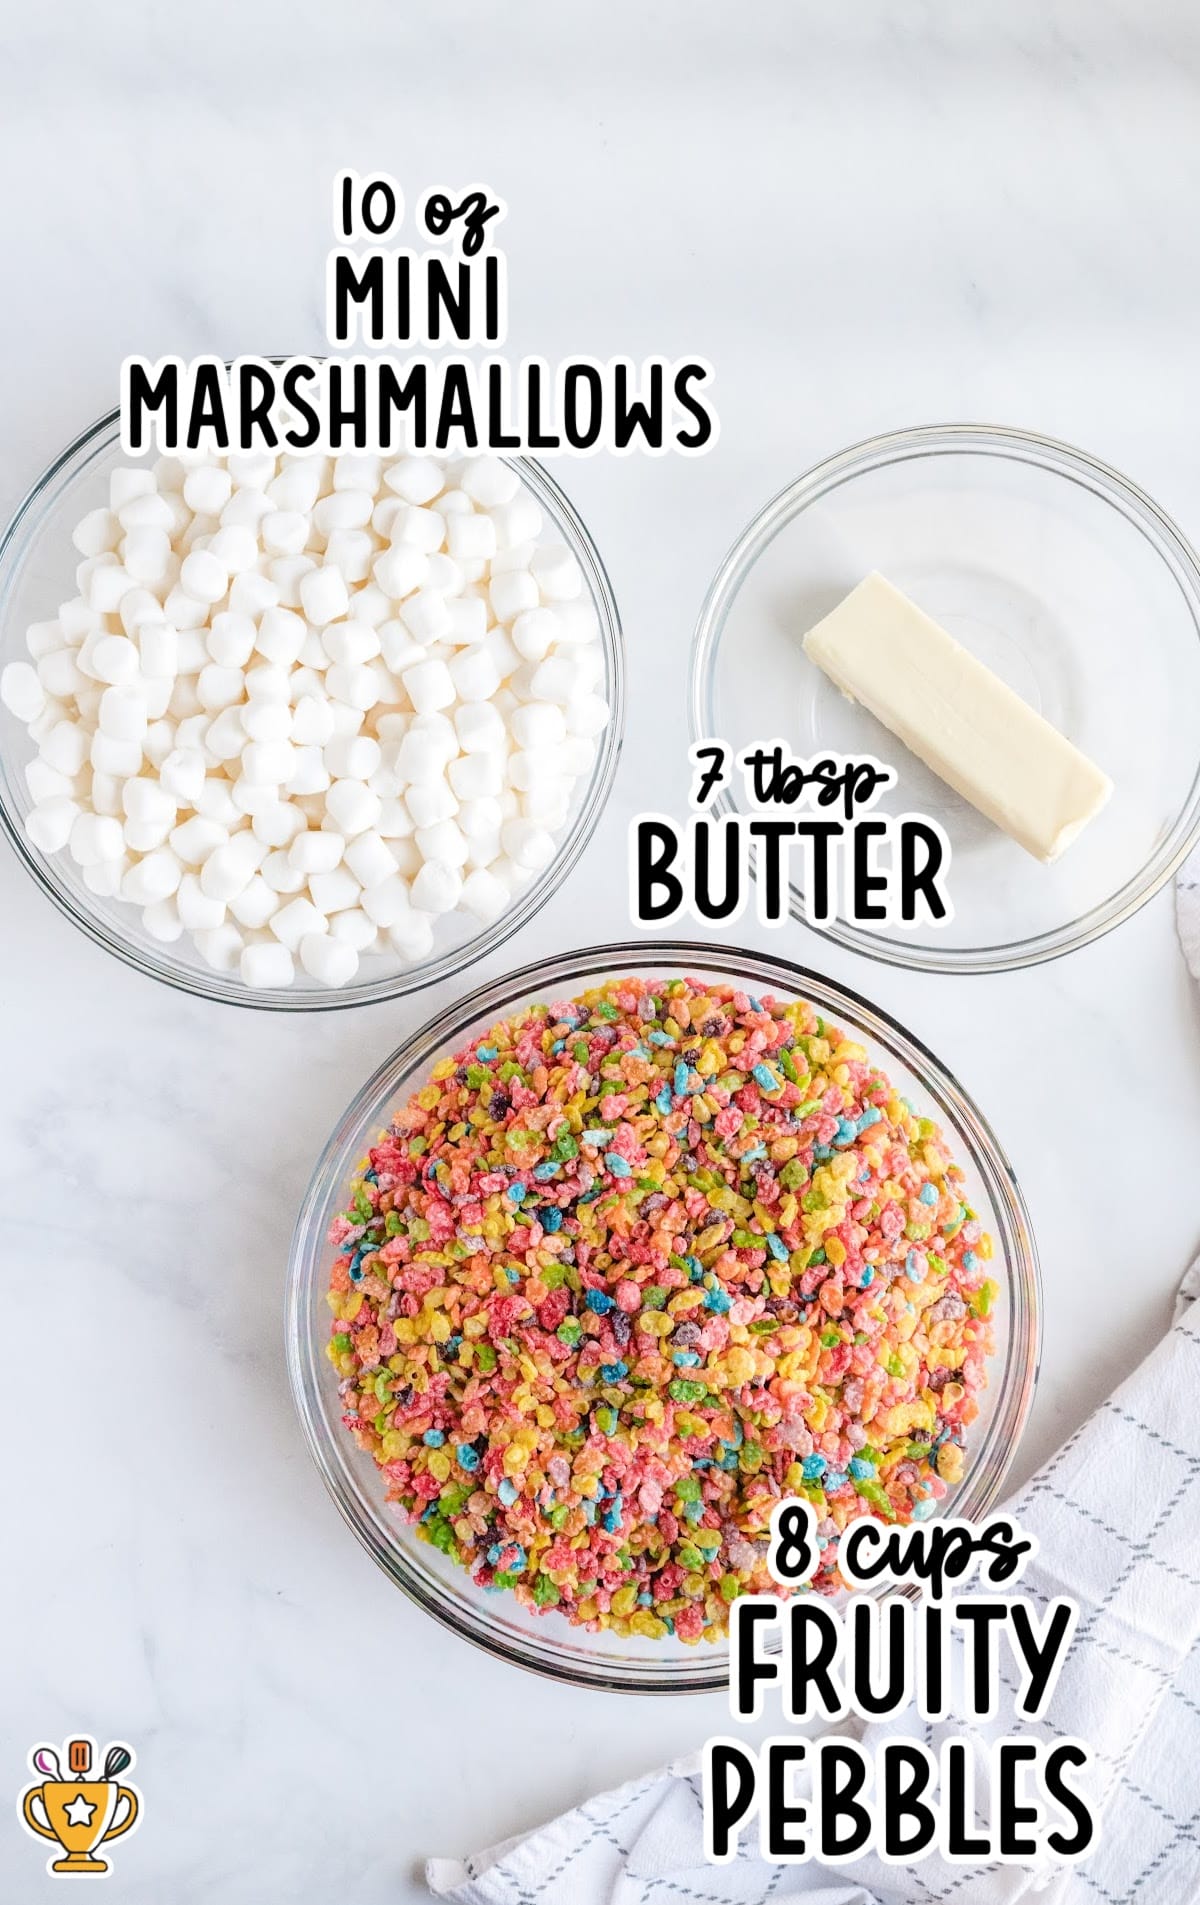
What you'll need to make these fruity pebble marshmallow treats:
- 7 tablespoons of butter
- 1 (10-ounce) bag of miniature marshmallows
- 8 cups of Fruity Pebbles cereal
Pro Tip
Always use the freshest marshmallows for this, as they will taste the best. Also, make sure you use a fresh box of cereal you have just opened for the purpose.
Substitutions and Additions
Fruity Pebbles: If the treats taste too sweet, try using four cups Fruity Pebbles and four cups plain Rice Krispies instead.
Vanilla Extract: For extra flavor, mix in a few drops of vanilla extract and a small pinch of salt before pressing into the pan.
How to Make Fruity Pebble Treats
Follow along with our step-by-step pictures to make these fun and fruity treats. Use the tips and tricks listed below to help you out. Let’s get started!
FIRST STEP: Prepare the 9 x 13-inch baking tray by greasing the bottom and sides with butter. Use the end of the stick of butter to make this easy.
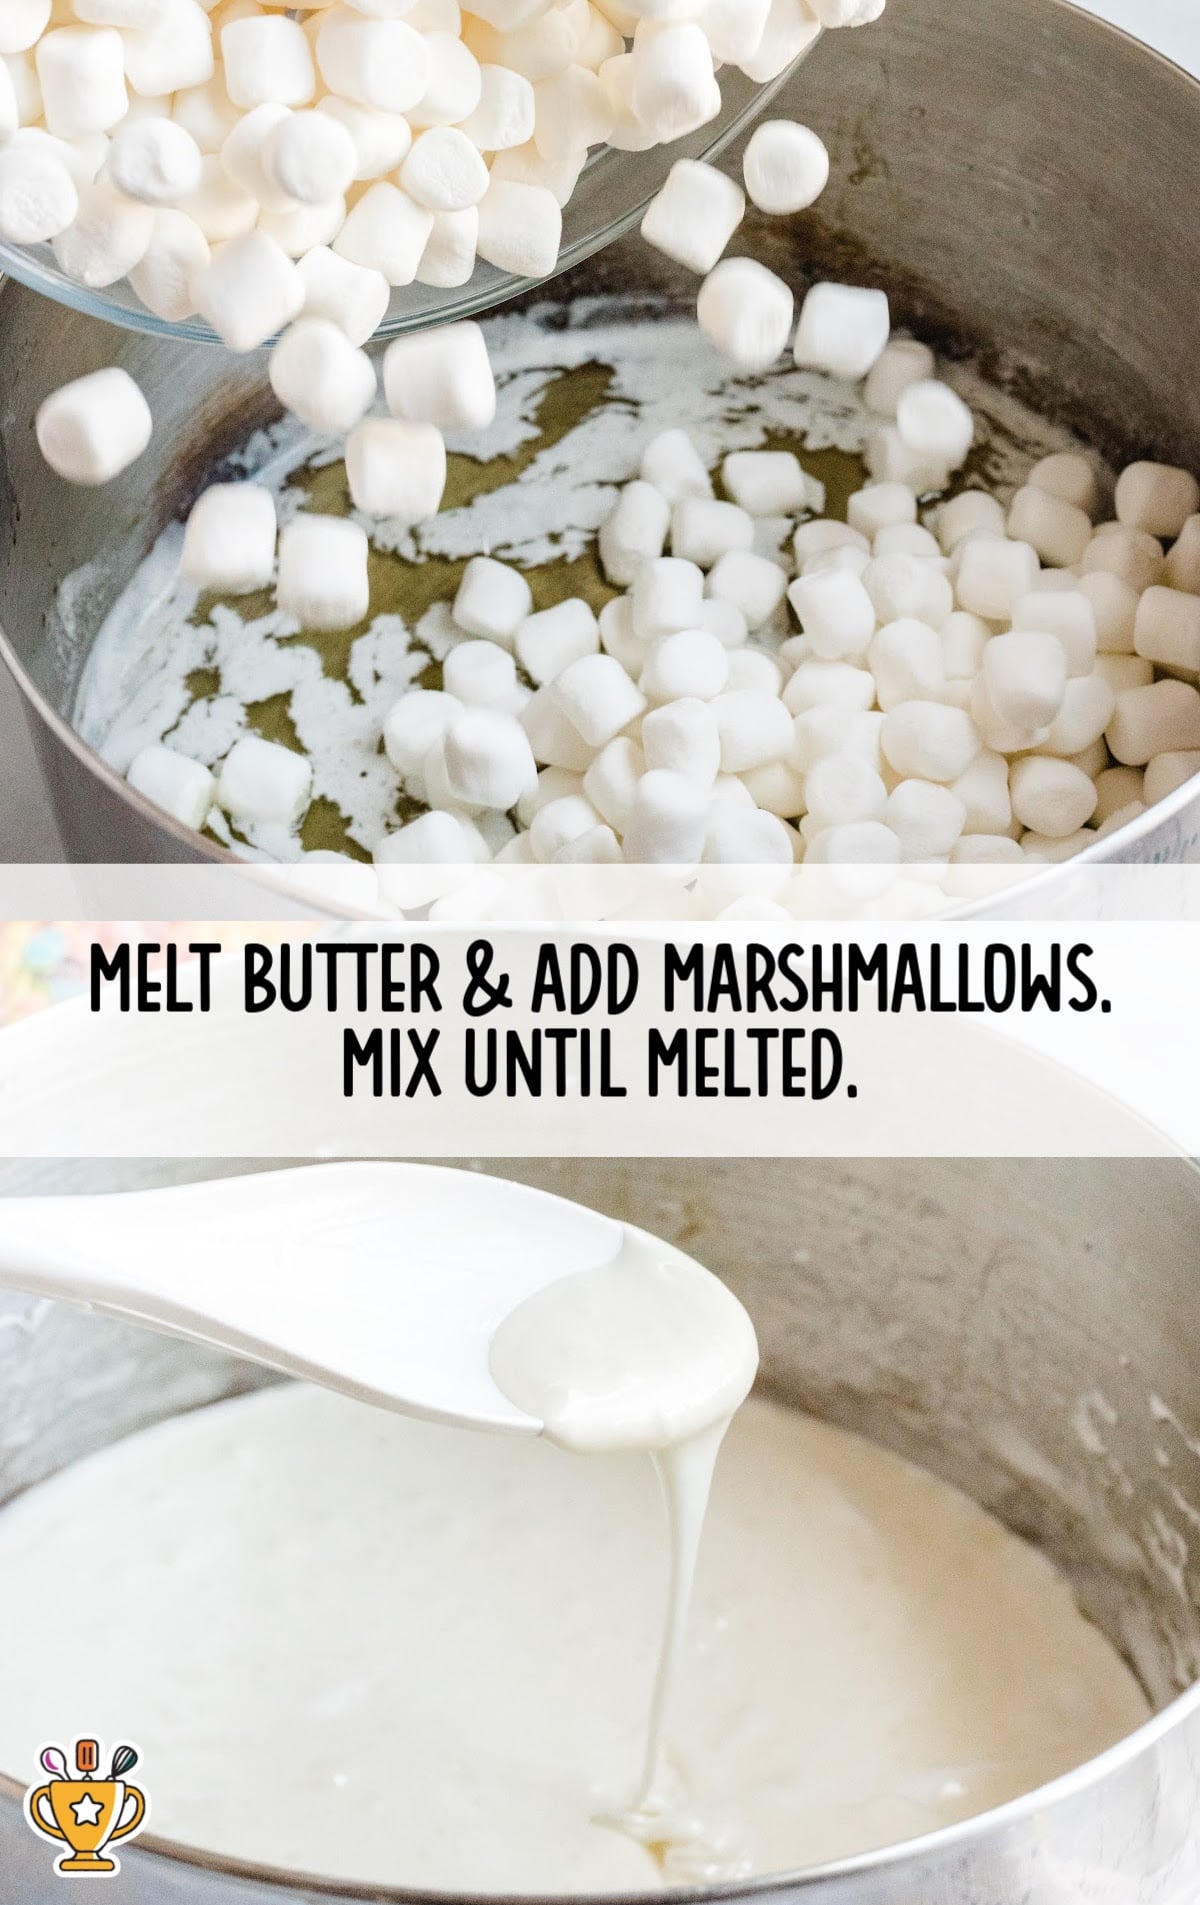
SECOND STEP: Melt the butter in a large saucepan over medium heat. Add the mini marshmallows to the melted butter and stir until melted.
Pro Tip
You can also melt the butter and marshmallows in the microwave. Take a medium-sized microwave-safe bowl and microwave for 30 seconds. Stir then repeat 2-3 times in 30-second increments until everything is melted. Combine with the cereal in a large bowl.
THIRD STEP: Remove the pan from the heat and pour in the cereal, stirring quickly to combine.
Pro Tip
If you don’t want the melted marshmallows mixture sticking to your hands, take some wax paper and press down on the mixture by hand with the wax paper in between.

FOURTH STEP: Pour the cereal mixture into the prepared pan. Dampen your fingers with cool water and then press the mixture gently to spread it in an even layer.
Pro Tip
Make sure you don’t over-compress the gooey fruity pebbles mixture into the bowl, or the bars will end up being really hard to eat.

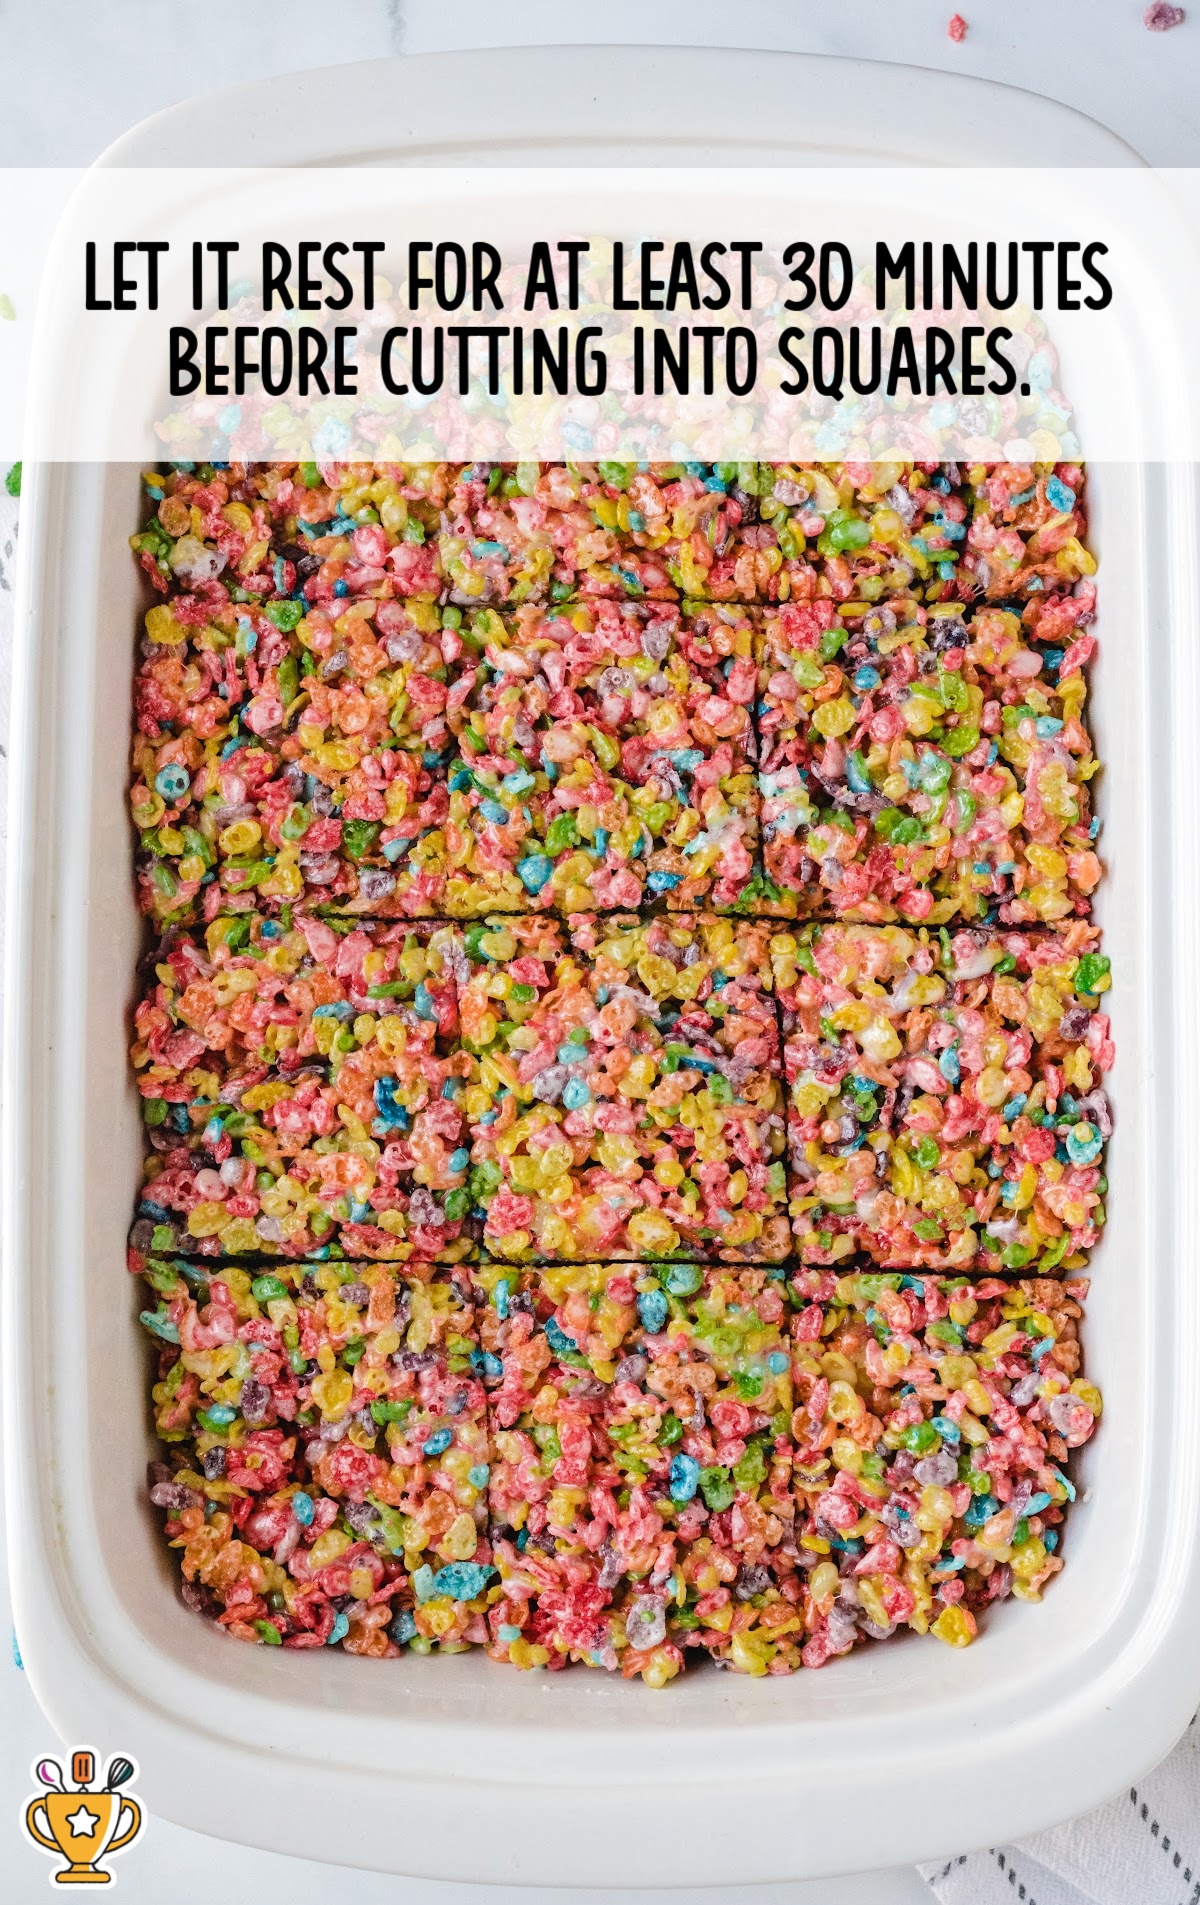
FIFTH STEP: Leave the treats for at least 30 minutes before cutting them into squares.
How To Serve Fruity Pebbles Marshmallow Treats
You can serve these fruity pebbles treats in lots of fun ways all year long. They work great for parties, holidays, and quick snacks kids love.
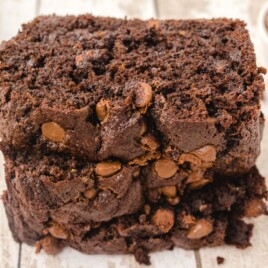
- Serve at birthday parties: These bright and chewy bars bring color and fun to any birthday dessert table. Pair them with cosmic brownies or marshmallow fluff fudge for extra sweetness.
- Make for holidays and celebrations: Fruity pebble treats fit right in at Easter, summer BBQs, or rainbow-themed baby showers. Add rainbow popcorn or unicorn cheesecake bites to keep things festive.
- Pack in lunchboxes or serve after school: Kids love these sweet, crispy bars after a long school day. Try them with peanut butter balls or monster cookie cupcakes for a fun snack mix.

Why You'll Love This Fruity Pebbles Treats Recipe
Fruity pebbles treats are always a hit, and it’s easy to see why. They’re fast, fun, and packed with color. Whether you’re baking with kids or need a last-minute dessert, this recipe keeps things simple and sweet.
- Easy to Make: You only need three ingredients and one pot—no oven, no hassle, no problem. Fewer dishes mean more time for fun and less time at the sink.
- Colorful and Fun: The bright cereal bars bring instant smiles to kids, party guests, and after-school snackers.
- No-Bake Favorite: No need to heat the kitchen—just stir, press, and chill.
- Great for Kids: Little hands love to help, and this recipe keeps them busy in the best way.
- Always a Crowd-Pleaser: These treats disappear fast at birthdays, holidays, or any random weekday.
- Budget Friendly: You can make a big batch without spending a ton at the store.
- Perfect Texture: Every bite gives you gooey marshmallows and crispy cereal in perfect balance.
Fruity pebbles rice crispy treats check every box, and that's why our readers keep coming back for more.

Recipe FAQ
Can I make this recipe in the microwave?
Yes, you can the butter and marshmallow in the microwave. Place them in a medium-size microwavable bowl and microwave in thirty seconds bursts, stirring in between. Do this one or two more times until the butter and marshmallows are melted. Put the cereal in a large buttered bowl and pour in the marshmallow mixture. Stir and add to the 9x13 pan.
How do I keep my hands from getting sticky?
Use waxed paper to press down the mixture to prevent it from sticking to your hands. You can also dampen your hands with water or spray them with cooking spray to help avoid the mixture sticking to you.
How do I prevent the bars from getting hard?
Don’t press too hard when you press this mixture into the pan. Always store the fruity pebble bars on the counter, and not in the fridge. Also, be sure to use the freshest marshmallows and cereal.

Serving FAQ
How should I serve fruity pebbles treats at a kids' birthday party?
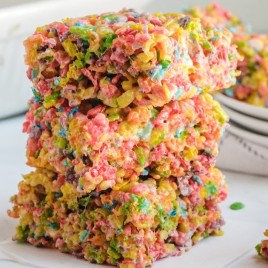
Cut them into squares and stack them on a colorful tray for a fun and eye-catching display. Try cutting fruity pebbles treats into something other than squares for a fun twist or a birthday theme.
Are fruity pebbles treats good for school lunches?
Absolutely. Wrap individual bars in plastic wrap and toss them into lunchboxes for a quick, sweet snack.
Should I let fruity pebbles treats cool before serving?
Yes, let them cool completely so they stay firm and hold their shape when you cut and serve them.
Are fruity pebbles treats good for bake sales?
Yes, these bright and chewy bars grab attention fast. Package them in clear wrap or bags for easy selling.

Storage FAQ
Here’s how to store fruity pebbles treats so they stay fresh, crispy, and full of sweet marshmallow flavor.
On the counter: Keep the treats at room temperature in an airtight container with a lid. Skip the fridge, or they’ll turn too hard.
In the freezer: Freeze them in a sealed, freezer-safe container with wax paper between layers. They’ll stay fresh for four to six weeks.
Fruity Pebbles Treats
Fruity pebble treats mix gooey marshmallows with crunchy cereal for a fast and fun no-bake dessert. Kids and adults both love these bright and crispy bars.
Did you try this recipe?Let our readers know how it turned out by Leaving a Review!
Ingredients
- 7 tablespoons butter
- 10 ounces miniature marshmallows
- 8 cups Fruity Pebbles cereal
DIRECTIONS
- Prepare a 9×13 pan by rubbing the bottom and sides with butter. This can be easily done by using one end of a stick of butter. Set aside.
- Melt butter in a large pan over medium heat. Add marshmallows, stirring until melted.
- Remove the pan from the heat and immediately pour the cereal into the pan on top of the melted marshmallows. Stir as quickly as possible until well combined.
- Pour the mixture into the prepared pan. Dampen the flat of your fingers with cool water and use these to evenly spread the mixture into the pan, packing it down.
- Let the treats sit for at least 30 minutes before cutting into squares.
Notes
- Always use the freshest marshmallows for this as they will taste the best. Also, make sure you use a fresh box of cereal you have just opened for the purpose.
- You can also melt the butter and marshmallows in the microwave. Take a medium-sized microwave-safe bowl and microwave for 30 seconds. Stir then repeat 2 to 3 times in 30-second increments until everything is melted. Combine with the cereal in a large bowl.
- If you don’t want the melted marshmallows mixture sticking to your hands, take some wax paper and press down on the mixture by hand with the wax paper in between.
- Make sure you don’t over-compress the gooey fruity pebbles mixture into the bowl, or the bars will end up being really hard to eat.
Nutrition
Calories: 241kcal | Carbohydrates: 42g | Protein: 2g | Fat: 8g | Saturated Fat: 5g | Polyunsaturated Fat: 0.3g | Monounsaturated Fat: 2g | Trans Fat: 0.3g | Cholesterol: 18mg | Sodium: 213mg | Potassium: 22mg | Fiber: 0.2g | Sugar: 23g | Vitamin A: 871IU | Vitamin C: 6mg | Calcium: 8mg | Iron: 2mg
HAVE YOU TRIED THIS RECIPE?Follow me on Pinterest @bestblogrecipes

Comments
Lauren B. says
Kids begged to help make these and they turned out yummier than classic rice krispie squares. I like treats we can all make together and they could measure out all the ingredients. awesome recipe to make with kids around.