
Last updated on
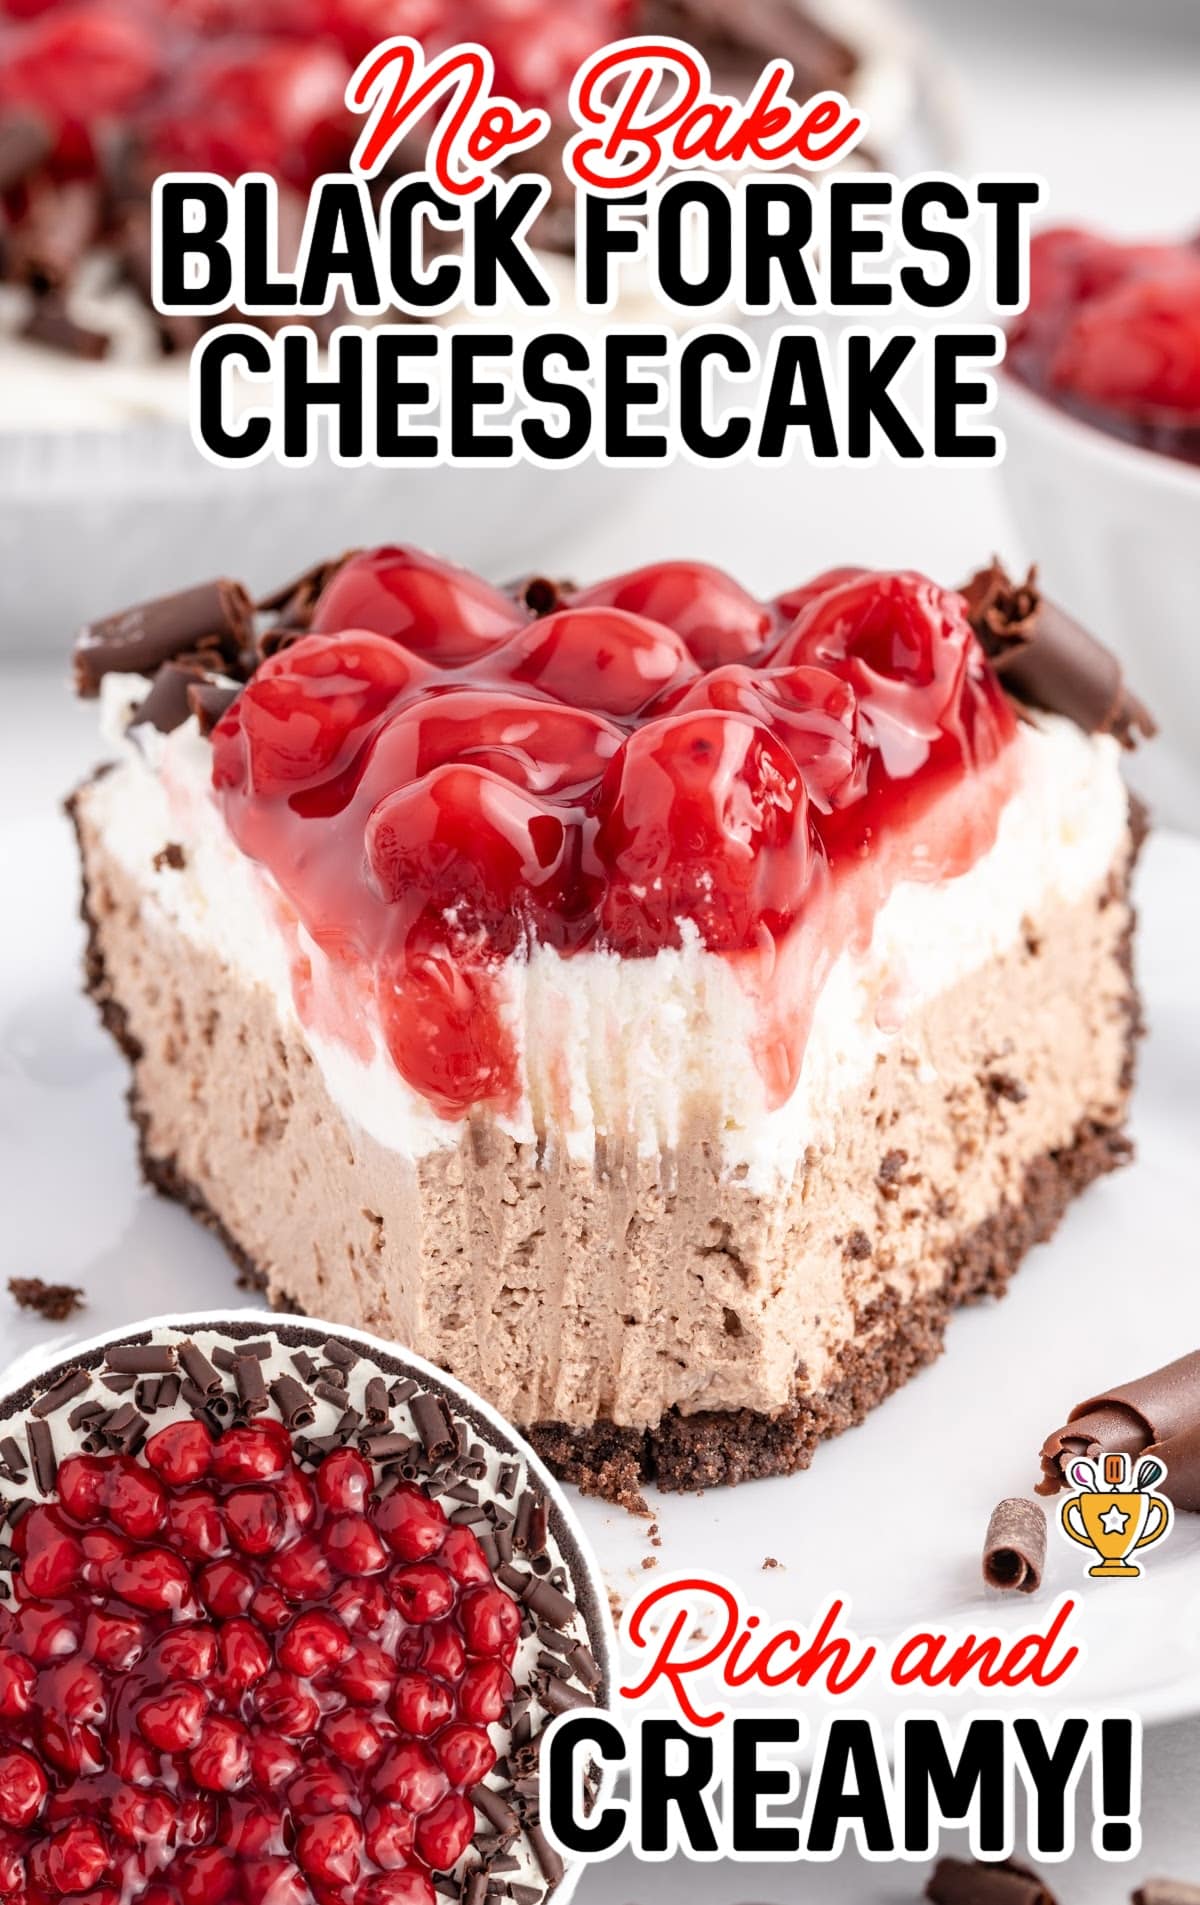
No Bake Black Forest Cheesecake
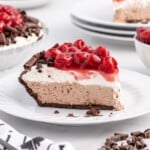
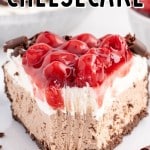
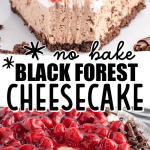
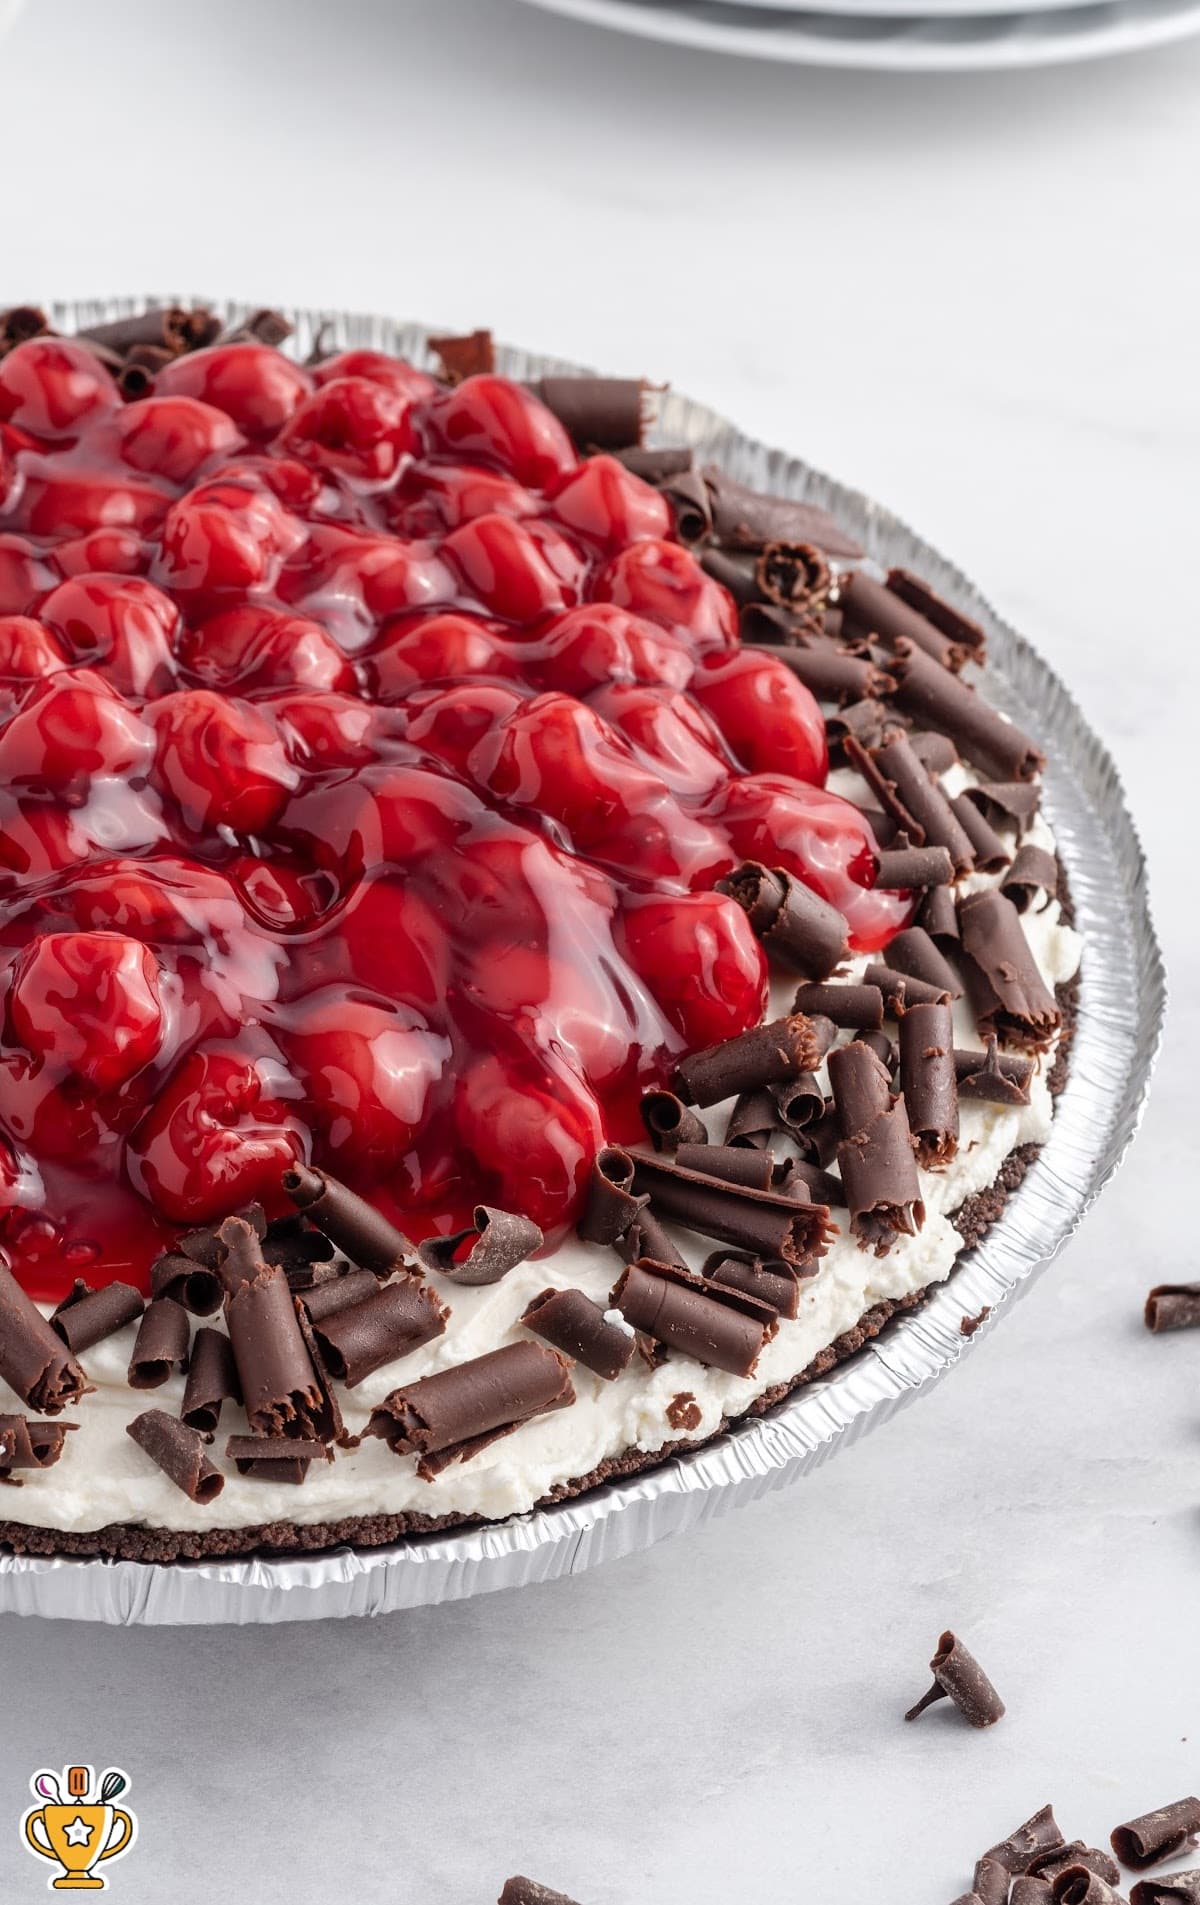
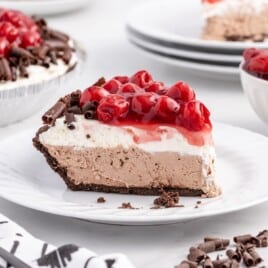
This no-bake black forest cheesecake layers creamy cheesecake, chocolate, and cherries for a simple, irresistible treat. It’s perfect for any occasion, and easy to prepare with minimal effort!
Jump to RecipeTable of Contents

Looking for a simple and delicious dessert? This no bake black forest cheesecake is the perfect treat for any occasion. With layers of creamy cheesecake, rich chocolate, and sweet cherries, it’s a dream come true. You won’t believe how easy it is to make and how great it tastes!
This black forest cheesecake recipe is simple to whip up, and you can follow the step-by-step guide below. We've included helpful photos and directions, along with pro tips and tricks to make your cheesecake perfect every time. Check out our FAQ section for answers to the most common questions.
More Recipes ⭐ Hershey Pie | Christmas Cheesecake | White Chocolate Raspberry Cake
This no bake black forest cheesecake pie takes just a few hours to prepare, making it a quick and easy dessert. It’s perfect for parties, potlucks, or any special occasion when you need a crowd-pleaser.
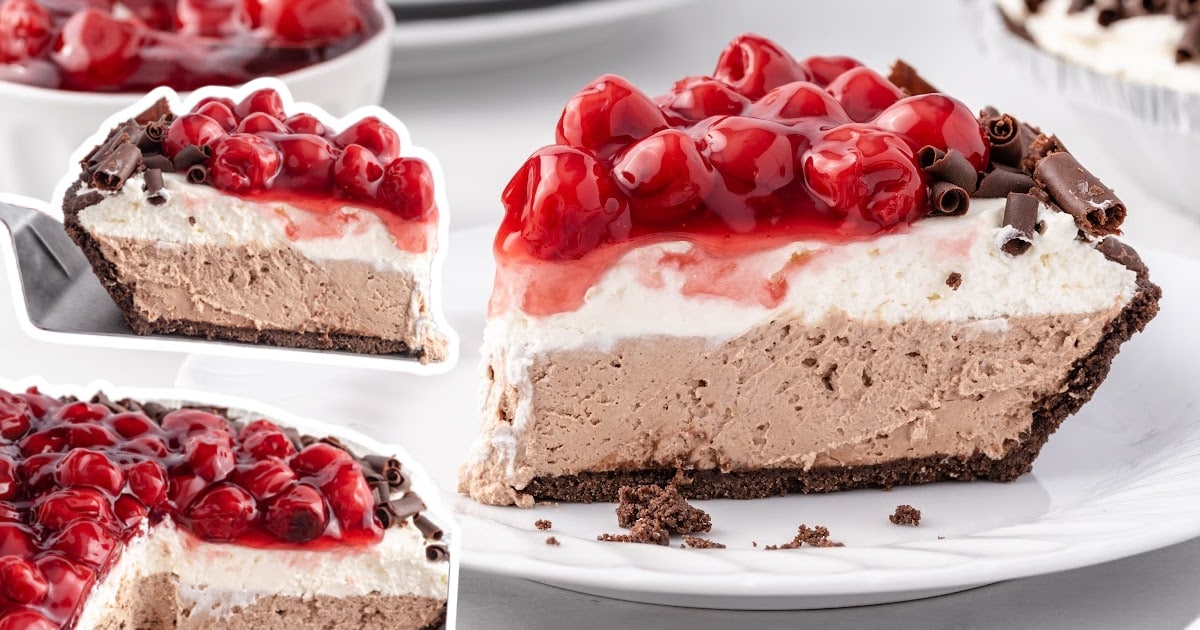
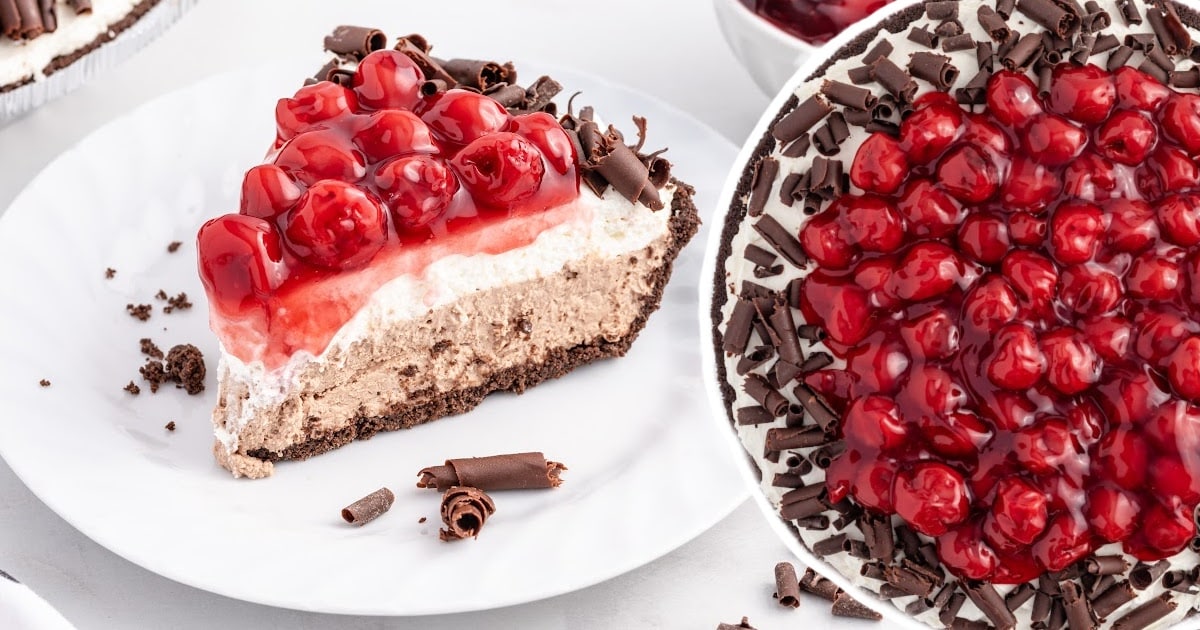
The layers of creamy cheesecake, chocolate, and sweet cherries will have everyone asking for seconds. You’ll love how simple it is to make and how great it looks on the dessert table!
Ingredients for No Bake Black Forest Cheesecake
What You'll Need to Make this No Bake Black Forest Cheesecake:
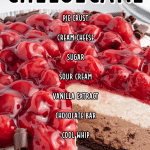
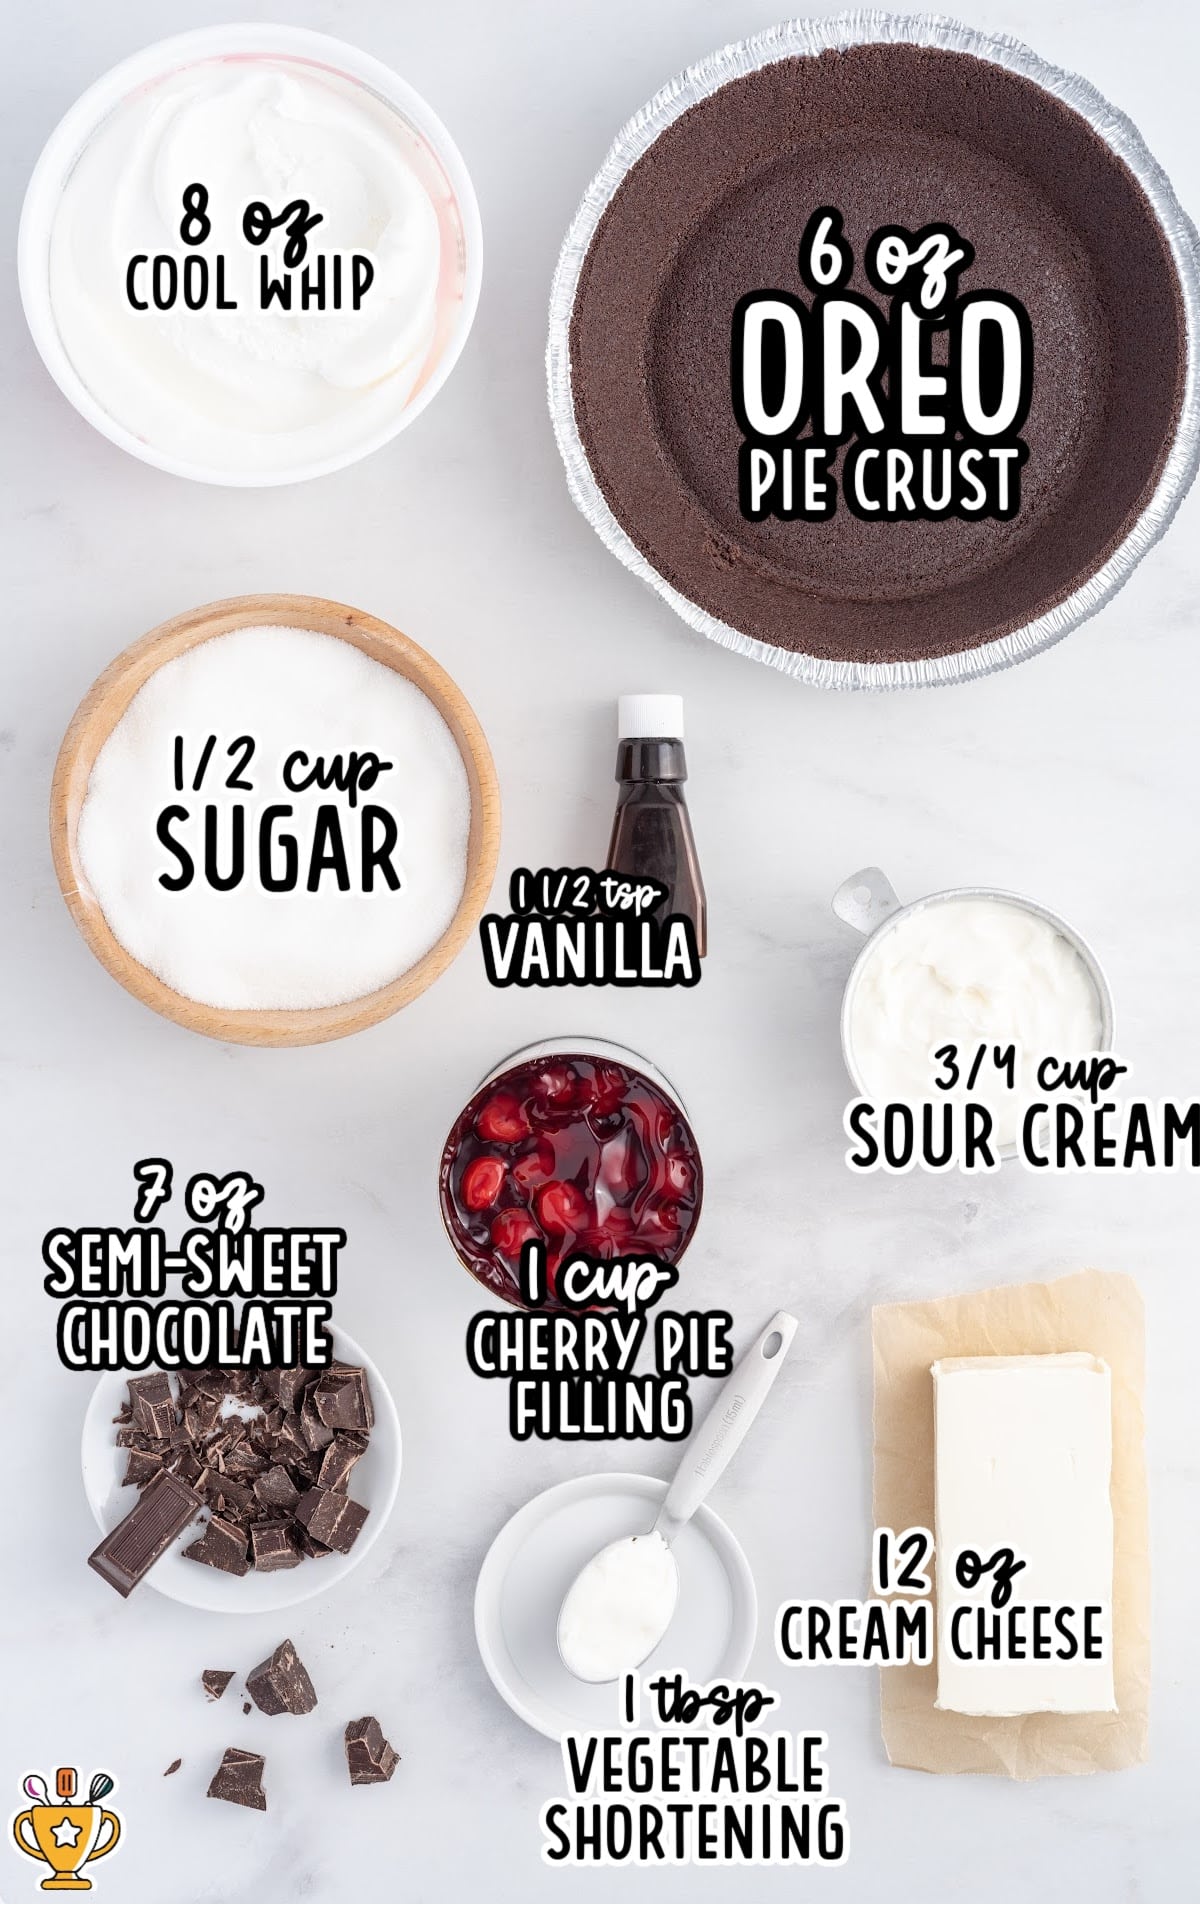
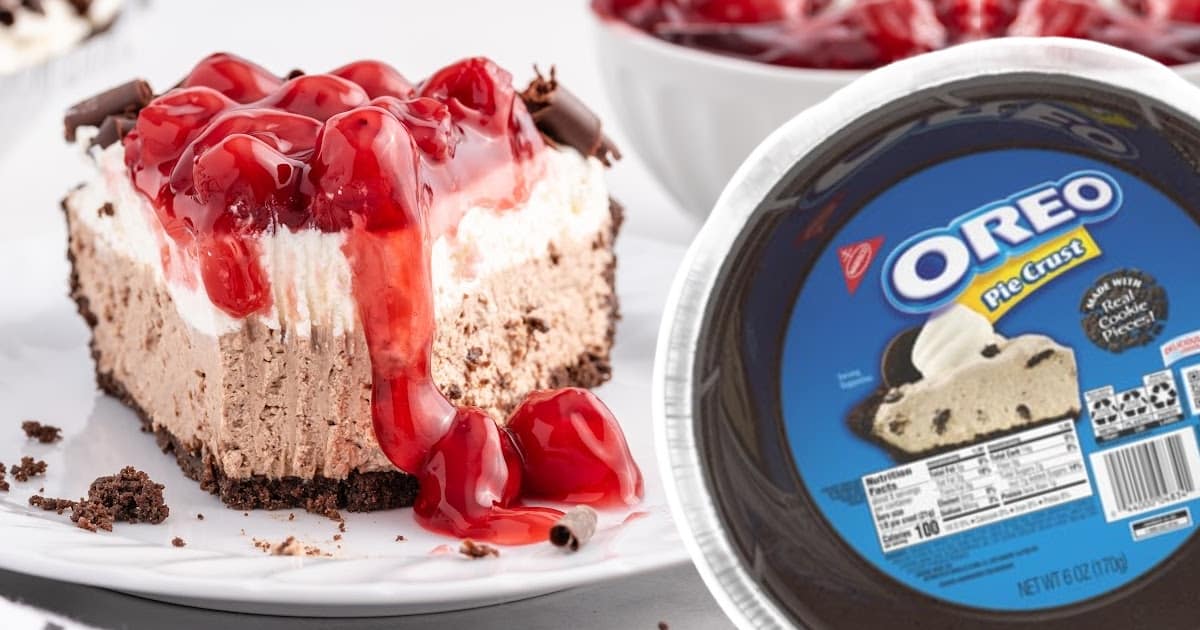
- 1 (6-ounce) pre-made Oreo pie crust
- 12 ounces cream cheese, room temperature
- ½ cup granulated sugar
- ¾ cup full-fat sour cream
- 1½ teaspoons vanilla extract
- 3 ounces semi-sweet baking bar, chopped (I used Ghirardelli brand)
- 1 (8-ounce) tub whipped topping, thawed
- 1 cup canned cherry pie filling (I used Duncan Hines/Comstock more fruit)
- Chocolate curls, optional garnish
Pro Tip
I like to buy the brands of canned fruit pie filling that are “more fruit” because they tend to have less of a jellied coating over the cherries.
If you can not find a brand like this, you can get two cans and just use a slotted spoon to scoop out only the cherries, leaving most of the jellied coating in the can. If desired, you can reserve any remaining pie filling to add to individual slices of no-bake black forest cheesecake.
The reserved pie filling can be stored in a sealed container in the refrigerator for up to 7 days.
For the Chocolate Curls
- 4 ounces semi-sweet chocolate baking bar, broken into small pieces (I used Ghirardelli brand)
- 1 tablespoon vegetable shortening (I used Crisco)
Substitutions and Additions
Try these simple changes to make your black forest cheesecake uniquely yours. Here are some top substitutions and additions:
- Substitute Graham Cracker Crust: Try using a chocolate cookie crust for a richer, chocolatey base.
- Add Almond Extract: Add a touch of almond extract to the cheesecake filling for a nutty twist.
- Substitute Cherries: Use raspberries or strawberries if you're craving a different fruity topping.
- Add Chocolate Chips: Sprinkle mini chocolate chips over the top for extra texture and a chocolate burst.
How to Make No Bake Black Forest Cheesecake
Treat yourself and try this no-bake black cherry cheesecake recipe! Follow our pictures, step-by-step instructions, and helpful tips below. Let’s get started and make this creamy, chocolatey dessert today!
FIRST STEP: Remove the plastic cover for the pre-made chocolate crust and set it aside.
Pro Tip
The plastic cover is perfect to use for storage. Flip it over and use it to cover your pie before you put it in the fridge.
How To Make the Cheesecake Filling
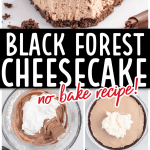
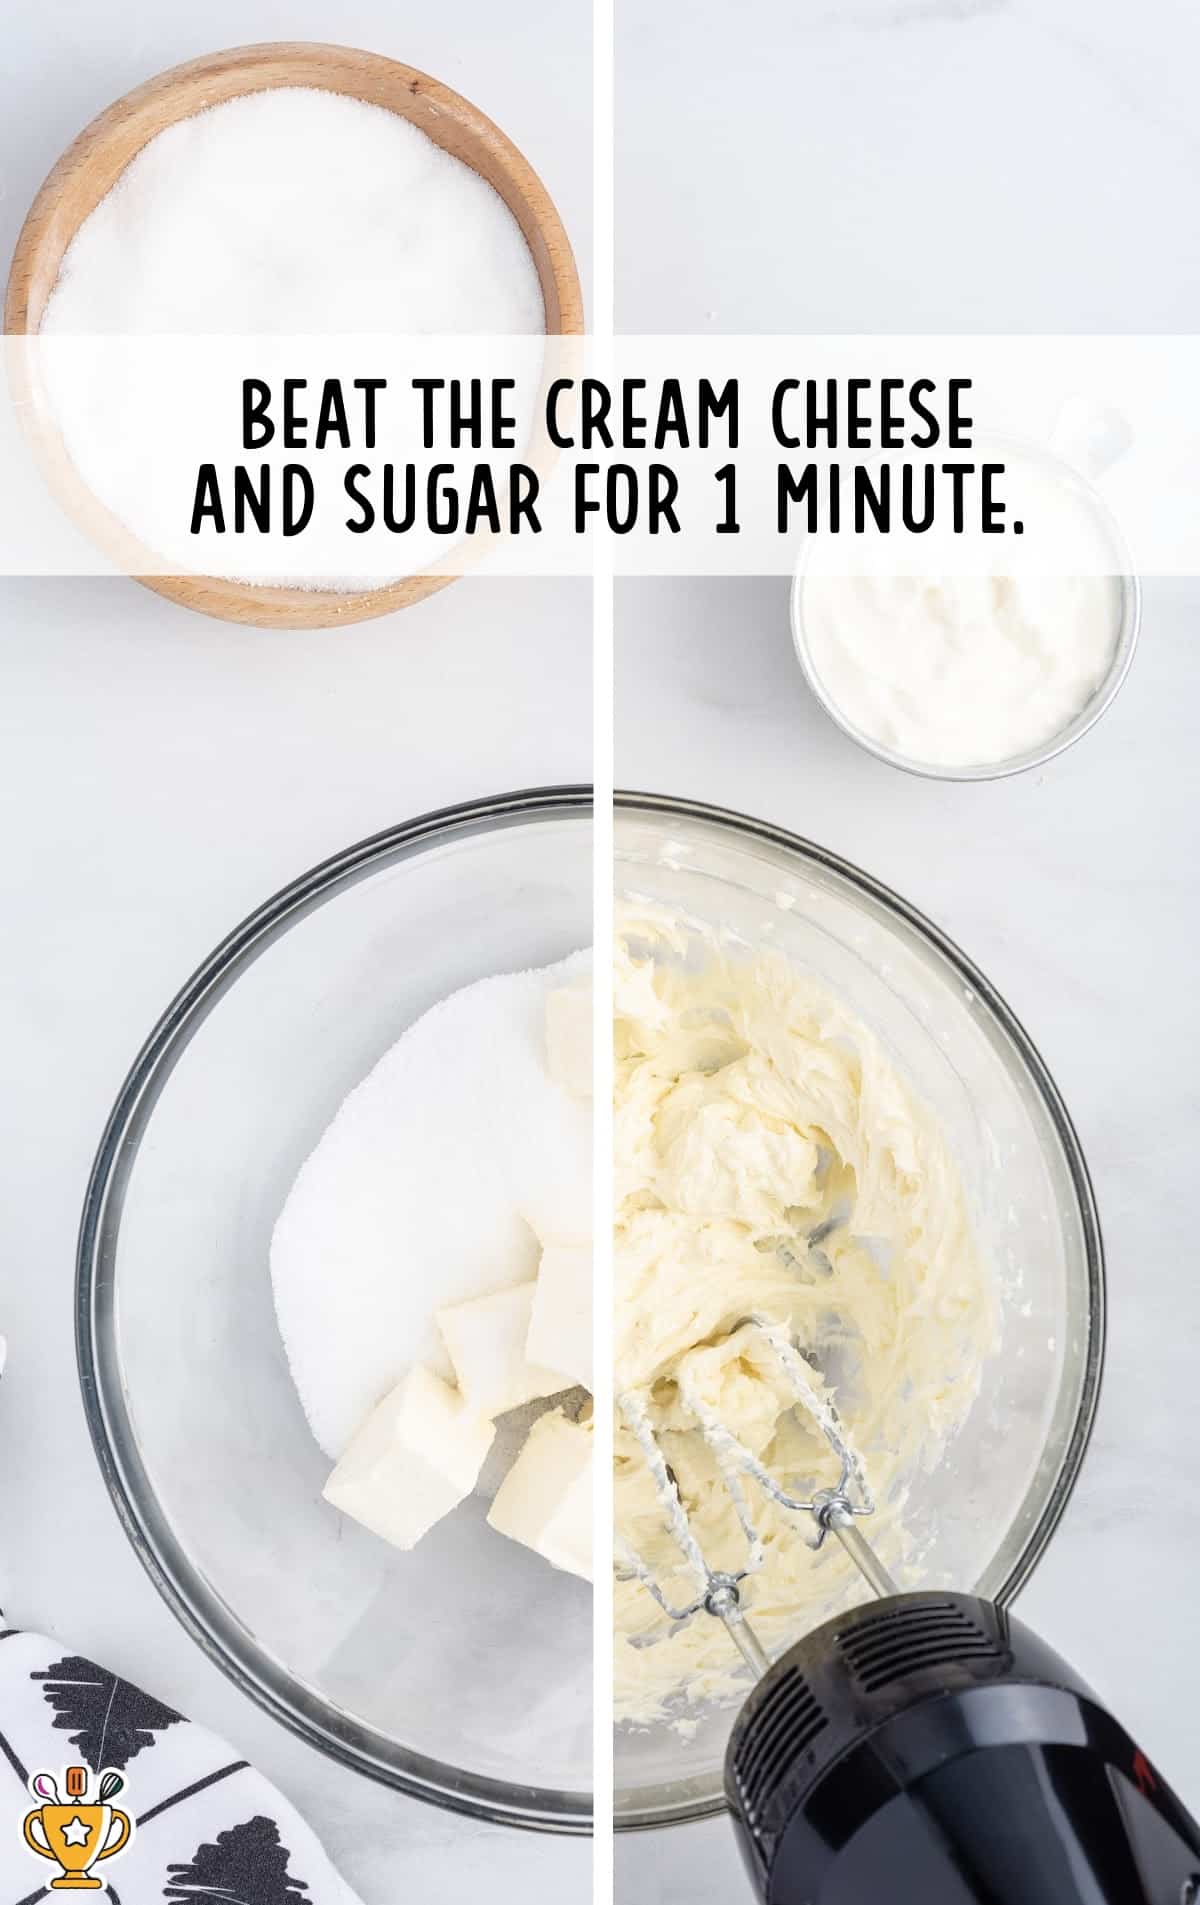
SECOND STEP: In a large bowl using an electric mixer on medium speed, beat the cream cheese and granulated sugar for 1 minute or until light and fluffy.
Pro Tip
Make sure your cream cheese is at room temperature, so you don’t have lumps in your cheesecake mixture.
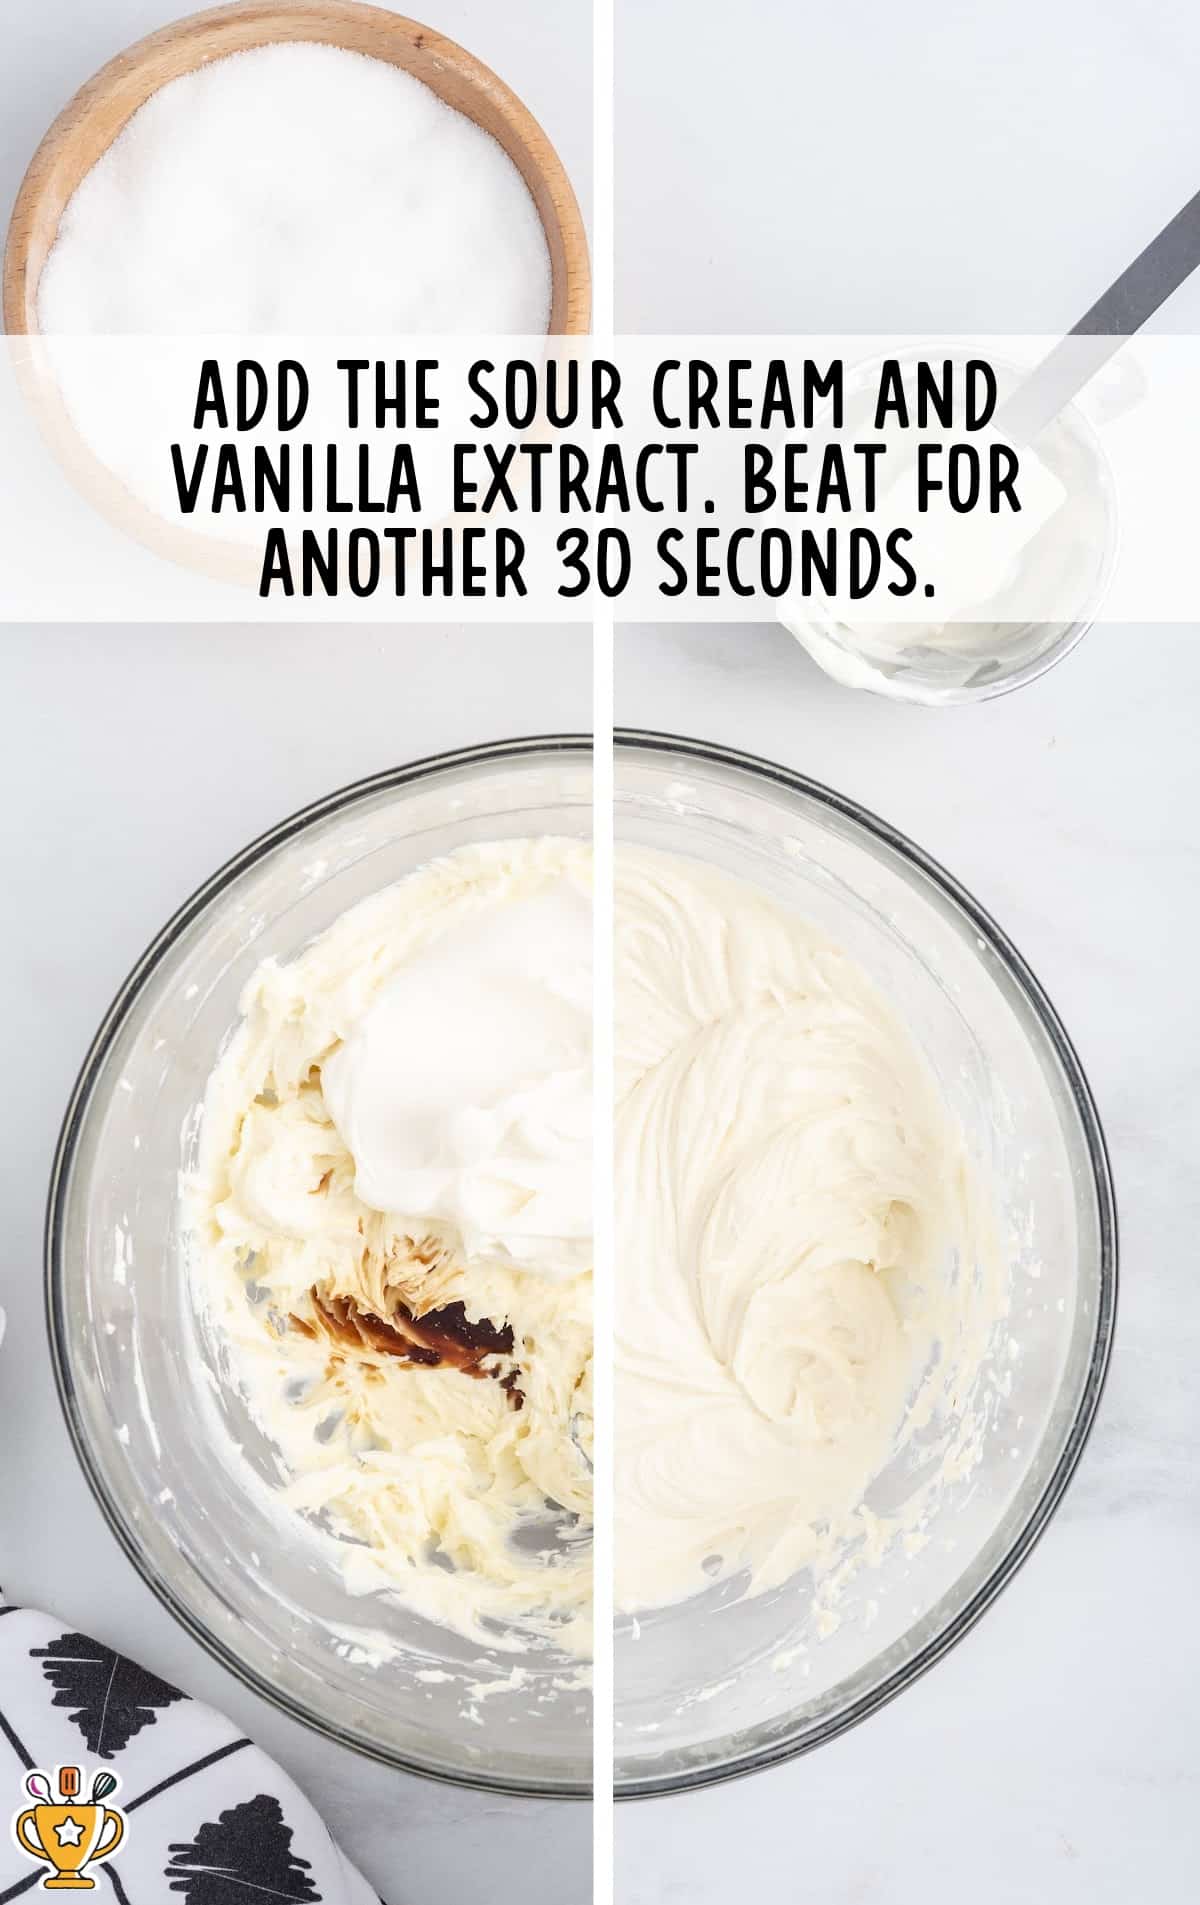
THIRD STEP: Add the sour cream and vanilla extract. Beat for an additional 30 seconds until all the ingredients are fully incorporated.
FOURTH STEP: Transfer half of the cheesecake batter to another large mixing bowl. Set both bowls aside.
How to Make the Chocolate Filling
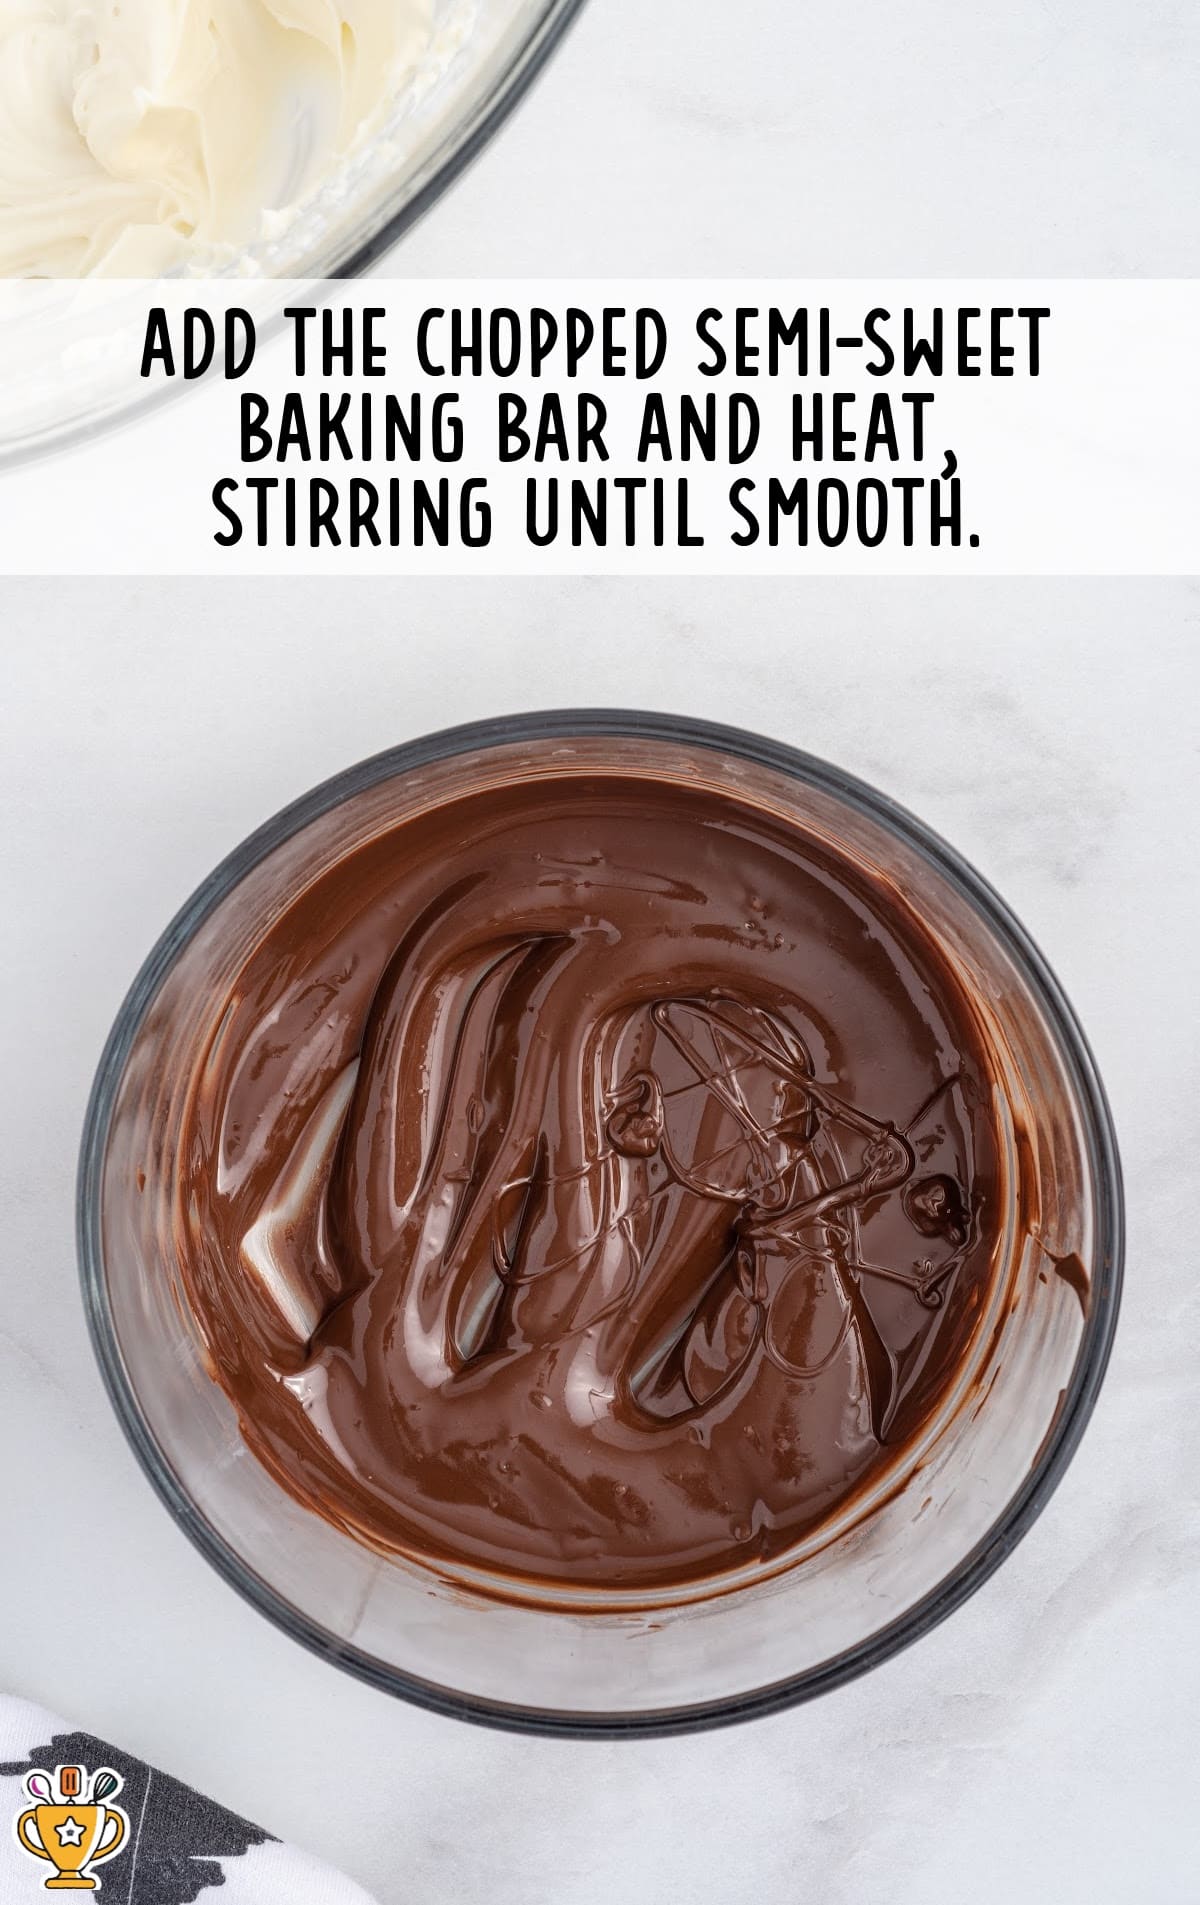
FIFTH STEP: Add the chopped semi-sweet baking bar to a small microwave-safe bowl and heat for 1 minute at 60% power. Stir, then heat again for another 30 seconds to 1 minute at 60% power. Stir until smooth.
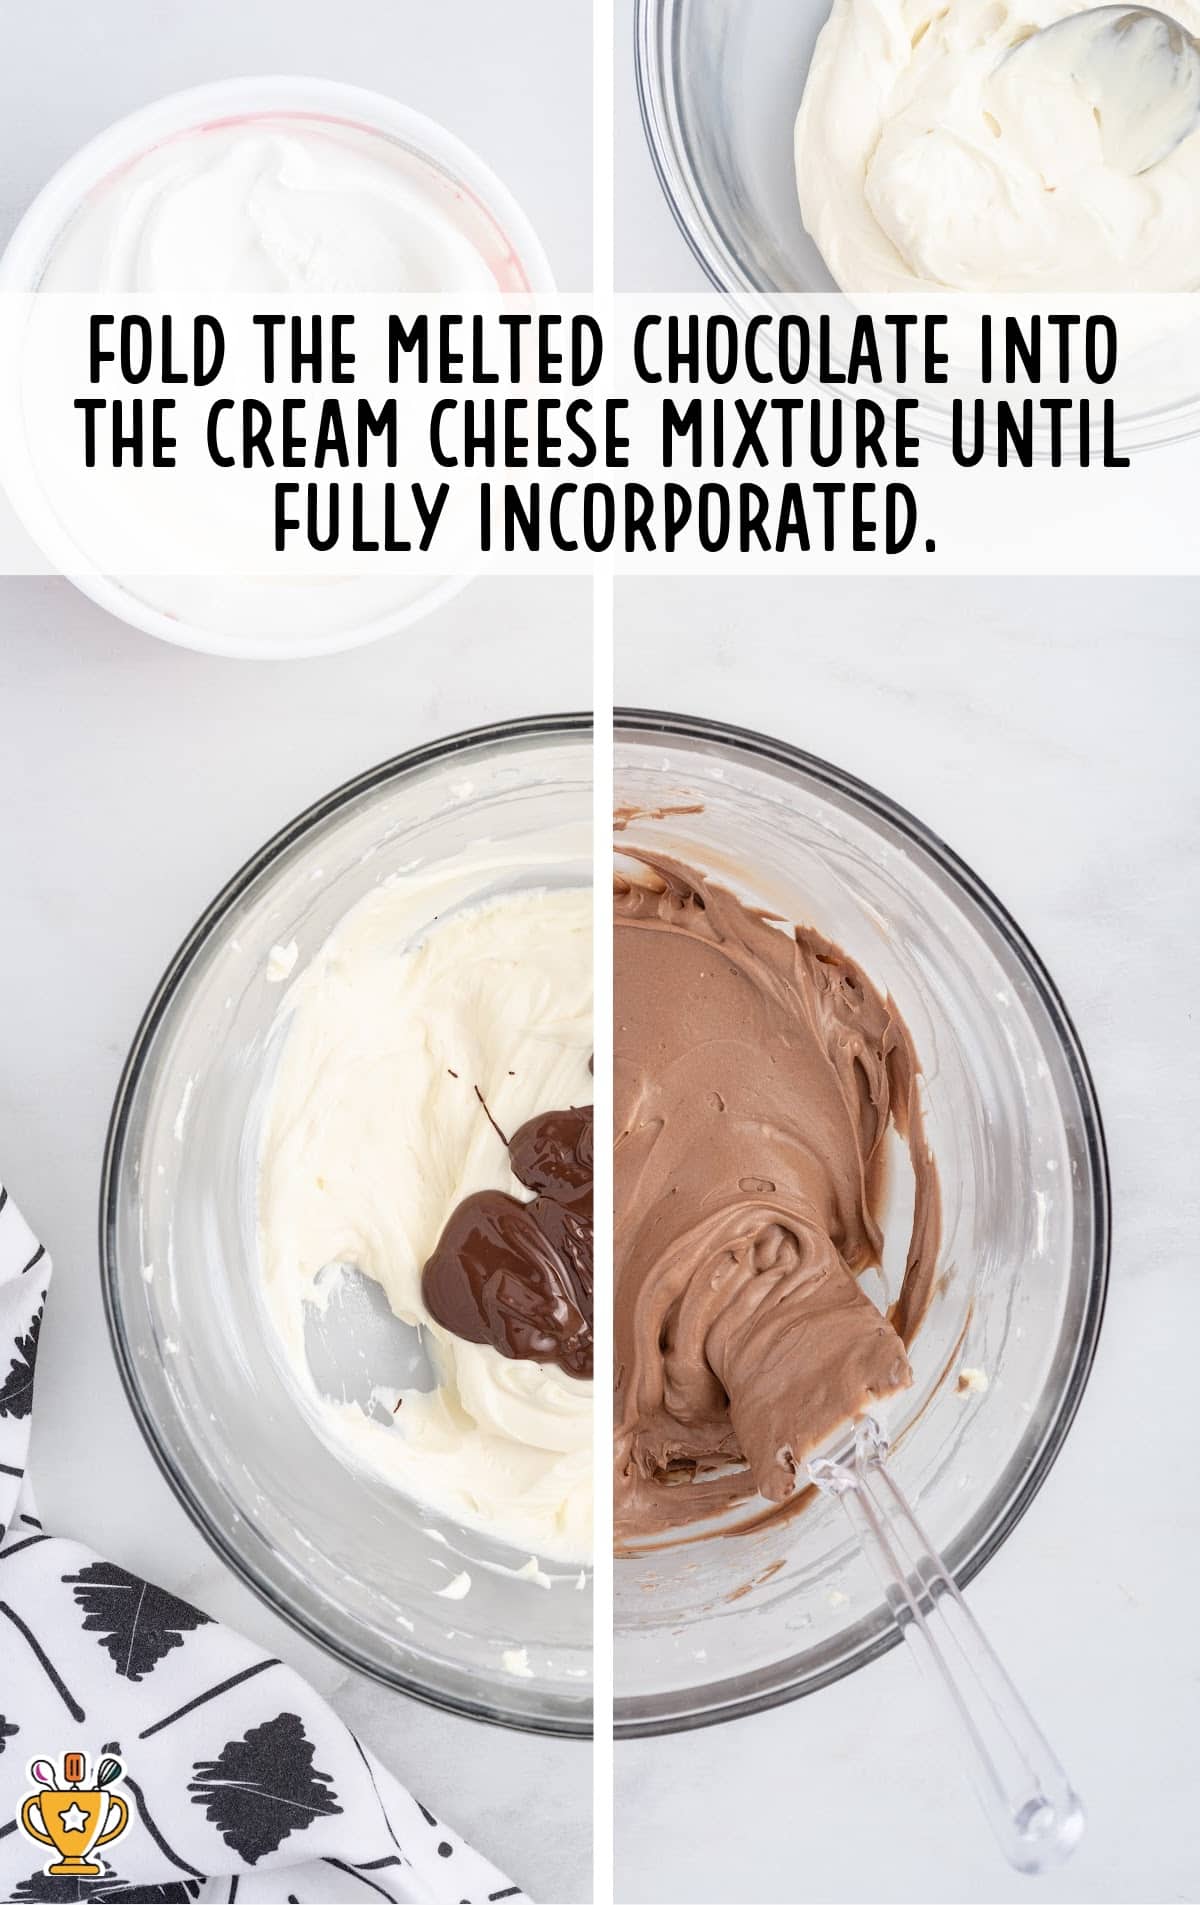
SIXTH STEP: To one of the bowls with the cream cheese mixture, fold in the melted semi-sweet chocolate until fully incorporated. Set aside.
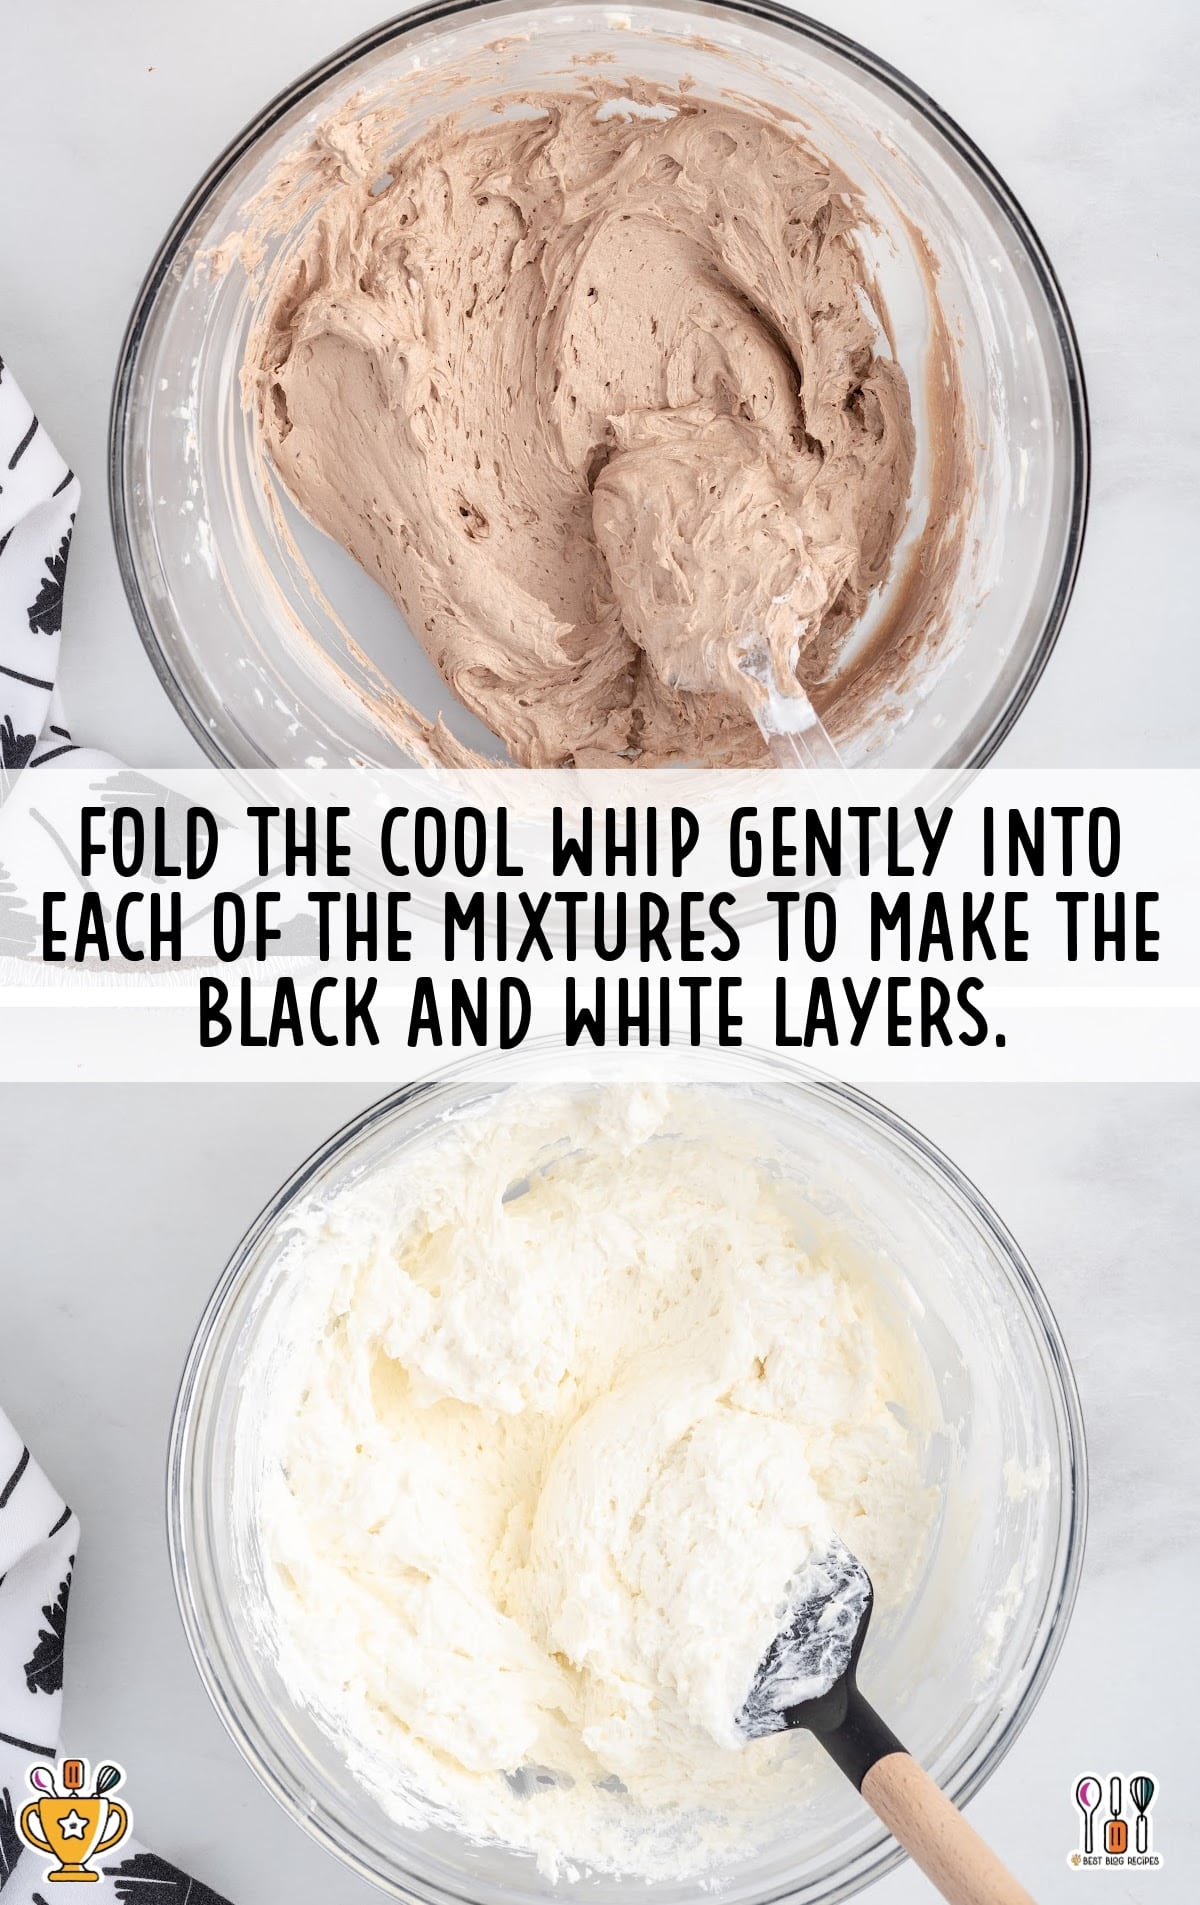
SEVENTH STEP: Divide the thawed whipped topping equally between the chocolate cream cheese bowl and the plain cream cheese bowl.
EIGHTH STEP: Fold the whipped topping gently into each of the mixtures. These will be the black and white layers of your pie.
Assemble Your Cheesecake
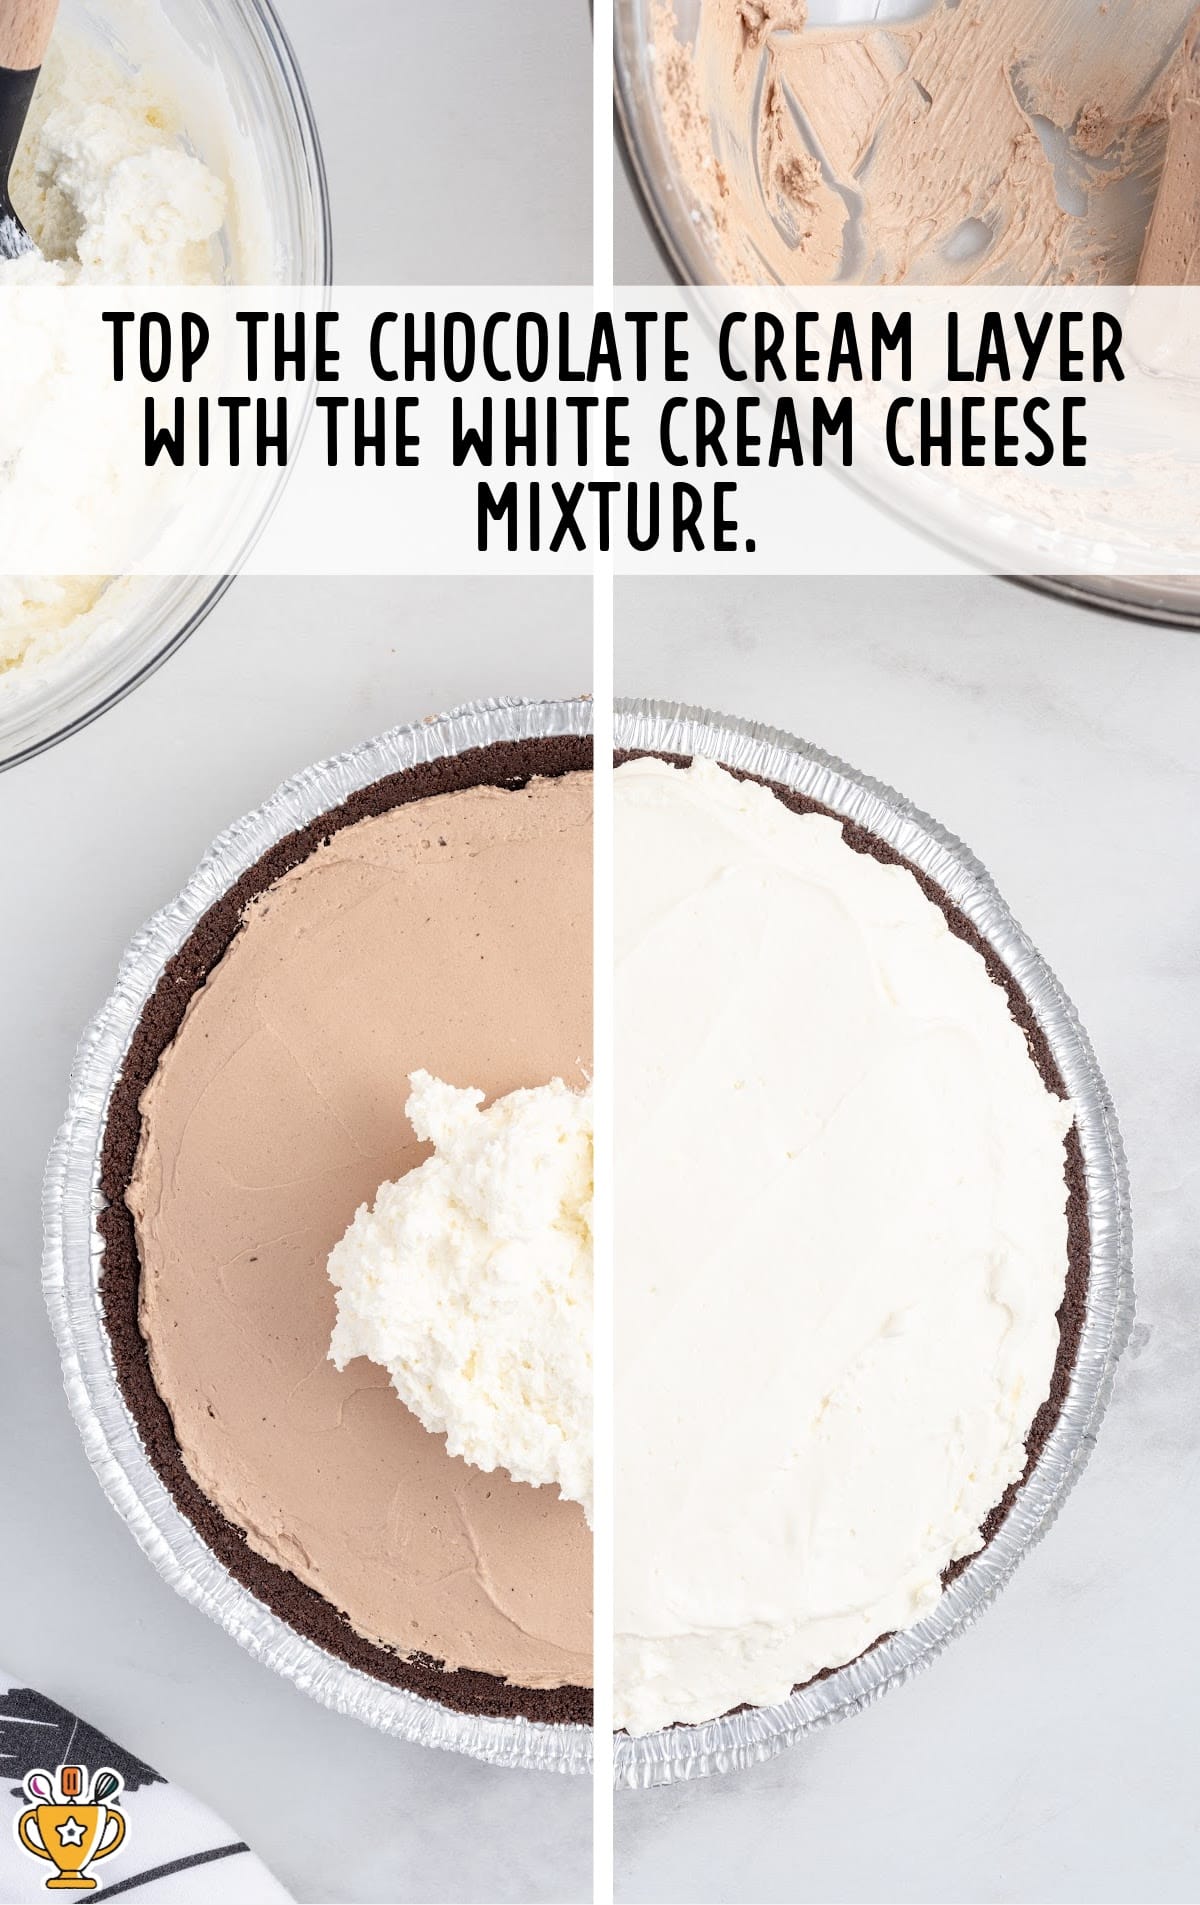
NINTH STEP: Spread your chocolate filling mixture into an even layer onto the bottom of your chocolate crumb crust.
TENTH STEP: Top that with the plain cream cheese mixture and spread it into an even layer.
ELEVENTH STEP: Cover your pie with the plastic piece that came with the crust and refrigerate your no-bake black forest pie for 8 hours to overnight.
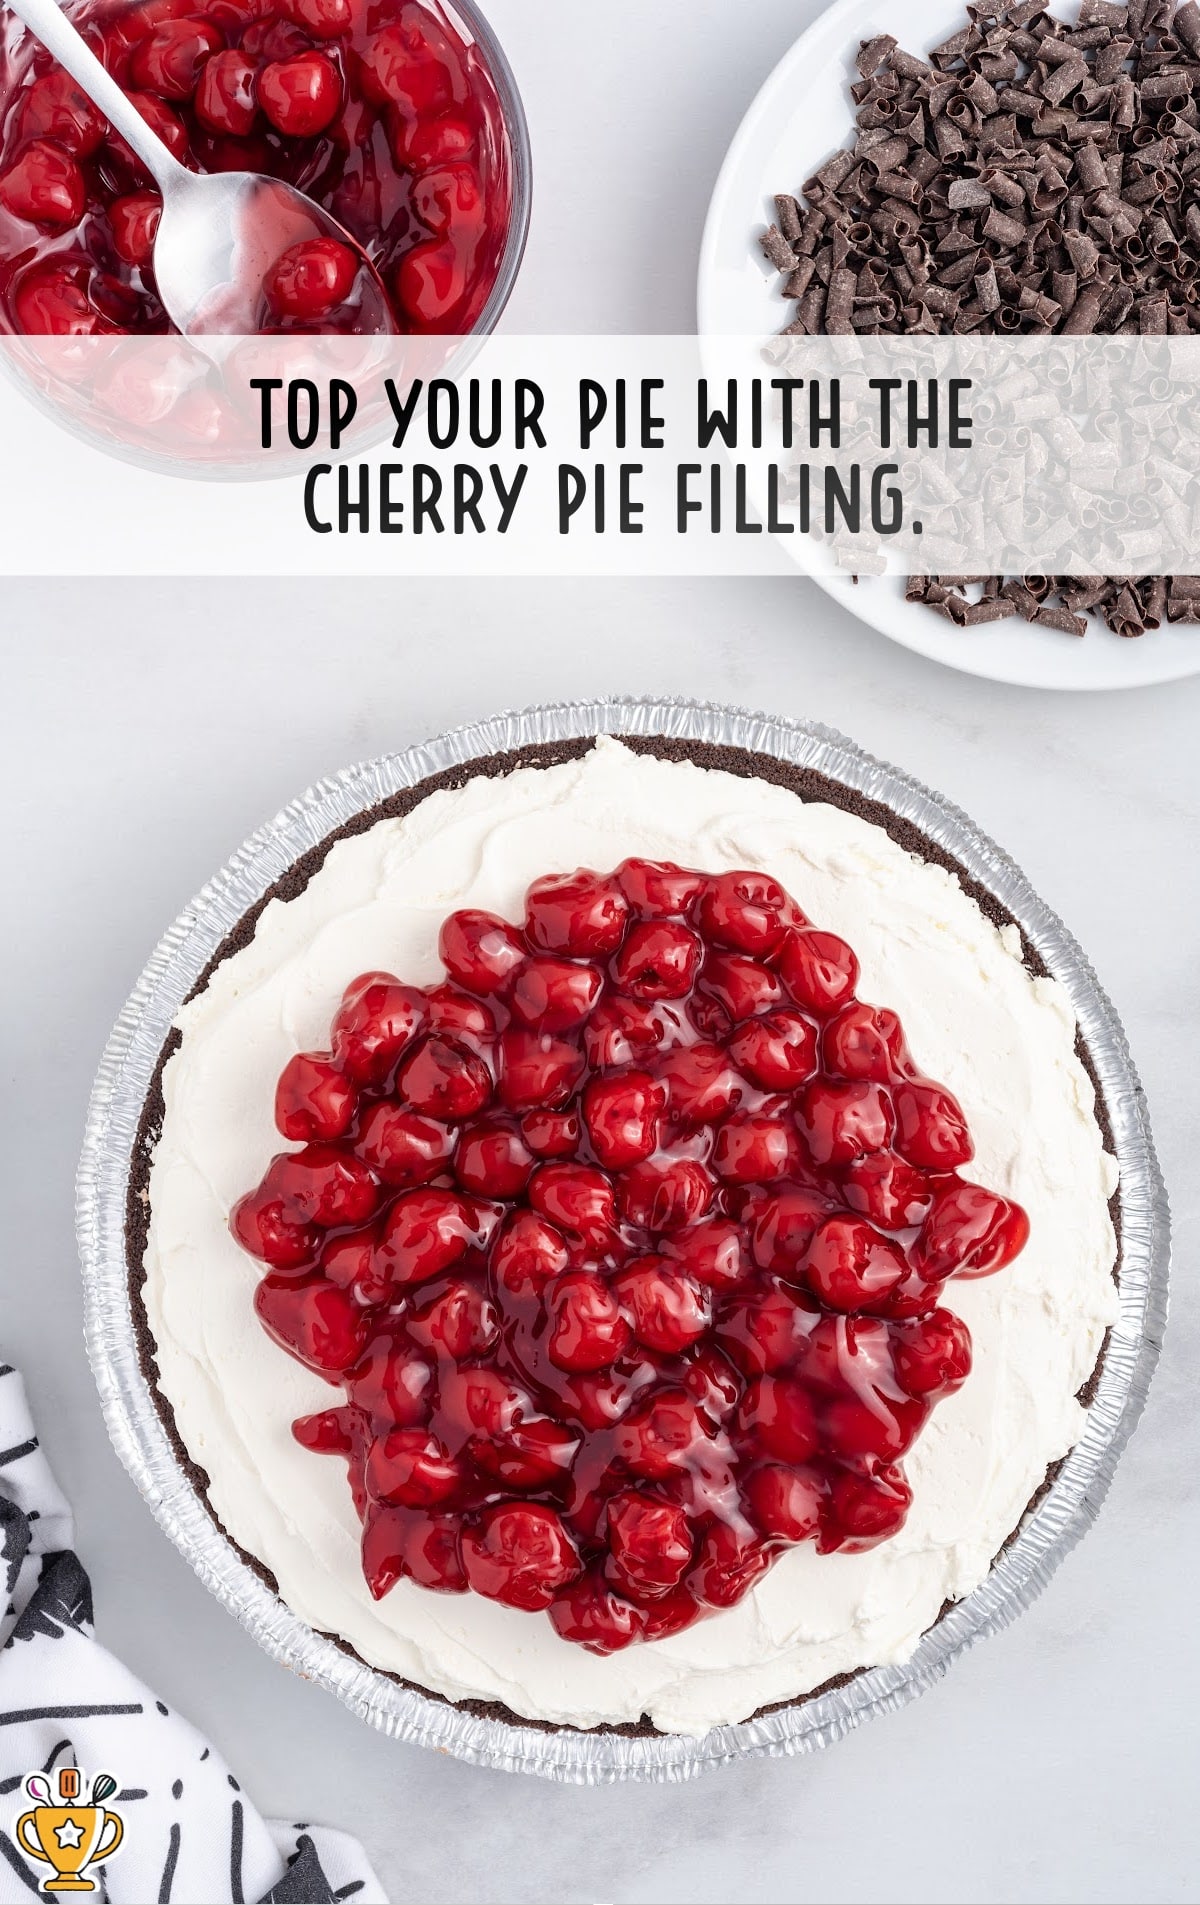
TWELFTH STEP: Once your pie has chilled and fully firmed up, you will top it with the canned cherry pie filling.
I used a heaping cup of the cherry pie filling (I made sure it was mostly cherries and not the sauce) and mounded them in the center of the no-bake black forest cheesecake, making sure to leave 1 to 2 inches around the edges of the cheesecake for the optional chocolate curls.
How to Make Chocolate Curls
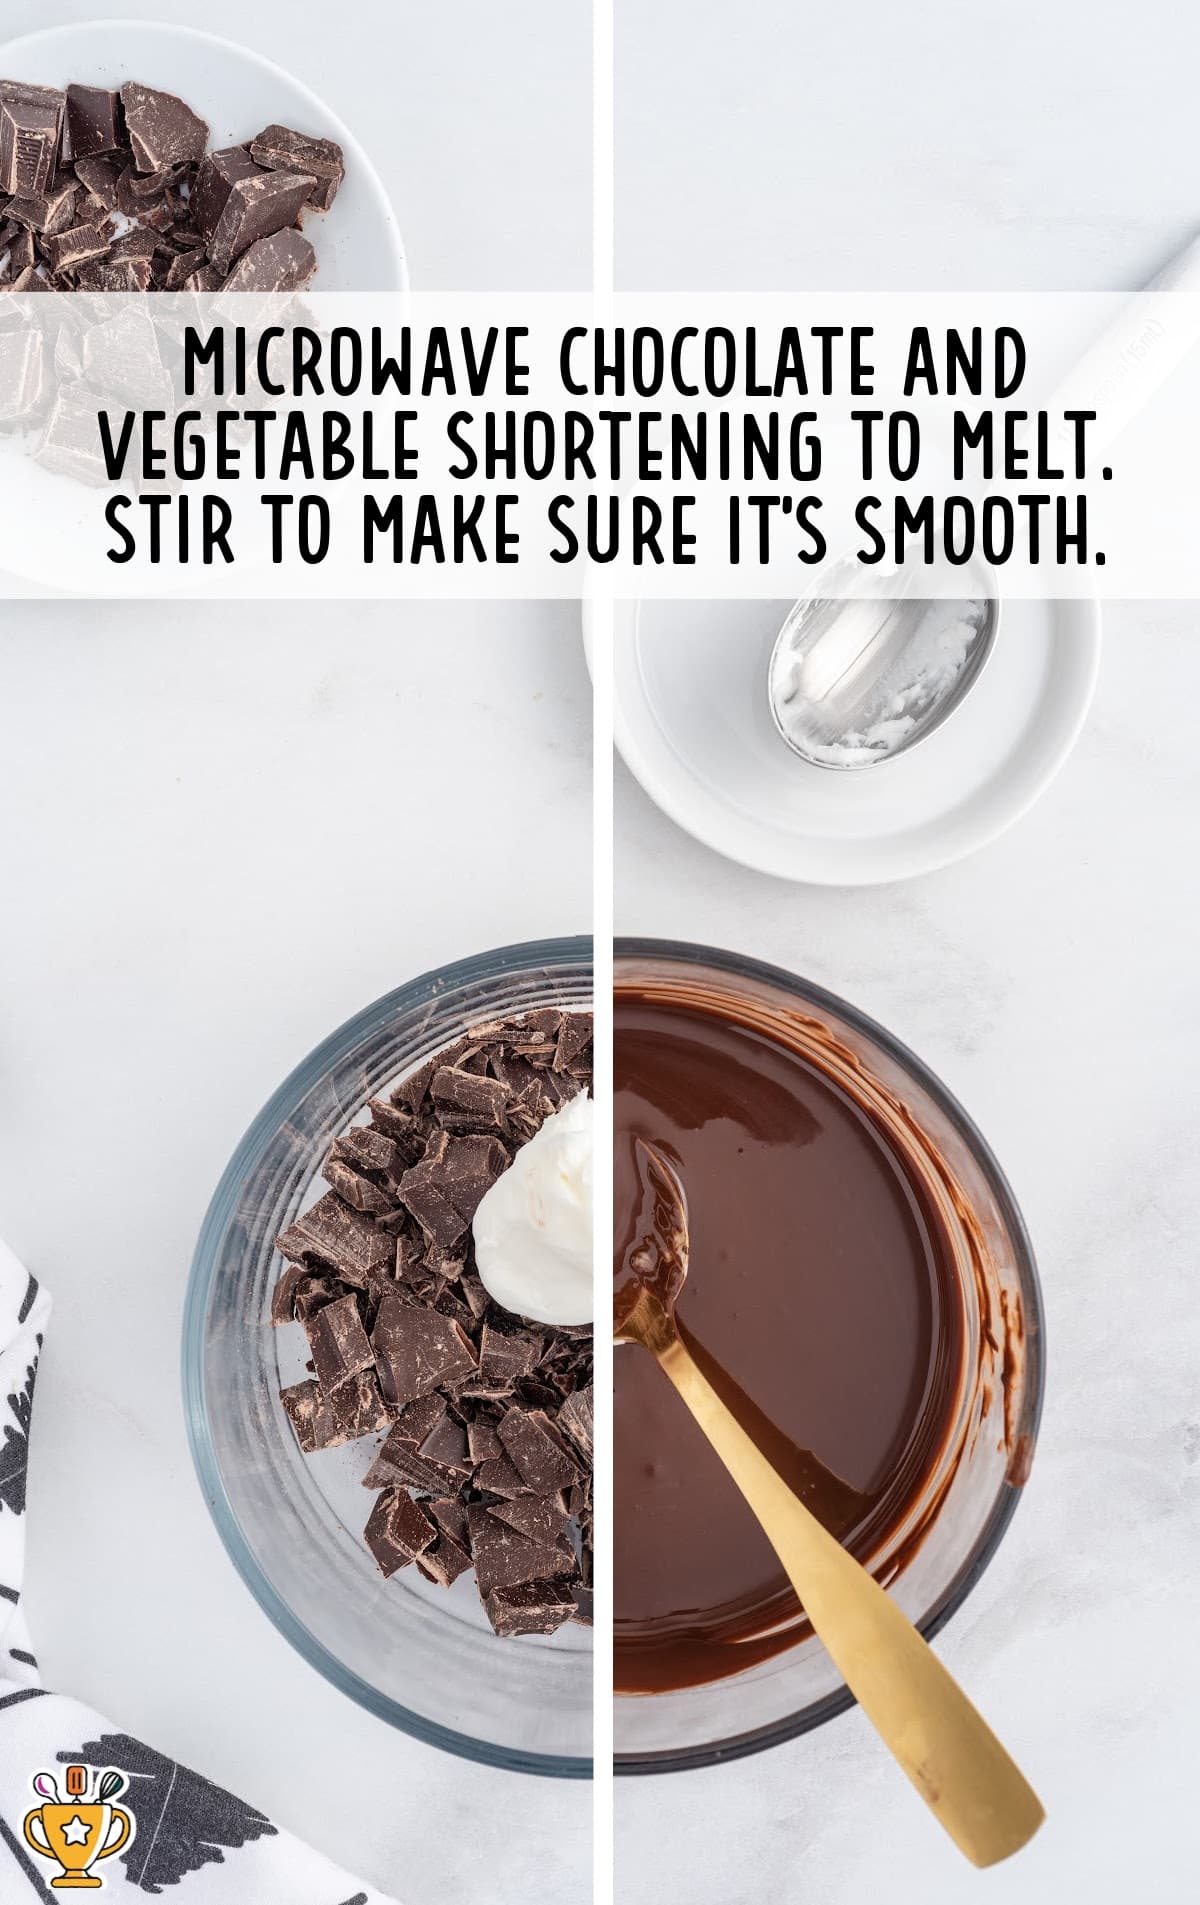
FIRST STEP: Add the semi-sweet chocolate pieces and vegetable shortening to a small, microwave-safe bowl. Microwave for 45 seconds to 1 minute or until the chocolate is melted. Stir to make sure the chocolate is smooth.
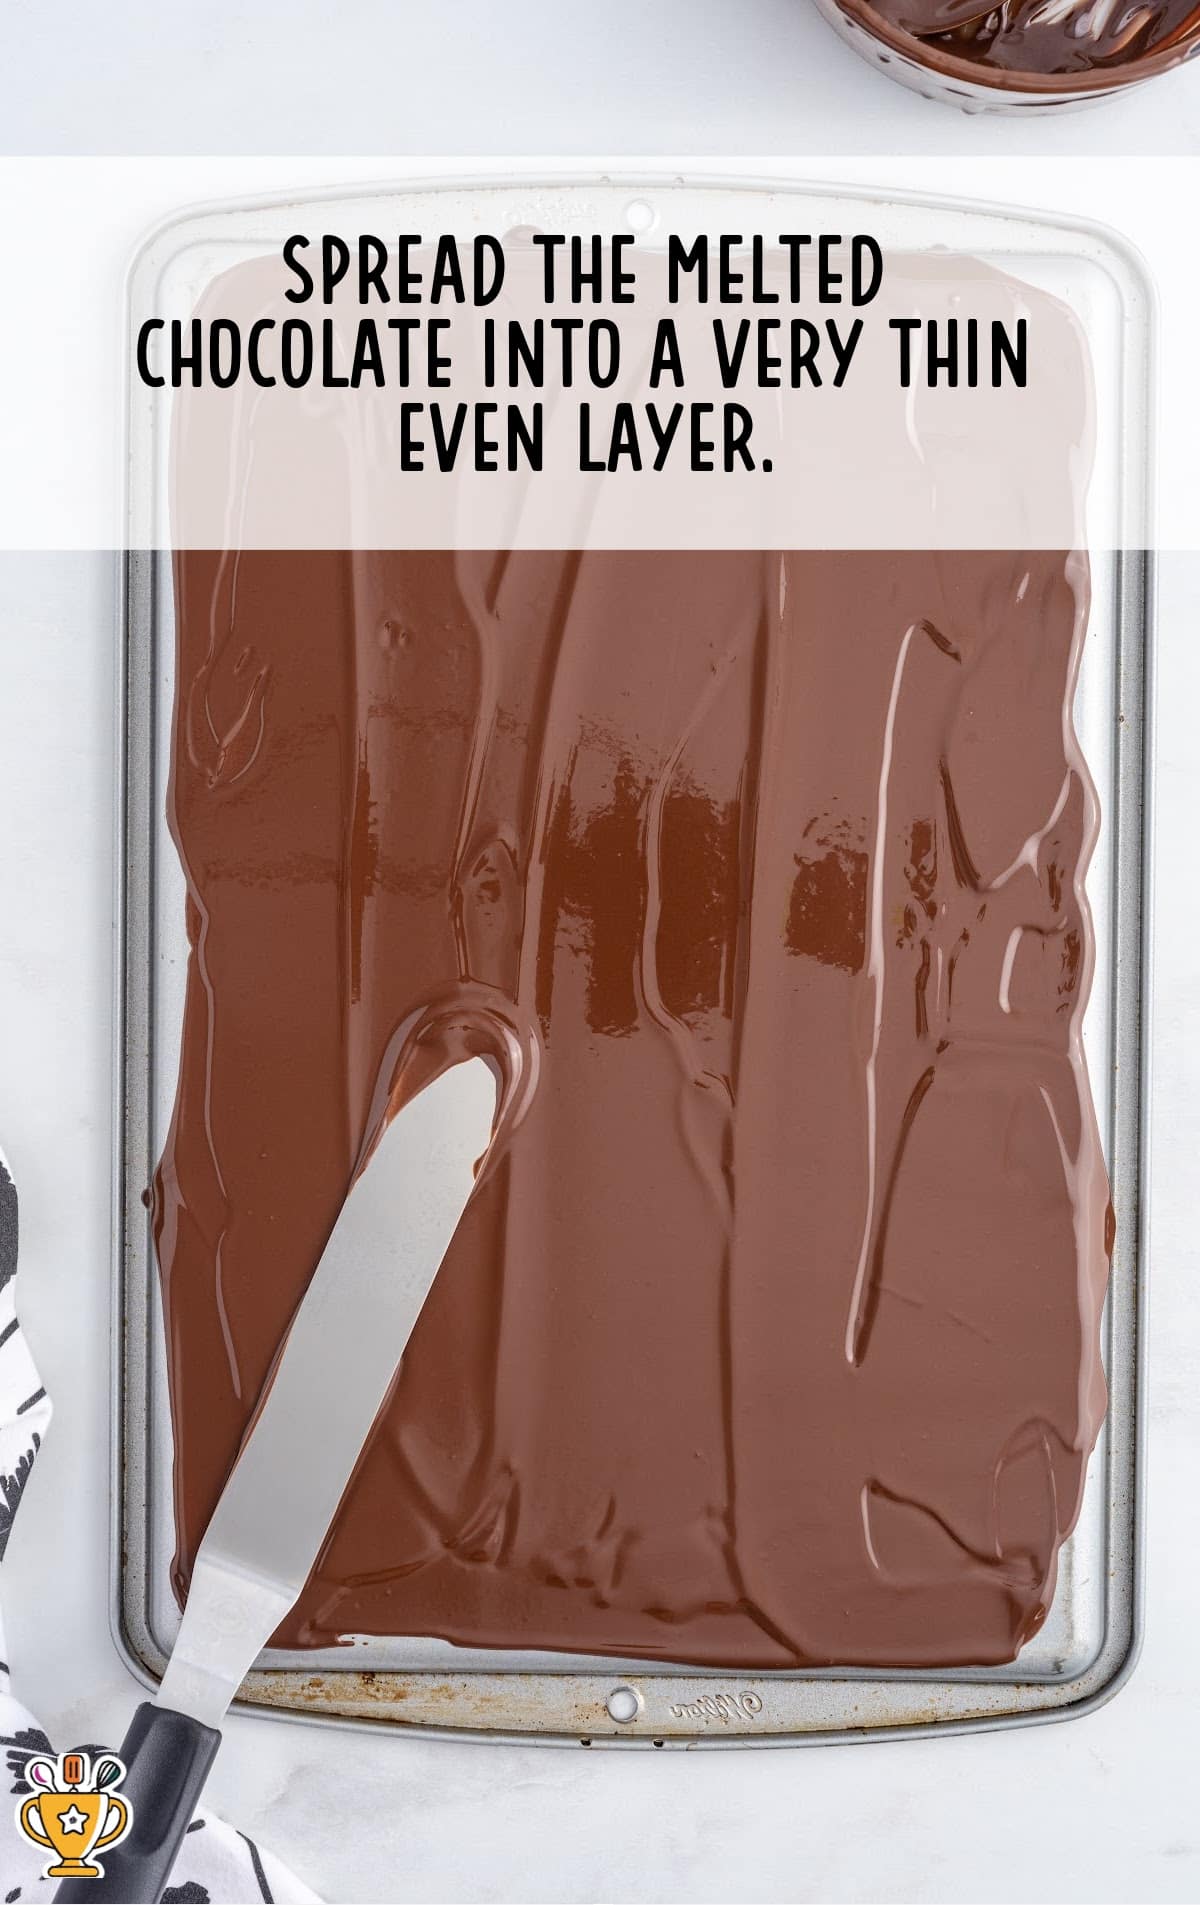
SECOND STEP: Pour the melted chocolate onto a rimmed baking tray that has been flipped upside down.
THIRD STEP: Using an offset spatula, spread the melted chocolate into a very thin, even layer.
FOURTH STEP: Place the tray into the freezer for 3 to 5 minutes. You should be able to leave a fingerprint in the chocolate when touched but not a dent.
FIFTH STEP: Using a sharp, straight-edged spatula, push up from the bottom of the chocolate in small sections to create the curls. If your chocolate is too hard, you will just get broken pieces and not curls. You can let it sit at room temperature for just a minute or so to soften up enough to create your curls.

SIXTH STEP: Once you have made your curls place them on a freezer-safe plate and place them into the freezer until ready to garnish the top of the cake.
How To Serve No Bake Black Forest Cheesecake
This no-bake black forest pie is a versatile dessert, perfect for all kinds of occasions. Whether you're hosting a casual gathering or a festive celebration, it fits right in. Here are a few ways to serve this delicious treat:
- For Holidays and Special Occasions: Serve this cheesecake at holiday dinners or birthdays for a festive dessert everyone will enjoy. Its rich layers of chocolate and cherries make it perfect for celebrations. Pair it with a classic like cherry kiss cookies for a sweet combo.
- For Summer Parties: This black cheesecake is great for summer barbecues and casual parties when you need a cool, easy treat. It’s refreshing with the sweet cherries and creamy filling. Serve with a refreshing drink like lemonade or a berry sangria for a fun touch.
Why You'll Love This No Bake Cheesecake Recipe
This black forest cheesecake has quickly become a reader favorite, and for good reason. Here’s why it stands out:
- Easy to Make: With simple steps, anyone can whip up this cheesecake with minimal effort.
- No-Bake Convenience: Skip the oven and enjoy a cool, refreshing dessert without the hassle.
- Perfect for Any Occasion: It’s ideal for parties, potlucks, and special events.
- Delicious Layers: Creamy cheesecake, chocolate, and cherries make every bite irresistible.
- Kid-Friendly: Kids love this fun dessert, and it’s easy enough for them to help make.
We know you’ll love this no-bake black forest cheesecake as much as our readers do!
Recipe FAQ
Can I make this no-bake black forest cheesecake ahead of time?
Yes, you can make this cheesecake a day or two ahead of time. It holds up well in the fridge and lets the flavors set.
How long does this cheesecake need to chill?
This cheesecake needs at least four hours to chill and set properly. Overnight chilling is even better for the perfect texture.
Can I use frozen cherries for the topping?
We recommend using cherries in canned filling. if you use frozen cherries, be sure to thaw them and drain any excess liquid before topping your cheesecake.
How can I make this cheesecake more chocolatey?
For extra chocolate flavor, add more chocolate chips to the crust or drizzle melted chocolate over the cheesecake before serving.
What’s the best way to slice this black forest cheesecake?
To slice your cheesecake cleanly, dip a sharp knife in hot water between cuts. This keeps the slices smooth.
Can I swap the graham cracker crust for a different type?
Yes, you can swap the graham cracker crust for a chocolate cookie crust or even a store-bought crust for convenience.
How do I prevent the cheesecake from being too runny?
Make sure to fully chill the cheesecake for the recommended time. This helps it set and hold together properly.
Is this no-bake black forest cheesecake kid-friendly?
Yes, kids love this dessert! It’s fun and sweet with layers of chocolate and cherries that appeal to all ages.
Can I use whipped cream instead of cool whip in this recipe?
We don't recommend using homemade whipped cream instead of Cool Whip. It doesn't seem to get stiff enough to hold the cheesecake filling.
Serving FAQ
What’s the best way to serve no-bake black forest cheesecake at a party?
Serve this cheesecake in slices or as mini individual servings for easy, grab-and-go portions. Garnish with extra cherries and chocolate shavings for a festive touch.
Can I serve no-bake black forest cheesecake in individual cups?
Yes, you can layer the cheesecake in individual cups for a fun and personal serving size. This works great for parties!
Should I serve no-bake black forest cheesecake immediately or let it sit?
Let it sit for at least four hours to allow the cheesecake to set properly. This will make it easier to slice and serve.
How do I make this no-bake black forest cheesecake look extra fancy when serving?
Top with fresh whipped cream, extra cherries, and shaved chocolate to add texture and a beautiful finish.
Is no-bake black forest cheesecake good for outdoor events?
Yes, it’s perfect for outdoor events! Just make sure to keep it cool before serving, especially in warmer weather.
Can I serve no-bake black forest cheesecake with extra toppings?
Absolutely! You can add extra chocolate chips, crushed cookies, or even drizzle extra chocolate syrup for more flavor.
Storage FAQ
For the best results, follow the directions, tips, and tricks below for storing your no-bake black forest cheesecake. These simple steps will help you keep it fresh and ready to enjoy.
Can I prepare no-bake black forest cheesecake ahead of time?
Yes, you can prepare this cheesecake a day or two ahead of time. Store it in the fridge until ready to serve.
What’s the best way to store leftover no-bake black forest cheesecake?
Store leftovers in an airtight container in the fridge for up to four days. This keeps it fresh and creamy.
Can I freeze no-bake black forest cheesecake?
You can store the cheesecake in the freezer for up to one month.
How do I thaw no-bake black forest cheesecake?
If frozen, thaw in the fridge overnight before serving to restore its creamy texture.
Can I store the cheesecake with the cherry topping?
Yes, you can store the cheesecake with the cherries on top. Just make sure they’re well covered to prevent any moisture loss.

No Bake Black Forest Cheesecake
This no-bake black forest cheesecake layers creamy cheesecake, chocolate, and cherries for a simple, irresistible treat. It’s perfect for any occasion, and easy to prepare with minimal effort!
Did you try this recipe?Let our readers know how it turned out by Leaving a Review!
Ingredients
- 6 ounces pre-made Oreo pie crust
- 12 ounces cream cheese (room temperature)
- ½ cup granulated sugar
- ¾ cup full-fat sour cream
- 1½ teaspoons vanilla extract
- 3 ounces semi-sweet baking bar (chopped (I used Ghirardelli brand))
- 8 ounces tub whipped topping (thawed)
- 1 cup canned cherry pie filling (I used Duncan Hines/Comstock more fruit)
- Chocolate curls (optional garnish)
For the Chocolate Curls
- 4 ounces semi-sweet chocolate baking bar (broken into small pieces (I used Ghirardelli brand))
- 1 tablespoon vegetable shortening (I used Crisco)
DIRECTIONS
- Remove the plastic cover for the pre-made Oreo pie crust and set it aside.
- In a large mixing bowl, using a handheld mixer on medium speed, beat the cream cheese and granulated sugar for 1 minute or until light and fluffy.
- Add the sour cream and vanilla extract. Beat for an additional 30 seconds until all the ingredients are fully incorporated.
- Transfer half of the cream cheese mixture to another large mixing bowl. Set both bowls aside.
- Add the chopped semi-sweet baking bar to a small microwave-safe bowl and heat for 1 minute at 60% power. Stir, then heat again for another 30 seconds to 1 minute at 60% power. Stir until smooth.
- To one of the bowls with the cream cheese mixture, fold in the melted semi-sweet chocolate until fully incorporated. Set aside.
- Divide the thawed whipped topping equally between the chocolate cream cheese bowl and the plain cream cheese bowl.
- Fold the whipped topping gently into each of the mixtures. These will be the black and white layers of your pie.
- Spread your chocolate cream cheese mixture into an even layer onto the bottom of your pre-made Oreo cookie crust.
- Top that with the plain cream cheese mixture and spread it into an even layer as well.
- Cover your pie with the plastic piece that came with the crust (you will just flip it over, and it creates a lid for your pie) and refrigerate your no-bake black forest pie for 8 hours to overnight.
- Once your pie has chilled and fully firmed up, you will top it with the canned cherry pie filling. I used a heaping cup of the cherry pie filling (I made sure it was mostly cherries and not the sauce) and mounded them in the center of the no-bake black forest cheesecake, making sure to leave 1 to 2 inches around the edge for the optional chocolate curls.
Chocolate curls
- Add the semi-sweet chocolate pieces and vegetable shortening to a small, microwave-safe bowl. Microwave for 45 seconds to 1 minute or until the chocolate is melted. Stir to make sure the chocolate is smooth.
- Pour the melted chocolate onto a rimmed baking tray that has been flipped upside down.
- Using an offset spatula, spread the melted chocolate into a very thin, even layer.
- Place the tray into the freezer for 3 to 5 minutes. You should be able to leave a fingerprint in the chocolate when touched but not a dent.
- Using a sharp, straight-edged spatula push up from the bottom of the chocolate in small sections to create the curls. If your chocolate is too hard, you will just get broken pieces and not curls. You can let it sit at room temperature for just a minute or so to soften up enough to create your curls.
- Once you have made your curls place them on a freezer-safe plate and place them into the freezer until ready to garnish your no-bake black forest cheesecake.
Notes
- I like to buy the brands of canned fruit pie filling that are “more fruit” because they tend to have less of a jellied coating over the cherries. If you can not find a brand like this, you can get two cans and just use a slotted spoon to scoop out only the cherries, leaving most of the jellied coating in the can. If desired, you can reserve any remaining pie filling to add to individual slices of no-bake black forest cheesecake. The reserved pie filling can be stored in a sealed container in the refrigerator for up to 7 days.
- The plastic cover is perfect to use for storage. Flip it over and use it to cover your pie before you put it in the fridge.
- Make sure your cream cheese is at room temperature, so you don’t have lumps in your cheesecake mixture.
Nutrition
Calories: 584kcal | Carbohydrates: 52g | Protein: 8g | Fat: 42g | Saturated Fat: 23g | Polyunsaturated Fat: 2g | Monounsaturated Fat: 13g | Trans Fat: 0.2g | Cholesterol: 56mg | Sodium: 272mg | Potassium: 374mg | Fiber: 5g | Sugar: 26g | Vitamin A: 787IU | Vitamin C: 1mg | Calcium: 118mg | Iron: 5mg
HAVE YOU TRIED THIS RECIPE?Follow me on Pinterest @bestblogrecipes


Comments
Lora says
Looks so good. But do you think I could use real homemade whipped cream?
Shauna says
Hi Lora,
I definitely think you could use a homemade whipped cream in this recipe. I haven't personally tried it but the swap should work just fine. Let us know if you make the switch and how it turns out.
Mary Goble says
Can't wait to make this
Marcia says
Could you use a darker chocolate, say 72 or 86 percent? This looks delicious!!
Layne Henderson says
Hi, Marcia - that should be fine, enjoy!
Laney Long says
This sounds delicious, but can you use pre made cream cheese filling instead of having to mix all the ingredients together? If so, how much would you use for each part?
Layne Henderson says
Hi, Laney - we haven't tried that substitution so I'm not sure how it would work or what the measurements would be.