
Last updated on
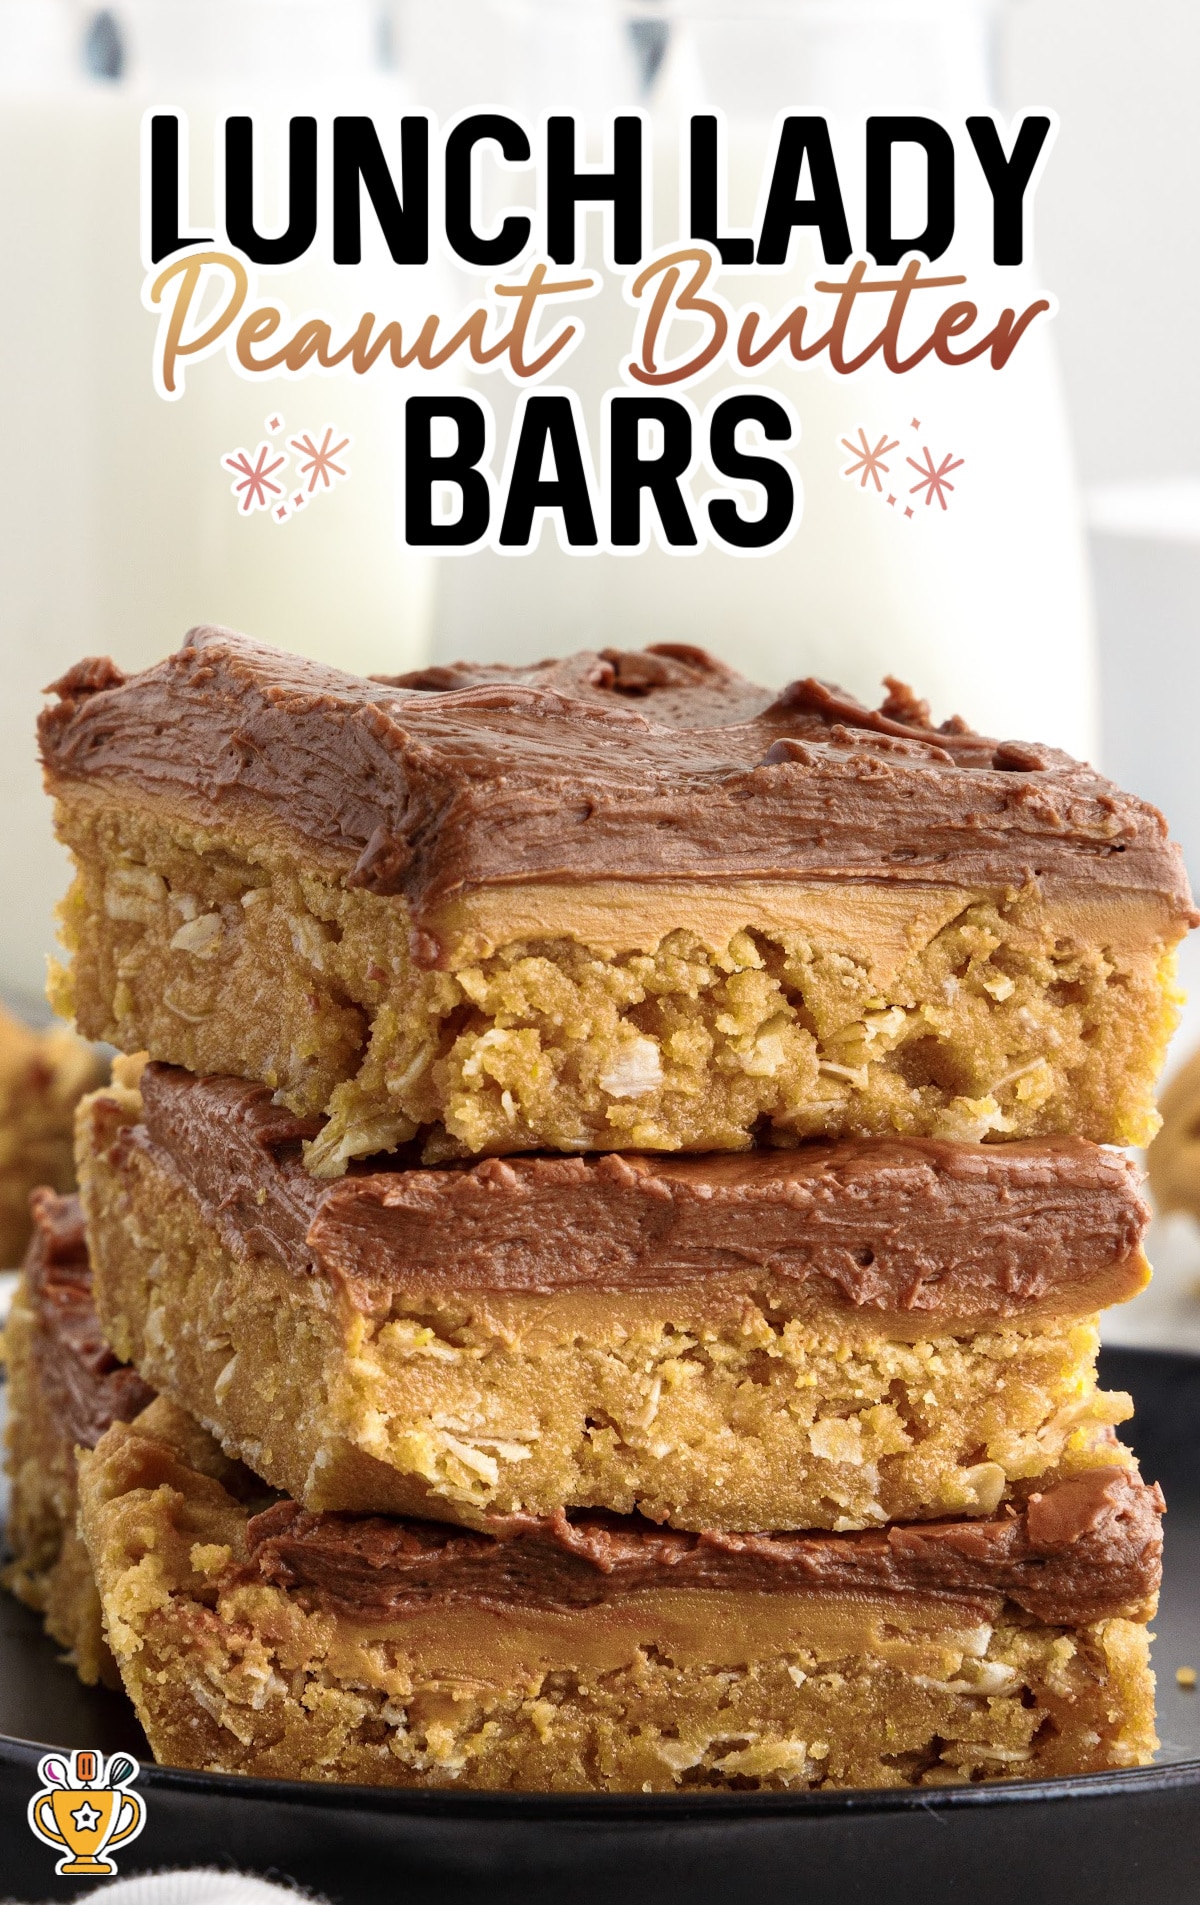
Lunch Lady Peanut Butter Bars
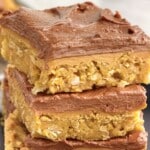
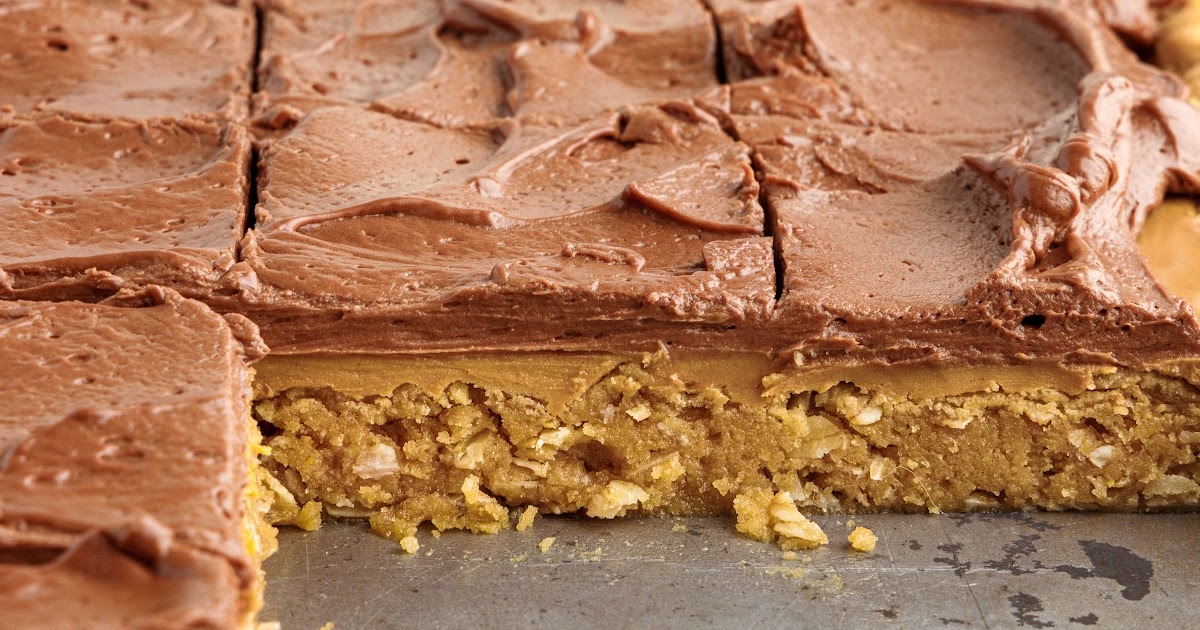
Lunch lady peanut butter bars are a delightful throwback treat, featuring a thick, chewy peanut butter base topped with a rich, creamy chocolate layer, bringing back fond memories of sweet moments in school cafeterias.
Jump to RecipeTable of Contents
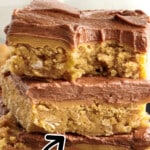
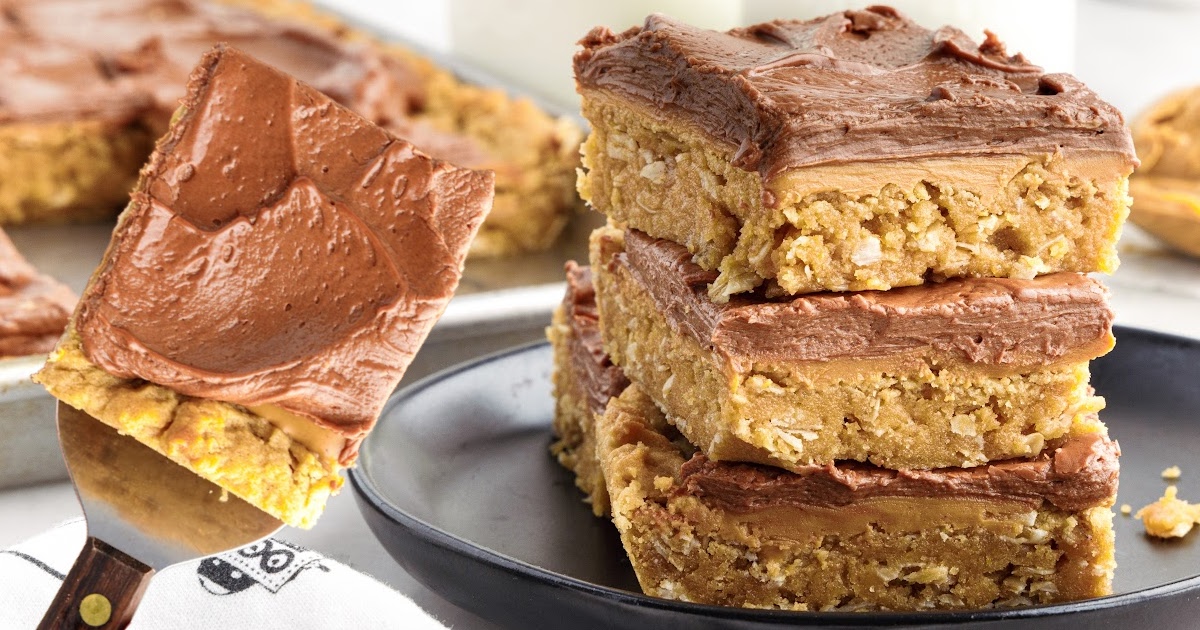
These Lunch Lady Peanut Butter Bars are the authentic recipe once popular in school cafeterias! Each bar features a soft, chewy base of peanut butter cookie, a luscious center of creamy peanut butter, and is topped with decadent chocolate buttercream frosting. Truly, these are the greatest peanut butter bars you'll ever have!
More Recipes ⭐ Peanut Butter Lasagna | No Bake Chocolate Peanut Butter Pie | Chocolate Peanut Butter Cookies
Making these classic peanut butter bars is incredibly easy, with just a few basic ingredients and straightforward steps. They're the perfect quick solution for a delicious treat without much effort.
Children love these peanut butter bars; the irresistible combination of chocolate and peanut butter makes them a favorite snack after school or a sweet reward for good behavior.
Ideal for parties, potlucks, or any event where you need to feed a crowd, these bars are delicious and convenient. They’re easy to make in large quantities and always a hit, making them perfect for gatherings.
Ingredients for Lunch Lady Peanut Butter Bars
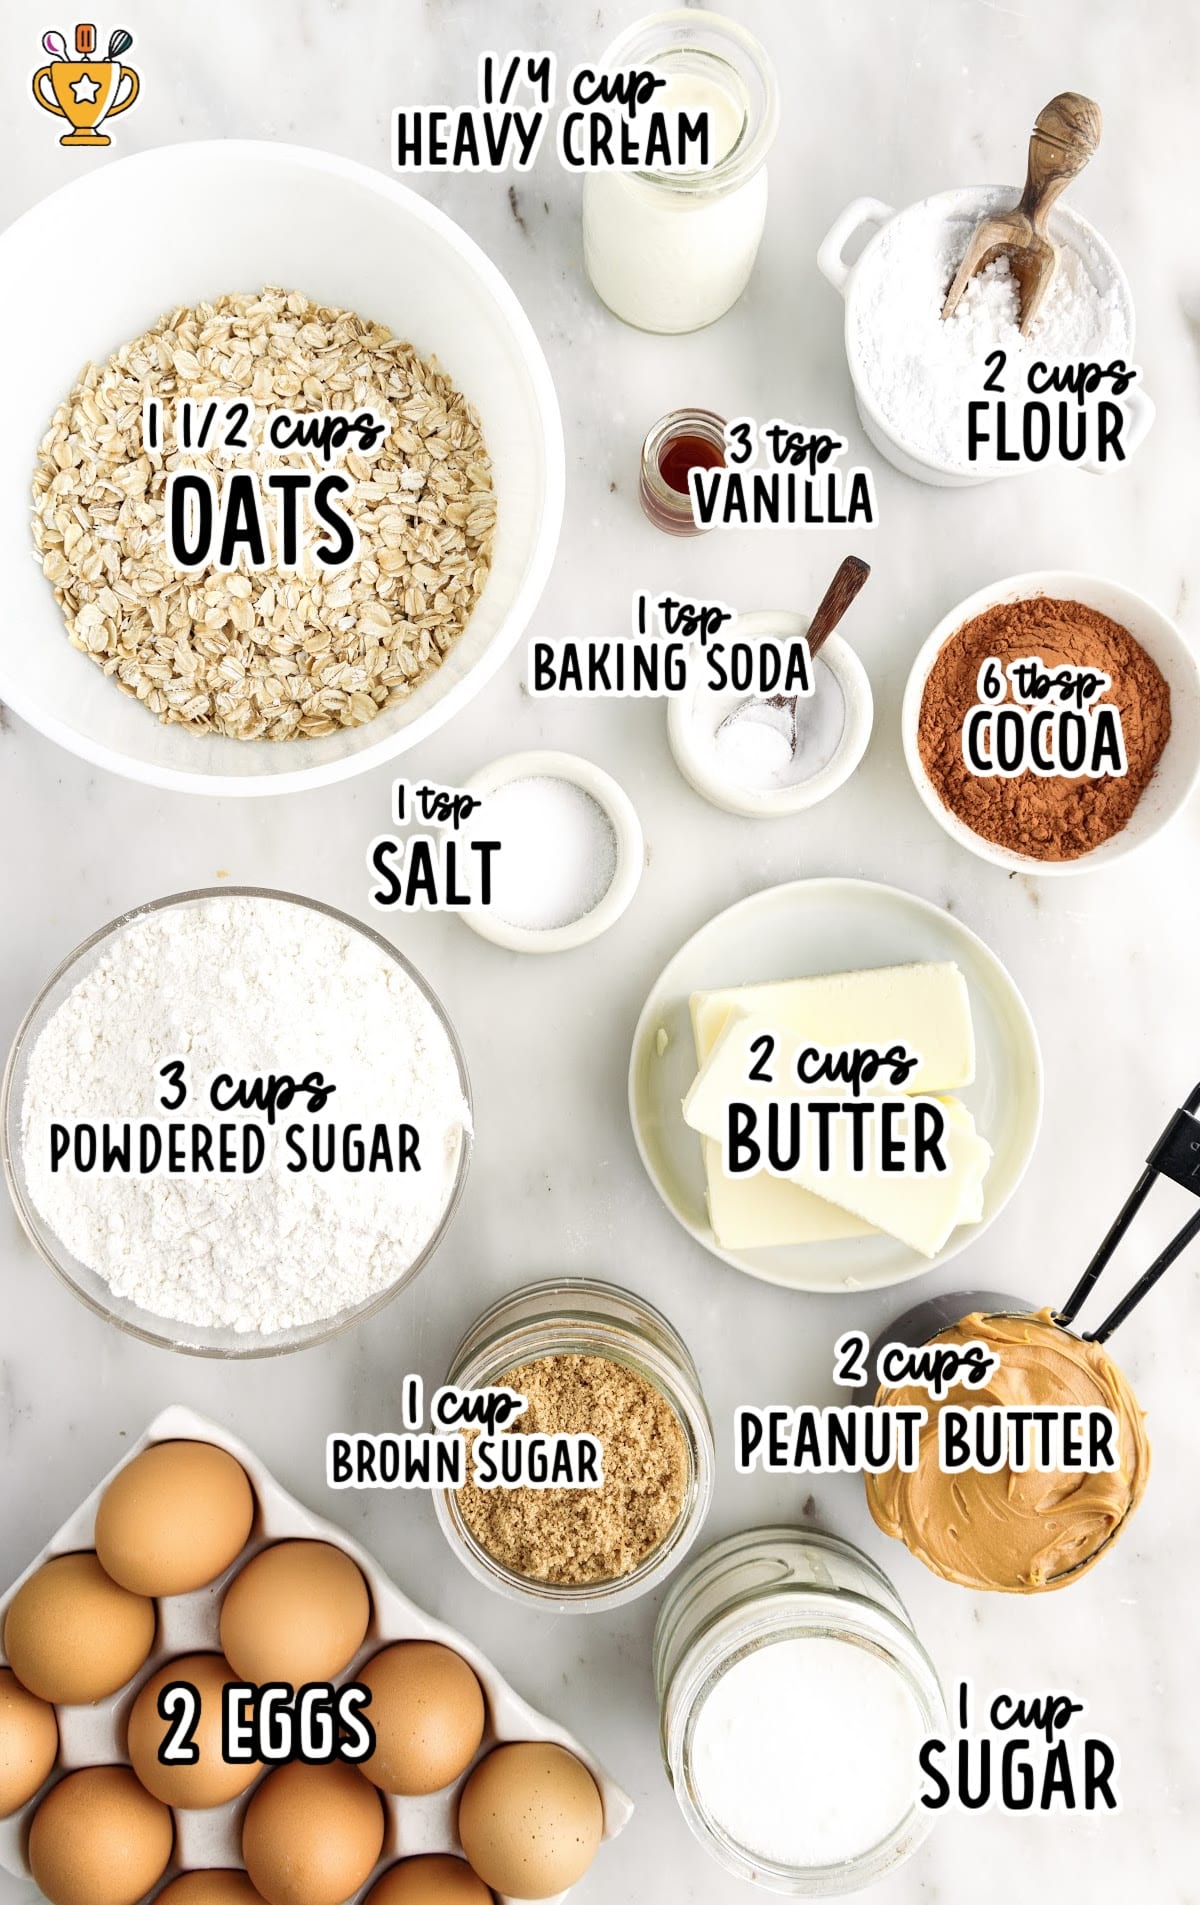
What you'll need to make these lunch lady peanut butter bars:
Cookie Base Ingredients
- 1 cup of unsalted butter, softened
- 2 cups of creamy peanut butter, divided in half
- 1 cup of granulated sugar
- 1 cup of packed light brown sugar
- 2 teaspoons of vanilla extract
- 2 large eggs, room temperature
- 1 teaspoon of salt
- 1 teaspoon of baking soda
- 2 cups of all-purpose flour
- 1½ cups of old-fashioned rolled oats
Pro Tip
Make sure to use old-fashioned rolled oats for this delicious snack. They're thicker and larger than quick oats, providing a satisfying, hearty chew to these bars without making them too dry.
Frosting Ingredients
- 1 cup of unsalted butter, softened
- 3 cups of powdered sugar
- 1 teaspoon of vanilla extract
- 6 tablespoons of unsweetened cocoa powder
- Pinch of salt
- ¼ cup of heavy whipping cream
Substitutions and Additions
These easy substitutions and additions can easily be swapped out while still maintaining the deliciousness of these peanut butter lunch lady cookie bars!
- FROSTING: Our frosting is light and fluffy, perfect for topping these bars. Feel free to use any favorite chocolate frosting recipe you like; our simple chocolate American buttercream recipe provided is a great staple.
- PEANUT BUTTER: For the classic texture of these bars, smooth peanut butter works best. Avoid using crunchy or natural peanut butter as they won't yield the creamy consistency expected in these nostalgic treats.
- GRANULATED SUGAR: Coconut sugar is an excellent natural alternative to granulated sugar here. It brings a caramel-like flavor that adds a new dimension to the bars, though it's less sweet, so you may want to adjust the amount based on your taste preference.
- BROWN SUGAR: You can also replace brown sugar with coconut sugar for a less refined sweetness. This substitution adds a mild coconut flavor to the bars.
- ALL-PURPOSE FLOUR: To make these bars gluten-free, substitute all-purpose flour with a gluten-free flour blend like Bob’s Red Mill Gluten-Free 1-to-1 Baking Flour. This change might slightly alter the texture of the bars.
- UNSALTED BUTTER: For those avoiding dairy, plant-based butter or coconut oil are viable substitutes. Note that coconut oil might add a subtle coconut taste to the bars.
- PEANUT BUTTER: Sunflower seed butter is a good alternative for those with nut allergies. It mimics the texture of peanut butter but be prepared for a slight sunflower seed flavor.
- VANILLA EXTRACT: Lacking vanilla extract? Almond extract or maple syrup can be used as substitutes, each adding a unique flavor to your peanut butter bars.
How to make Peanut Butter Lunch Lady Bars
The bottom layer of these school peanut butter bars is easily prepared with everyday pantry essentials and then baked.
After removing the bars from the oven, you'll add a drizzle of peanut butter for extra richness. Chill the pan in the refrigerator before applying the frosting and slicing into bars.
Follow our step-by-step directions below to make this fun treat that your friends and family will absoutely love!
FIRST STEP: Preheat the oven to 350°F. Grease a jelly roll pan (12×17) and set it aside.
SECOND STEP: In the large bowl of a stand mixer, beat together the butter and 1 cup of peanut butter until fluffy and well blended. Scrape down the sides of the bowl.
THIRD STEP: Add granulated sugar and brown sugar to the butter mixture and beat well (1 to 2 minutes).

FOURTH STEP: Add in the eggs and vanilla extract and beat on medium-high for another 2-3 minutes, scraping down the sides and bottom of the bowl intermittently to ensure even mixing.
FIFTH STEP: In a separate bowl, stir together the salt, baking soda, flour, and oats.
SIXTH STEP: Add the flour mixture to the creamed ingredients and beat just until combined (do not overmix).
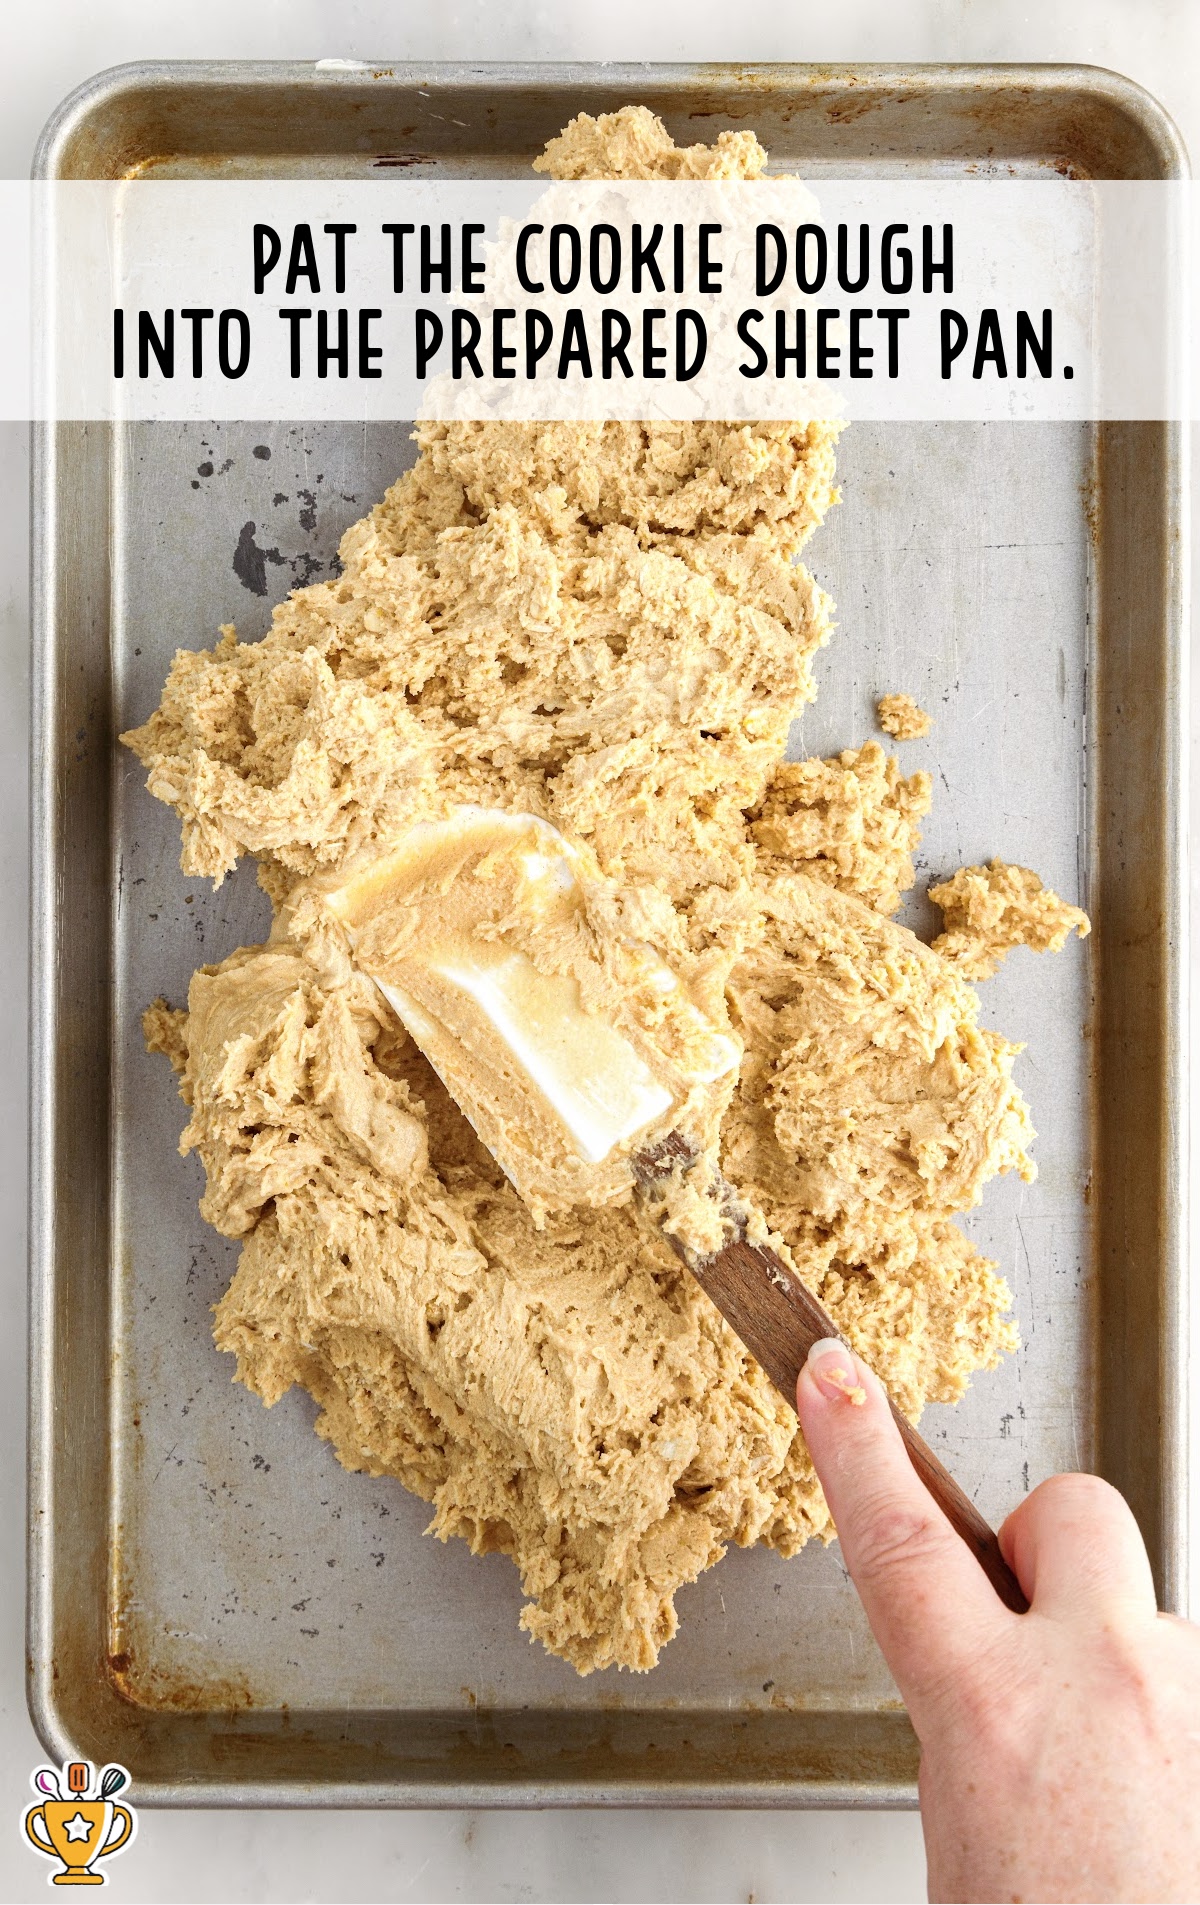
SEVENTH STEP: Use a spatula or greased hands to pat the cookie dough into the prepared sheet pan.
EIGHTH STEP: Bake peanut butter bars for 16 minutes until the center is set and the edges of the cookie are golden brown. Remove from the oven.
Pro Tip
Oven temperatures can differ and might require periodic recalibration to maintain accuracy. Be vigilant and frequently check your bars as they near the recommended baking time.
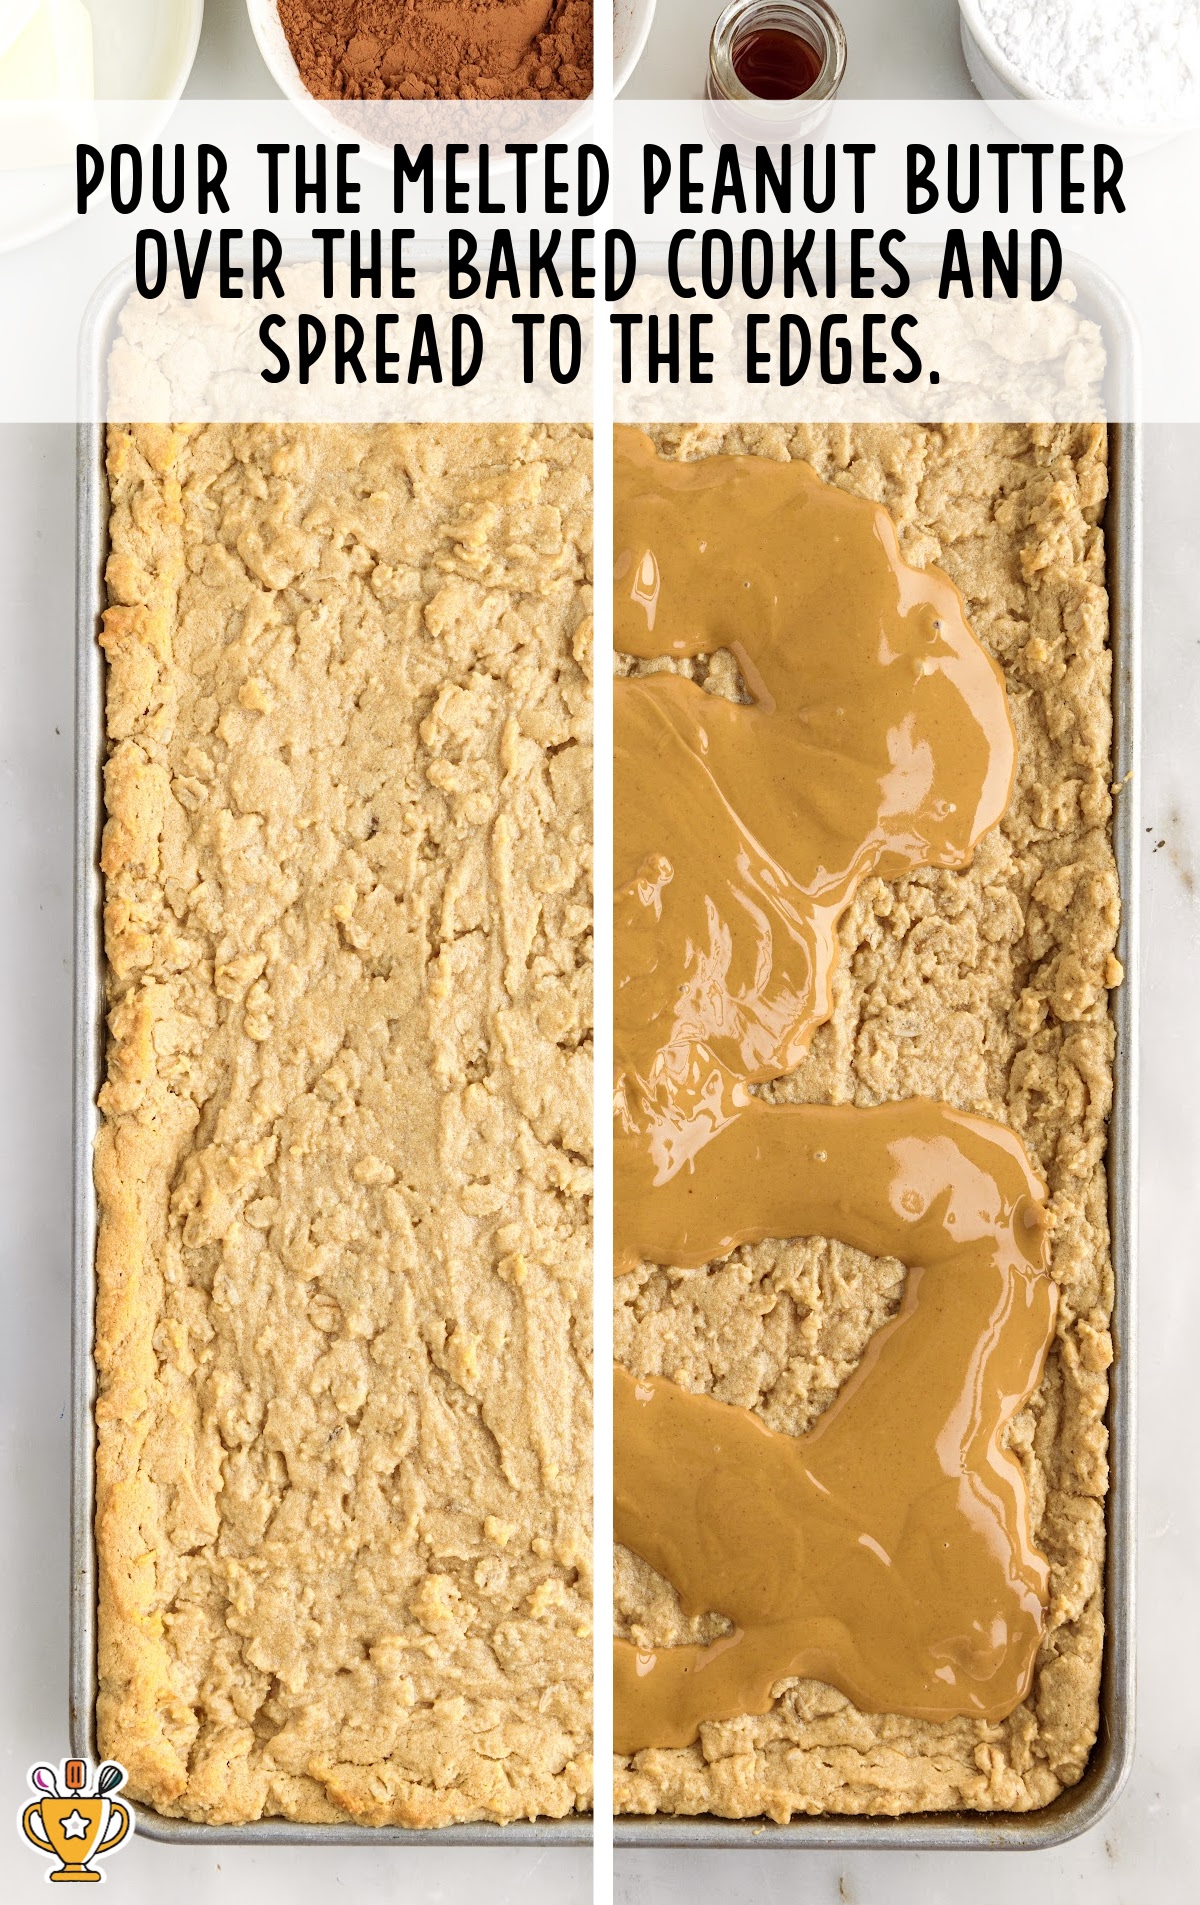
NINTH STEP: In a microwave-safe bowl, heat the remaining 1 cup of peanut butter for 30 seconds to 1 minute until it is mostly melted and easily spreadable. Pour the melted peanut butter over the baked cookies and spread to the edges. Allow the cookies to cool completely. Once room temperature, you can place the pan into the refrigerator to help the peanut butter set again and make it easier to frost.
Pro Tip
Adding a peanut butter layer on top of the bars is optional, but it introduces a delightful burst of flavor. If you prefer not to microwave the peanut butter, simply spoon it over the warm cookie just after it comes out of the oven. Allow it to warm up for a few minutes from the cookie's heat before spreading it smoothly across the top.
TENTH STEP: To make the frosting, beat the butter with an electric hand mixer.
ELEVENTH STEP: Add the cocoa powder, powdered sugar, vanilla extract, and a pinch of salt. The mixture will be very dry.
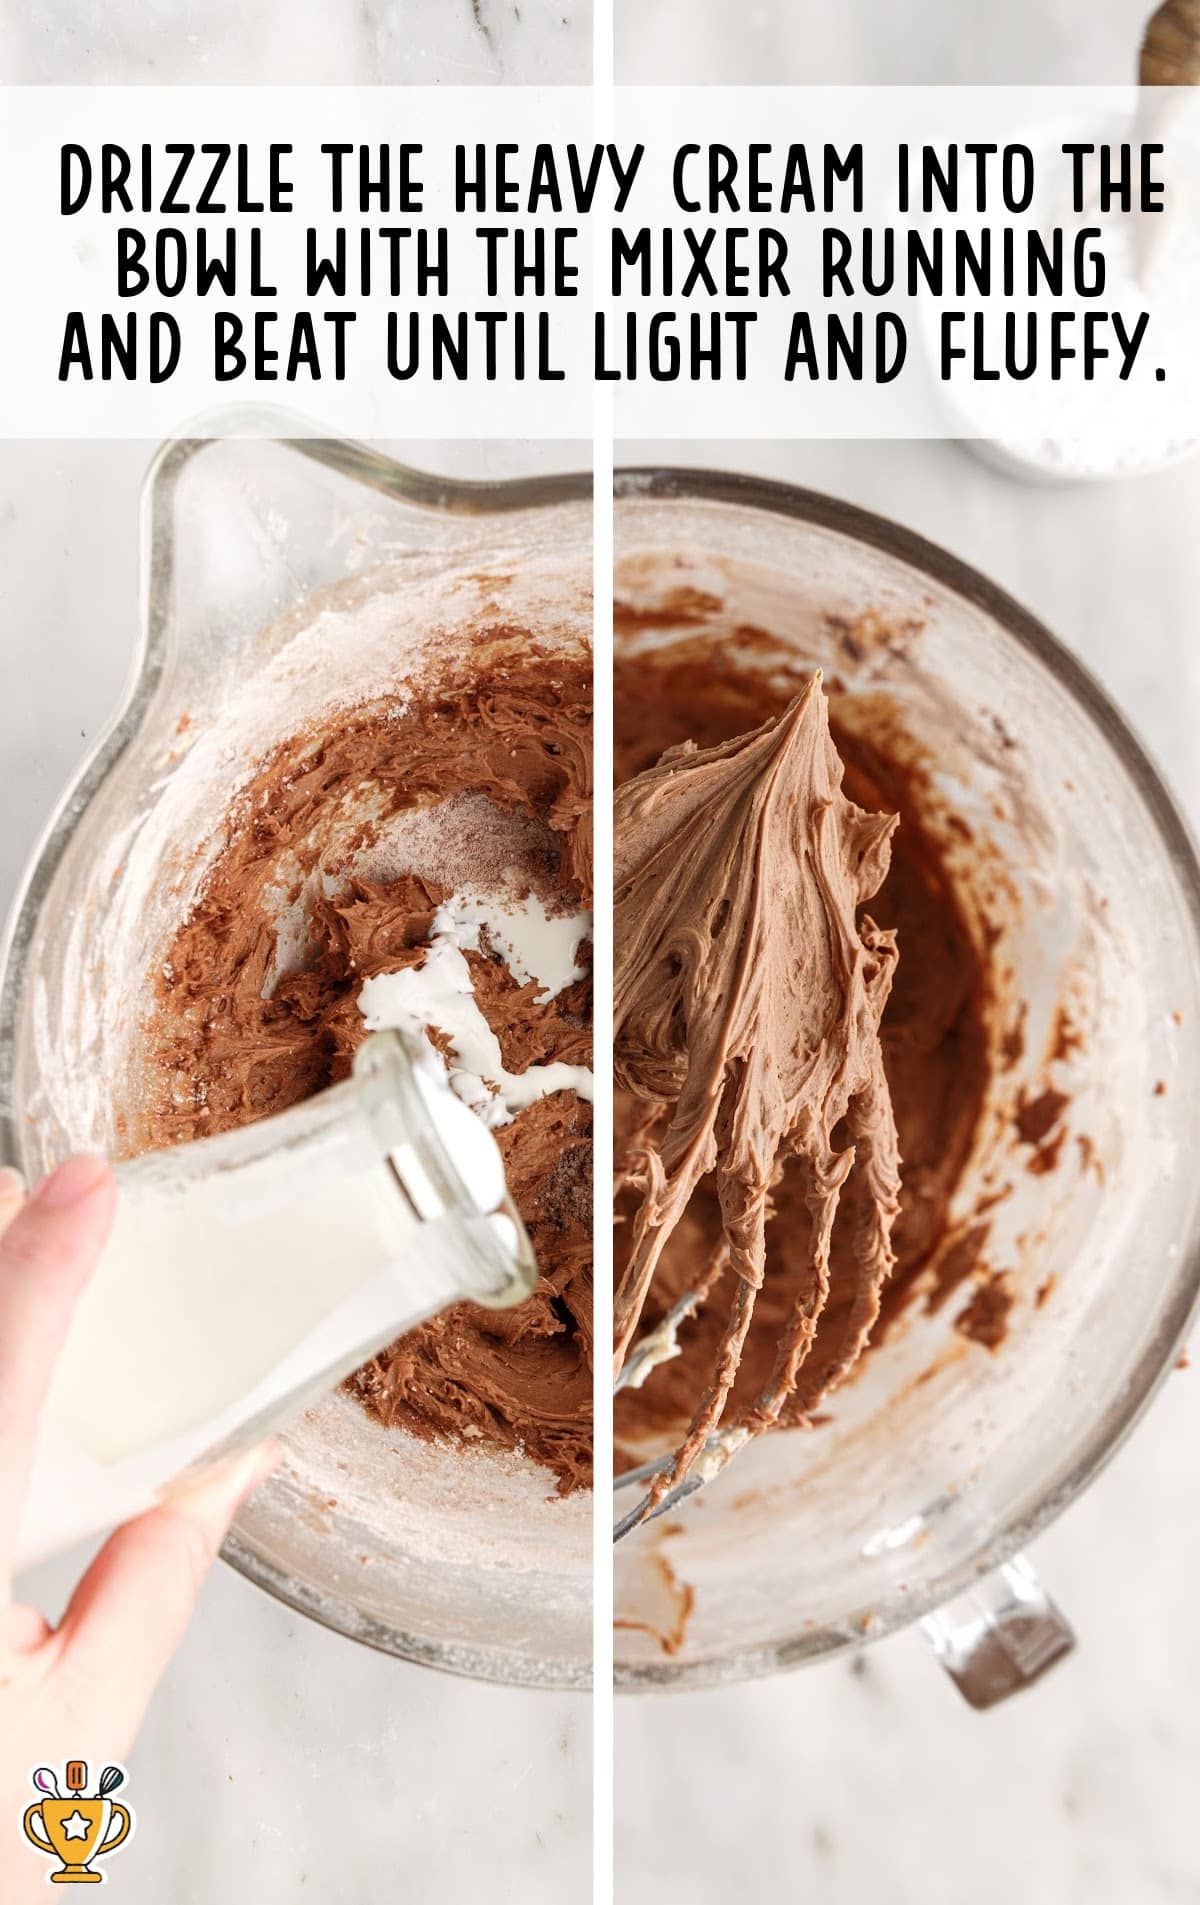
STEP TWELVE: Drizzle the heavy cream into the bowl with the mixer running and beat until light and fluffy.
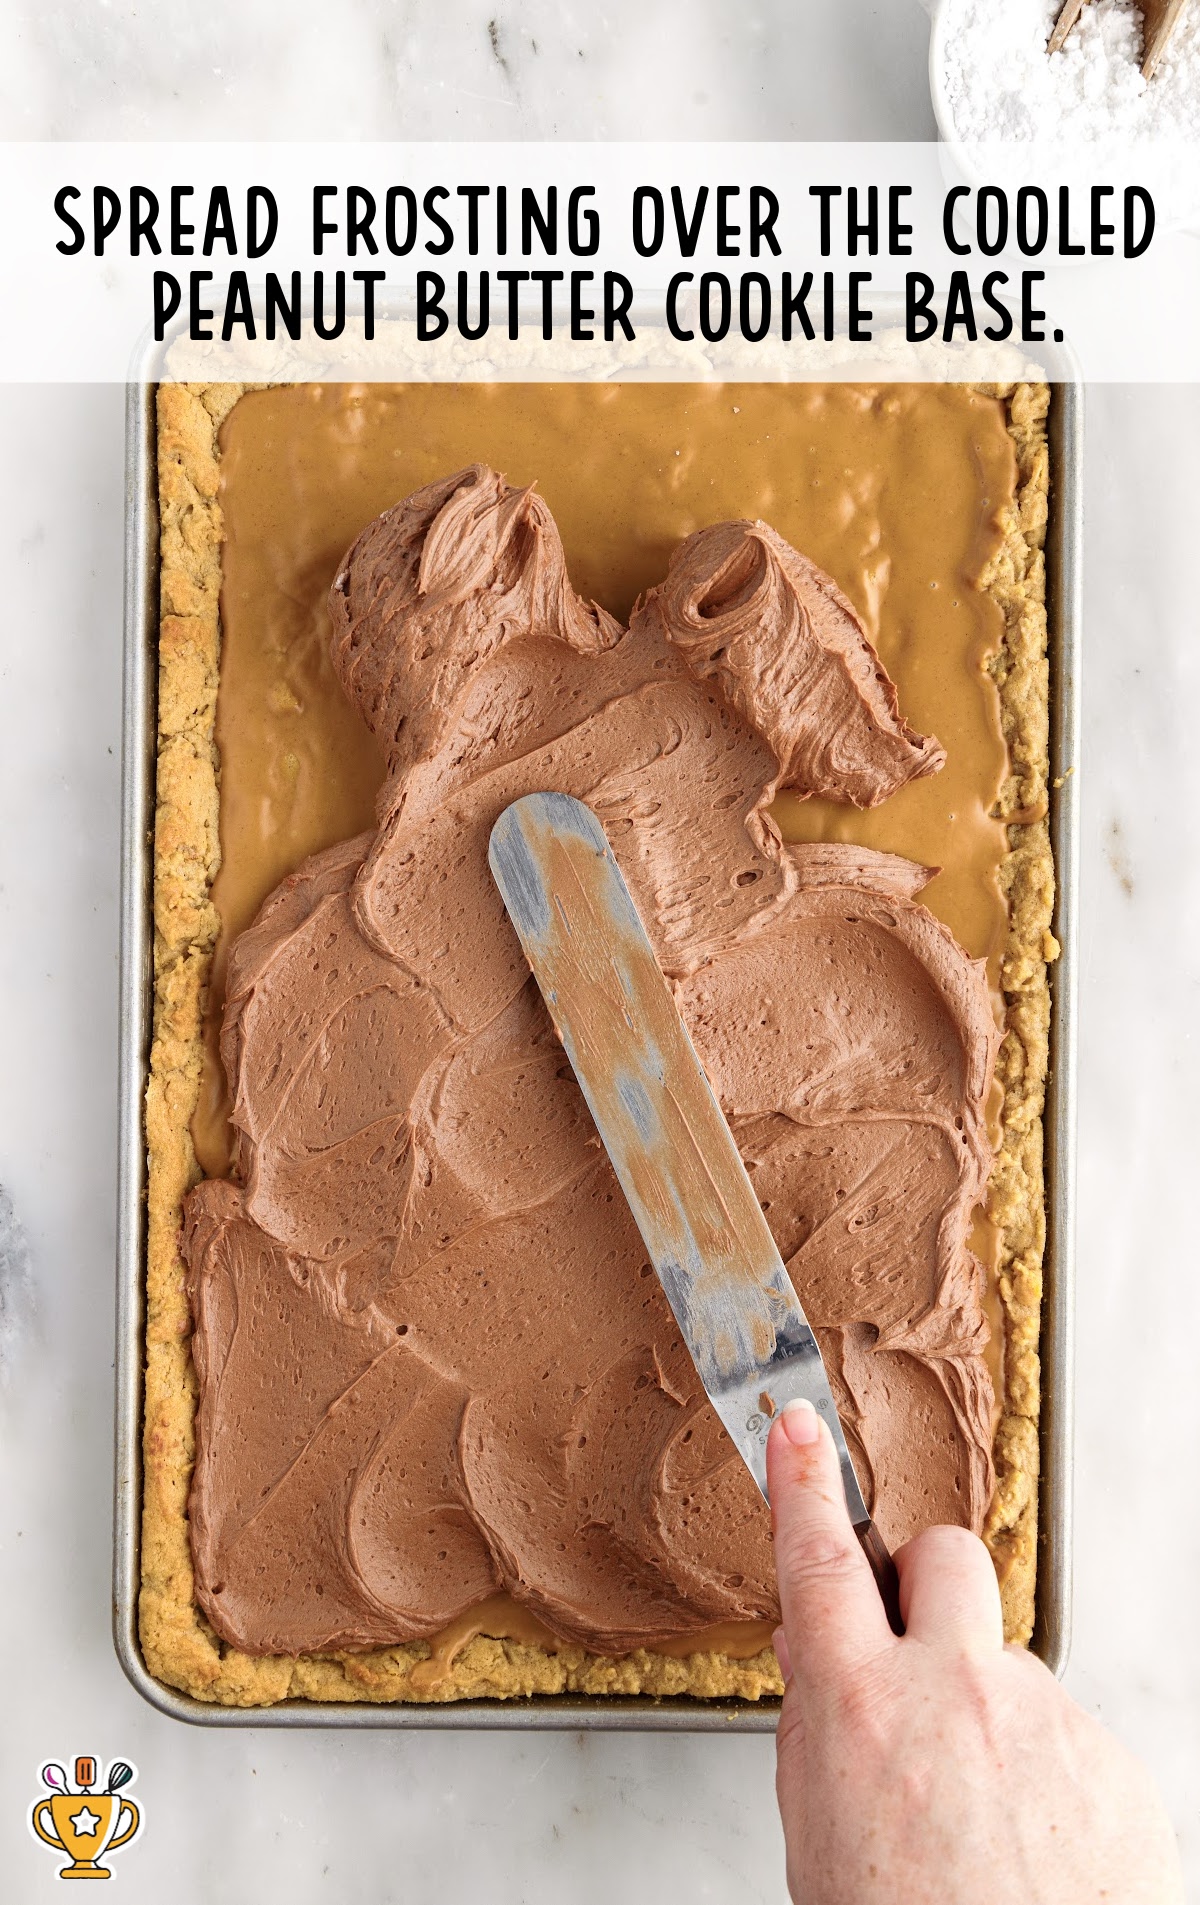
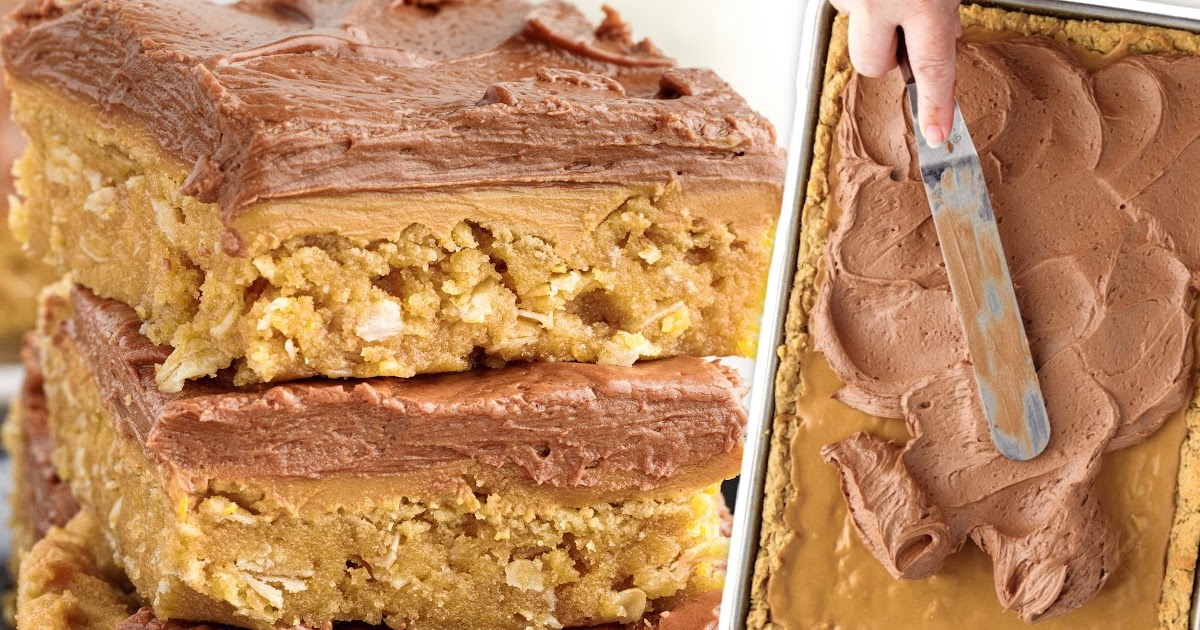
THIRTEENTH STEP: Spread frosting over the cooled peanut butter cookie base.
Pro Tip
We carefully dolloped the frosting onto the chilled peanut butter layer, allowing us to spread it gently without disturbing the peanut butter underneath too much.
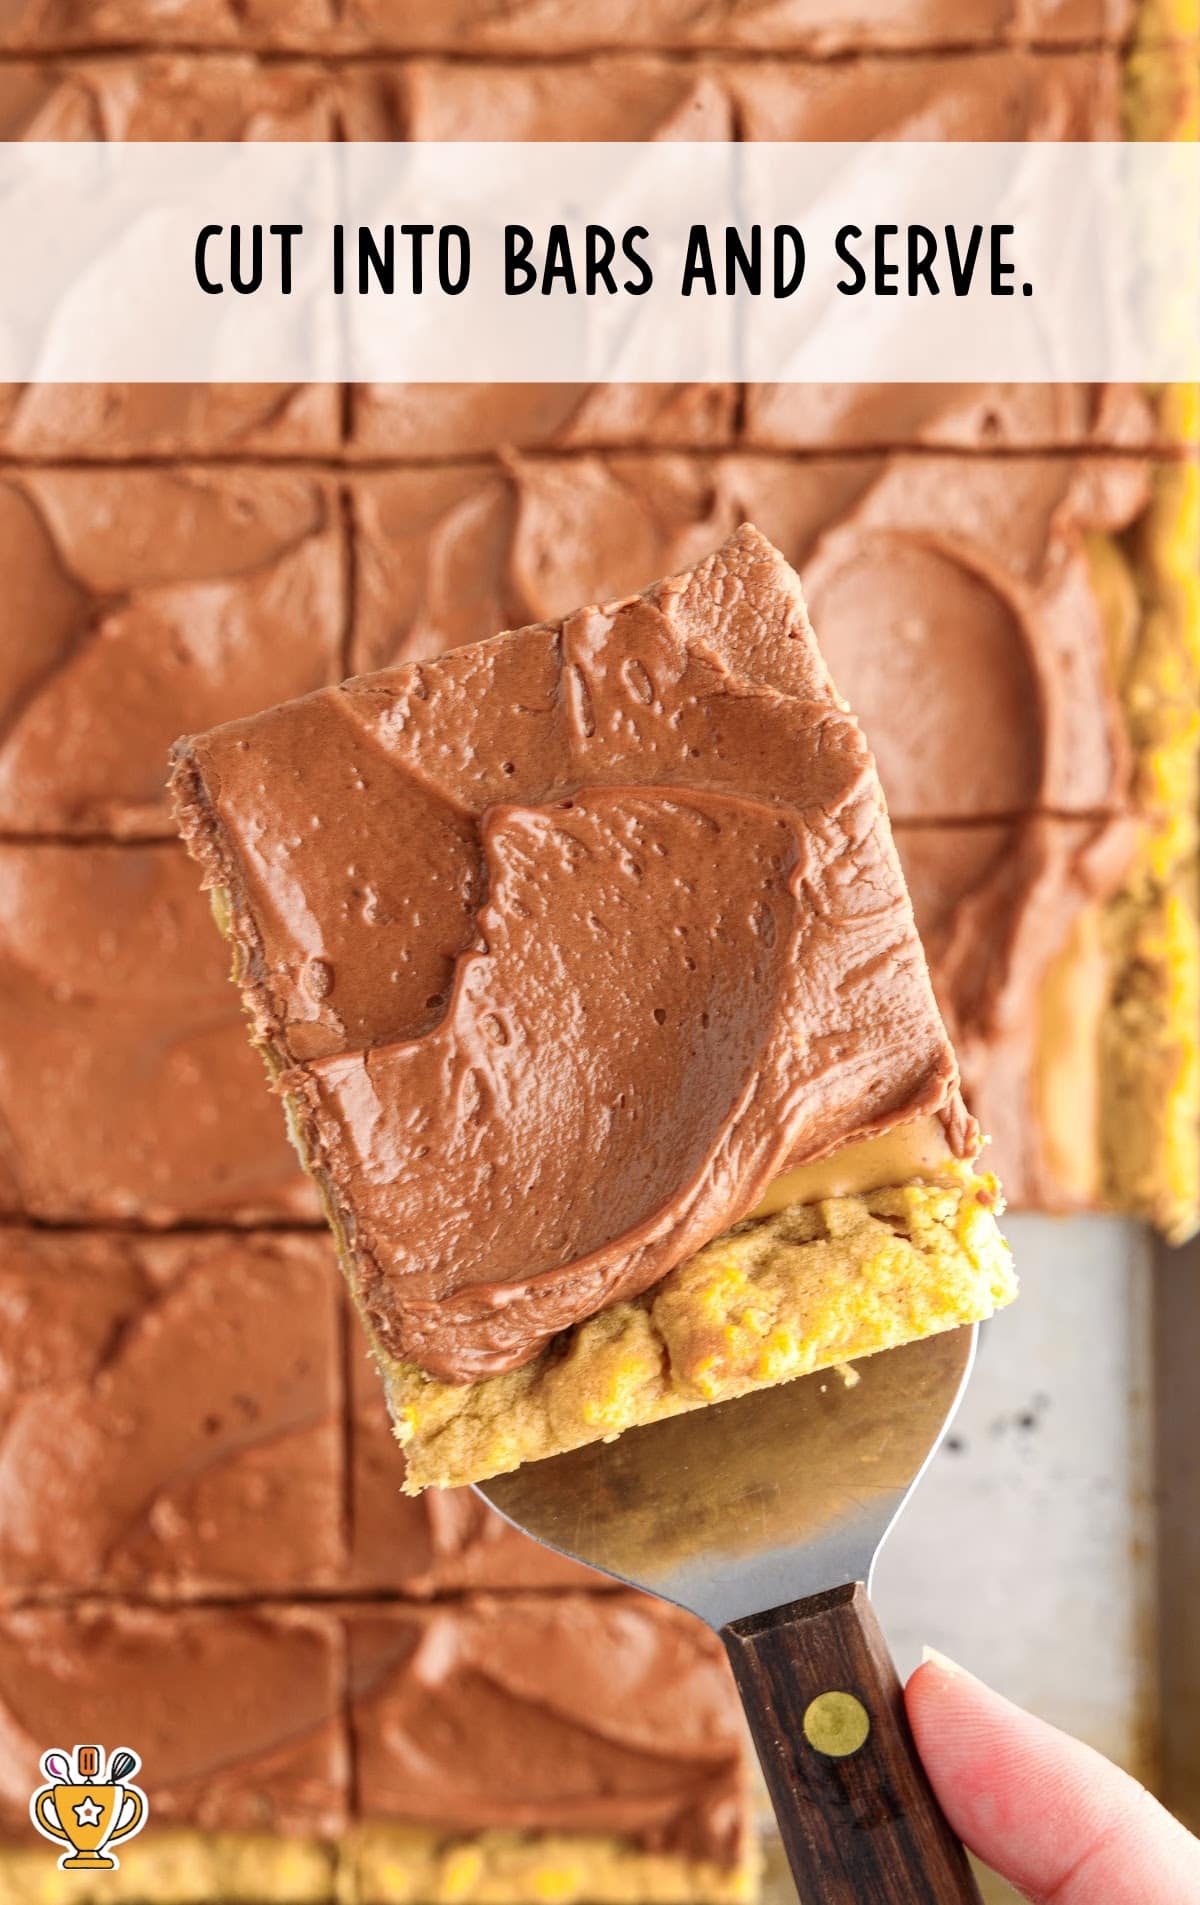
FOURTEENTH STEP: Cut into bars and serve.
Just like the beloved bars from school days past, these peanut butter cookie bars are a nostalgic treat. They’re perfect for large gatherings and a favorite for their familiar cafeteria-style appeal.
I always keep the ingredients for these Lunch Lady Peanut Butter Bars on hand because they're my go-to recipe for last-minute treats. They’re easy to whip up and great for feeding a crowd.
These bars are prepared in a half sheet pan, allowing you to slice them according to your needs. While we prefer larger squares and usually cut them into 24 pieces, you can easily divide them into 48 smaller bars if you prefer.
How to serve these peanut butter bars
Lunch lady peanut butter bars are a super fun and easy snack or dessert. Perfect for teatime or as a treat after school for the kids!
Jazz them up with some yogurt, fruit, or nut butter. Feeling fancy? Drizzle on some hot fudge or plop a scoop of vanilla ice cream on top!
Dive into nostalgia with our awesome lunch lady brownies and old-school pepperoni pizza rolls. They’re fun recipes that’ll make you feel like a kid again!

Why You'll Love This Recipe
AMAZING FLAVOR: You're going to love this old-fashioned peanut butter bars recipe because it perfectly combines flavors and textures. The rich, chewy base with its peanut buttery goodness and the smooth chocolate layer on top create an indulgent treat that’s hard to resist.
EASY TO MAKE: Making these peanut butter bars is incredibly simple, with straightforward ingredients that are probably already in your kitchen. They're perfect for a last-minute snack or a laid-back dessert that will please both kids and grown-ups alike.
CLASSIC RECIPE: These bars aren't just tasty; they also evoke fond memories of school days and classic cafeteria-style treats. Each bite is a nostalgic journey through delicious, comforting flavors that feel like home.
Frequently Asked Questions
Do these peanut butter oatmeal bars need to be refrigerated?
No need to refrigerate these! This easy lunchroom lady peanut butter bars recipe will keep perfectly on the counter for up to 5 days if stored in a sealed container.
Can I use natural peanut butter in these peanut butter lunch lady cookie bars?
It’s best not to use natural peanut butter for this recipe as the oil separation during baking could affect the texture of the bars.
Is it okay to use store-bought frosting instead of making it from scratch?
Absolutely! If you’re in a rush and need a quick fix, feel free to use store-bought frosting for these lunch lady oatmeal peanut butter bars.
Storing this Recipe
Here are a few ideas on how you can prepare these bars in advance, store them in the fridge, freeze them for later, and reheat them when you’re ready to eat.
MAKE AHEAD: Short on time? No problem! You can make these peanut butter bars in advance. Just bake them, let them cool, and then store them in an airtight container or wrap them in plastic wrap. They’ll stay fresh at room temperature for up to 2 days, so you’ll always have a quick treat on hand.
ON THE COUNTER: Keep chocolate peanut butter bars right on the countertop or in the fridge, sealed in an airtight container for up to 5 days.
IN THE FREEZER: If you want to save some for later, freeze the peanut butter cookie bars in a container that’s airtight for up to a month.
REHEATING: Ready to enjoy your bars? Reheating them is easy. If they’re from the fridge, let them warm up at room temperature for about 15 minutes to soften. For frozen bars, thaw them overnight in the fridge, or for a quick fix, zap them in the microwave.
To microwave, unwrap a bar and place it on a microwave-safe plate. Heat on medium for 15-20 seconds at a time, rotating it occasionally, until it’s just warm enough. Be careful not to overdo it, or they might dry out.
More Peanut Butter Desserts


Lunch Lady Peanut Butter Bars
Lunch lady peanut butter bars are a delightful throwback treat, featuring a thick, chewy peanut butter base topped with a rich, creamy chocolate layer, bringing back fond memories of sweet moments in school cafeterias.
Did you try this recipe?Let our readers know how it turned out by Leaving a Review!
Ingredients
Cookie Base
- 1 cup unsalted butter (softened)
- 2 cups creamy peanut butter (divided in half)
- 1 cup granulated white sugar
- 1 cup light brown sugar (packed)
- 2 teaspoons vanilla extract
- 2 large eggs (room temperature)
- 1 teaspoon salt
- 1 teaspoon baking soda
- 2 cups all-purpose flour
- 1 ½ cups old-fashioned rolled oats
Frosting
- 1 cup unsalted butter (softened)
- 3 cups powdered sugar
- 1 teaspoon vanilla extract
- 6 tablespoons unsweetened cocoa powder
- 1 pinch salt
- ¼ cup heavy whipping cream
DIRECTIONS
- Preheat the oven to 350°F. Grease a jelly roll pan (12×17) and set aside.
- In the bowl of a stand mixer, beat together the butter and 1 cup of peanut butter until fluffy and well blended. Scrape down the sides of the bowl.
- Add granulated sugar and brown sugar to the butter mixture and beat well (1 to 2 minutes).
- Add in the eggs and vanilla extract and beat on medium-high for another 2 to 3 minutes, scraping down the sides and bottom of the bowl intermittently to ensure even mixing.
- In a separate bowl, stir together the salt, baking soda, flour, and oats.
- Add the flour mixture to the creamed ingredients and beat just until combined (do not overmix).
- Use a spatula or greased hands to pat the cookie dough into the prepared sheet pan.
- Bake for 16 minutes, until the center is set and the edges of the cookie are golden brown. Remove from the oven.
- In a microwave-safe bowl, heat the remaining 1 cup of peanut butter for 30 seconds to 1 minute until it is mostly melted and easily spreadable. Pour the melted peanut butter over the baked cookies and spread to the edges. Allow the cookies to cool completely. Once room temperature, you can place the pan into the refrigerator to help the peanut butter set again and make it easier to frost.
- To make the frosting, beat the butter with an electric mixer.
- Add the cocoa powder, powdered sugar, vanilla extract, and a pinch of salt. The mixture will be very dry.
- Drizzle the heavy cream into the bowl with the mixer running and beat until light and fluffy.
- Spread frosting over the cooled peanut butter cookie base.
- Cut into bars and serve.
Notes
- Be sure you use old-fashioned rolled oats for this tasty treat. They are thicker and larger than quick oats and will produce the nice hearty chew of these bars without drying them out.
- Oven temperatures vary and may need to be recalibrated periodically to ensure they are accurate. Make sure to keep a close eye on your bars as the suggested baking time approaches.
- The peanut butter layer on top of the bars is optional but adds a delicious extra burst of peanut butter. If you want to skip microwaving the peanut butter, dollop it over the hot cookie as soon as it comes out of the oven. Leave it for several minutes to heat up from the cookie, and then spread it into a smooth layer.
- We dolloped the frosting over the chilled peanut butter layer so that we could spread it without agitating the peanut butter layer too much.
Nutrition
Calories: 620kcal | Carbohydrates: 66g | Protein: 10g | Fat: 38g | Saturated Fat: 17g | Polyunsaturated Fat: 5g | Monounsaturated Fat: 13g | Trans Fat: 1g | Cholesterol: 79mg | Sodium: 332mg | Potassium: 261mg | Fiber: 3g | Sugar: 46g | Vitamin A: 709IU | Vitamin C: 0.02mg | Calcium: 44mg | Iron: 2mg
HAVE YOU TRIED THIS RECIPE?Follow me on Pinterest @bestblogrecipes

Comments
Rob says
Not only are the bars fantastic, this has the best chocolate frosting I have ever had! I come to the recipe just for the frosting! Perfectly sweet paired with just the right amount of cocoa, and is soooo smooth! 10/10