
Last updated on
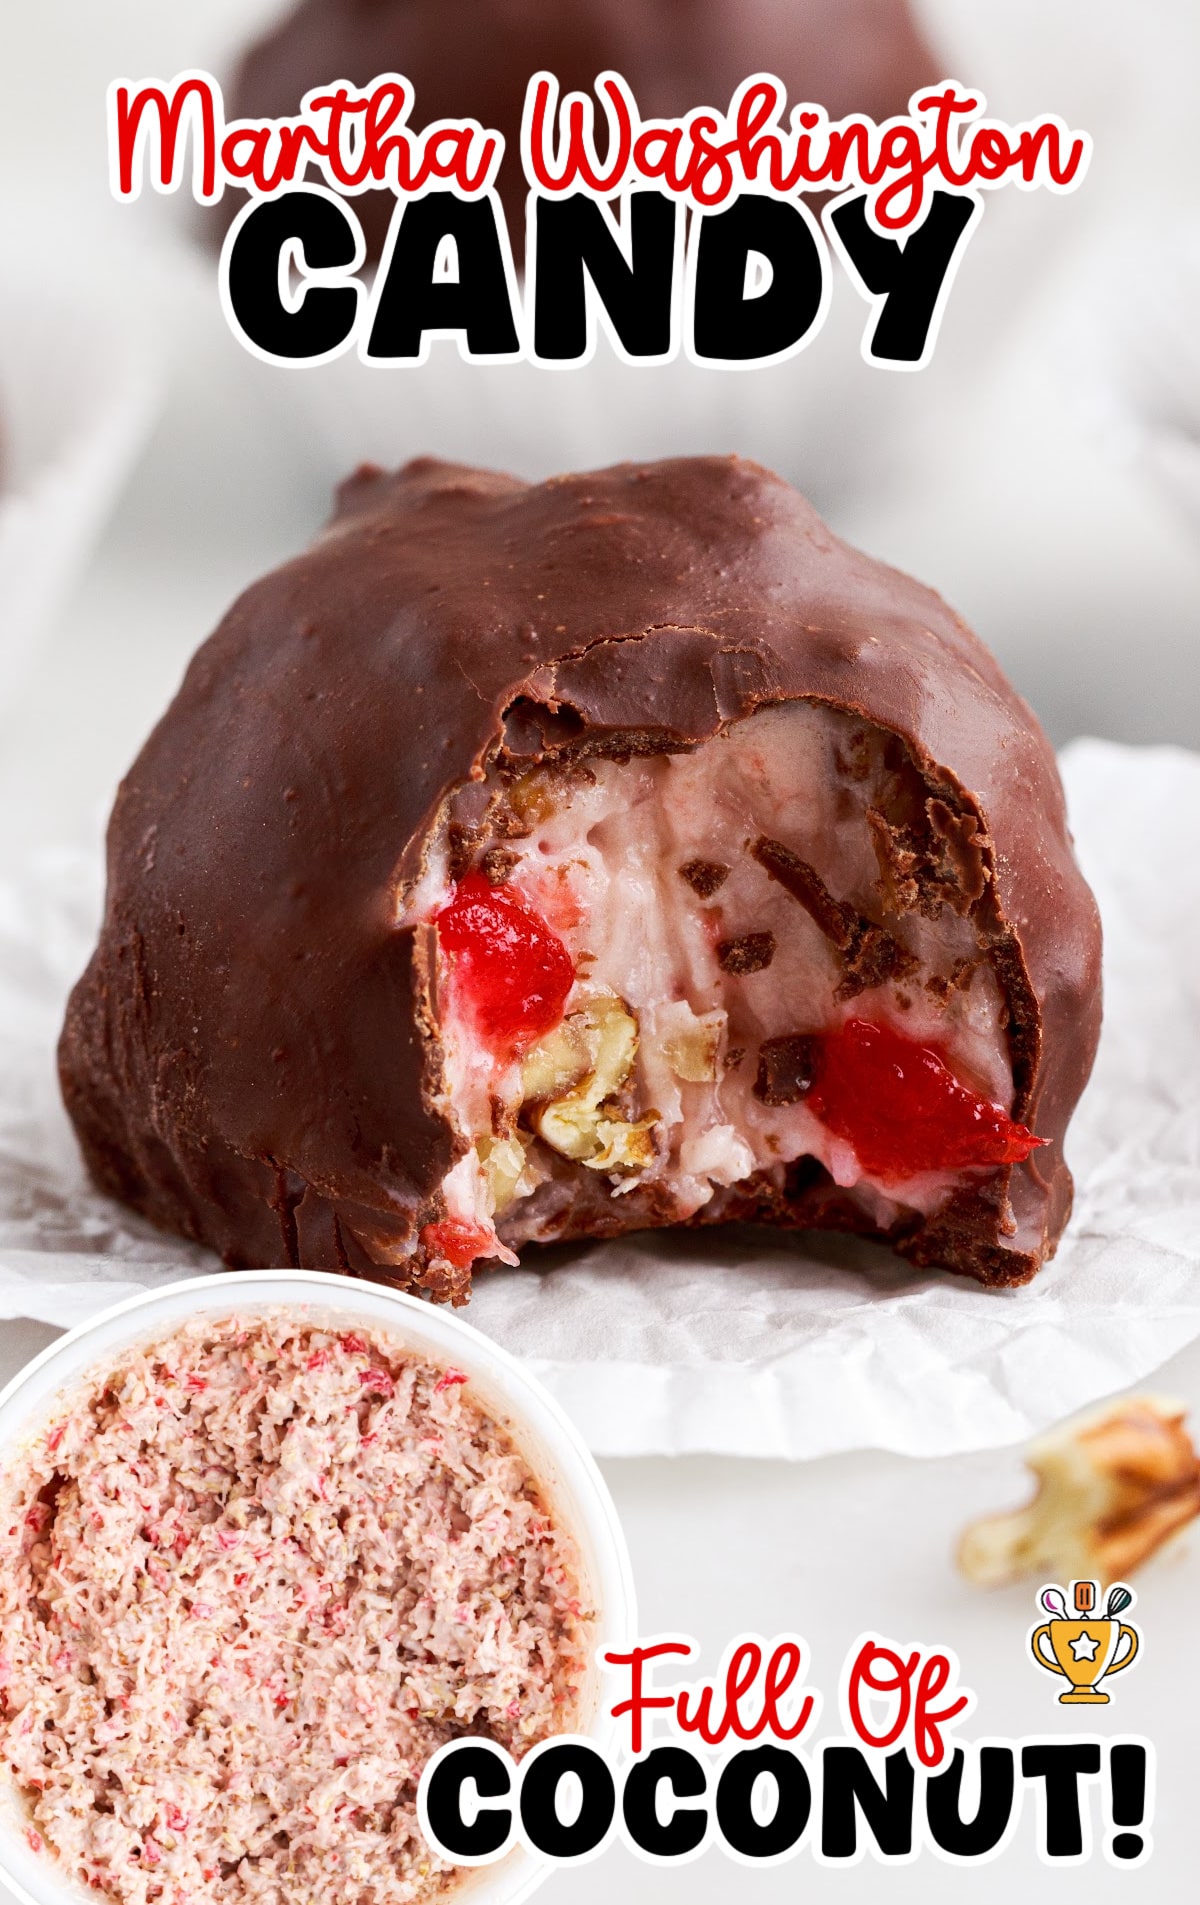
Martha Washington Candy
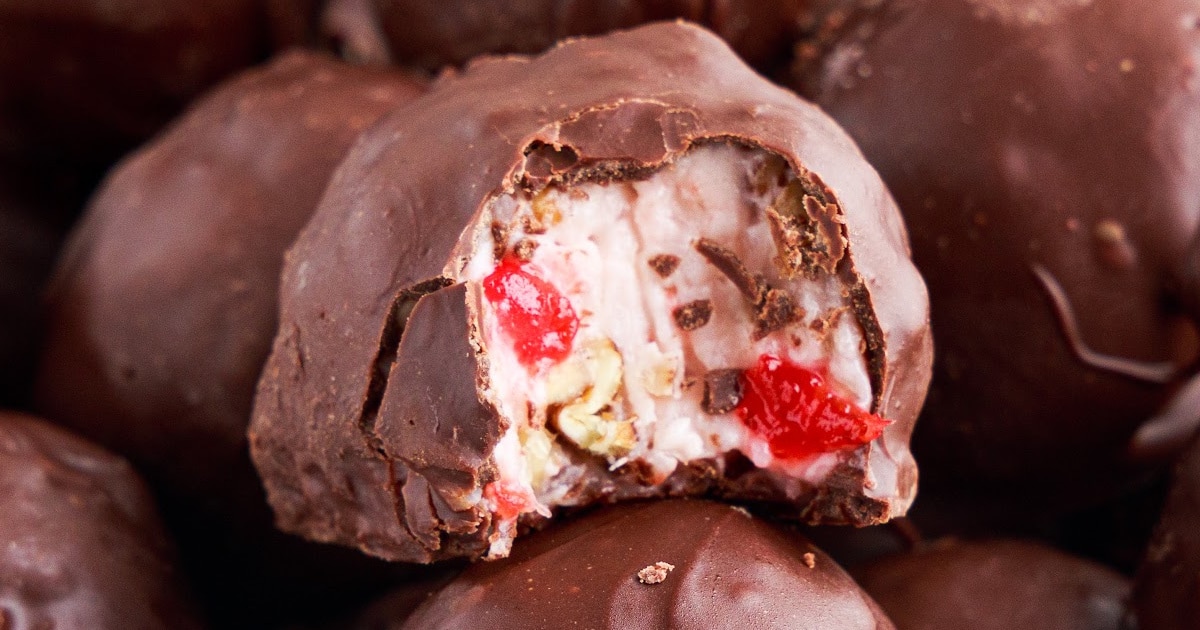
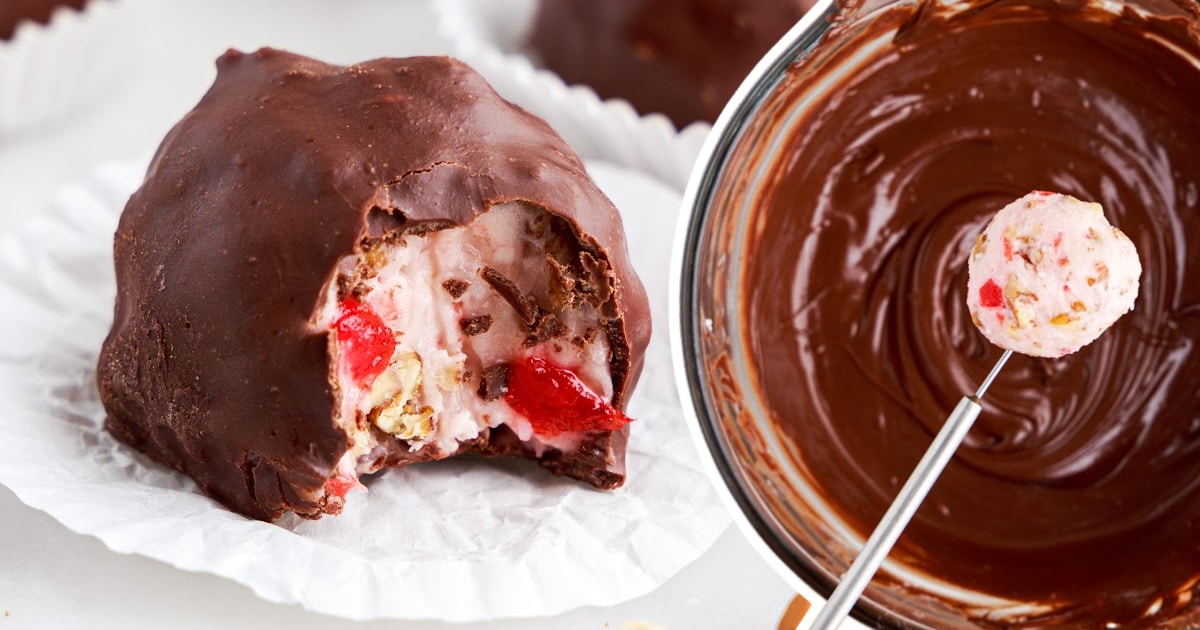
Martha Washington Candy mixes sweet coconut, pecans, and condensed milk, then dips each chilled ball in smooth melted chocolate. This no-bake candy works great for Christmas, holiday trays, or easy homemade gifts.
Jump to RecipeTable of Contents
Make these sweet and rich Martha Washington candy bites for the holidays or anytime you crave something chocolatey and satisfying. The creamy coconut and pecan center tastes even better coated in smooth chocolate.
You don’t need special tools or candy-making skills to pull this off. This easy treat makes a perfect gift or party bite every time.
More Recipes ⭐ Cool Whip Candy | Orange Truffles | Marshmallow Fluff Fudge
Follow the guide below to make this old-fashioned Christmas candy at home without any stress. We’ve added step-by-step photos and clear directions to help you along the way. Don’t miss the pro tips, tricks, and the answers to the most frequently asked questions about Martha Washington candy.
Why are they called Martha Washington candy?
These candies are named for the Martha Washington candy company that sold them during the 1920s. Most of the stores closed during the Great Depression, but this coconut candy remains a favorite confection.
Martha Washington Candies are a rich, no-bake treat made with sweet coconut, chopped pecans, and condensed milk rolled into soft centers.
After chilling, you dip each candy in melted chocolate to create a smooth, bite-sized shell.
Recipe Overview
🍬 Martha Washington Candy Recipe Overview
⏲️ Prep Time: 1 hour (including chill time)
🍫 No Bake (just melt & dip!)
👩🍳 Yields: About 80 candies
🥥 Main Ingredients:
- Sweetened shredded coconut
- Chopped pecans
- Maraschino cherries
- Sweetened condensed milk
- Semi-sweet chocolate chips
🎁 Perfect for:
Holiday gifts, dessert trays, potlucks, or chocolate cravings!
INGREDIENTS FOR MARTHA WASHINGTON CANDY
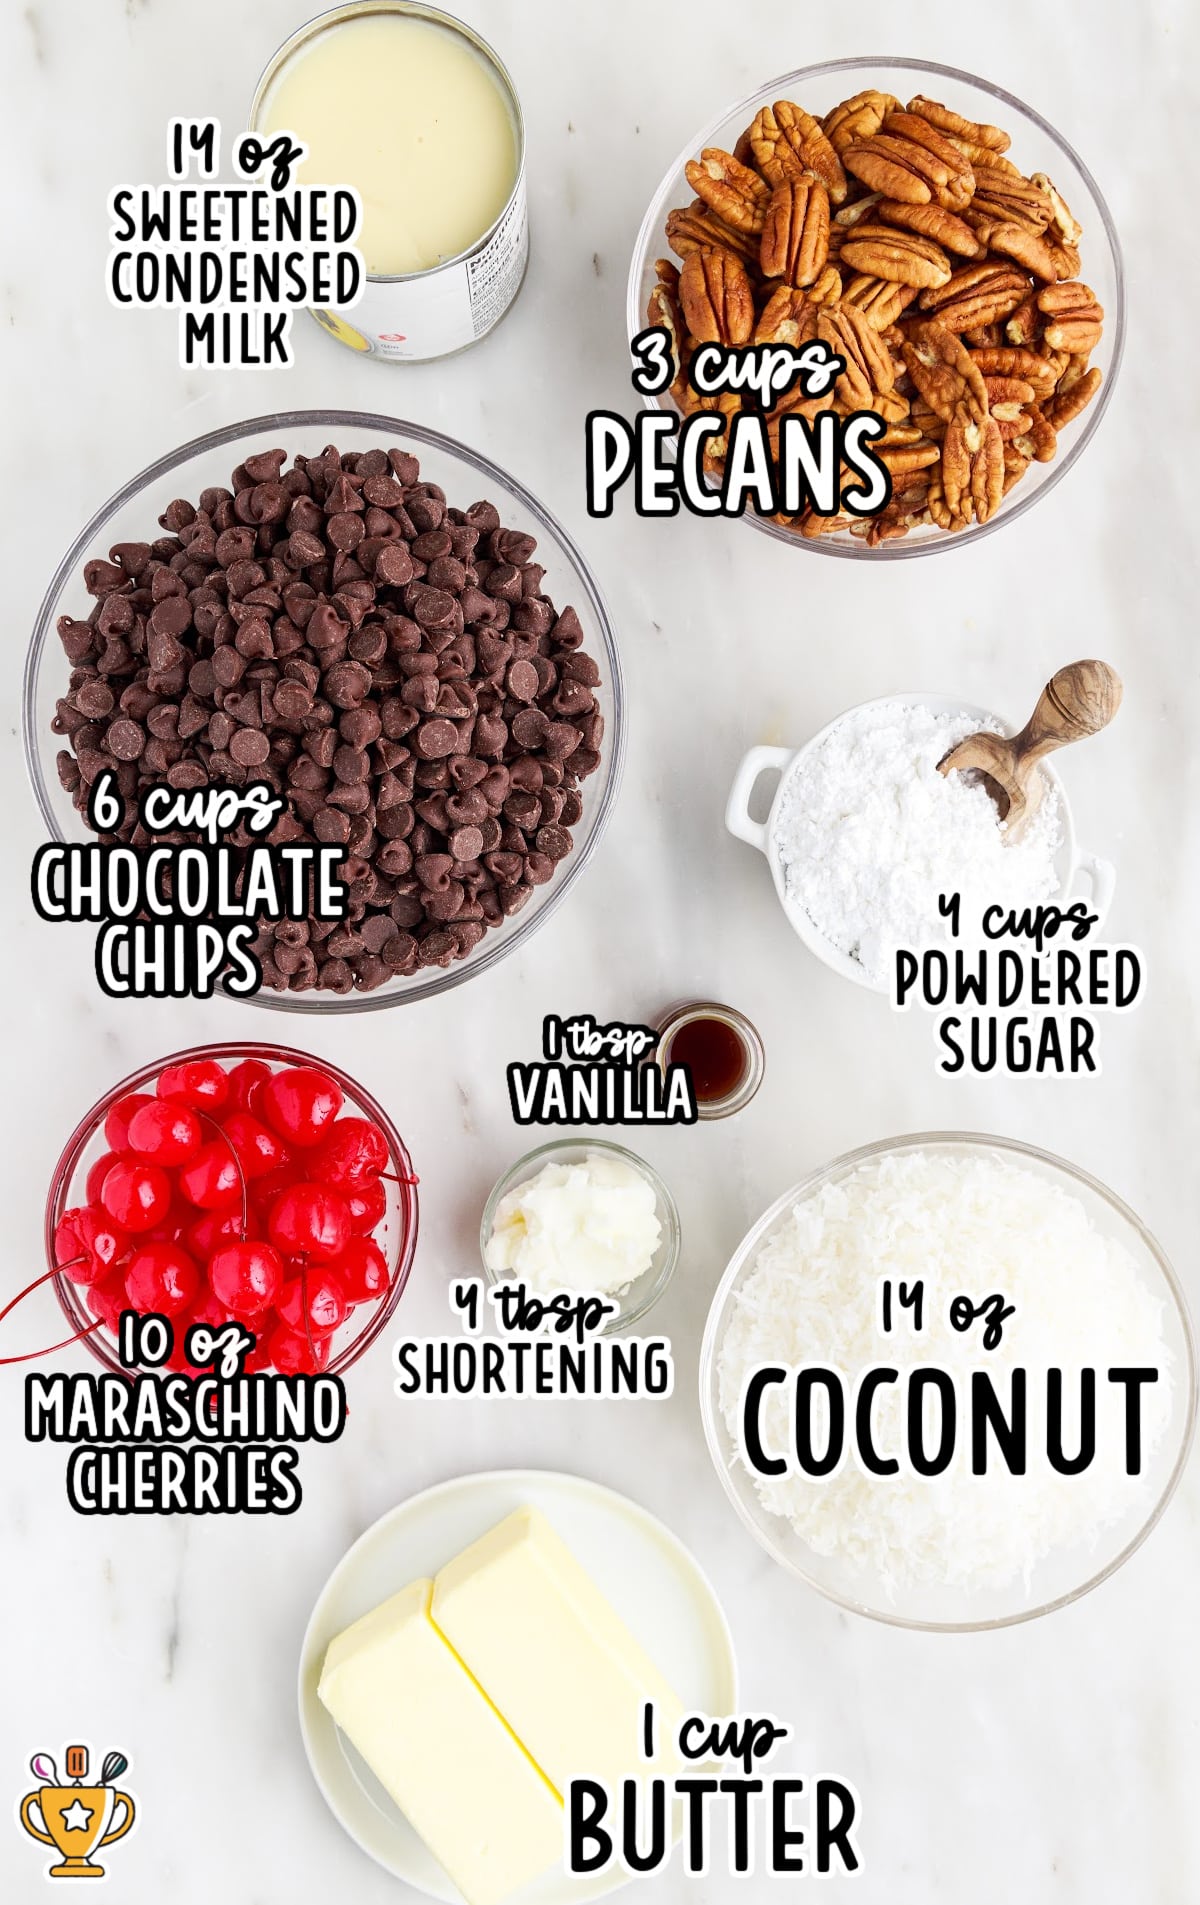
What you'll need to make this Martha Washington candy recipe:
- 1 cup of unsalted butter, softened
- 1 tablespoon of vanilla extract
- 1 (14-ounce) can of sweetened condensed milk
- 4 cups of powdered sugar
- 14 ounces of sweetened shredded coconut
- 10-ounce jar of maraschino cherries, drained and chopped
- 3 cups of pecans, chopped
- 6 cups of semi-sweet chocolate chips
- 4 tablespoons of shortening
Pro Tip
This old-fashioned candy recipe makes close to 80 candies! You can definitely halve the recipe for a smaller quantity.
✅ How to Make Martha Washington Candy
Follow along with our step-by-step photos and instructions to make the best milk candy recipe at home.
Check out the tips and tricks below before you start mixing and dipping. Let’s get started!
Start by preparing the filling:
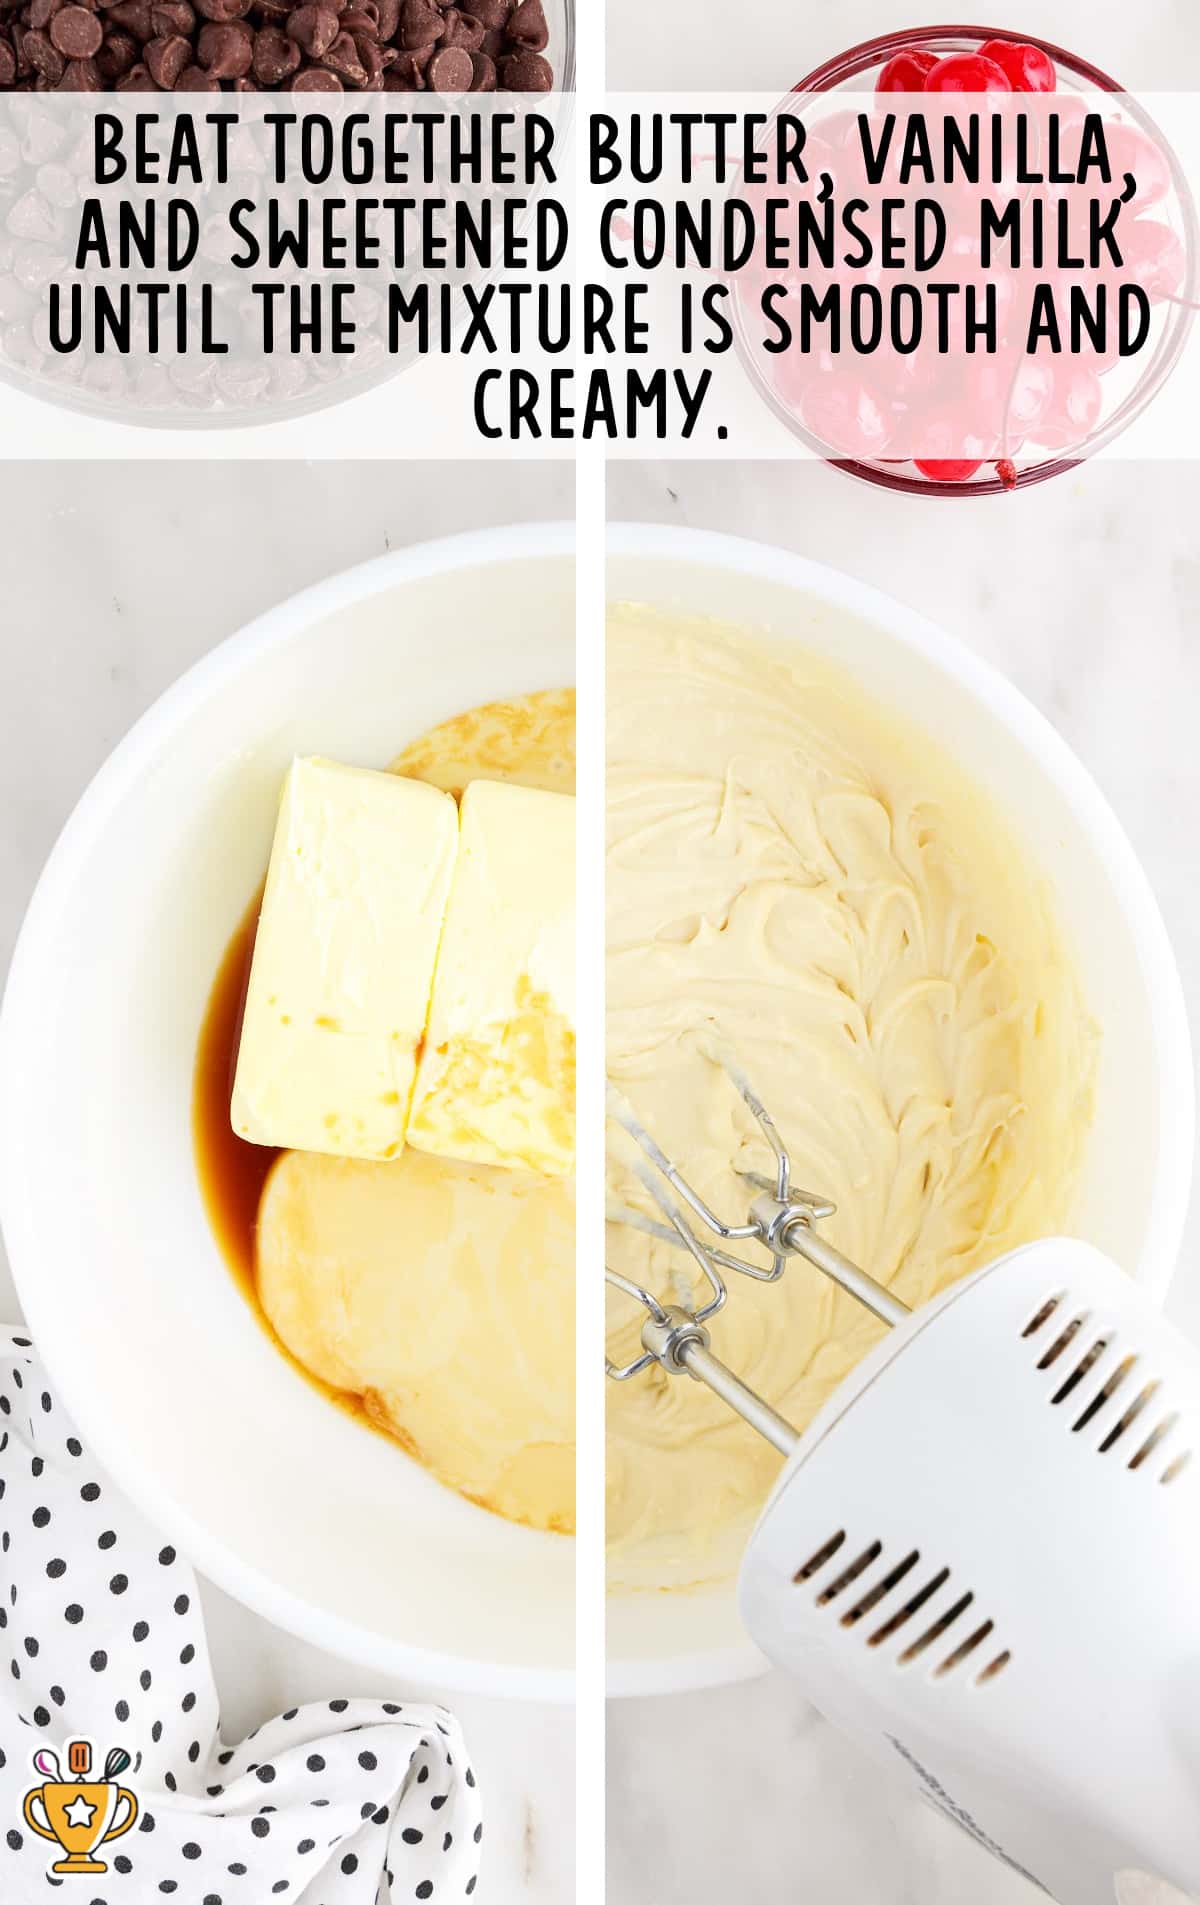
FIRST STEP: In a large mixing bowl, beat together softened butter, vanilla, and sweetened condensed milk until the mixture is smooth and creamy.
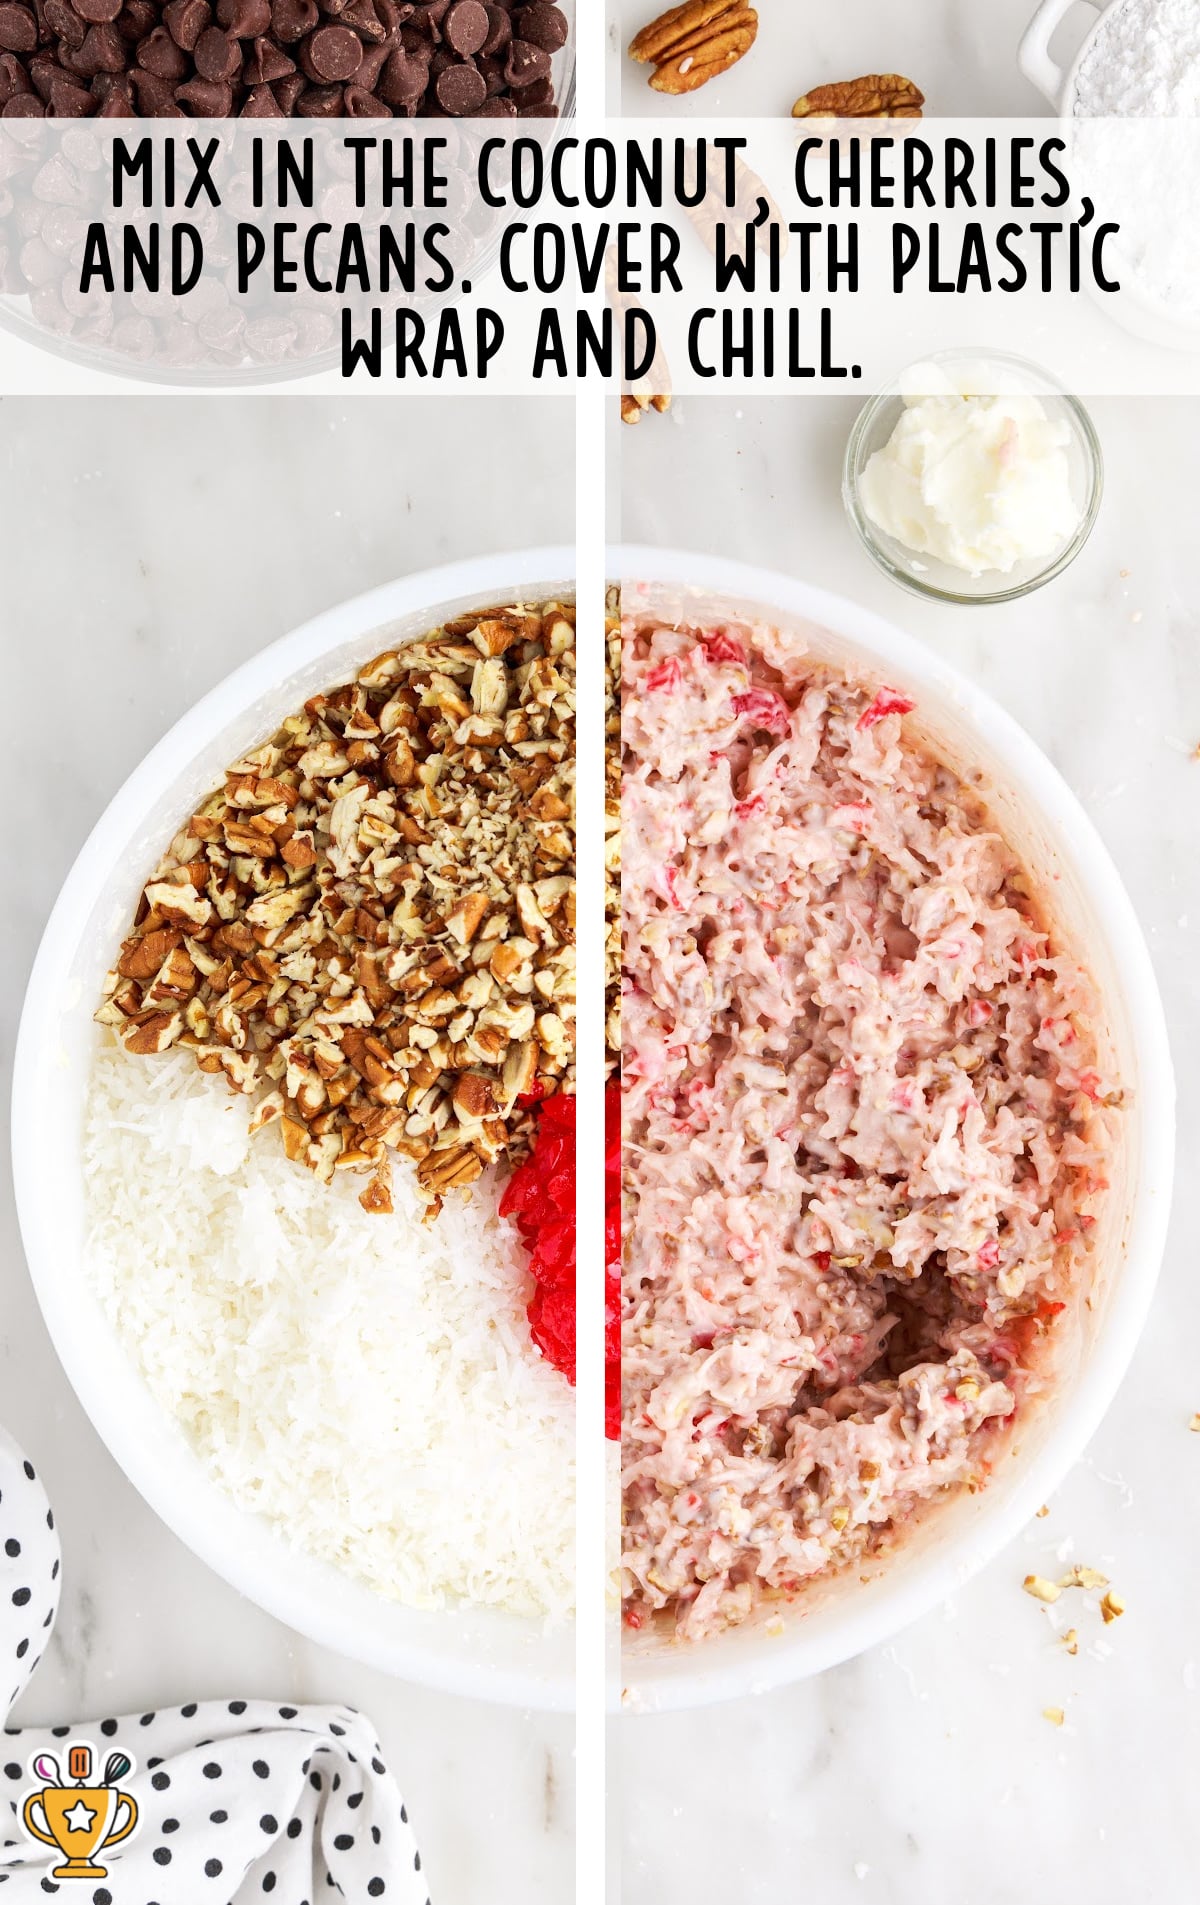
SECOND STEP: Add powdered sugar and beat until combined. Then, mix in the coconut, cherries, and pecans.
THIRD STEP: Chill the Candy Filling Before Rolling. Cover the bowl with plastic wrap and refrigerate the coconut-pecan filling for 1 to 2 hours to firm up the mixture. Don't Skip This Step!
FOURTH STEP: Prepare your pans. Line two large sheet pans with parchment paper.
FIFTH STEP: Time to put it all together. Use a 1½ tablespoon scoop or a melon baller to form balls from the chilled mixture.
You can roll the balls in the palms of your hands to make more even, uniform balls from the mixture.
Pro Tip
If you are rolling the balls in your hands and you find that it is sticky work, cover your hands with a light dusting of powdered sugar to prevent the filling from sticking to you.

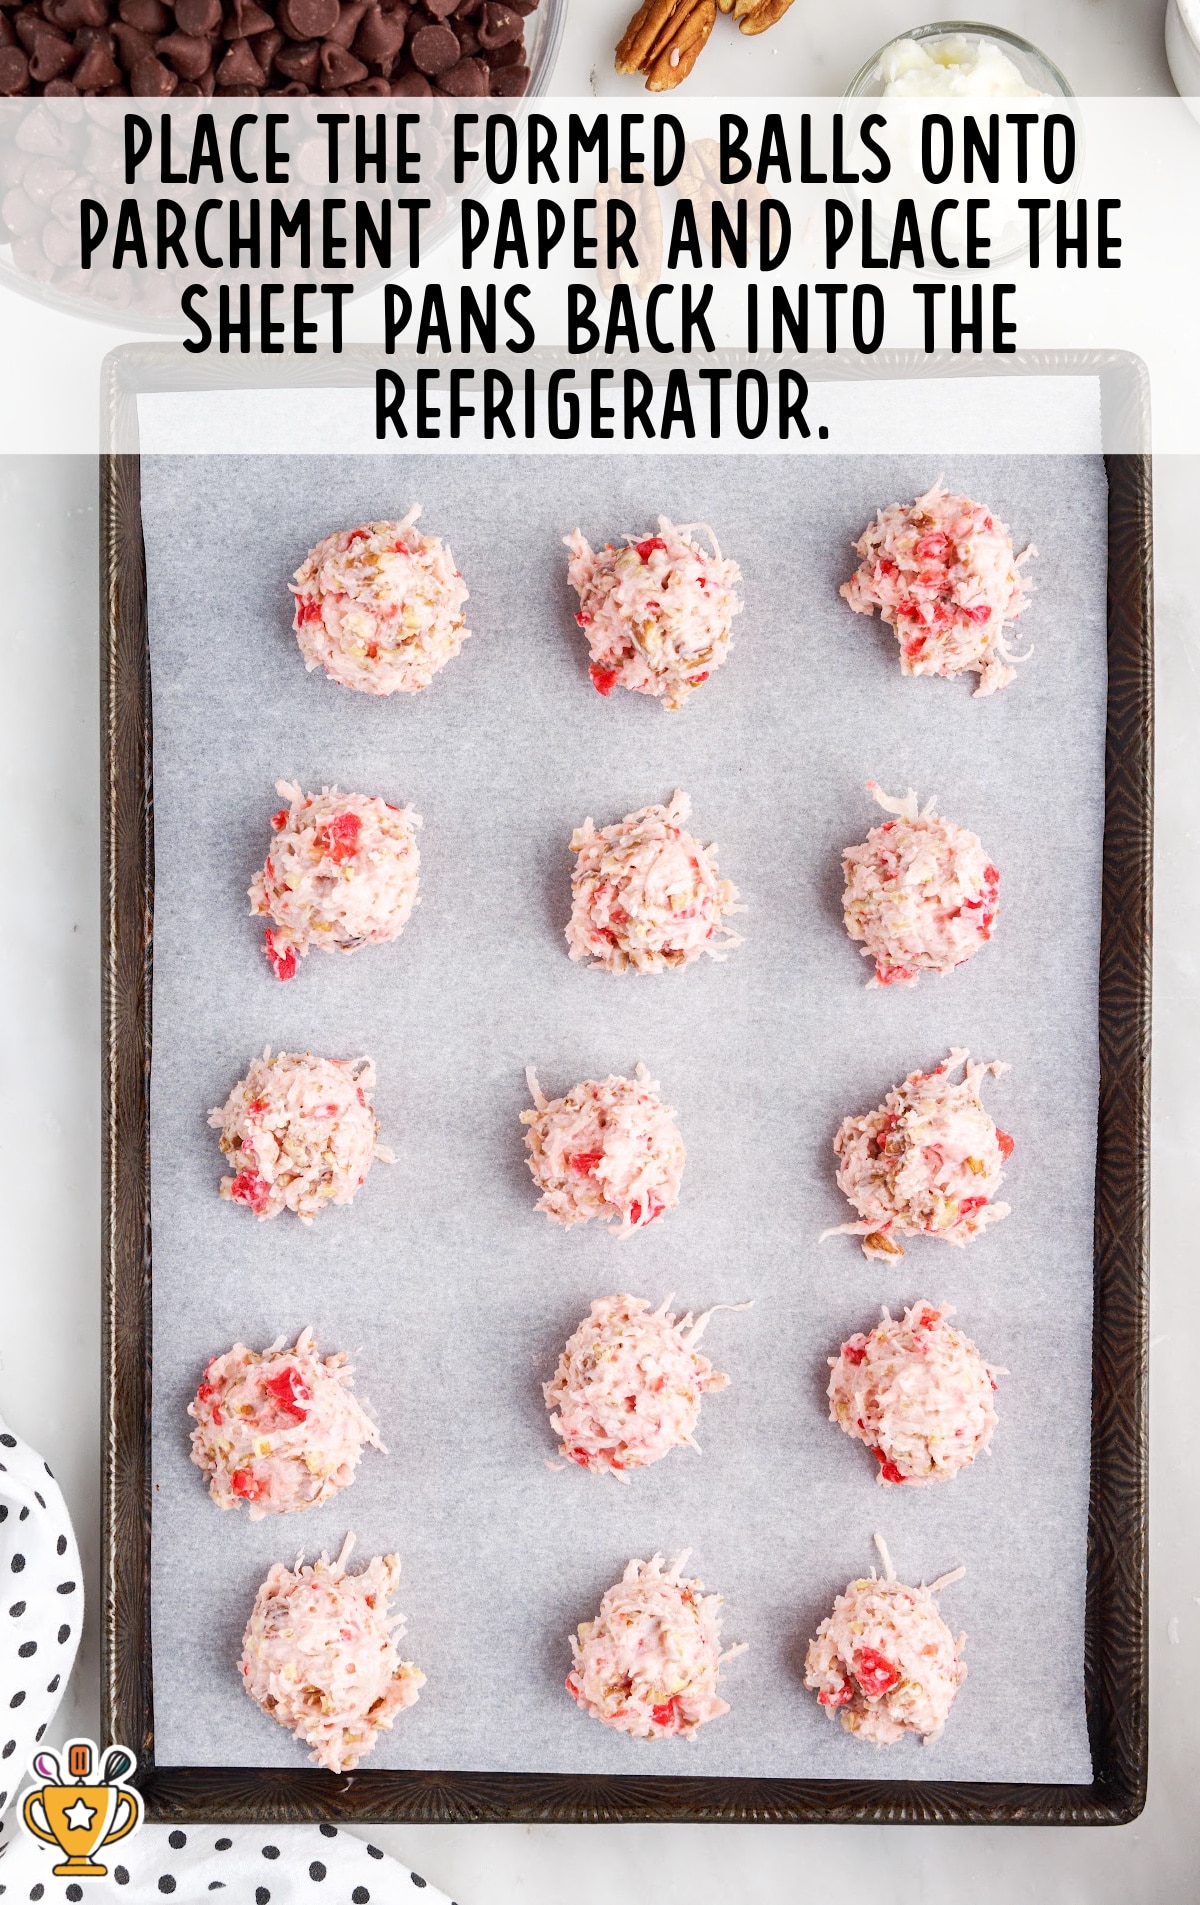
SIXTH STEP: Back into the refrigerator! Place the formed candy balls onto parchment paper and place the sheet pans back in the fridge.
Pro Tip
The butter and large quantity of powdered sugar in the filling for these candies allow the filling to firm up quite a bit.
The filling still needs to be chilled before dipping to keep the balls intact until they are coated.
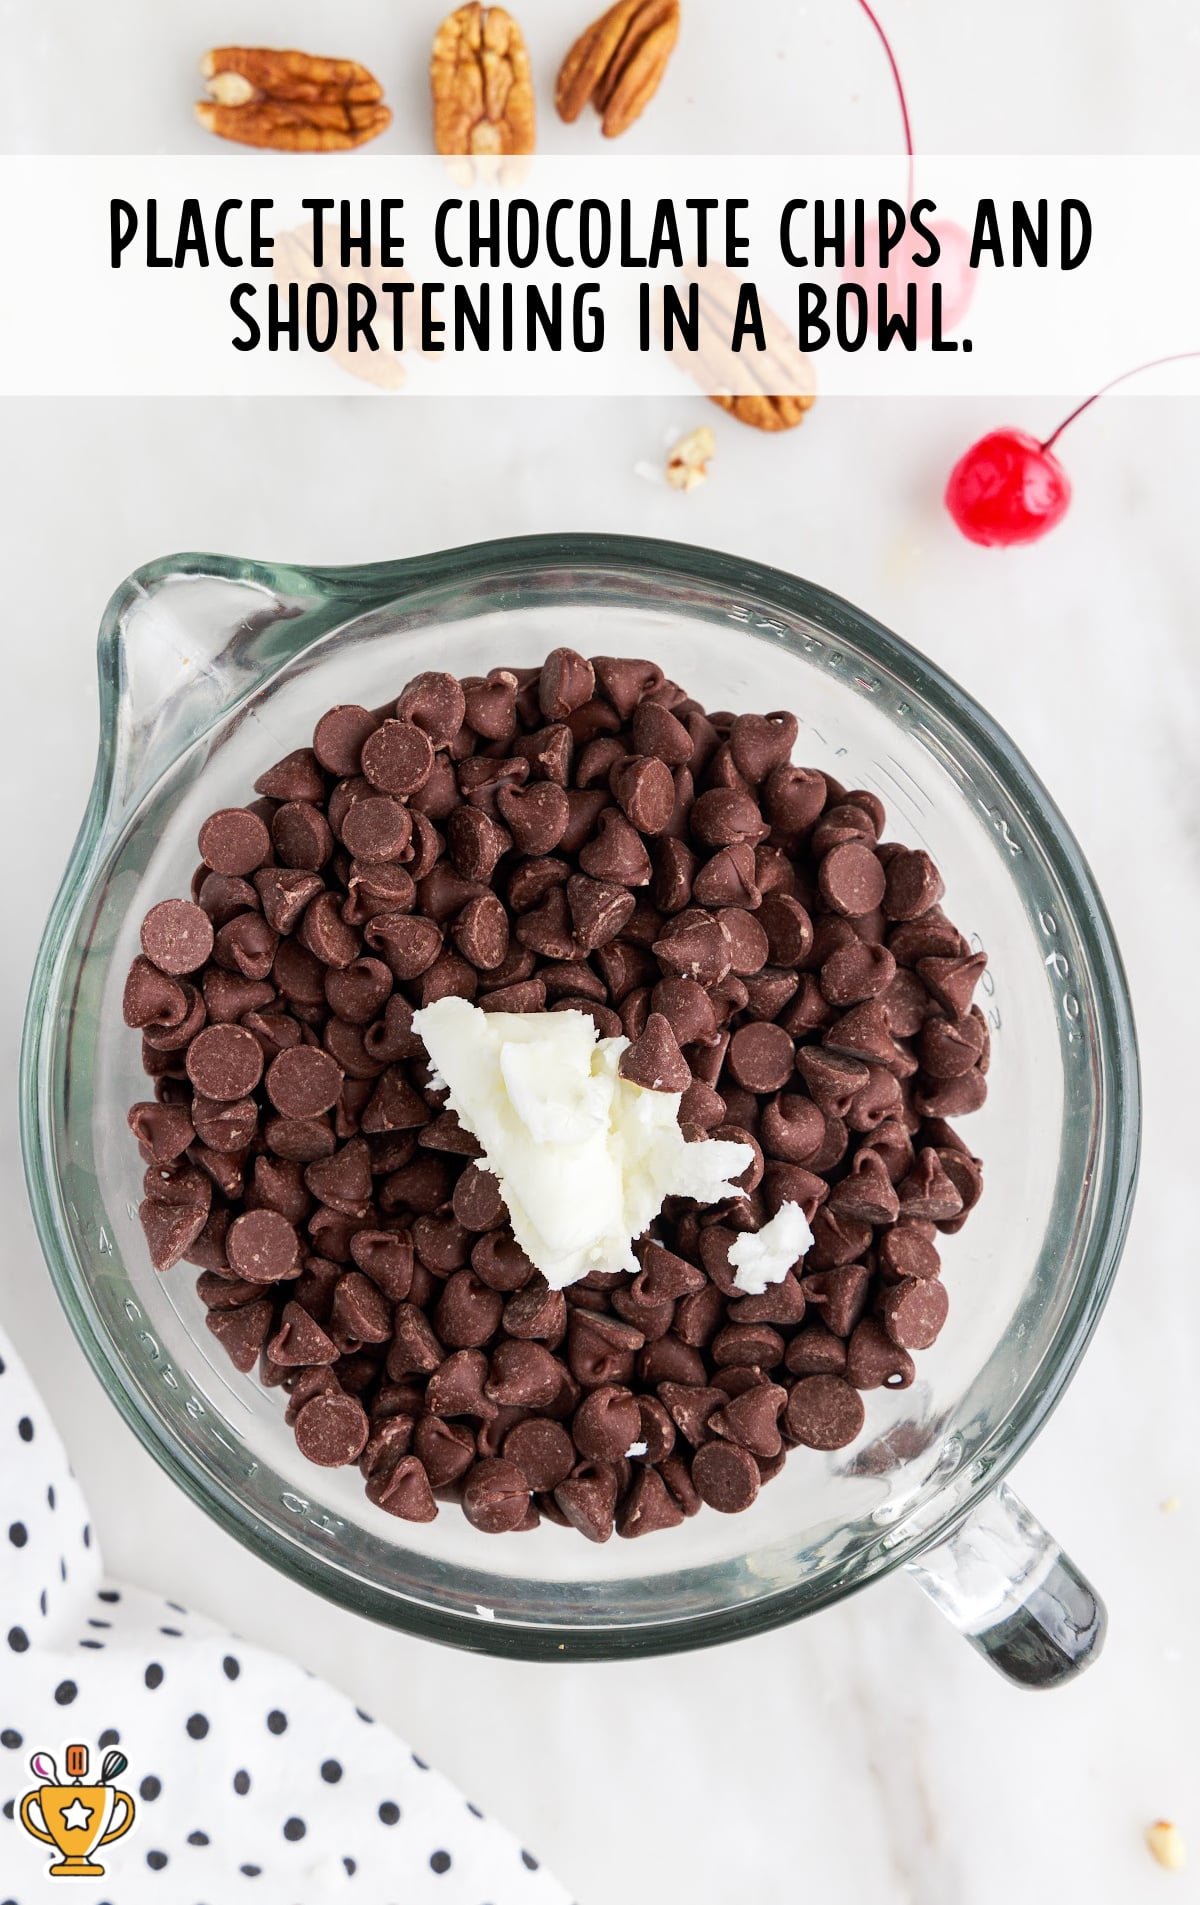
SEVENTH STEP: Place the chocolate chips and shortening in a large, microwave-safe bowl.
You can also divide the chocolate chips and shortening in half and work on dipping half of the candies at a time.
Pro Tip
The chocolate chips may be easier to melt and work with if you divide the chocolate/shortening mixture in half and work in batches.
You could also roll all the balls, but store half in the freezer and then dip half of them at a time. Three cups of chocolate chips will coat about 40 candies.
EIGHTH STEP: Melt the chocolate. Heat the chocolate in 30-second increments, stirring between each, until the chips are mostly melted.
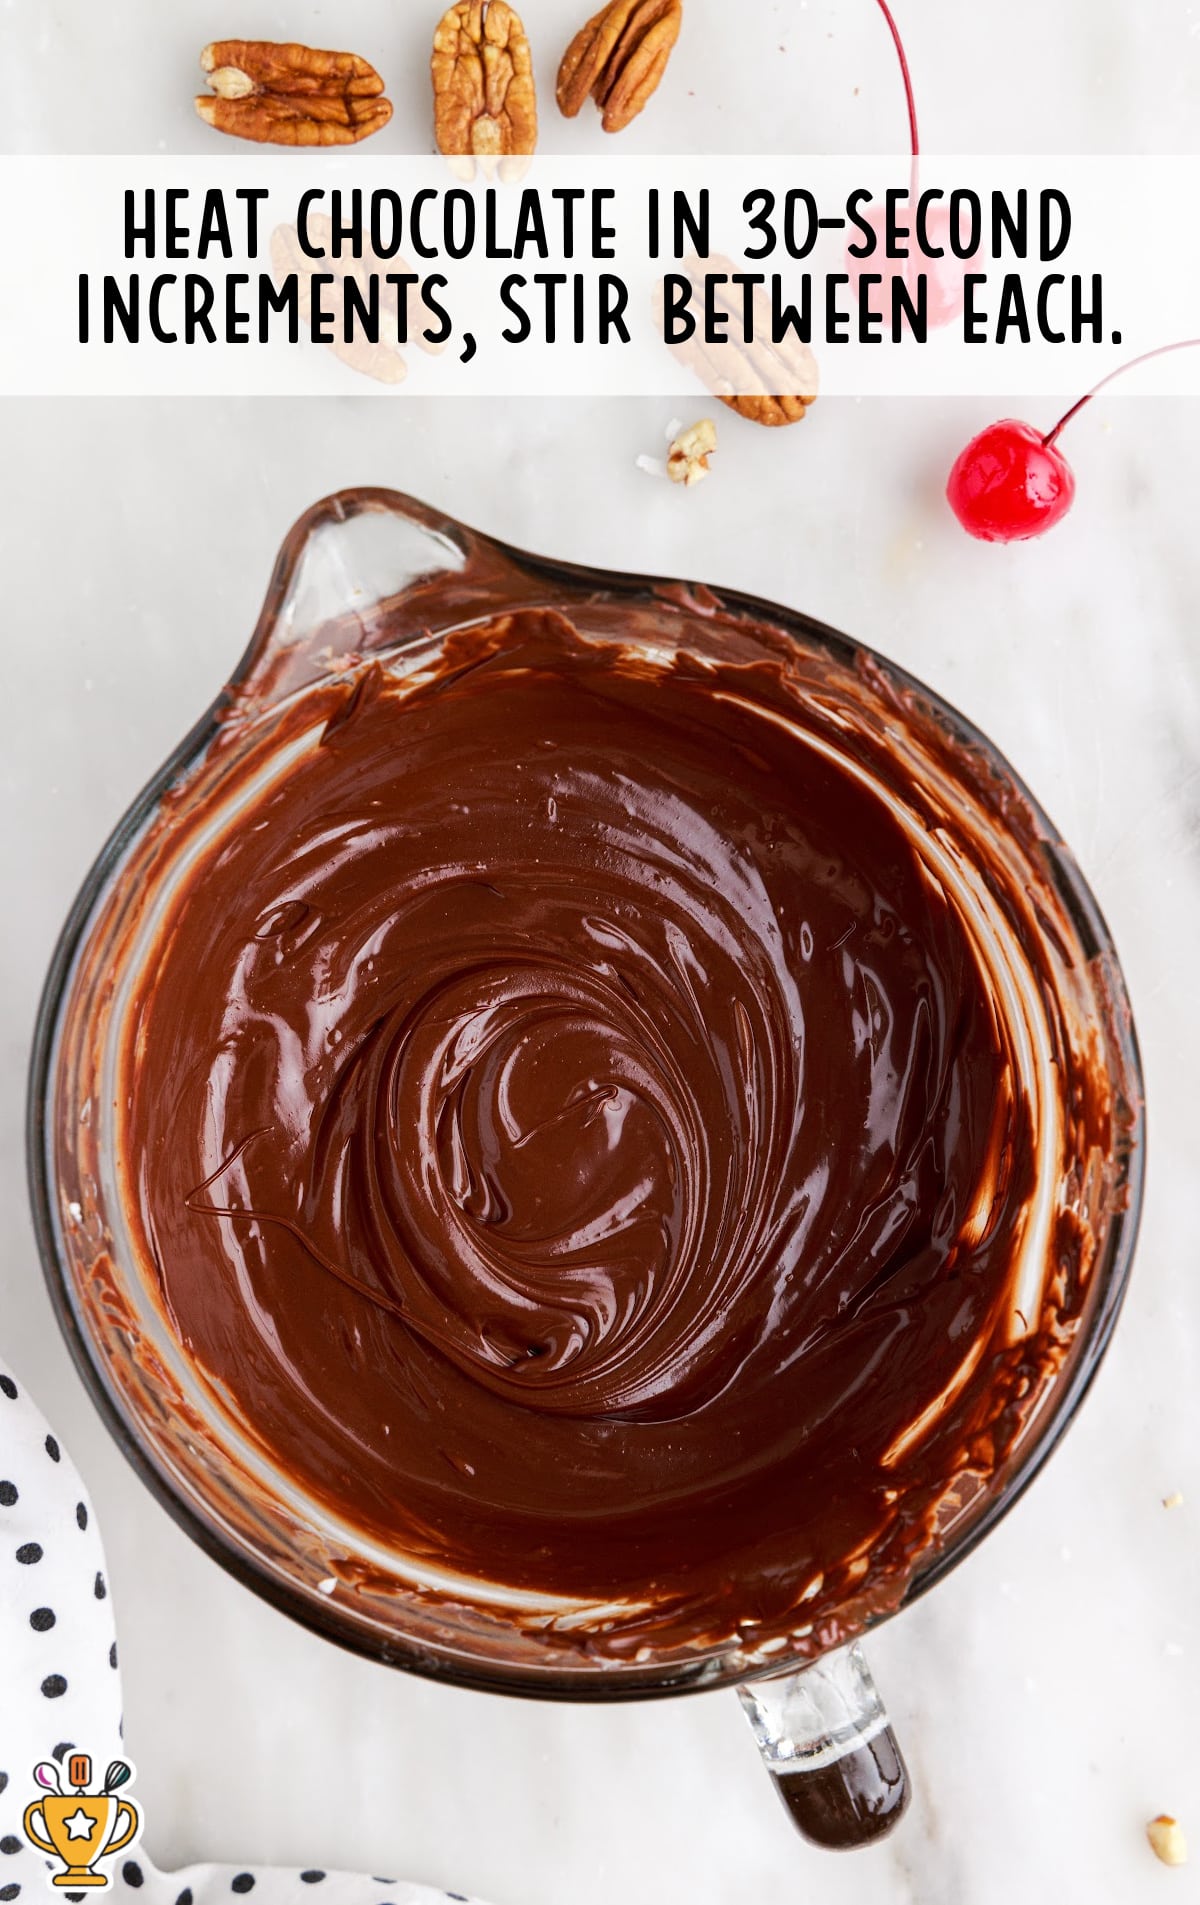
Stop heating and continue stirring until the mixture is fully melted and smooth.
How to Dip Martha Washington Candies in Chocolate 😋
Use a fork or a dipping tool to dip balls and roll each candy ball in the melted chocolate chips.
A dipping tool for chocolate is a small kitchen tool that helps coat candy or truffles evenly in melted chocolate. It usually has a thin wire loop or fork shape, which lets extra chocolate drip off easily. You can buy a candy dipping set, or use a regular fork or toothpick if needed.
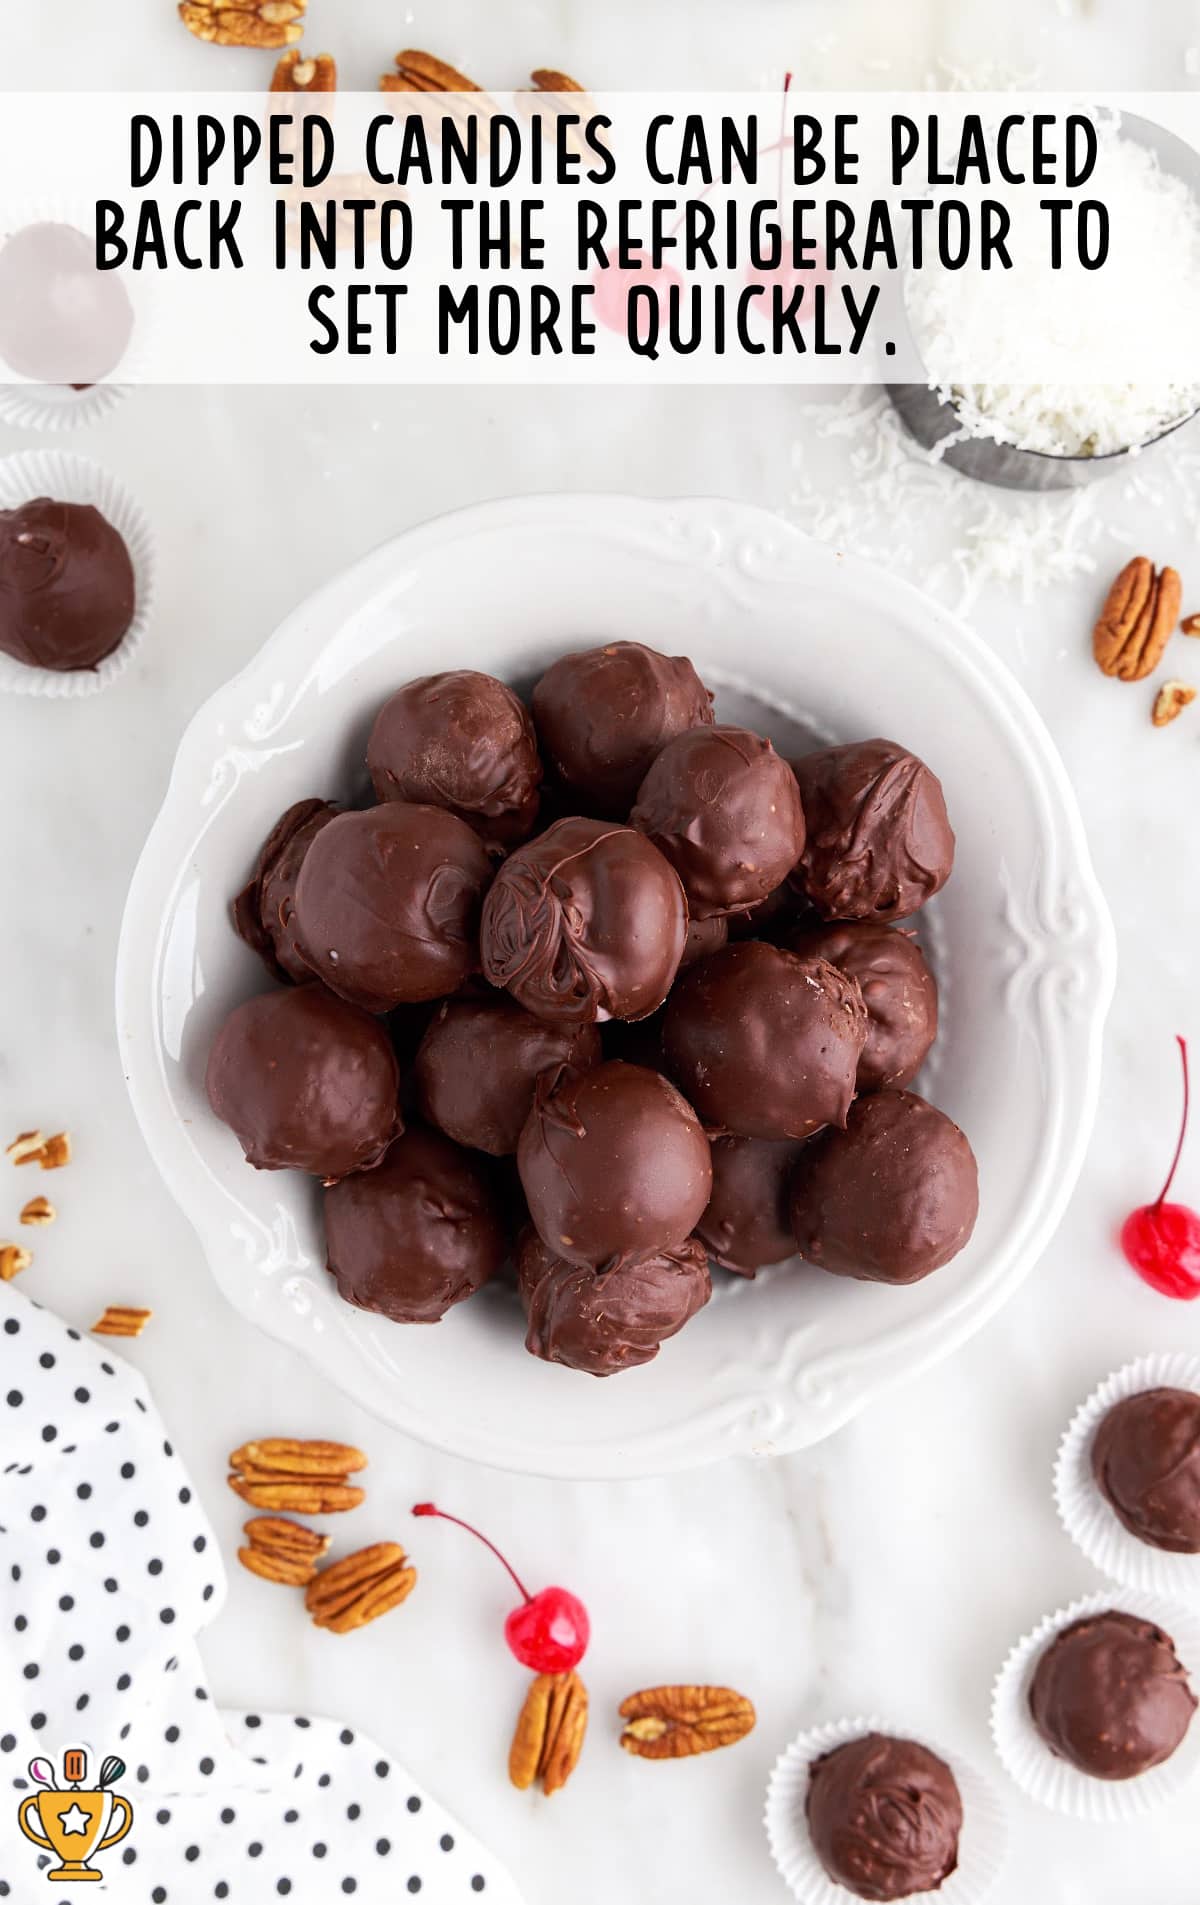
Lift from the chocolate, tap to remove excess chocolate, and place back on the sheet of paper to set.

Continue dipping and setting all the balls. Dipped chocolate balls can be placed back into the refrigerator to set quicker.
Voila! You just made homemade chocolate candy, so quick!
Pro Tip
Reheat the melted chocolate coating for 15 seconds at a time if it begins to thicken too much for dipping.
The shortening in the chocolate mixture helps to make the chocolate more fluid for dipping.
It also keeps the set chocolate just a tad softer at room temperature than pure chocolate.
How To Serve This Easy Candy Recipe
- Martha Washington candies make a great addition to your holiday spread. Pair candy with old-fashioned peanut butter fudge, buckeyes, and gingerbread man sugar cookies for a festive spread.
- Wrap each candy in mini cupcake liners, then box them up for easy and tasty homemade gifts.
- They're great for parties or potlucks. Just chill the candies, then serve them on a platter alongside cake-mix brownies, chocolate coconut balls, or lemon crinkle cookies.

YOU'RE GOING TO LOVE MARTHA WASHINGTON CANDY!
This old-fashioned Christmas Candy has been around for generations and still shows up on holiday dessert tables every year.
People love the mix of creamy coconut, crunchy pecans, and rich chocolate in every single bite.
It’s easy to make ahead, freeze, and share! What's not to love!
MARTHA WASHINGTON CANDY FAQ
Can I use shredded coconut that’s not sweetened?
Yes, but Martha Washington Candy traditionally uses sweetened coconut for a softer texture and classic old-fashioned candy taste.
What kind of chocolate should I use to coat Martha Washington Candy?
You can use chocolate chips or melting chocolate. Both melt smooth and coat each piece evenly without clumping.

🧊 STORAGE & MAKE-AHEAD FAQ
Can I make Martha Washington Candy ahead of time?
Yes! Make them a few days or even weeks ahead (just freeze them). Chill the filling, roll the balls, and dip in chocolate when you're ready.
How should I store Martha Washington Candy?
Place the candies in a single layer inside an airtight container. Use parchment paper between layers to stop sticking. Store in the fridge for up to 3 weeks.
Can I freeze Martha Washington Candy?
Yes! Freeze the dipped candies in an airtight container for up to 3 months. Thaw them in the fridge before serving.
Do I need to refrigerate Martha Washington Candy?
Yes. The creamy filling holds up best when chilled. Keep them cold so the chocolate coating stays firm and fresh.


Martha Washington Candy
Martha Washington Candy mixes sweet coconut, pecans, and condensed milk, then dips each chilled ball in smooth melted chocolate. This no-bake candy works great for Christmas, holiday trays, or easy homemade gifts.
Did you try this recipe?Let our readers know how it turned out by Leaving a Review!
Ingredients
- 1 cup unsalted butter (softened)
- 1 tablespoon vanilla extract
- 14 ounces sweetened condensed milk
- 4 cups powdered sugar
- 14 ounces sweetened shredded coconut
- 10 ounces maraschino cherries (drained and chopped)
- 3 cups pecans (chopped)
- 6 cups semi-sweet chocolate chips
- 4 tablespoons shortening
DIRECTIONS
- In a large mixing bowl, beat together softened butter, vanilla, and sweetened condensed milk until the mixture is smooth and creamy.
- Add the powdered sugar and beat until combined.
- Mix in the coconut, cherries, and pecans. Cover the bowl with plastic wrap and refrigerate for 1 to 2 hours to firm up the mixture.
- Line two large sheet pans with parchment paper.
- Use a 1½ tablespoon scoop or a melon baller to form balls from the chilled mixture. You can roll the balls in the palms of your hands to make more even, uniform balls from the mixture.
- Place the formed balls onto parchment paper and place the sheet pans back into the refrigerator.
- Place the chocolate chips and shortening in a large, microwave-safe bowl. You can also divide the chocolate chips and shortening in half and work on dipping one half of the candies at a time.
- Heat chocolate in 30-second increments, stirring between each until chips are mostly melted.
- Stop heating and continue stirring until the mixture is fully melted and smooth.
- Use a fork to dip and roll each candy ball in the melted chocolate. Lift from the chocolate, tap to remove excess chocolate, and place back on the sheet of paper to set.
- Continue dipping and setting all of the balls. Dipped candies can be placed back into the refrigerator to set more quickly.
Notes
- This old-fashioned candy recipe makes close to 80 candies! You can definitely halve the recipe for a smaller quantity.
- If you are rolling the balls in your hands and you find that it is sticky work, cover your hands with a light dusting of powdered sugar to prevent the filling from sticking to you.
- The butter and large quantity of powdered sugar in the filling for these candies allow the filling to firm up quite a bit. The filling still needs to be chilled before dipping to keep the balls intact until they are coated.
- The chocolate chips may be easier to melt and work with if you divide the chocolate/shortening mixture in half and work in batches. You could also roll all your balls, but store half in the freezer and then dip half of them at a time. Three cups of chocolate chips will coat about 40 candies.
- Reheat the melted chocolate coating for 15 seconds at a time if it begins to thicken too much for dipping. The shortening in the chocolate mixture helps to make the chocolate more fluid for dipping. It also keeps the set chocolate just a tad softer at room temperature than pure chocolate
Nutrition
Calories: 203kcal | Carbohydrates: 20g | Protein: 2g | Fat: 13g | Saturated Fat: 7g | Polyunsaturated Fat: 1g | Monounsaturated Fat: 4g | Trans Fat: 0.2g | Cholesterol: 9mg | Sodium: 21mg | Potassium: 130mg | Fiber: 2g | Sugar: 17g | Vitamin A: 95IU | Vitamin C: 0.2mg | Calcium: 29mg | Iron: 1mg
HAVE YOU TRIED THIS RECIPE?Follow me on Pinterest @bestblogrecipes
Comments
Tara L. says
These reminded me of old school candy my grandma used to make, definitely keeping this recipe.