
Last updated on
Homemade Soft & Chewy Caramels (Easy Old-Fashioned Recipe)
Homemade caramels are rich, buttery, and melt-in-your-mouth delicious. With just a few ingredients, you can create the perfect sweet treat!
Jump to RecipeTable of Contents
- Ingredients for Old-Fashioned Homemade Soft & Chewy Caramels
- Flavor Additions & Variations
- How to Make Homemade Caramels (Step-by-Step)
- Tips for Perfect Homemade Caramels
- Common Mistakes to Avoid When Making Caramels
- Homemade Caramels FAQ
- Why This Recipe Works for Any Occasion
- How to Store Homemade Caramels
- JUMP TO RECIPE
- ↓ PIN THIS RECIPE FOR LATER ↓
Homemade caramels are made by cooking butter, brown sugar, corn syrup, and sweetened condensed milk until thick and smooth, then cooling and cutting them into soft, chewy pieces.
This recipe makes about 80 caramels and takes approximately 30 minutes of active cooking time, plus cooling.
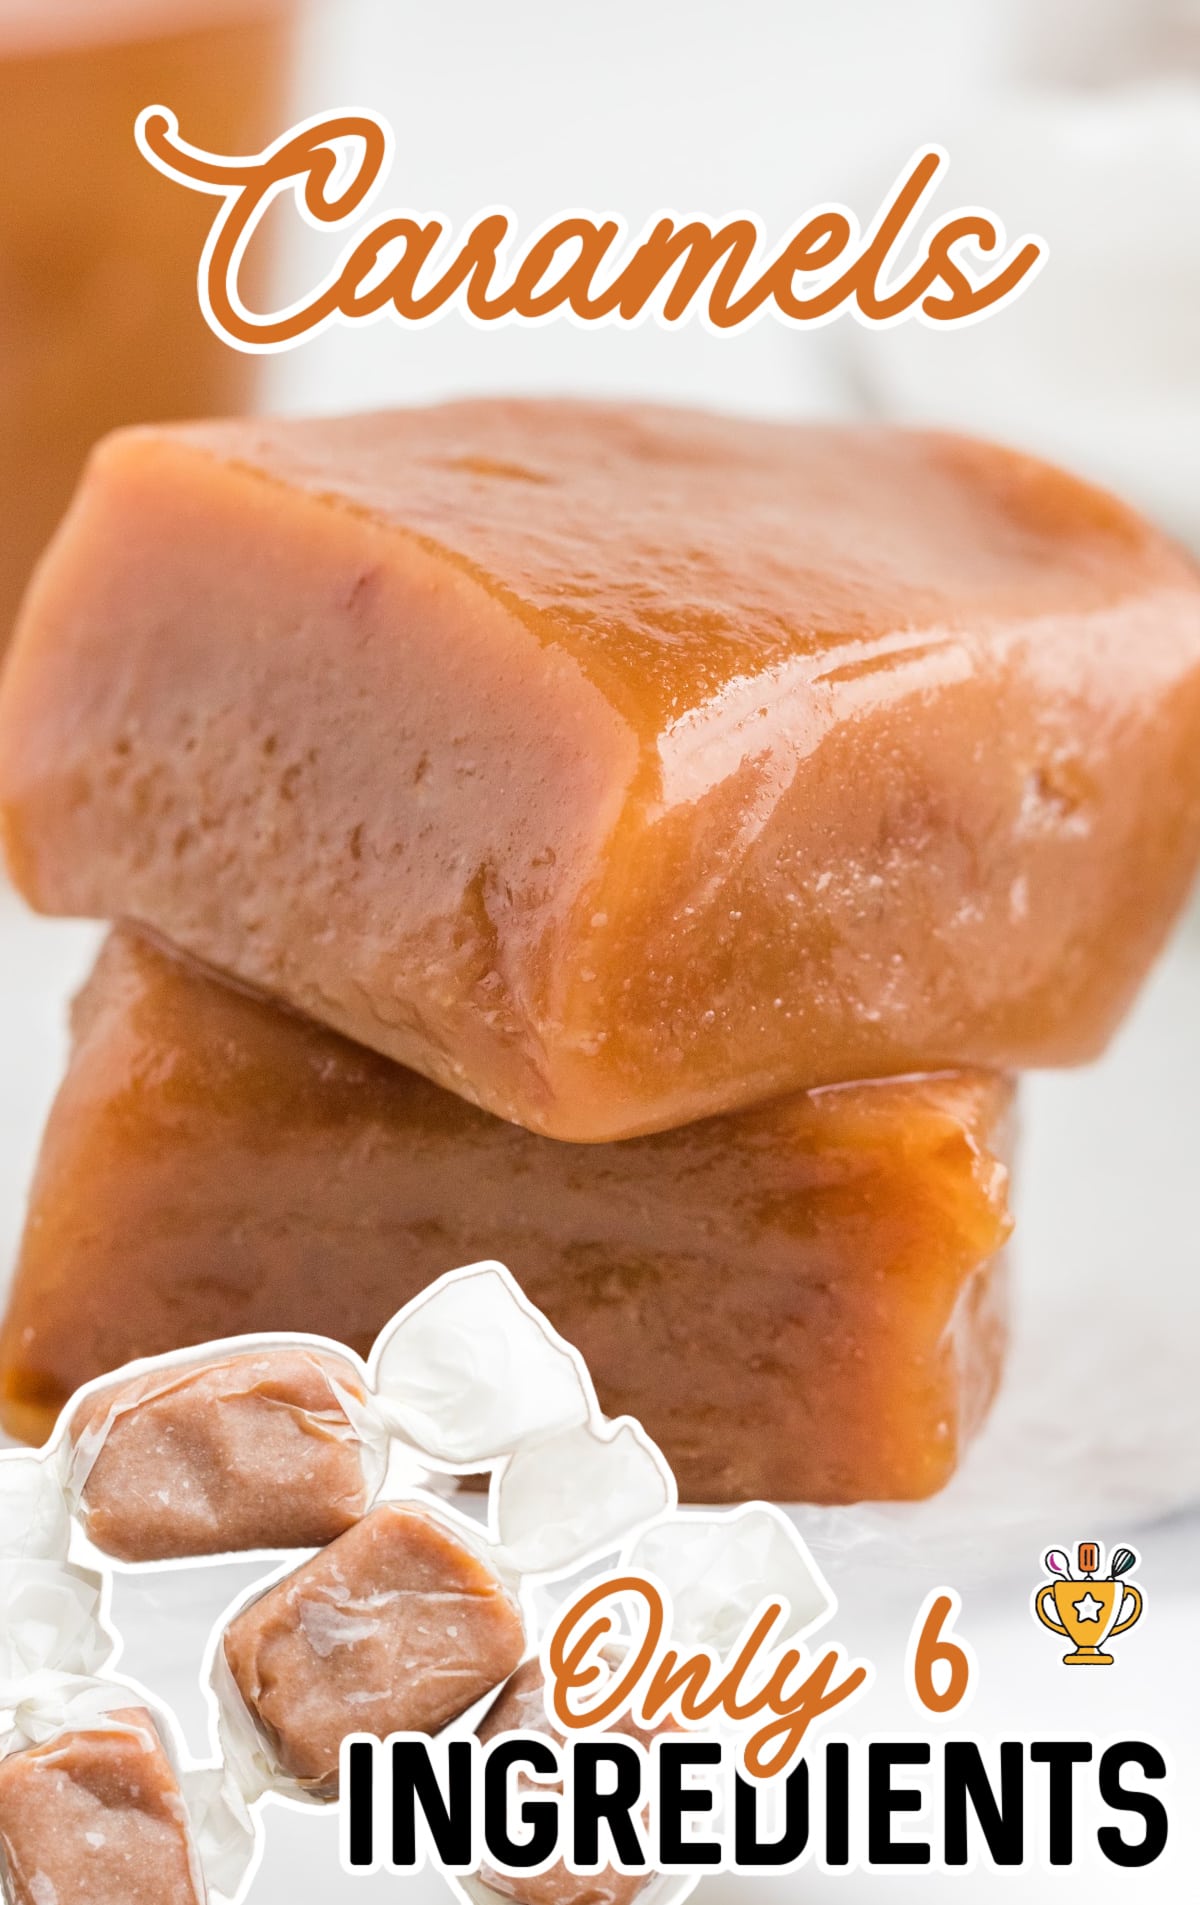
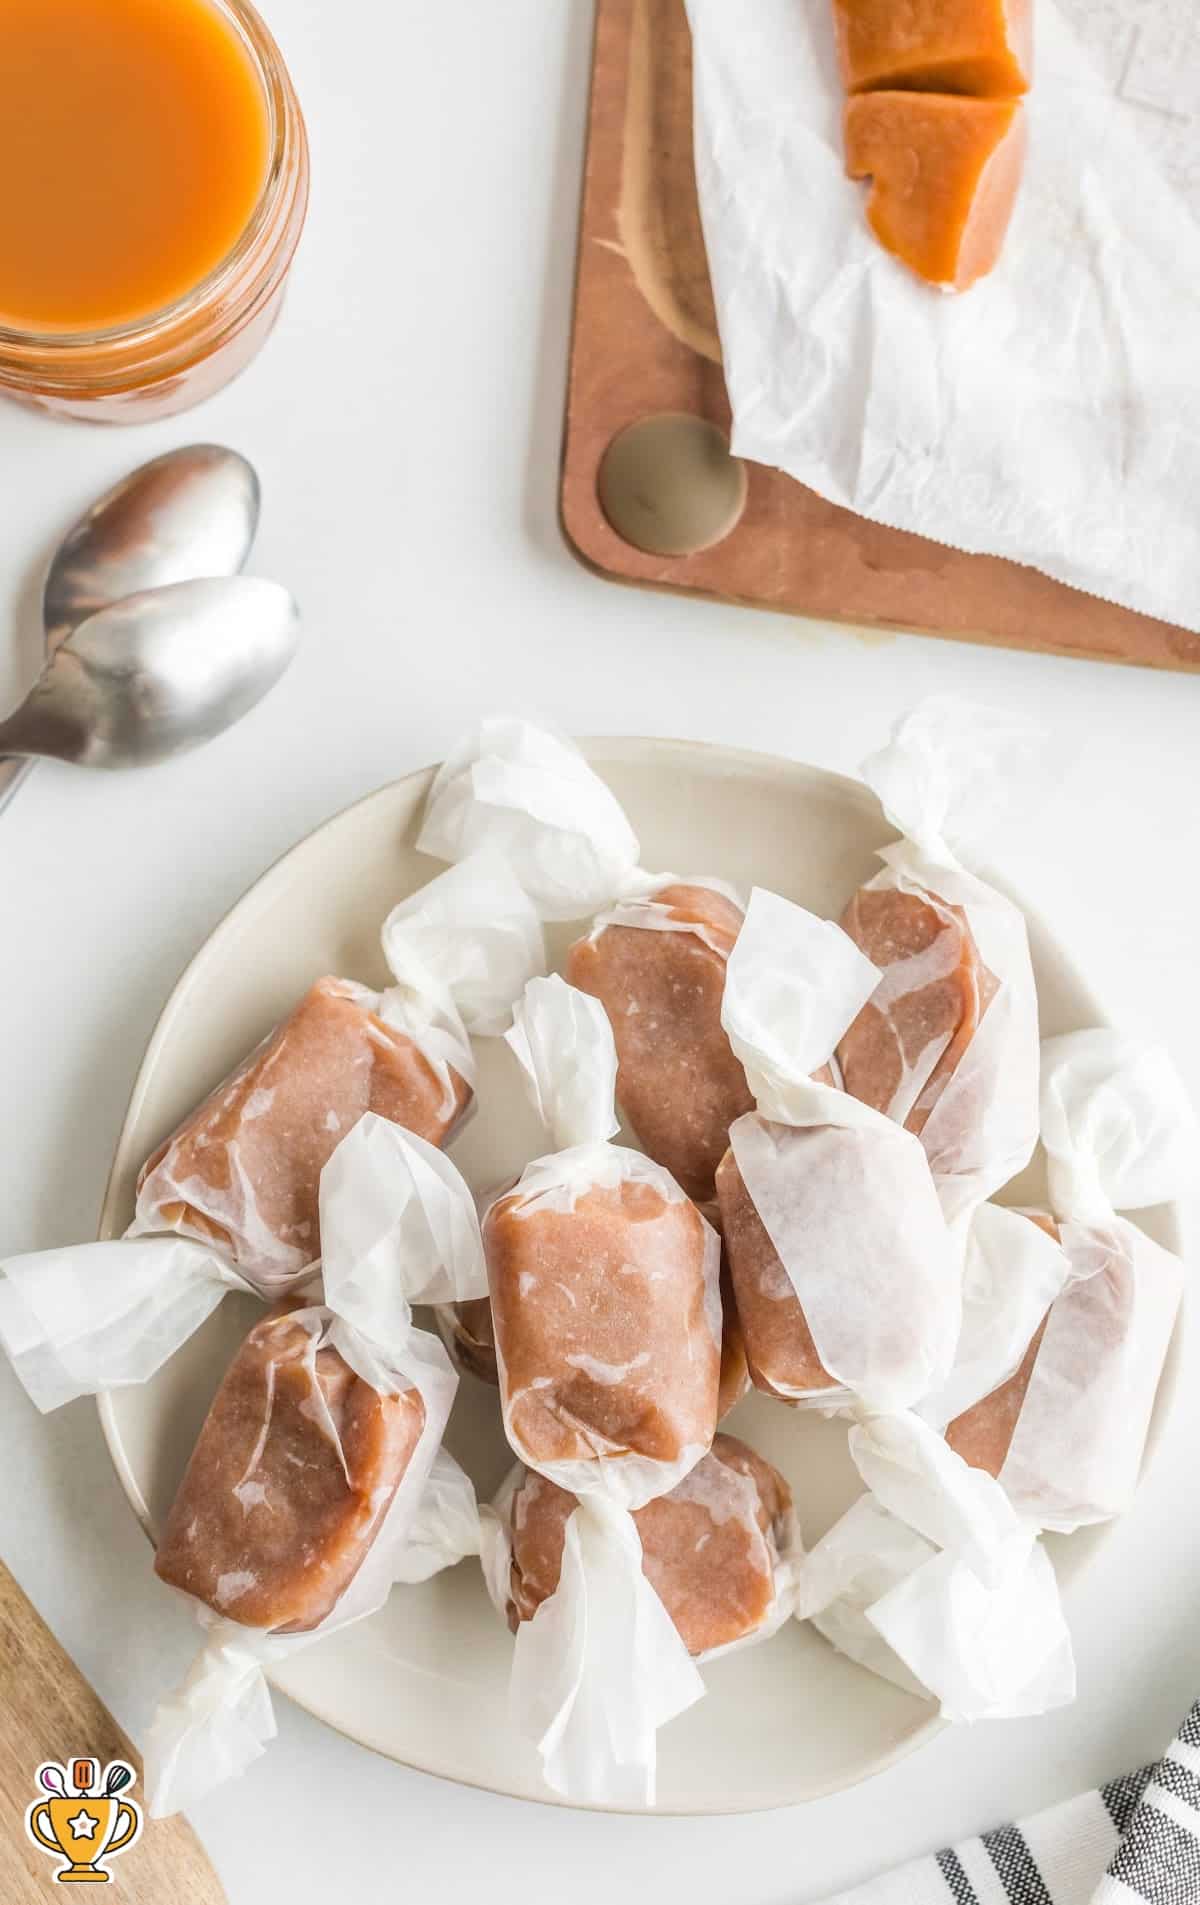
There’s something extra special about homemade caramels. They’re rich, buttery, and melt softly as you chew — the kind of old-fashioned candy that feels nostalgic and indulgent at the same time. Whether you’re making them for the holidays, gifting, or just because, these soft and chewy caramels are surprisingly simple to make at home.
Unlike store-bought versions, these caramels have a fresh, homemade flavor and a texture that’s perfectly tender without being sticky or hard.
Ingredients for Old-Fashioned Homemade Soft & Chewy Caramels
• Unsalted butter
• Brown sugar
• Light corn syrup
• Sweetened condensed milk
• Vanilla extract
• Salt
Optional: flaky sea salt for topping
Flavor Additions & Variations
Salted Caramels:
Sprinkle flaky sea salt over the caramel immediately after pouring it into the pan for a sweet-and-salty finish.
Chocolate Caramels:
Stir mini chocolate chips into the hot caramel just before pouring, or drizzle melted chocolate over the cooled caramels.
Nutty Caramels:
Fold in chopped pecans, walnuts, or almonds for added crunch and flavor.
Spiced Caramels:
Add a pinch of cinnamon or nutmeg for a warm, seasonal twist — perfect for fall and holiday treats.
Coffee or Espresso Caramels:
Stir in a small amount of espresso powder to enhance the caramel flavor with subtle coffee notes.
How to Make Homemade Caramels (Step-by-Step)
Step 1 – Prep your pan
Line a square baking dish with parchment paper, leaving extra hanging over the sides. This makes removing the caramel much easier once it sets.
Step 2 – Melt the butter
In a heavy saucepan over medium heat, melt the butter completely. A sturdy pan helps prevent hot spots and burning.

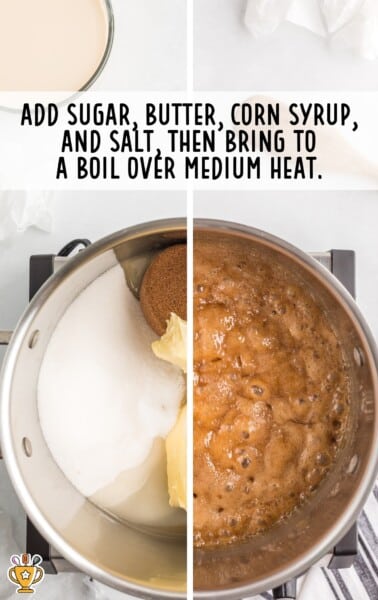
Step 3 – Create the caramel base
Add the brown sugar and corn syrup, stirring until the mixture looks smooth and glossy. This step builds the deep caramel flavor.
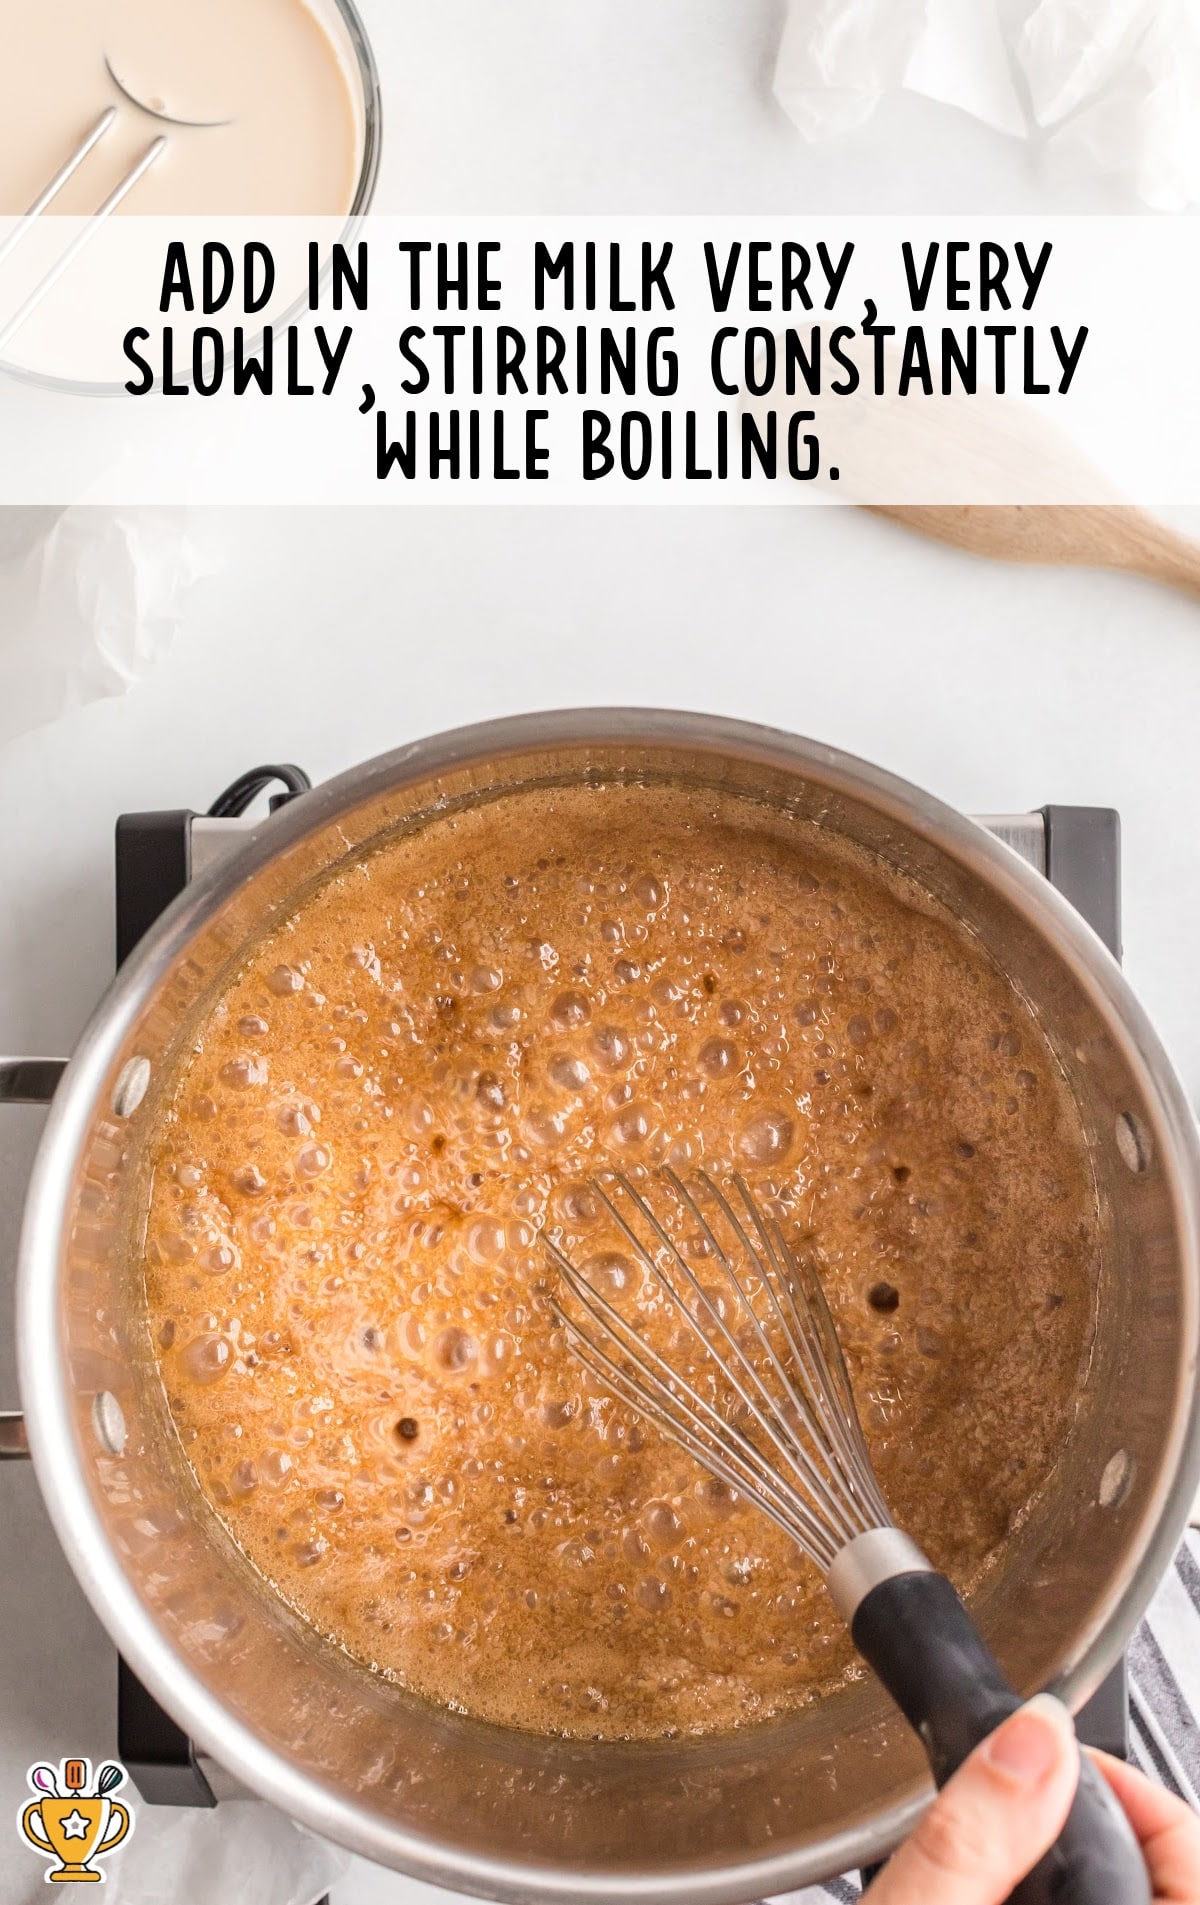
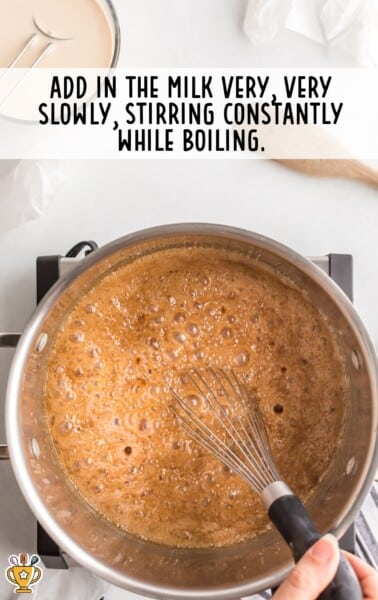
Step 4 – Slowly add the milk
Gradually stir in the sweetened condensed milk, keeping the heat steady and stirring often so nothing sticks.
Step 5 – Cook until thick and smooth
Continue cooking and stirring until the caramel thickens and reaches the soft-ball stage. The mixture should look rich and creamy, not thin or watery.
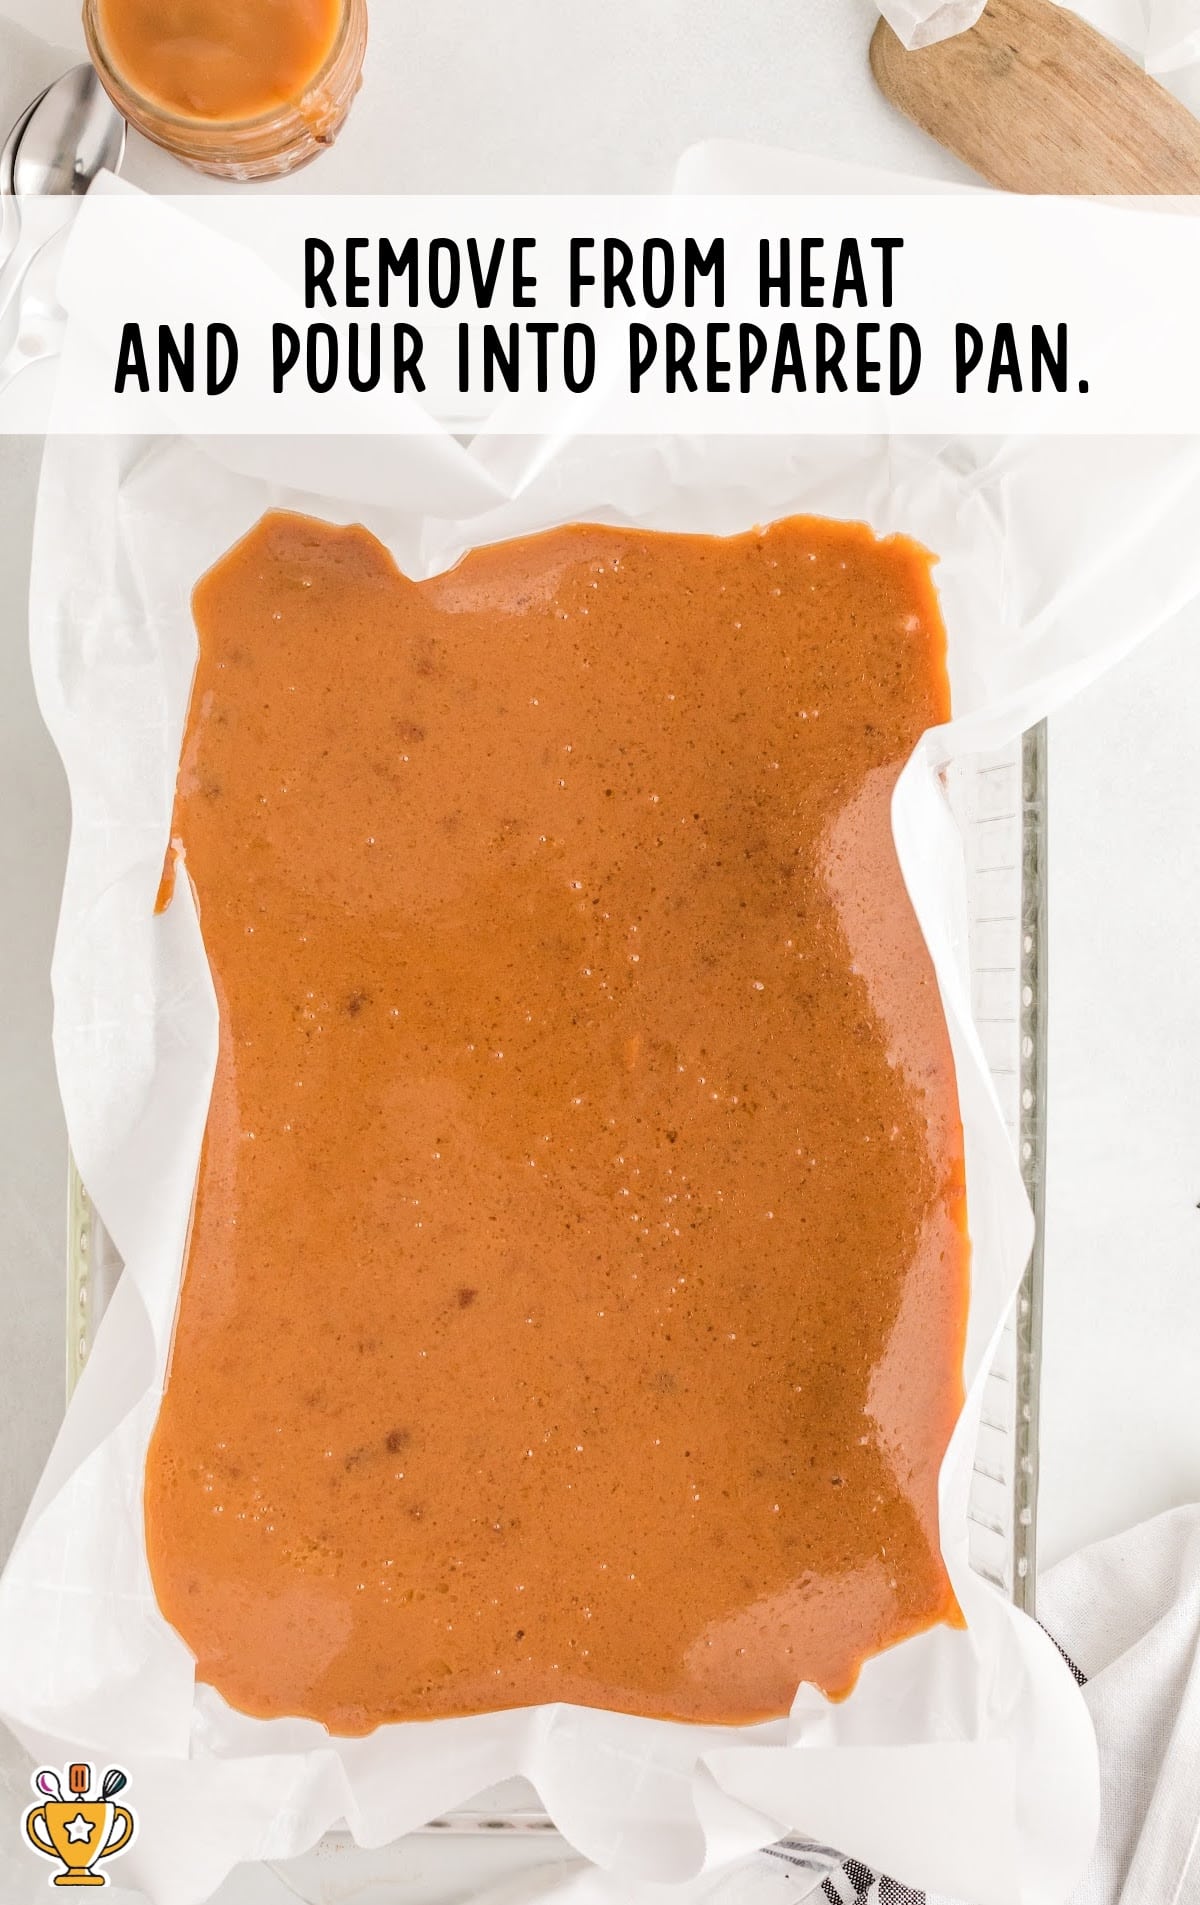
Step 6 – Finish and pour
Remove from heat and stir in the vanilla and salt. Carefully pour the caramel into the prepared pan and spread evenly.
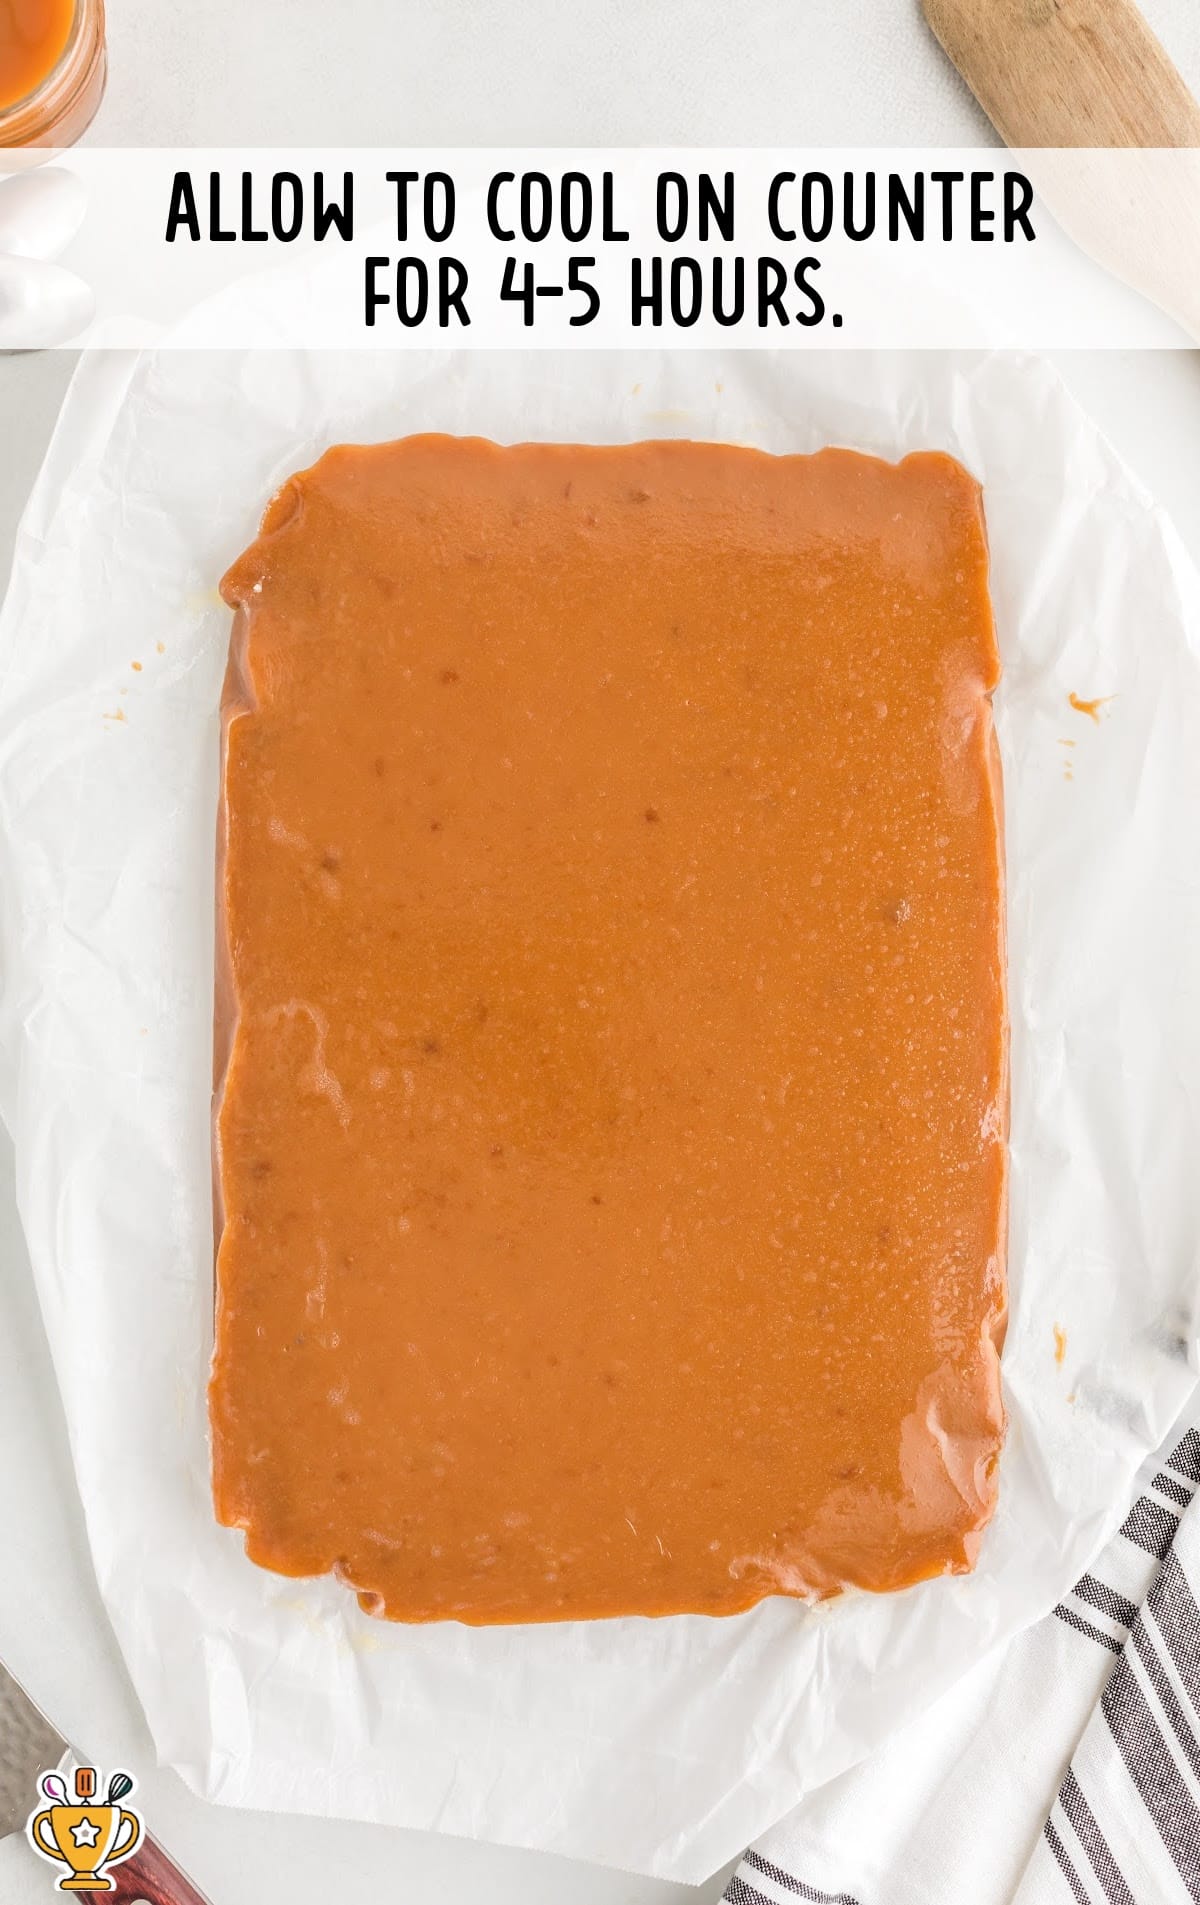
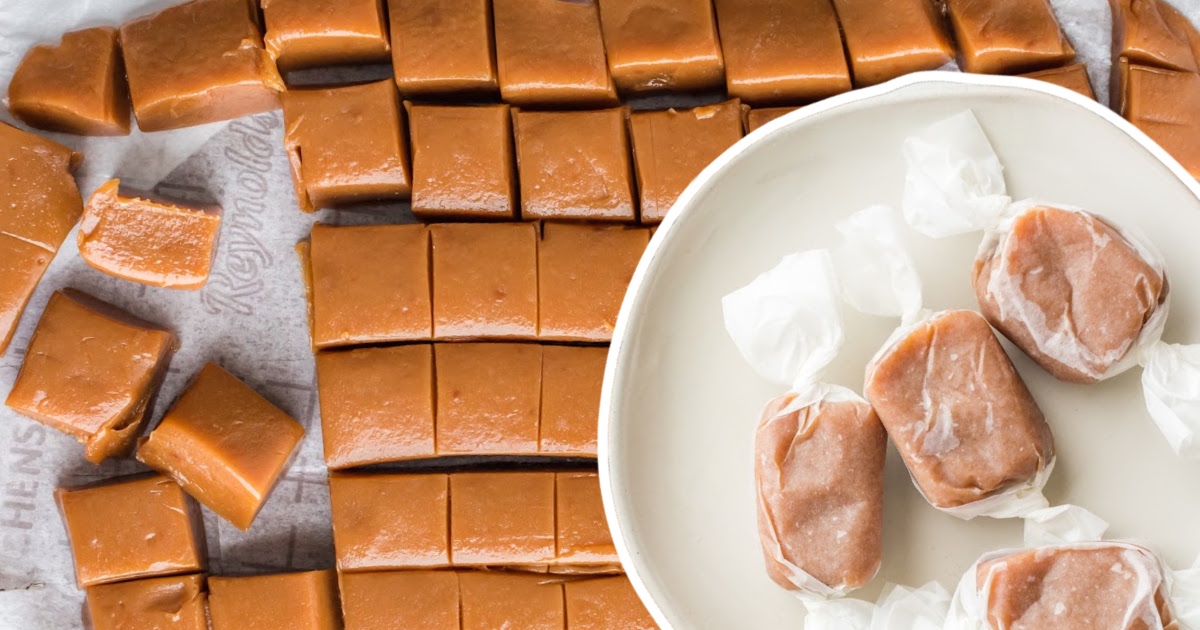
Step 7 – Cool, slice, and enjoy
Let the caramel cool completely at room temperature. Once firm, lift it out and cut into squares. Sprinkle with flaky sea salt if desired.
Tips for Perfect Homemade Caramels
These tips help homemade caramels turn out soft, chewy, and smooth every time:
Use medium heat and stay patient.
Cooking the caramel too quickly can cause burning or grainy texture. A steady, medium heat helps everything melt and blend smoothly.
Stir often, especially as it thickens.
Once the condensed milk is added, frequent stirring prevents sticking and ensures even cooking.
Cook to the soft-ball stage for the best texture.
For soft and chewy caramels, the mixture should reach about 238–240°F. If you don’t have a thermometer, test a small drop in cold water — it should form a soft, flexible ball.
Choose a heavy-bottomed saucepan.
A sturdy pan distributes heat evenly and reduces the risk of scorching the caramel.
Let the caramels cool completely before cutting.
Cutting too soon can cause the caramel to lose shape. Allowing it to fully set makes slicing much easier.
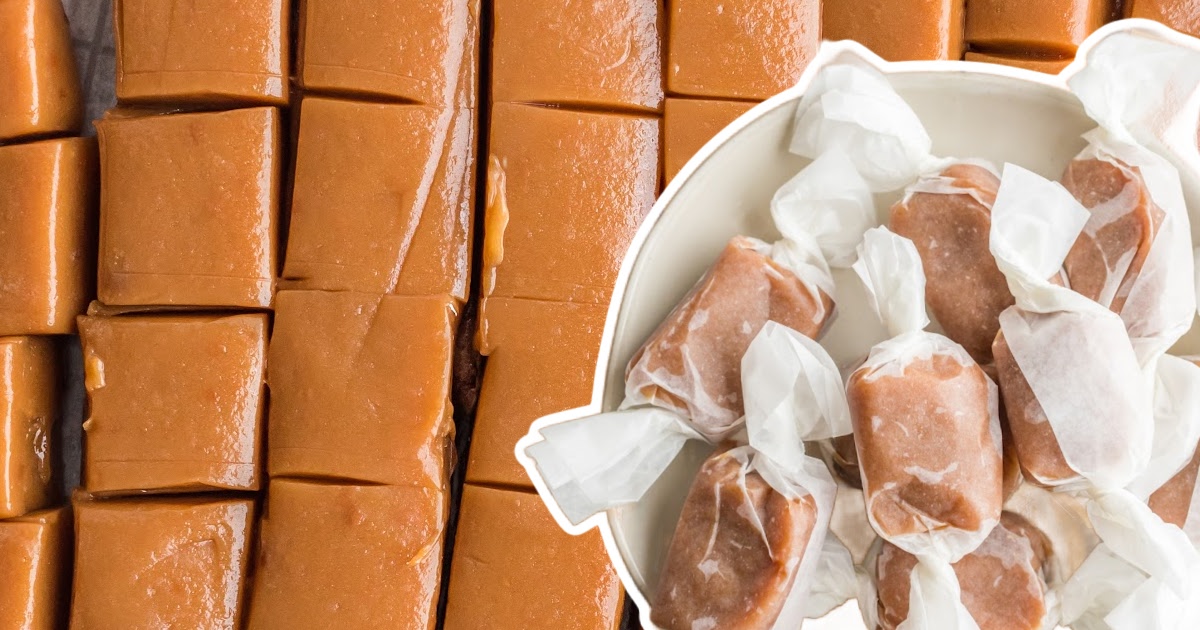
Wrap caramels individually for freshness.
Wrapping each piece helps prevent sticking and keeps the caramels soft when storing or gifting.

Common Mistakes to Avoid When Making Caramels
Avoiding these common mistakes helps ensure your homemade caramels turn out smooth, soft, and chewy every time.
Cooking the caramel too fast
High heat can cause scorching or grainy texture. Medium heat gives better control.
Not stirring enough
Caramel can burn quickly once thickened. Frequent stirring prevents sticking.
Skipping the temperature test
Caramels that are too soft or too hard usually missed the soft-ball stage.
Homemade Caramels FAQ
Why are my homemade caramels too soft?
Caramels that stay too soft usually haven’t been cooked long enough. The mixture needs to reach the soft-ball stage, which is about 238–240°F, so it can properly set once cooled.
Why did my caramels turn out hard or brittle?
Overcooking the caramel can cause it to become firm or crunchy. Removing the mixture from the heat as soon as it reaches the correct temperature helps keep the texture soft and chewy.
Do I need a candy thermometer to make caramels?
A candy thermometer is helpful but not required. You can use the cold-water test instead — drop a small amount of caramel into cold water, and it should form a soft, pliable ball.
Can homemade caramels be frozen?
Yes, homemade caramels freeze well. Wrap each piece individually and store them in an airtight container in the freezer for up to three months.
How long do homemade caramels last?
When wrapped individually and stored in an airtight container, homemade caramels can last up to two weeks at room temperature.
Can I make salted caramels with this recipe?
Yes. Sprinkle flaky sea salt over the caramel after pouring it into the pan but before it fully cools for a classic salted caramel flavor.
Why This Recipe Works for Any Occasion
This recipe uses simple ingredients and a reliable cooking method to create consistently soft, chewy caramels every time.
These caramels are soft, chewy, and deeply flavorful, making them perfect for cookie trays, dessert boards, holiday tins, or homemade gifts. They’re simple enough for beginners but impressive enough to share.
This recipe also pairs well with other easy dessert recipes for holidays and parties.
How to Store Homemade Caramels
Wrap each caramel in wax paper or parchment paper. Store in an airtight container at room temperature for up to two weeks, or freeze for longer storage.

Caramels
Homemade caramels are rich, buttery, and melt-in-your-mouth delicious. With just a few ingredients, you can create the perfect sweet treat!
Did you try this recipe?Let our readers know how it turned out by Leaving a Review!
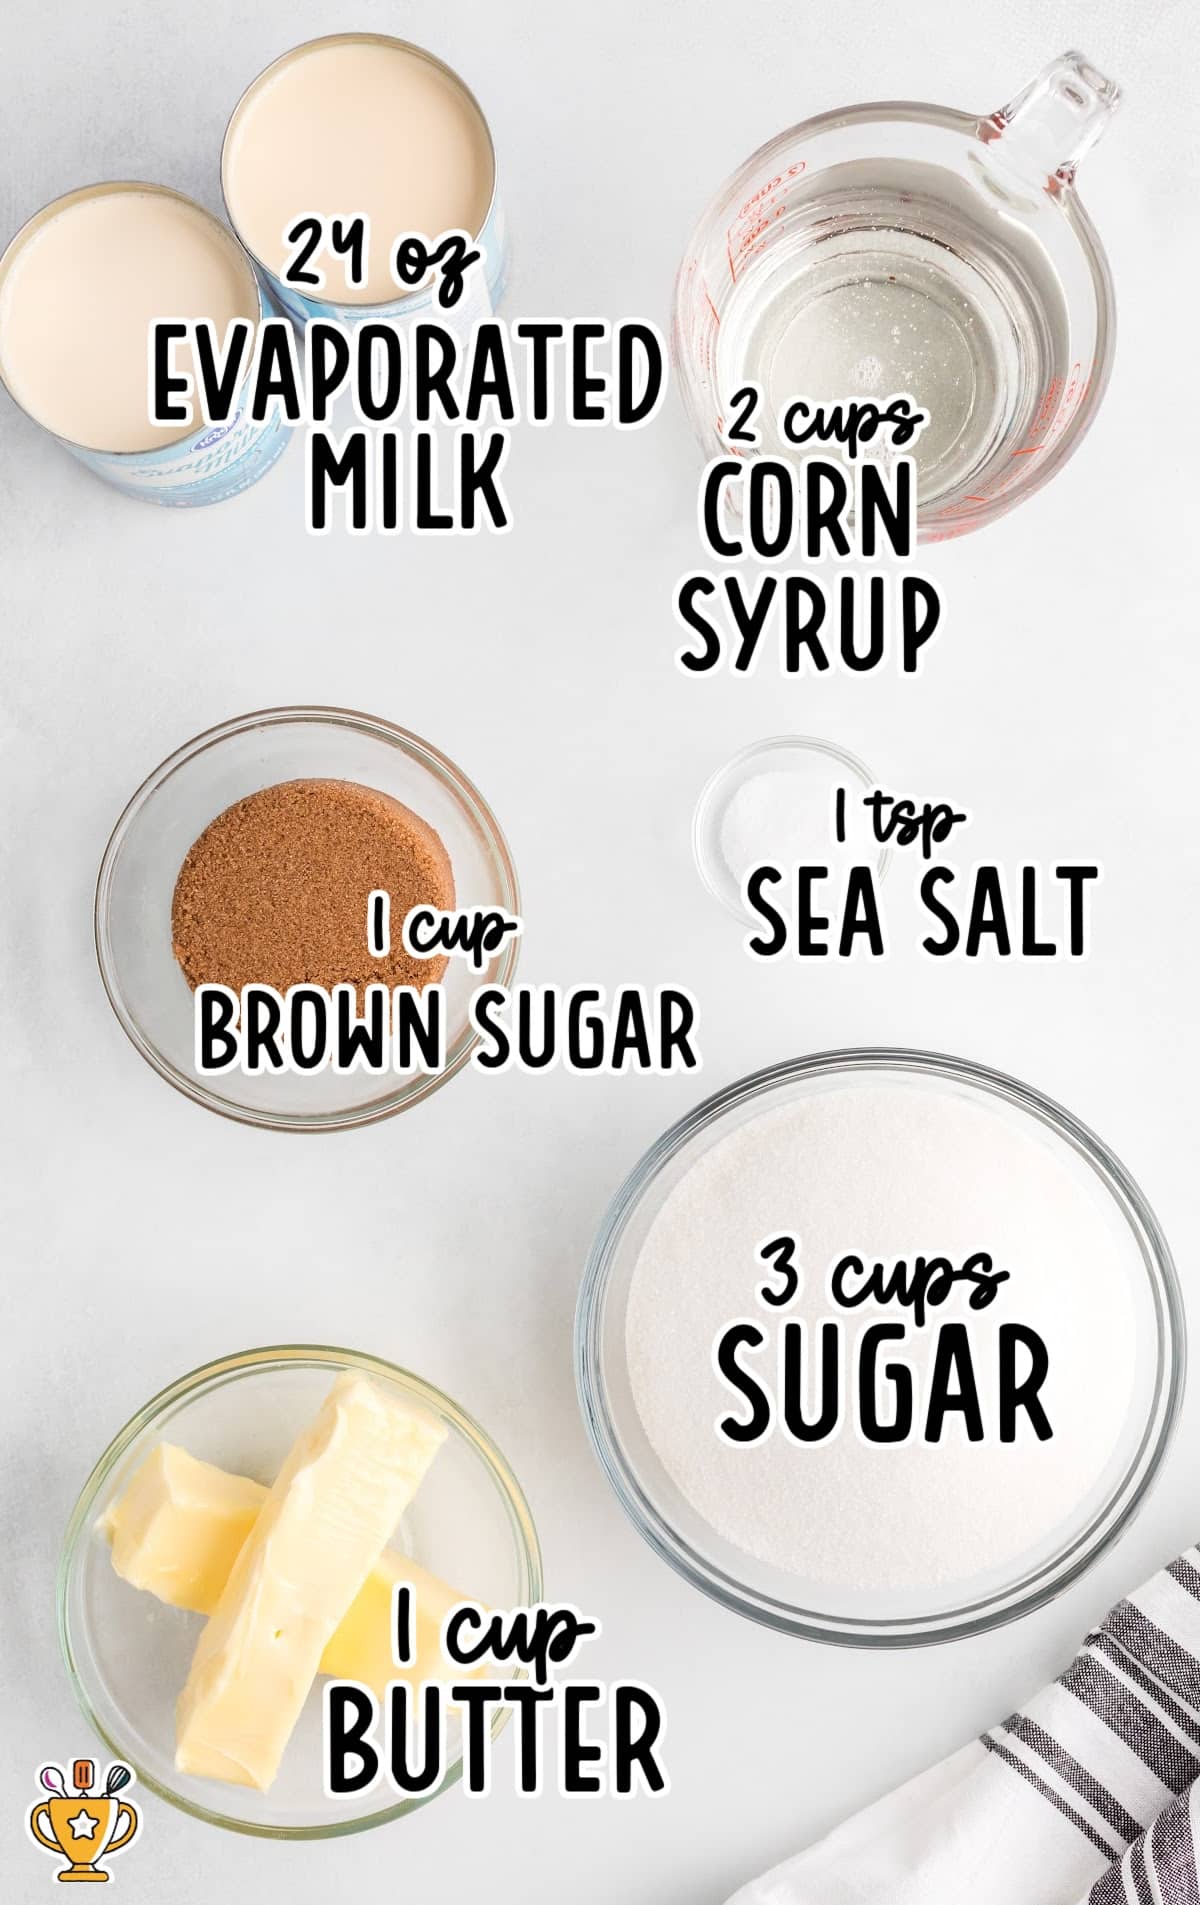
Ingredients
- 3 cups granulated sugar
- 1 cup brown sugar
- 1 cup unsalted butter (softened)
- 2 cups light corn syrup
- 1 teaspoon sea salt
- 24 ounces evaporated milk
DIRECTIONS
- Prepare a 9×13 pan with parchment paper.
- Add 3 cups granulated sugar, 1 cup brown sugar, 1 cup unsalted butter, 2 cups light corn syrup, and 1 teaspoon sea salt to a heavy-bottomed saucepan, then bring to a boil over medium heat.
- Add in 24 ounces evaporated milk very, very slowly, whisking/stirring constantly while boiling. Make sure the addition of the milk isn’t slowing the boil. This should take about 20 minutes.
- Lower to medium-low heat and attach a candy thermometer, heat stirring often until mixture reaches 238°F. Remove from heat immediately and pour into the prepared pan.
- Allow to cool on the counter for 4 to 5 hours.

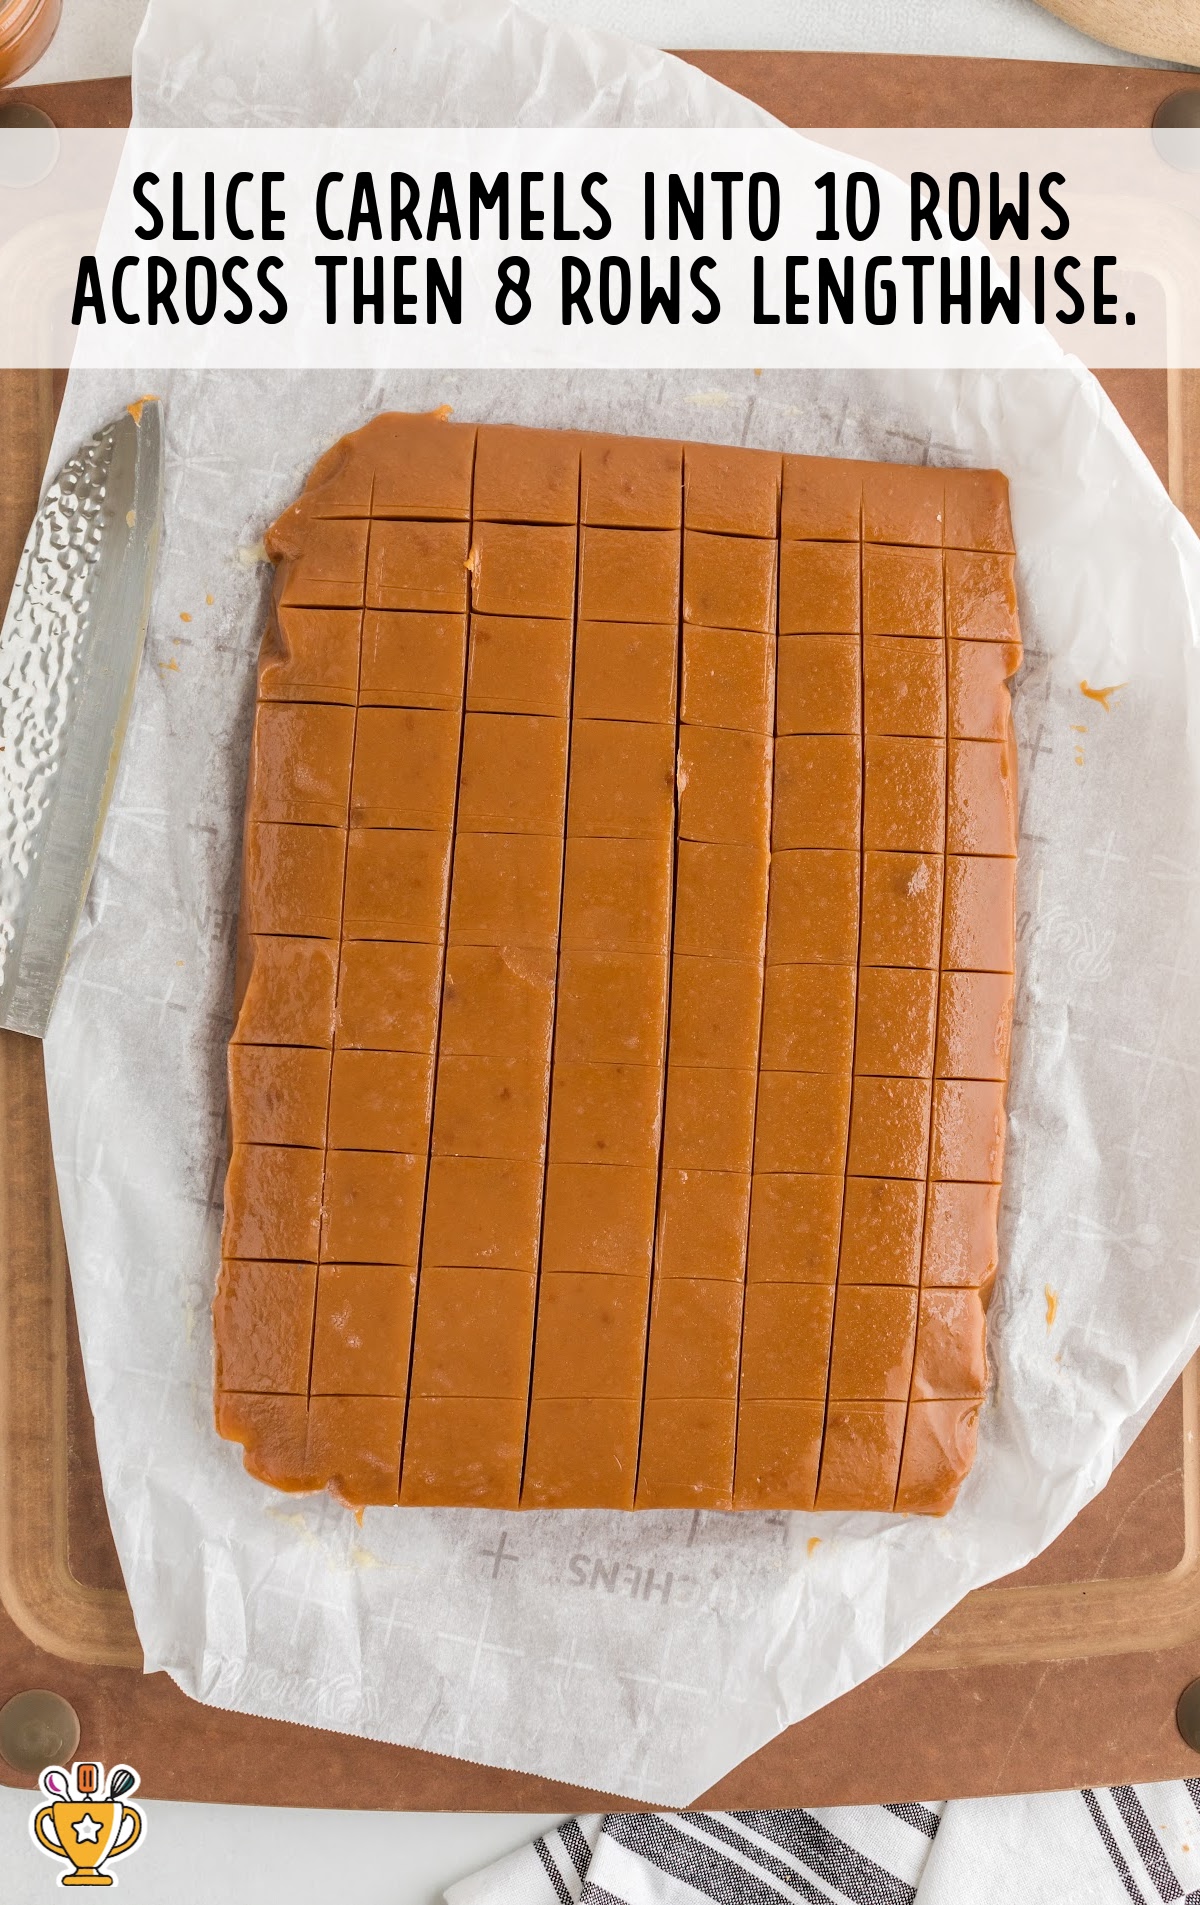
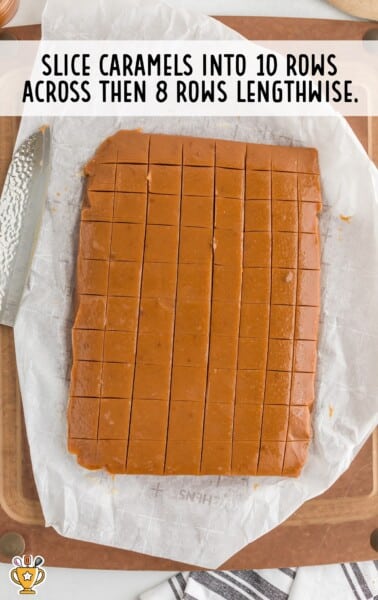
- Wet a sharp knife with cold water, and slice caramels into 10 rows across, then 8 rows lengthwise (or desired size/shape).
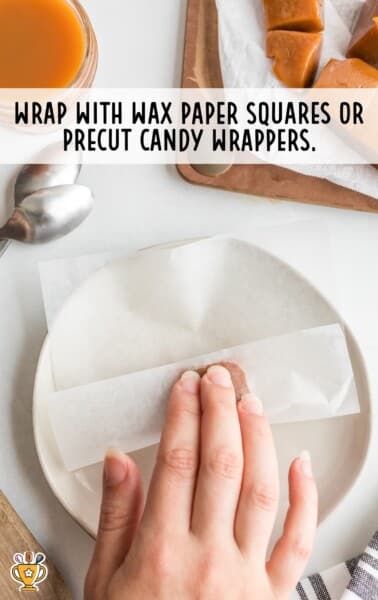
- Wrap with wax paper squares or pre-cut candy wrappers.
Notes
- Make sure you are using a heavy-bottomed pan. Thin pots tend to heat unevenly and may not give you the desired results.
- The temperature is key when making caramels. Make sure you are using a candy thermometer so that you can be precise.
- If you’re having difficulty cutting the caramels, you can throw them in the freezer for about 15 minutes to harden them up and make them easier to work with.
Nutrition
Calories: 95kcal | Carbohydrates: 18g | Protein: 1g | Fat: 3g | Saturated Fat: 2g | Polyunsaturated Fat: 0.1g | Monounsaturated Fat: 1g | Trans Fat: 0.1g | Cholesterol: 9mg | Sodium: 45mg | Potassium: 30mg | Sugar: 18g | Vitamin A: 91IU | Vitamin C: 0.2mg | Calcium: 26mg | Iron: 0.04mg
HAVE YOU TRIED THIS RECIPE?Follow me on Pinterest @bestblogrecipes
Comments
Debbie says
The recipe was easy to follow. It did take a little patience but so worth it. The caramel tastes amazing. I sprinkled a little sea salt on half the batch.