
Last updated on
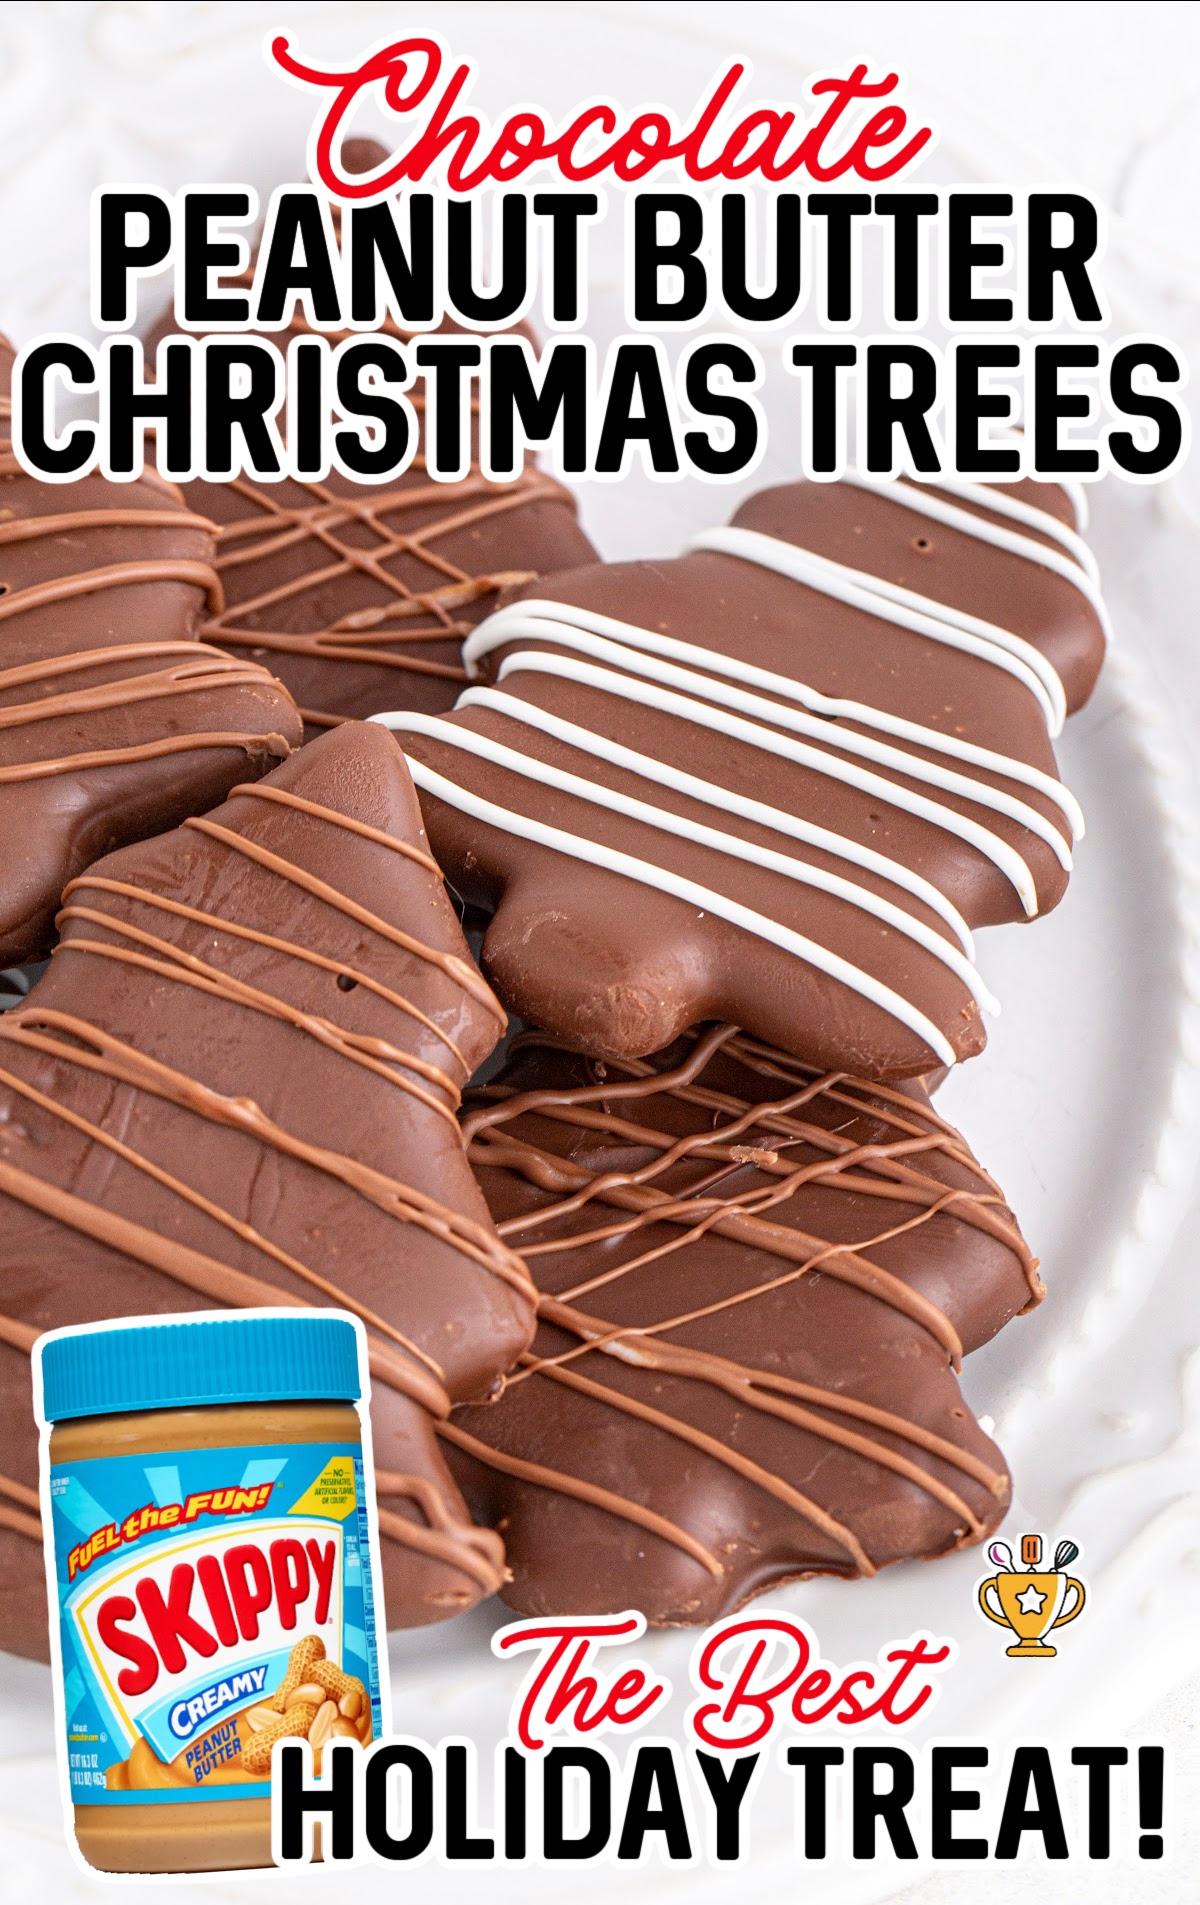
Chocolate Peanut Butter Christmas Trees

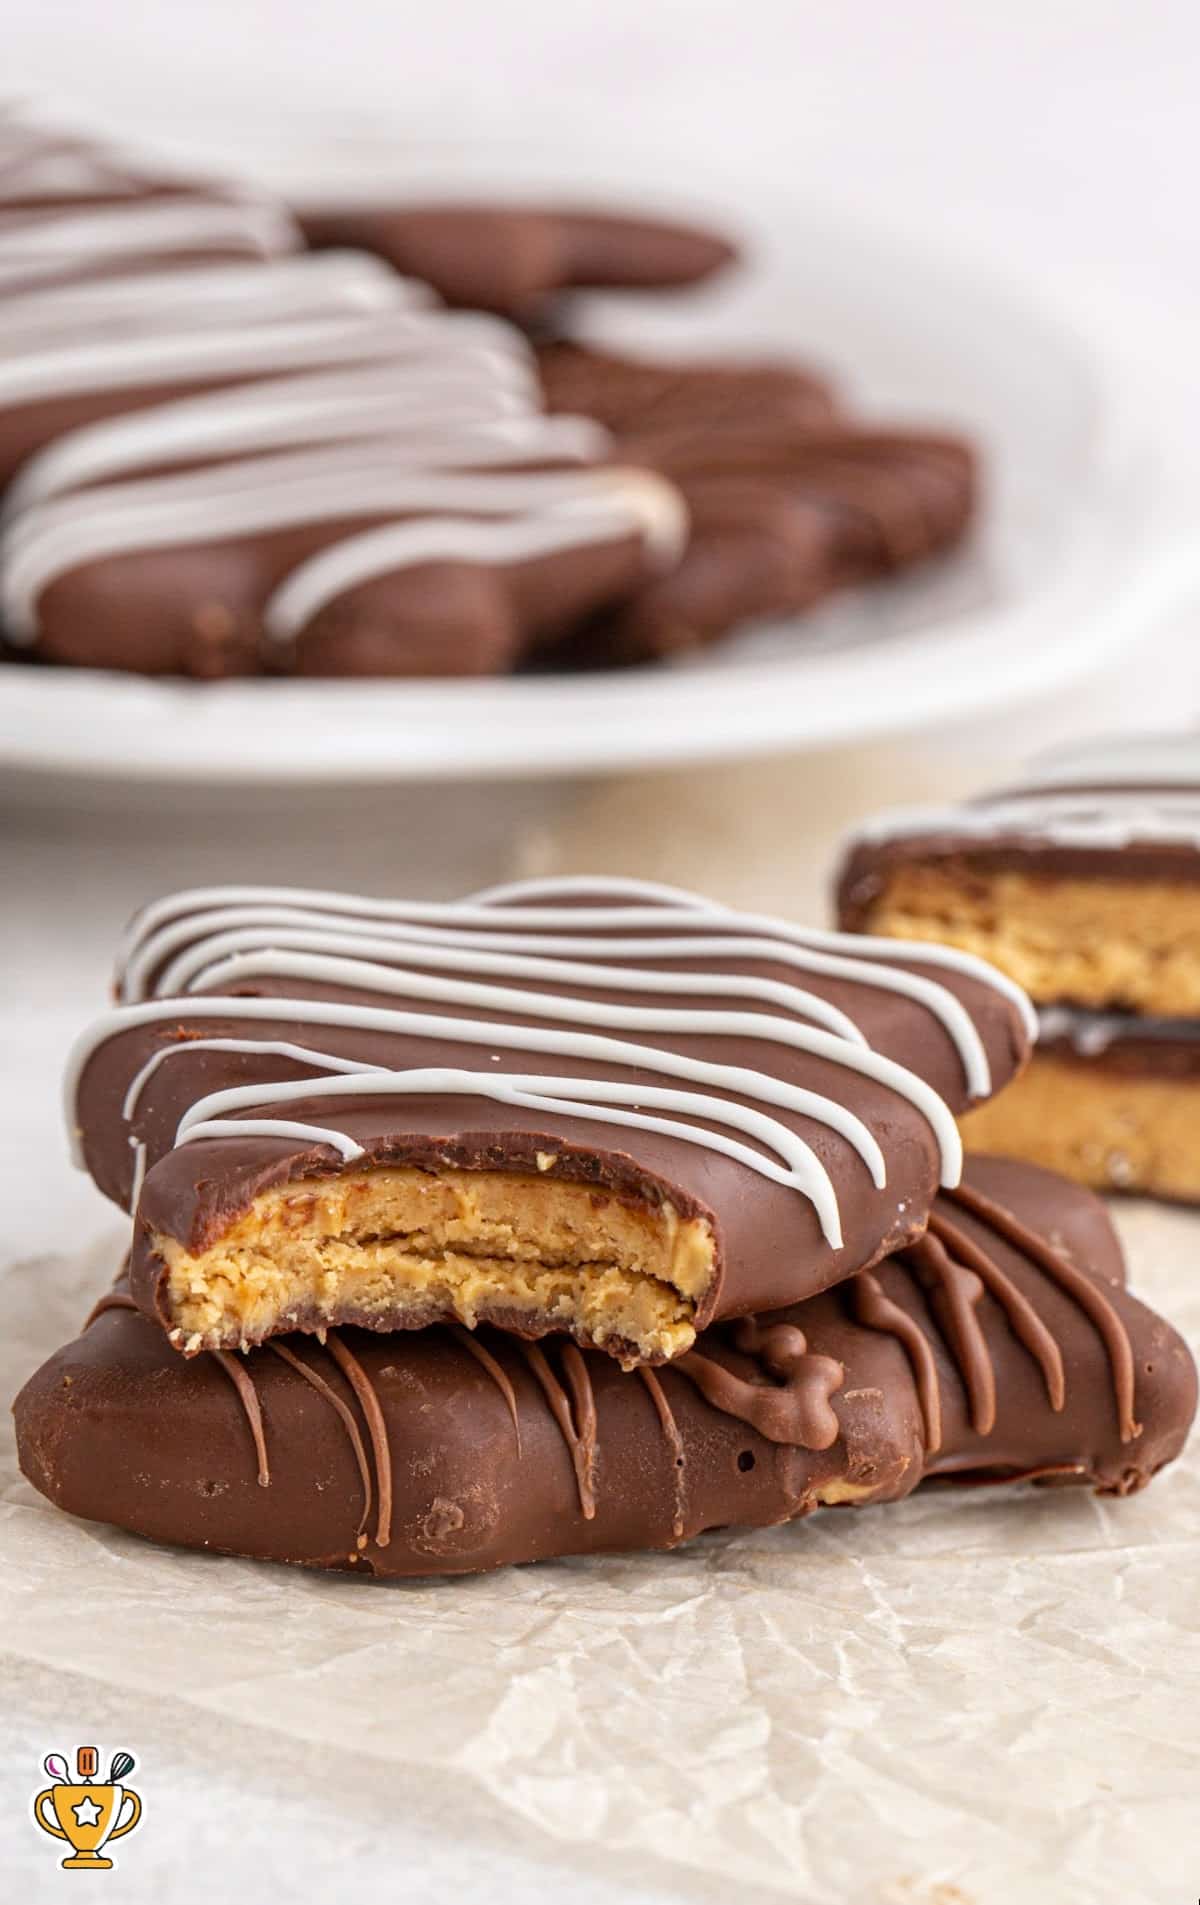
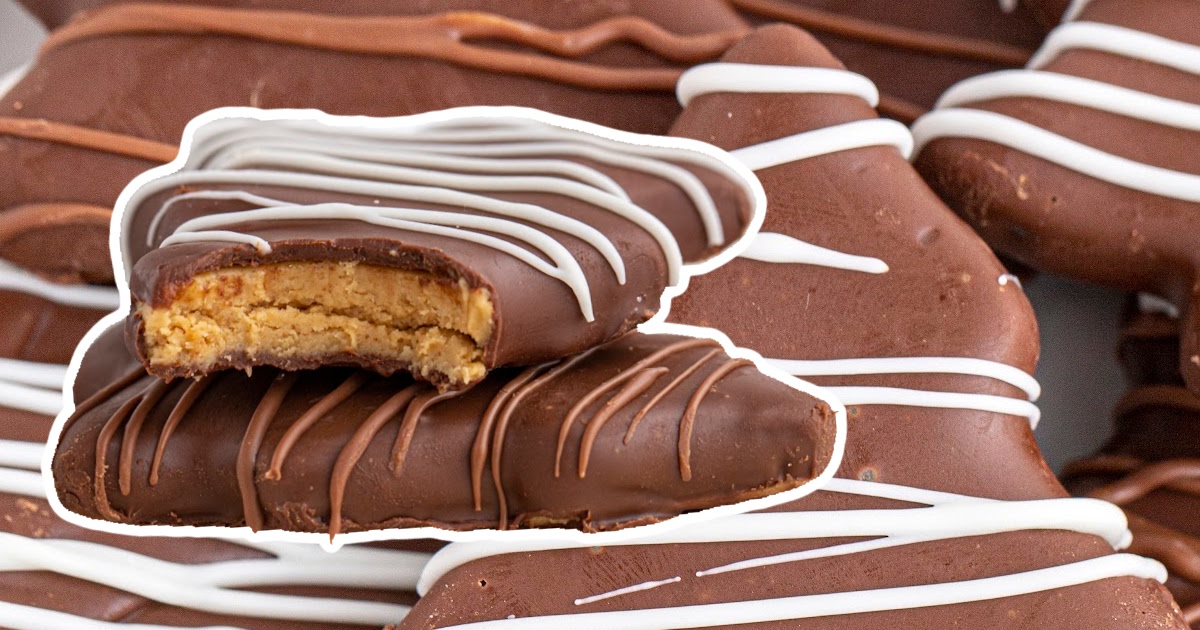
These Chocolate Peanut Butter Christmas Trees are a fun and festive holiday treat with creamy peanut butter and rich chocolate. Easy to make, they’re perfect for parties, gift exchanges, or family celebrations!
Jump to RecipeTable of Contents

These Chocolate Peanut Butter Christmas Trees are the perfect sweet treat for the holidays! With rich chocolate and creamy peanut butter, they’re festive, delicious, and so easy to make. Whip up a batch for your next holiday party, gift exchange, or cozy night at home. Plus, they look adorable on your dessert table!
This easy-to-make recipe comes with step-by-step photos and clear directions. We also share pro tips and tricks to help you master this treat. Check out the frequently asked questions and answers for even more helpful info!
More Recipes ⭐ Strawberry Christmas Trees | Christmas Trifle | Snowmen Truffles
These Chocolate Peanut Butter Christmas Trees are ready in just thirty minutes, making them perfect for a quick holiday treat. The mix of creamy peanut butter and rich chocolate creates an irresistible combination everyone will love. They're ideal for holiday parties, cookie swaps, or even as a fun family project.
With their festive look and easy steps, you'll want to make these delicious treats every Christmas!
Ingredients
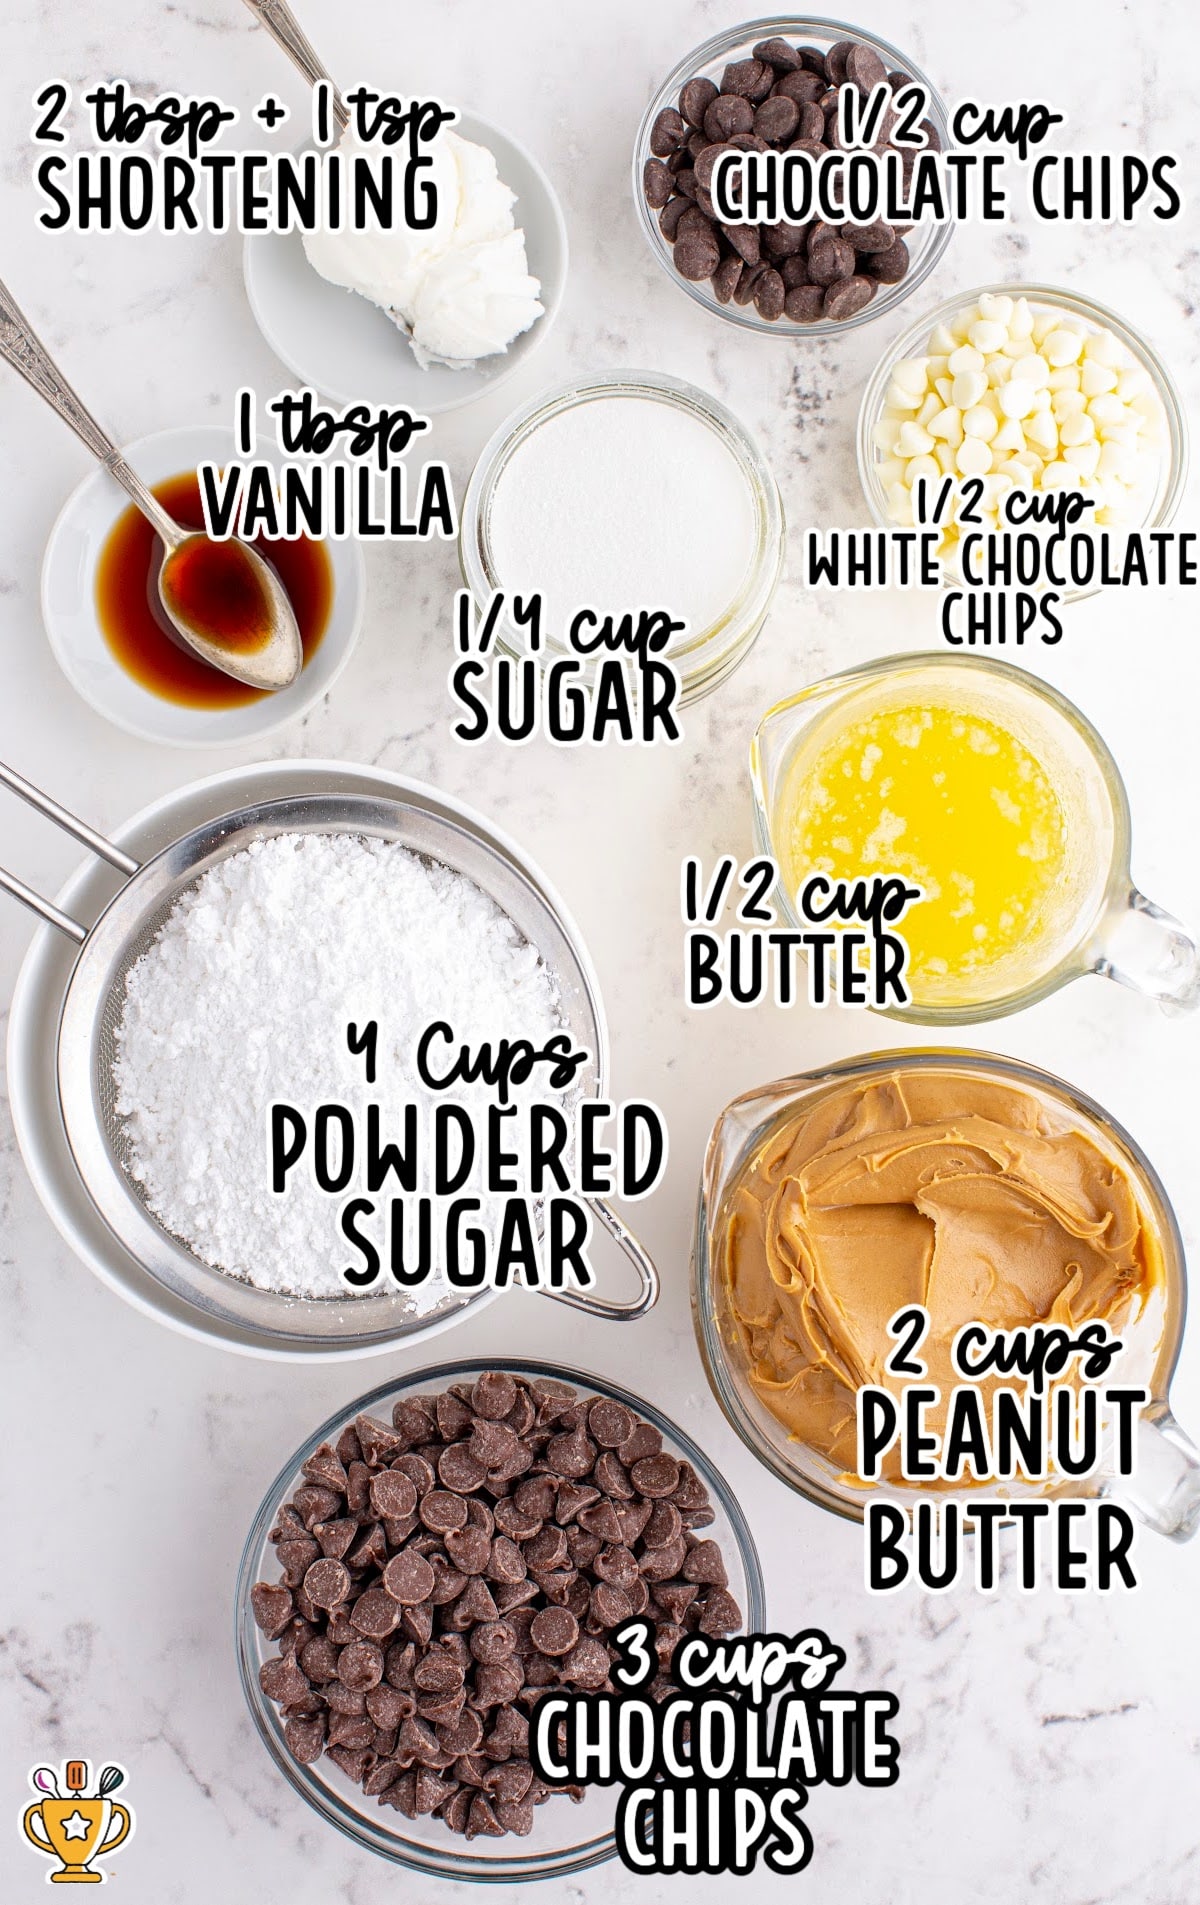
What you'll need to make these Reese's Peanut Butter Christmas Trees:
- ½ cup of salted butter, melted and cooled
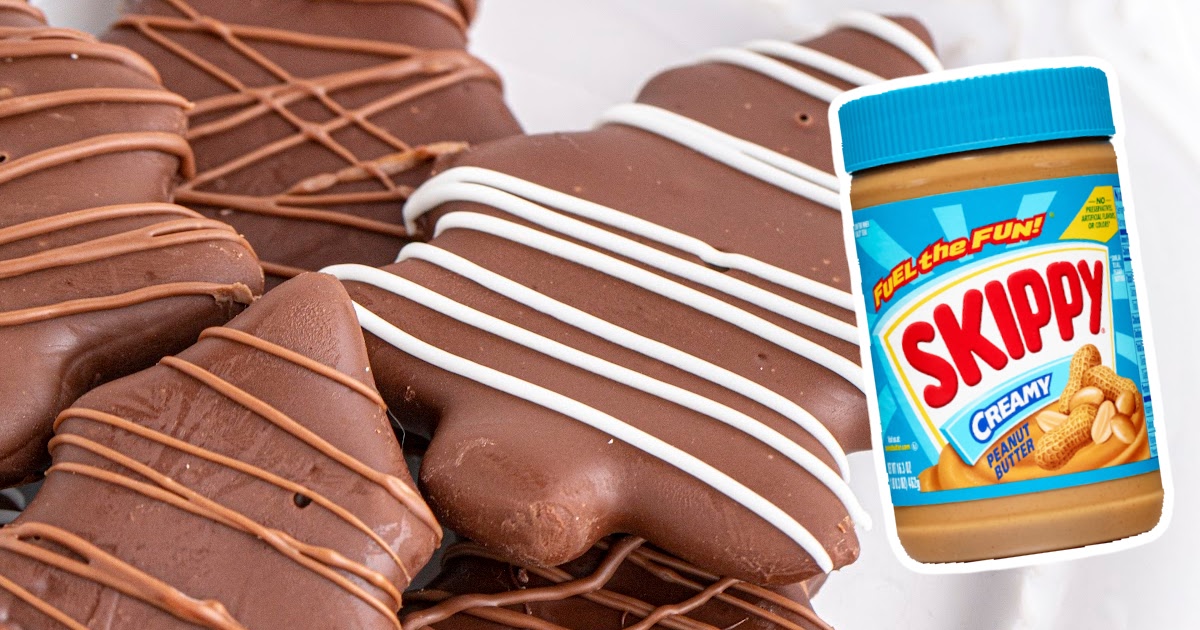
- 2 cups of creamy peanut butter
- ¼ cup of granulated sugar
- 1 tablespoon of vanilla extract
- 4 cups of powdered sugar
- 3 cups of semi-sweet chocolate chips (or a combination of semi and milk chocolate chips)
- 2 tablespoons of shortening
For The Drizzle:
- ½ cup of milk chocolate chips or pieces
- ½ cup of white chocolate chips or pieces
- 1 teaspoon of shortening, divided in half
Substitutions and Additions
Personalize your Peanut Butter Christmas Trees recipe by swapping out ingredients and adding fun extras! These easy changes make your holiday treats unique. Here are some top substitutions and additions:
Add Sprinkles: Top with festive sprinkles or crushed candy canes to add holiday cheer and extra crunch.
Substitute Peanut Butter: Use almond butter or sunflower seed butter for a nutty twist on these festive treats.
Substitute Chocolate: Try white chocolate or dark chocolate for a different flavor profile in your Christmas trees.
These easy substitutions and additions can easily be swapped out while still maintaining the deliciousness of these Chocolate Christmas Trees.
How to Make Reese Peanut Butter Trees
Follow along with our step-by-step pictures, instructions, and helpful tips and tricks to make these Christmas treats. Let’s get started and make the most delicious Chocolate Peanut Butter Christmas Trees for the holidays!
FIRST STEP: Line a jelly roll or half sheet pan with parchment paper and set it aside.
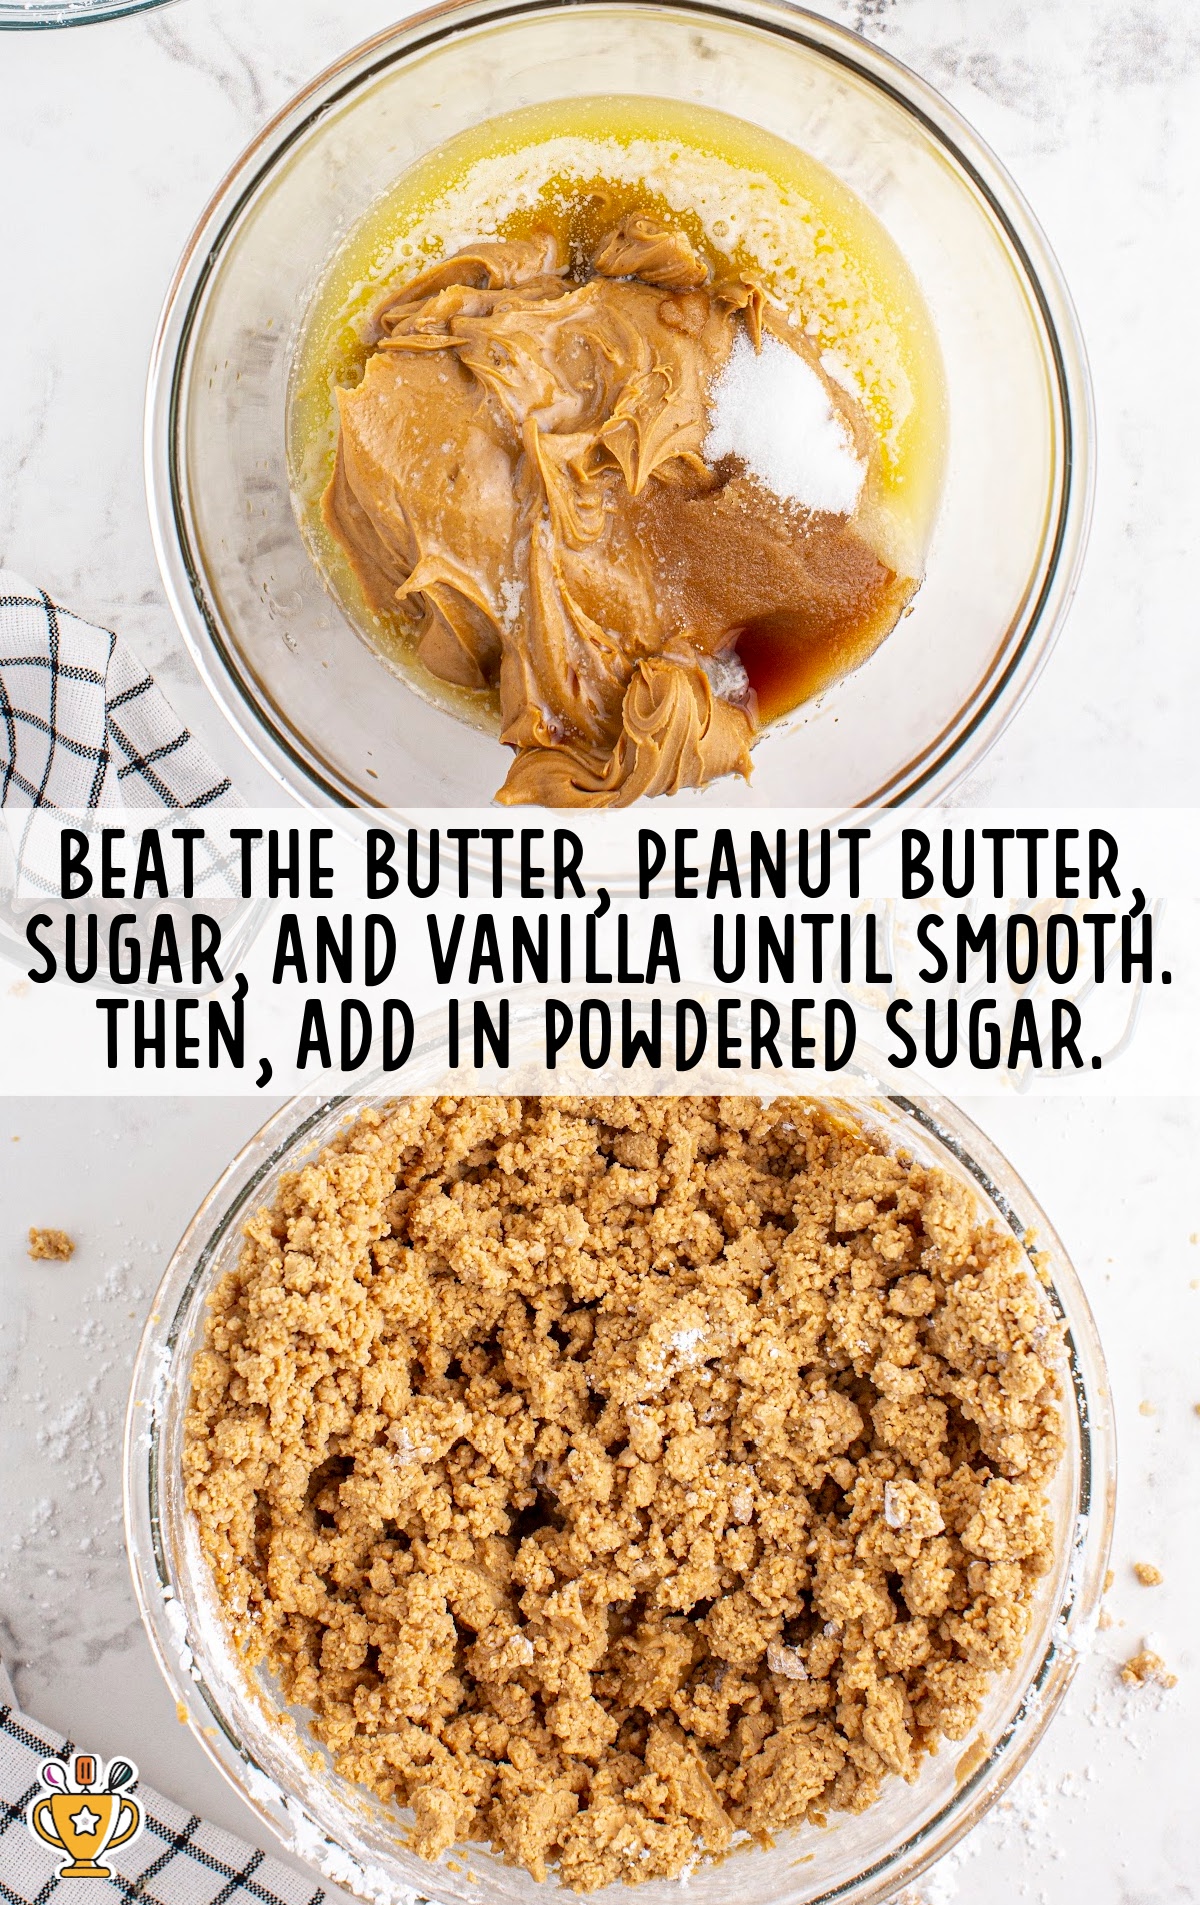
SECOND STEP: Using a hand mixer and medium mixing bowl, beat together melted butter, peanut butter, granulated sugar, and vanilla extract until smooth and creamy.
Beat in the powdered sugar.
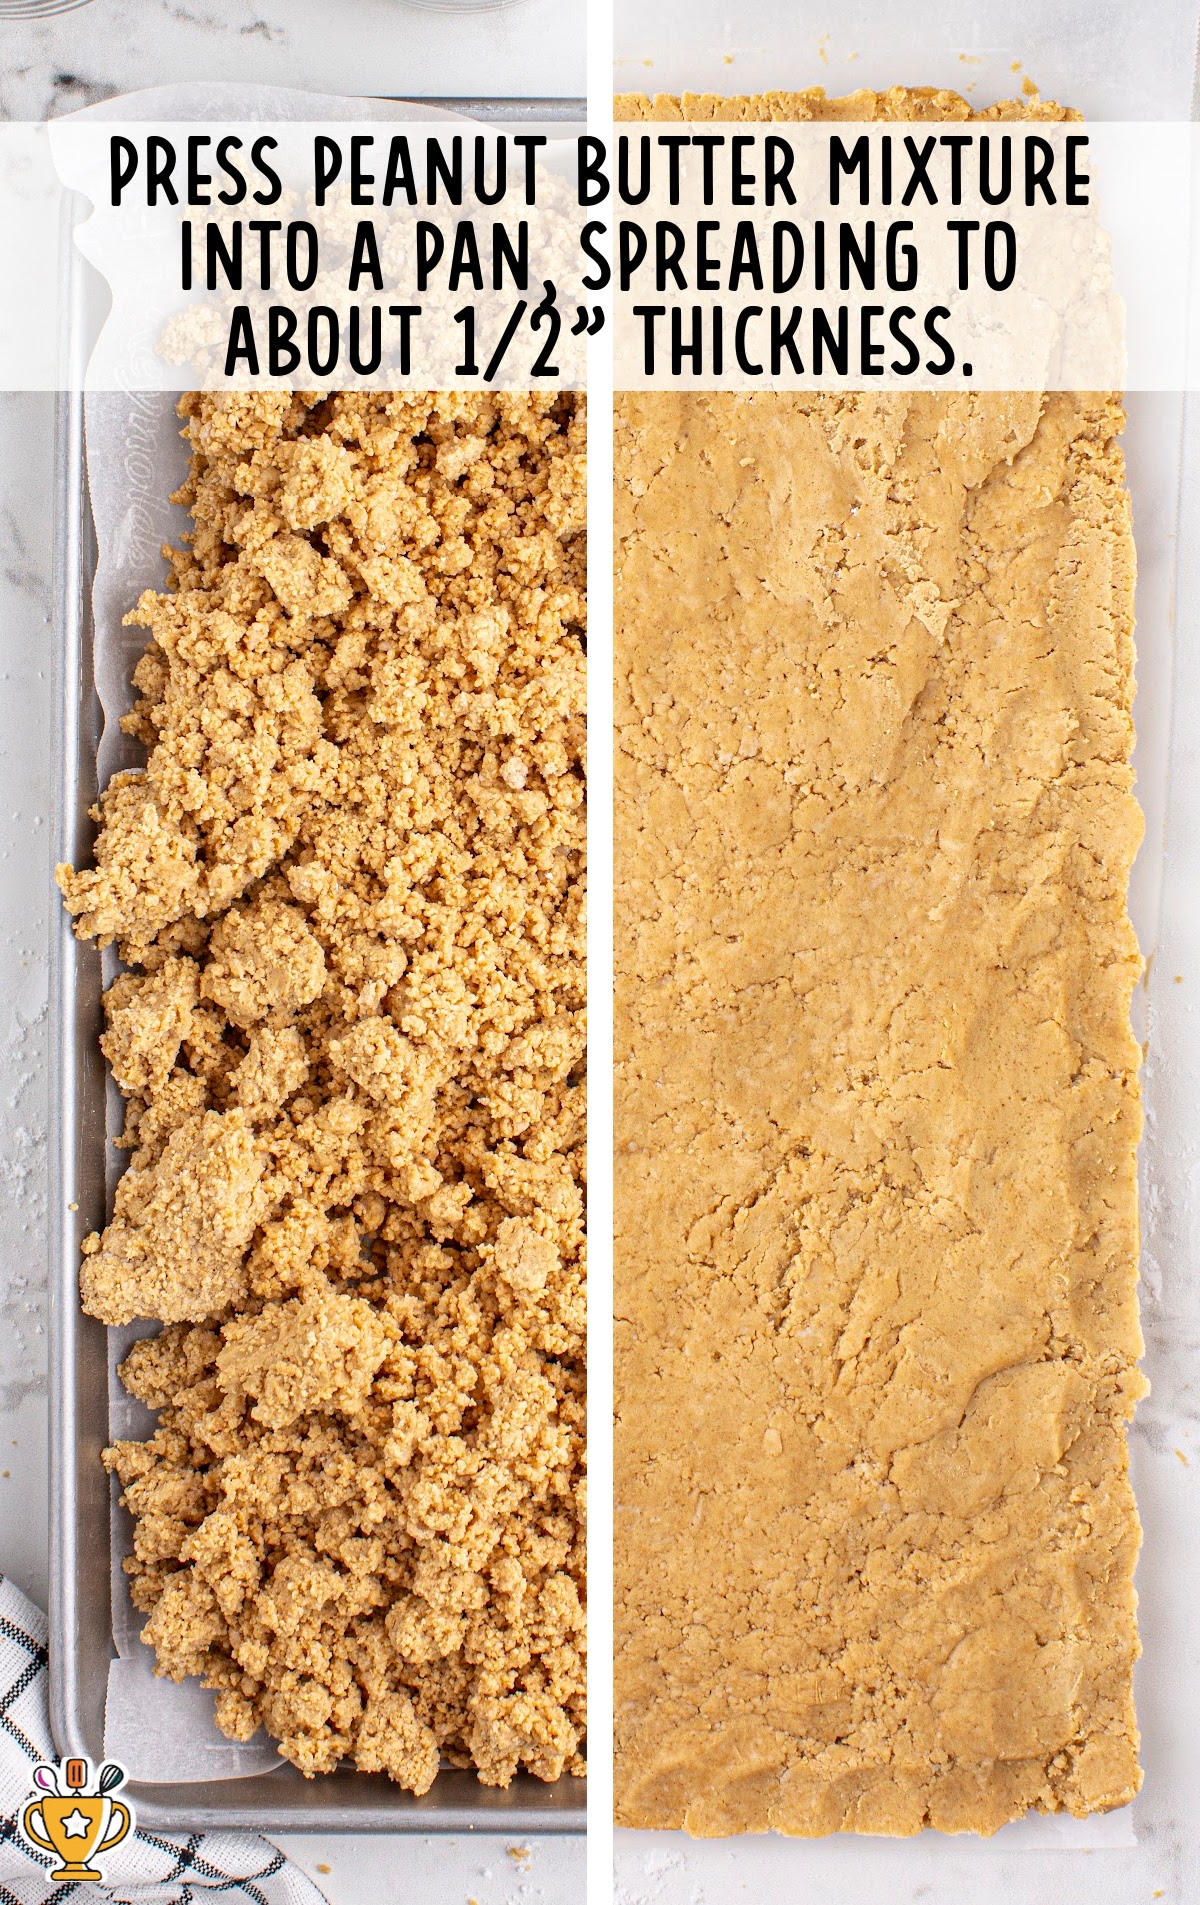
THIRD STEP: Press the peanut butter mixture into a sheet pan, spreading to about ½-inch thickness.
FOURTH STEP: Place the sheet pan in the freezer for 15 minutes.
FIFTH STEP: Lift the parchment paper to remove the chilled peanut butter layer from the pan. Place a new sheet of parchment paper on the pan.
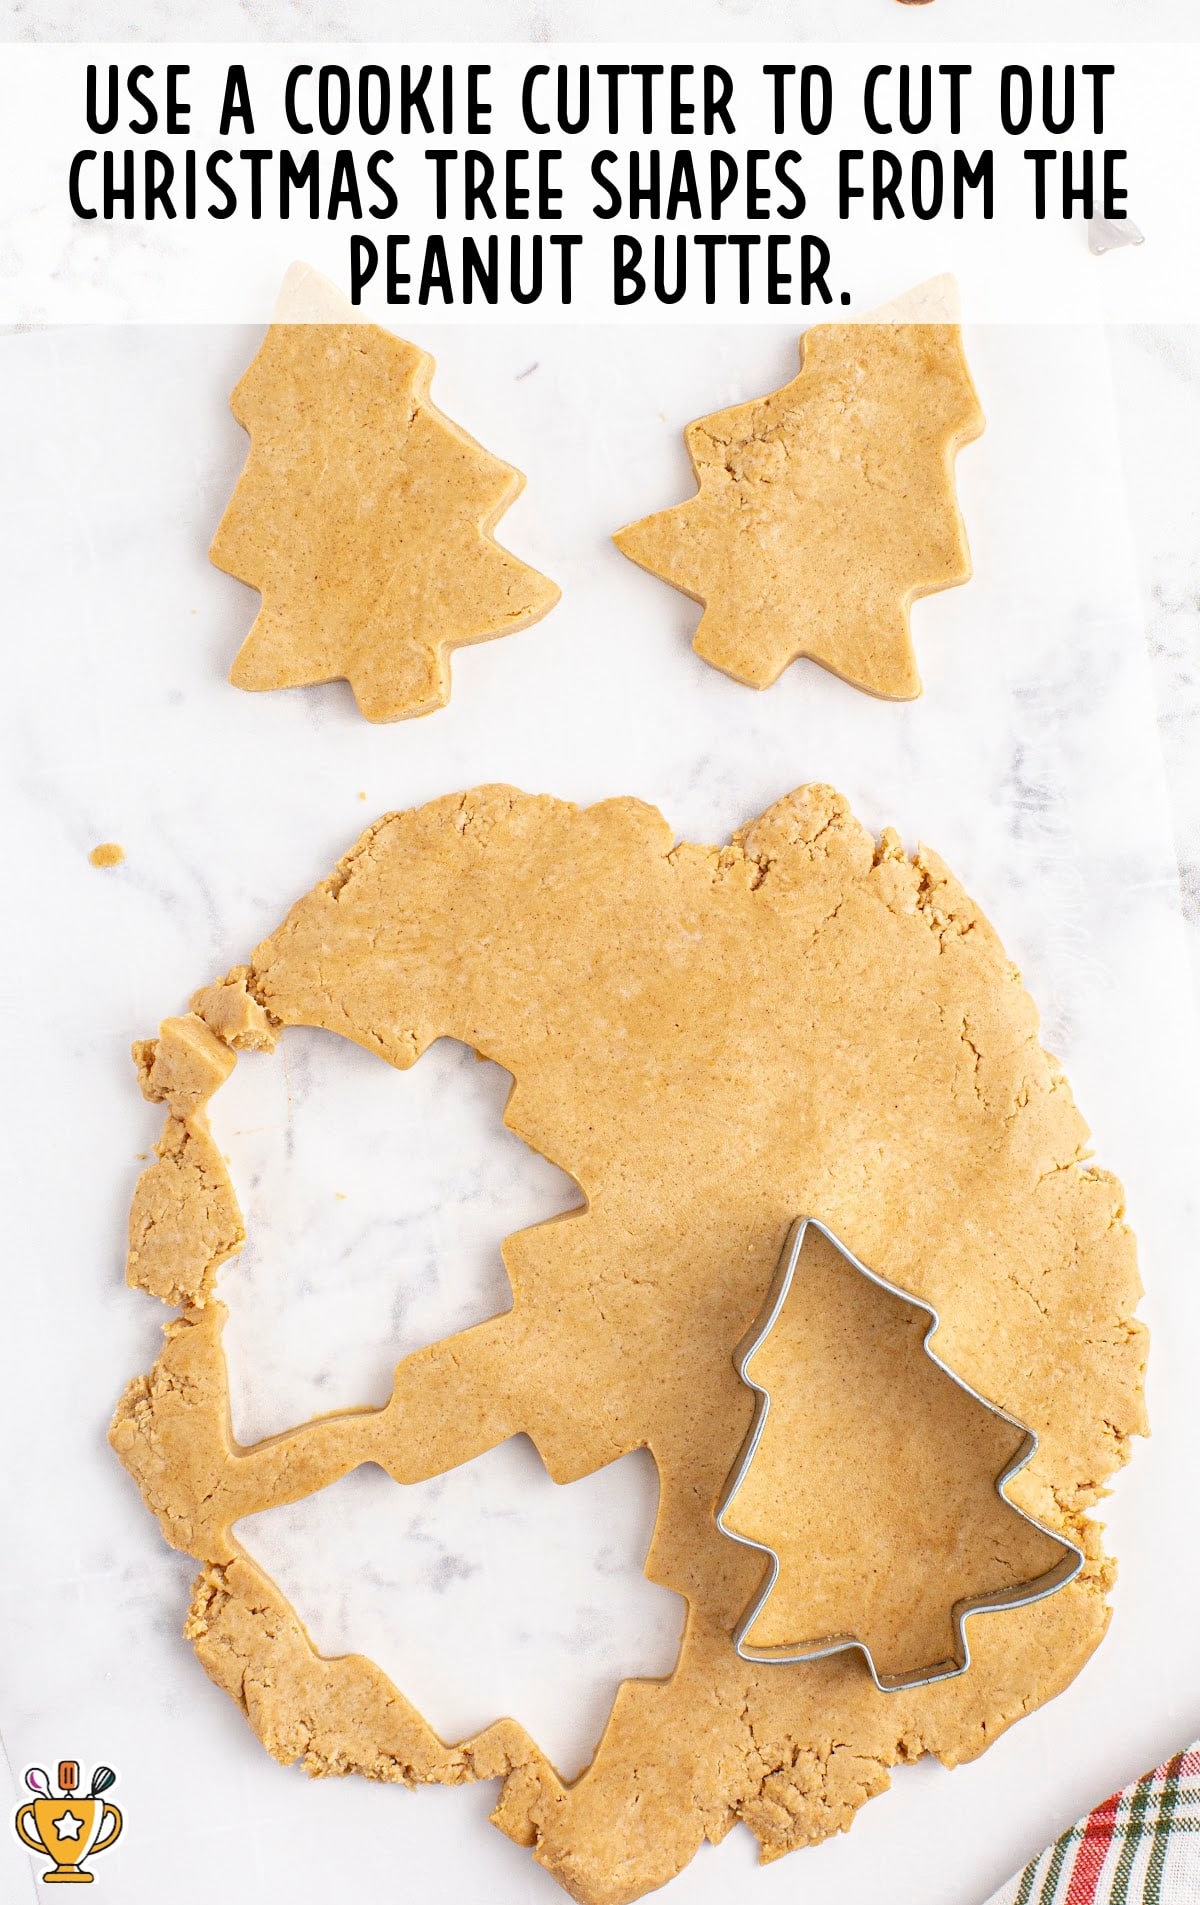
SIXTH STEP: Use a Christmas tree cookie cutter to cut out ½-inch thick Christmas tree shapes from the chilled peanut butter layer.
Pro Tip
The number of finished trees that you end up with will vary depending on the size of the cookie cutter.
SEVENTH STEP: Place cutouts on a parchment-lined sheet pan. Freeze for 30 minutes.
EIGHTH STEP: Scoop up the remnant peanut butter mixture, repress to ½-inch thickness, and cut out additional shapes.
NINTH STEP: After the cutouts have chilled for 25 minutes, prepare the chocolate coating.
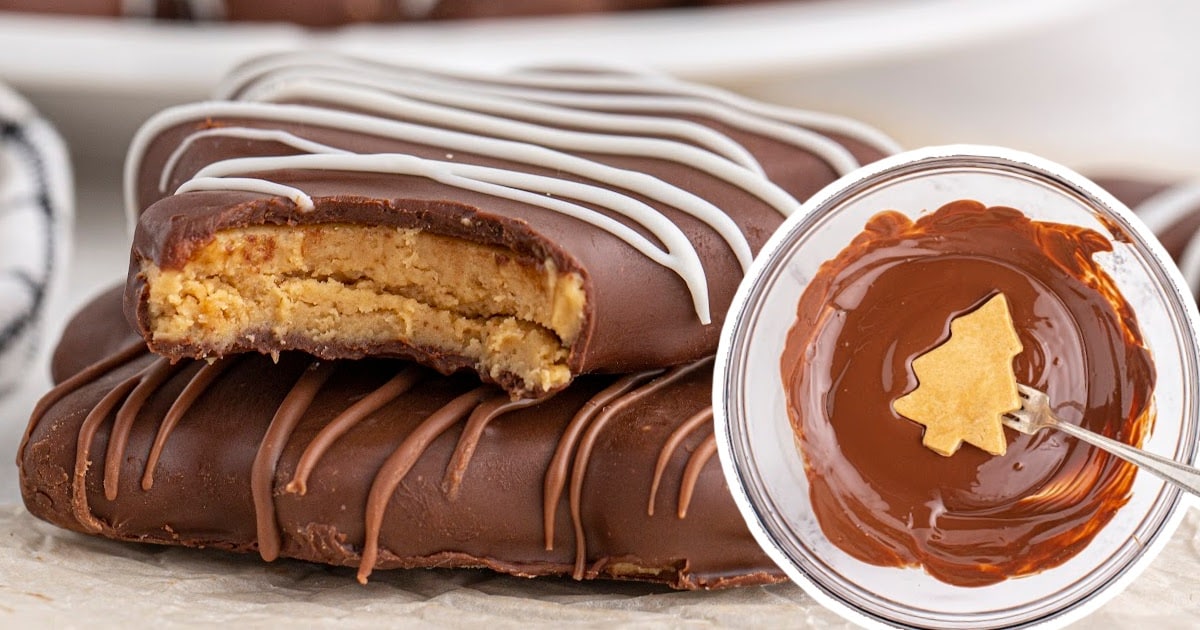
TENTH STEP: Combine semi-sweet chocolate chips and 2 tablespoons of shortening in a heatproof bowl.
Heat and stir in 30-second increments in the microwave until the chocolate is smooth and melted completely.
Pro Tip
The shortening added to the melted chocolate makes it easier for coating and prevents “bloom” on the chocolate (or the discoloration of the chocolate surface). It also makes it soft and will melt or imprint easily if touched.

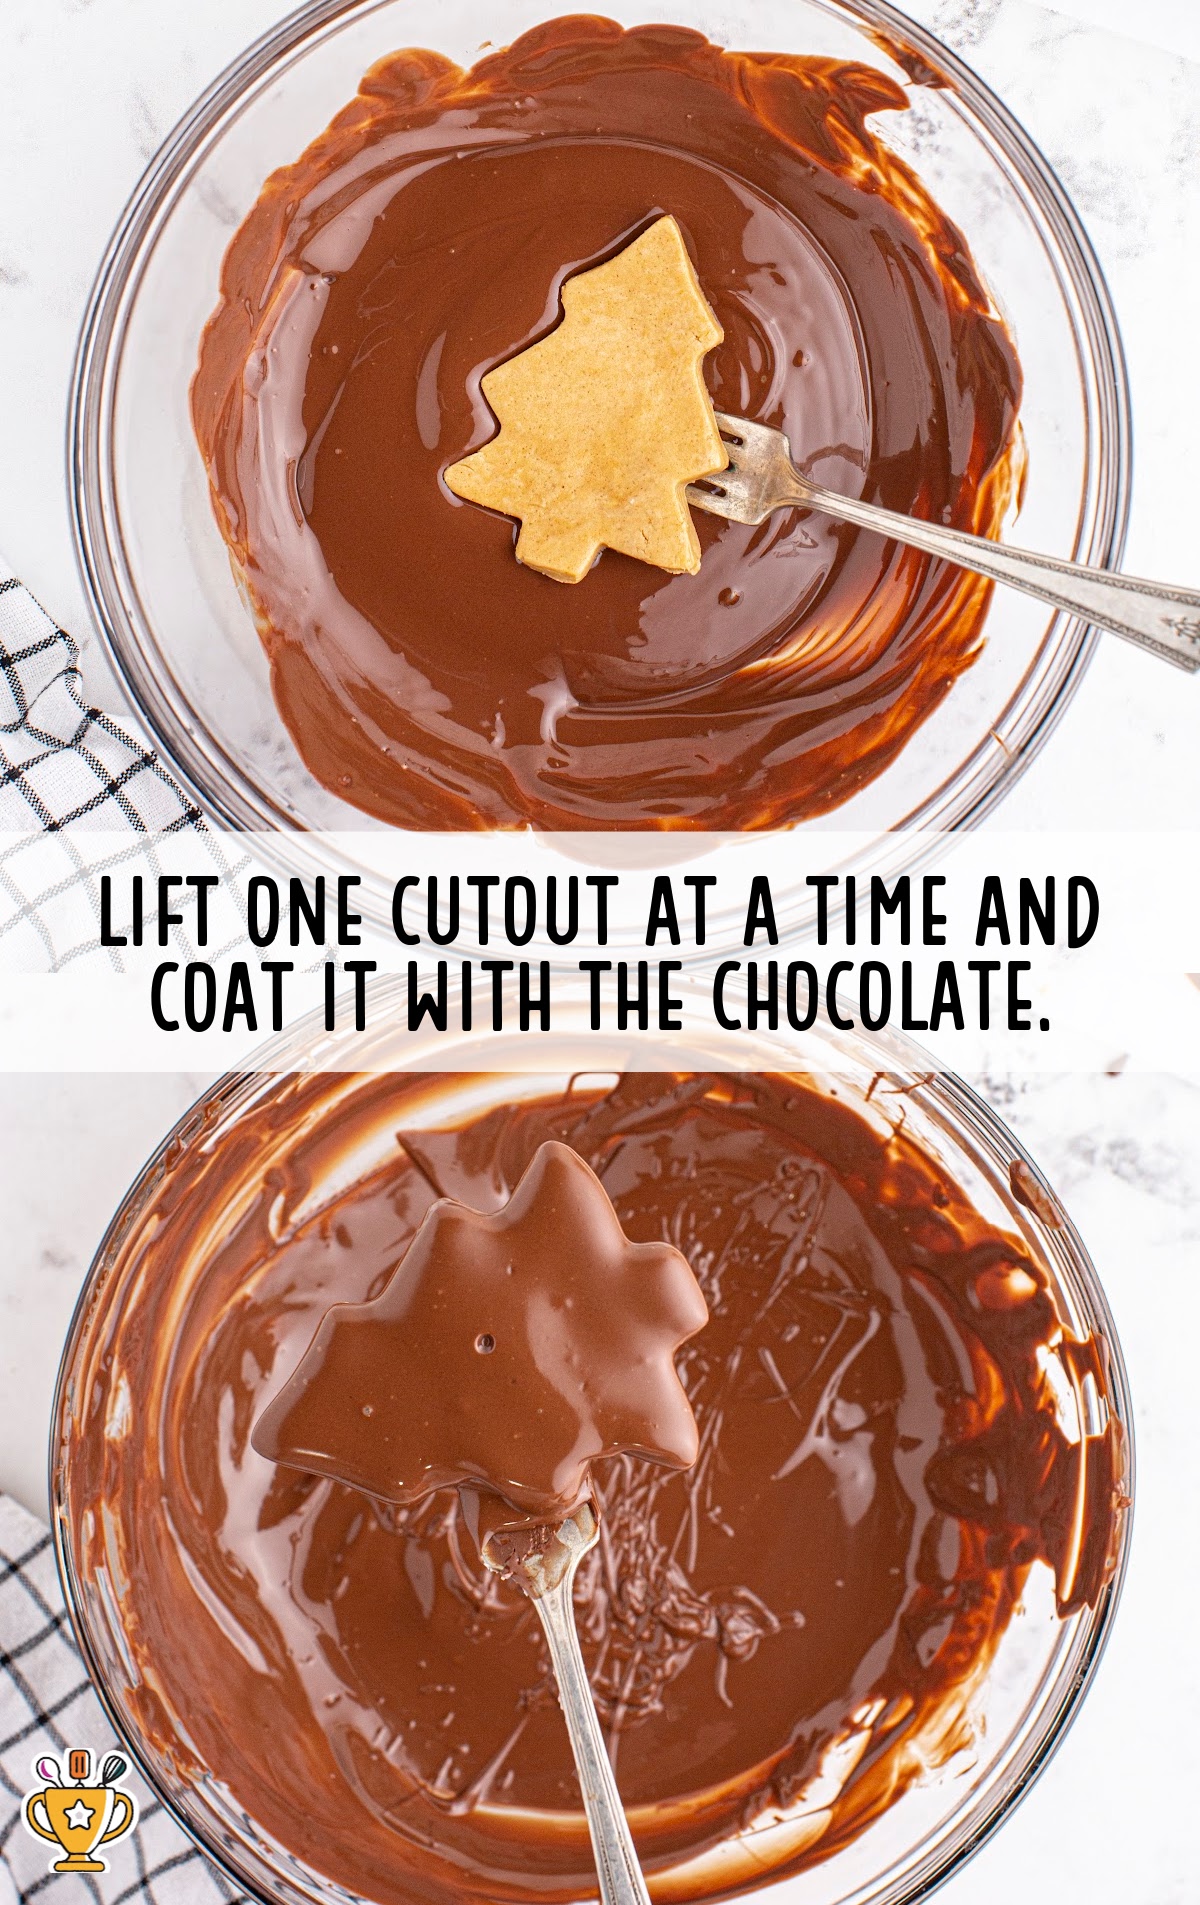
ELEVENTH STEP: Using a fork, lift one peanut butter cutout at a time and coat it completely with the melted chocolate.
Tap excess chocolate off the cutout and place it back onto the cookie sheet.
Pro Tip
You can reheat chocolate in short bursts to keep it smooth and easy to use for coating the trees.
TWELFTH STEP: Work in batches if the peanut butter cutout becomes soft quickly.
Pro Tip
To keep the peanut butter trees from softening too quickly, keep the pan in the freezer and only take out a few at a time for coating
THIRTEENTH STEP: Allow chocolate to harden.
FOURTEENTH STEP: For the optional drizzle, microwave chocolate chips or chopped pieces and shortening (½ teaspoon per ½ cup) in 30-second increments until melted and smooth.
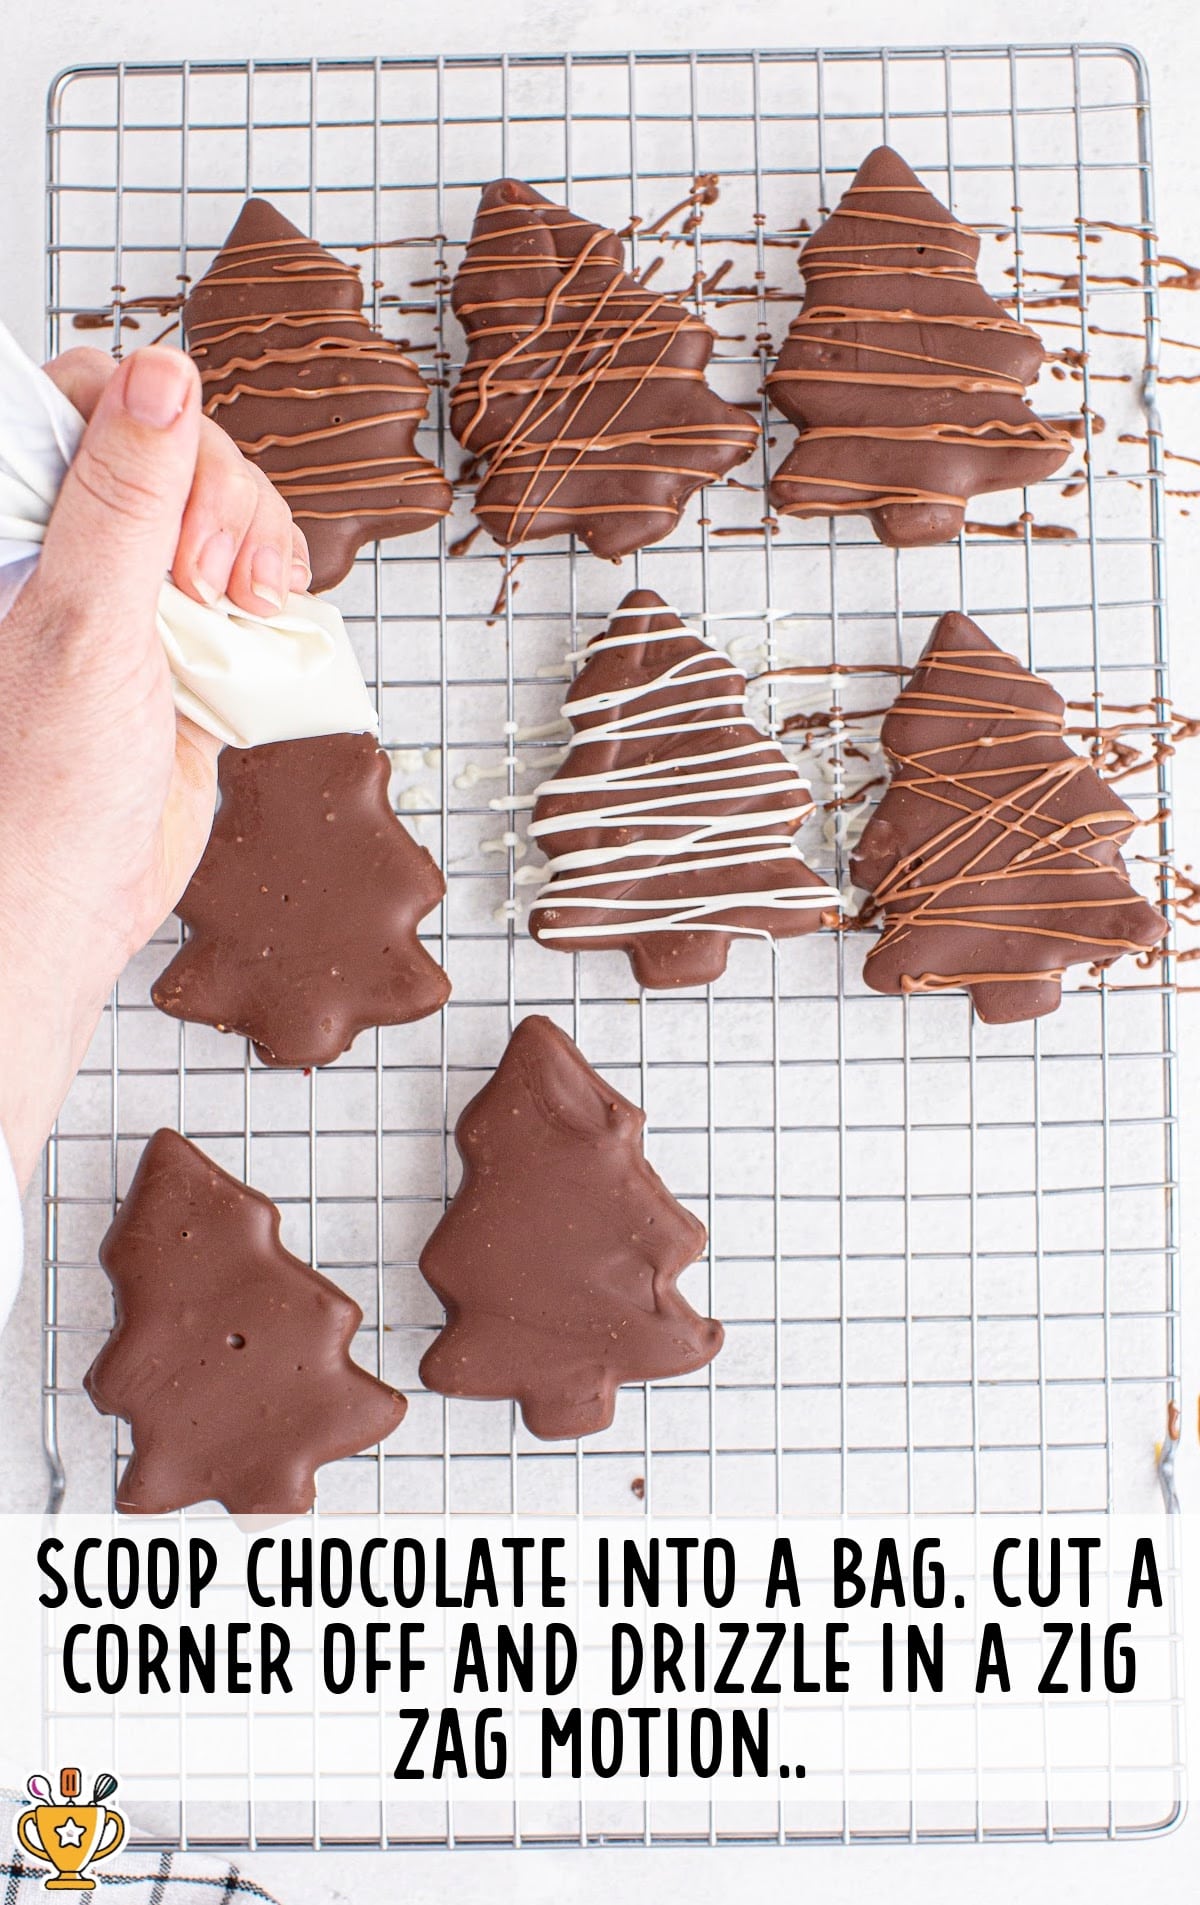
FIFTEENTH STEP: Scoop melted chocolate into a plastic ziplock bag or piping bag.
Snip a tiny corner off the bag and drizzle in a zigzag motion over chocolate-coated trees. Allow the chocolate to set (about 5 minutes).
How To Serve Reeses Peanut Butter Trees
These Chocolate Peanut Butter Christmas Trees are versatile and fun for any holiday celebration. Whether you're hosting a party or enjoying a cozy family night, this treat will be a hit!
- Holiday Parties: These festive trees are perfect for holiday parties, adding a fun and sweet touch to your dessert table. Pair them with classic sugar cookies and eggnog for a full spread.
- Kids’ Celebrations: Kids love the mix of chocolate and peanut butter, making these great for school events, cookie swaps, or family gatherings. Serve with hot chocolate or caramel popcorn for extra fun.
- Gift Exchanges: Wrap these treats up for a holiday gift exchange or as a homemade stocking stuffer. They go wonderfully with peppermint bark or fudge for a delicious gift combo.
Why You'll Love This Chocolate Christmas Tree Recipe
Chocolate Peanut Butter Christmas Trees are more than just a holiday treat—they're a beloved favorite for so many sweet reasons:
- A Perfect Blend of Flavors: The creamy peanut butter paired with rich chocolate creates an irresistible combination that everyone loves. Every bite offers a perfect balance of sweetness and texture, making it a go-to holiday treat.
- Fun and Festive Look: These Christmas trees aren’t just delicious—they’re also fun to make and look adorable on any dessert table. Their festive shape makes them a holiday favorite for kids and adults alike.
- Quick and Easy to Make: With just thirty minutes to prep and finish, these treats are a lifesaver for busy holiday schedules. They’re simple, fun, and perfect for a last-minute dessert!
Chocolate Peanut Butter Christmas Trees are a delightful addition to any holiday celebration, bringing joy with every bite!
Recipe FAQ
Can I use store-bought chocolate for dipping the trees?
Yes, you can melt store-bought chocolate chips or bars for dipping. Just be sure to melt it slowly to avoid burning.
How long do the Chocolate Peanut Butter Christmas Trees take to set?
It typically takes 15-20 minutes for the chocolate to fully set after dipping, depending on room temperature.
Do I need special tools to shape the Christmas trees?
No special tools are needed. You can easily shape the trees by hand or use a cookie cutter for even shapes.
Can I make the trees ahead of time for a party?
Yes, you can make them ahead of time. Just store them in a cool place until you're ready to serve.
Serving FAQ
How should I serve these Chocolate Peanut Butter Christmas Trees at a holiday party?
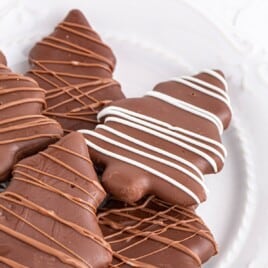
Serve them on a festive platter, spaced apart to showcase their Christmas tree shape, for an eye-catching display.
Are these Chocolate Peanut Butter Christmas Trees kid-friendly to serve?
Absolutely! Kids love their fun shape and the mix of chocolate and peanut butter makes them a crowd favorite.
Can I serve these treats as part of a dessert buffet?
Yes, these trees are perfect for a dessert buffet. Their small size makes them easy to grab and enjoy.
What is the best way to present these treats for gifting?
Wrap them individually in clear bags with holiday ribbons for a festive and thoughtful homemade gift idea.
Storage FAQ
Follow the directions below for tips and tricks on storing, making ahead, and reheating these Chocolate Peanut Butter Christmas Trees. From preparing them in advance to ensuring they stay fresh, we’ve got you covered!
Can I prepare Chocolate Peanut Butter Christmas Trees ahead of time?
Yes, you can make the trees ahead and store them in a cool, dry place until serving.
What’s the best way to store leftover Chocolate Peanut Butter Christmas Trees?
Store the leftover trees in an airtight container at room temperature. They will stay fresh for up to a week.
Can I freeze Chocolate Peanut Butter Christmas Trees?
While not recommended, you can freeze them for up to a month. Place them in a sealed container or freezer bag.
How should I thaw and reheat frozen Chocolate Peanut Butter Christmas Trees?
Thaw them at room temperature for a few hours. Reheating is not necessary as they’re best enjoyed cold.

Chocolate Peanut Butter Christmas Trees
These Chocolate Peanut Butter Christmas Trees are a fun and festive holiday treat with creamy peanut butter and rich chocolate. Easy to make, they’re perfect for parties, gift exchanges, or family celebrations!
Did you try this recipe?Let our readers know how it turned out by Leaving a Review!
Ingredients
- ½ cup salted butter melted and cooled
- 2 cups creamy peanut butter
- ¼ cup granulated sugar
- 1 tablespoon vanilla extract
- 4 cups powdered sugar
- 3 cups semi-sweet chocolate chips or a combination of semi and milk chocolate chips
- 2 tablespoons shortening
Drizzle
- ½ cup milk chocolate chips or pieces
- ½ cup white chocolate chips or pieces
- 1 teaspoon shortening (divided in half)
DIRECTIONS
- Line a jelly roll or half sheet pan with parchment paper and set it aside.
- Using a hand mixer, beat together melted butter, peanut butter, granulated sugar, and vanilla extract until smooth and creamy. Beat in powdered sugar.
- Press peanut butter mixture into a sheet pan, spreading to about ½-inch thickness.
- Place sheet pan in the freezer for 15 minutes.
- Lift the parchment paper to remove the chilled peanut butter layer from the pan. Place a new sheet of parchment paper on the pan.
- Use a cookie cutter to cut out ½” thick Christmas tree shapes from the chilled peanut butter layer.
- Place cutouts on a parchment-lined sheet pan. Freeze for 30 minutes.
- Scoop up the remnant peanut butter mixture, repress to ½-inch thickness, and cut out additional shapes.
- After cutouts have chilled for 25 minutes, prepare the chocolate coating.
- Combine milk chocolate chips and 2 tablespoons of shortening in a heatproof bowl. Heat and stir in 30-second increments in the microwave until the chocolate is smooth and melted completely.
- Using a fork, lift one peanut butter cutout at a time and coat it completely with the melted chocolate. Tap excess chocolate off the cutout and place it back onto the cookie sheet.
- Work in batches if the peanut butter cutout becomes soft quickly.
- Allow chocolate to harden.
- For optional drizzle, microwave chocolate chips or chopped pieces and shortening (½ teaspoon per ½ cup) in 30-second increments until melted and smooth.
- Scoop melted chocolate into a plastic baggy or piping bag. Snip a tiny corner off the baggy and drizzle in a zigzag motion over chocolate-coated trees. Allow chocolate to set, about 5 minutes.
Notes
- The number of finished trees that you end up with will vary depending on the size of the cookie cutter.
- The shortening added to the melted chocolate makes it easier for coating and prevents “bloom” on the chocolate (or the discoloration of the chocolate surface). It also makes it soft and will melt or imprint easily if touched.
- You can reheat chocolate in short bursts to keep it smooth and easy to use for coating the trees.
Nutrition
Calories: 430kcal | Carbohydrates: 43g | Protein: 6g | Fat: 27g | Saturated Fat: 11g | Polyunsaturated Fat: 3g | Monounsaturated Fat: 10g | Trans Fat: 0.3g | Cholesterol: 12mg | Sodium: 129mg | Potassium: 273mg | Fiber: 3g | Sugar: 37g | Vitamin A: 131IU | Vitamin C: 0.02mg | Calcium: 36mg | Iron: 2mg
HAVE YOU TRIED THIS RECIPE?Follow me on Pinterest @bestblogrecipes

Leave a Comment