
Last updated on
Peanut Butter Blossoms

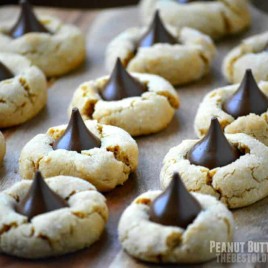
These Peanut Butter Blossoms are a fun cookie made with Hershey Kisses that your family will love!
Jump to RecipeTable of Contents
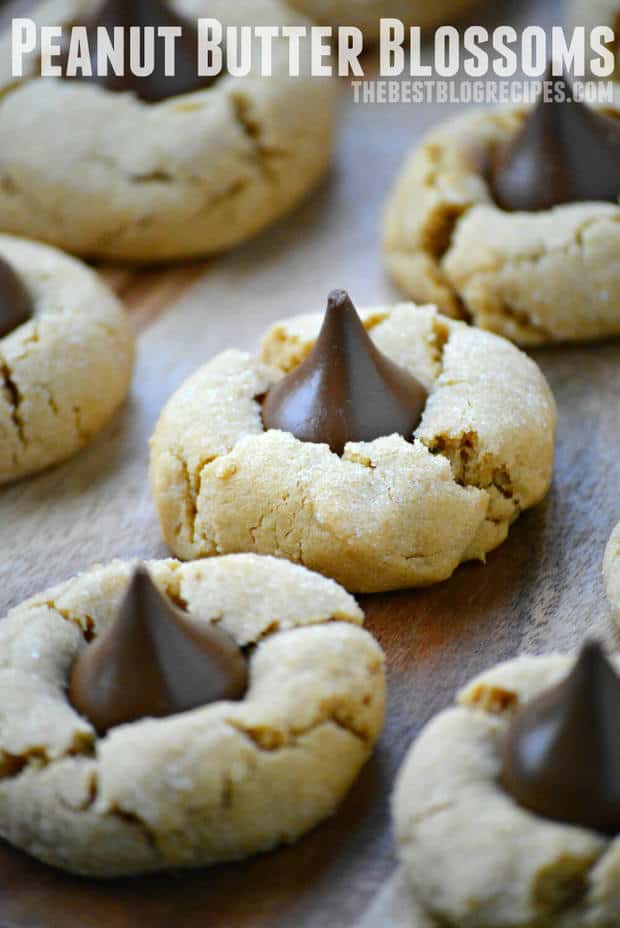
I don't know about you but I am totally and completely addicted to chocolate. Last week I asked my husband to pick up a bag of Hershey Kisses so I could make a batch of Peanut Butter Blossoms for one of my Valentine's Day recipes for you guys and I ate half of the bag before I even thought about it. Addiction is a serious thing and I fully admit that I have a problem with chocolate, desserts, dinner, snacks, appetizers, Mexican food and pasta. Yep, that about covers it. I'm a food lover and I have the perfect job. I get to cook and test out new recipes all.day.long you guys. My kitchen is seriously a mess because I cook way too much but that's alright. It's fun and I love it.

Today I made these Peanut Butter Blossoms completely Peanut, Tree Nut AND Lactose FREE so my kids could have them. Translated that just means that I used different products to make these than I normally would have for you guys. I'm listing the Allergy FREE Peanut Butter Blossom recipe here today for my followers that have friends and family members that need more allergy friendly recipes. If you'd like to see the regular recipe with all of the good old fashioned ingredients please visit my good friend Jamie over at Love Bakes Good Cakes and check out her Peanut Butter Blossom recipe!
Peanut Butter Blossoms
These Peanut Butter Blossoms are a fun cookie made with Hershey Kisses that your family will love!
Did you try this recipe?Let our readers know how it turned out by Leaving a Review!
Ingredients
- 45-50 Hershey's Kisses (unwrapped (always double check where they were packaged to ensure they don't have a "may contain peanuts/tree nuts" warning on them))
- 1½ cups all-purpose flour
- 1 tsp. baking soda
- ½ tsp. salt
- ½ cup 1 stick Fleischmann's Spread, softened (it is Lactose Free)
- ¾ cup creamy Soy Nut Butter or Wowbutter
- ⅓ cup granulated sugar
- ⅓ cup packed light brown sugar
- 1 egg
- 2 tbsp. Lactaid Whole Milk or store brand Lactose Free Milk
- 1 tsp. vanilla extract
- Additional granulated sugar (for rolling (optional))
DIRECTIONS
- Pre-heat your oven to 375° degrees.
- Combine your butter spread, soy nut butter, sugar and brown sugar. Mix together with a hand mixer or immersion blender.
- Stir in the vanilla and egg and use your mixer to cream everything together.
- In a separate large bowl combine your salt, baking powder and flour and stir until combined well.
- Mix your dry and wet ingredients and stir well.
- Roll cookies into one inch sized balls. Roll each ball into the extra sugar.
- Place cookies about 1½ inches away from each other on a cookie sheet lined with parchment paper or a silicone mat.
- Bake cookies for about 8 minutes until they look done and nice and golden. It's ok to undercook them just a bit. It's better to have undercooked rather than overcooked cookies in my opinion.
- Remove cookies from oven and push 1 chocolate kiss into the top of each cookie as quickly as you can. The longer you wait the more they will crack.
- Move your cookies to a cooling rack and allow to cool completely. If you try to eat them before they are cooled they will fall apart on you. Once they are cooled they stay together nicely.
Nutrition
Serving: 0g | Calories: 58kcal | Carbohydrates: 10g | Protein: 1g | Fat: 1g | Saturated Fat: 0g | Cholesterol: 5mg | Sodium: 64mg | Potassium: 9mg | Fiber: 0g | Sugar: 6g | Vitamin A: 5IU | Calcium: 14mg | Iron: 0.3mg
HAVE YOU TRIED THIS RECIPE?Follow me on Pinterest @bestblogrecipes

DID YOU TRY THIS RECIPE: WE’D LOVE TO HEAR HOW YOU LIKED IT IN THE COMMENTS BELOW. WE SEARCH SOCIAL MEDIA A FEW TIMES A MONTH FOR THE HASHTAG #THEBESTBLOGRECIPES SO MAKE SURE TO SNAP A PIC AND USE THE HASHTAG WHEN LOADING IT ONTO YOUR INSTAGRAM, FB, G+, PINTEREST AND TWITTER AND WE’LL STOP BY AND SAY HI AND CHECK IT OUT!

Comments
Shauna | The Best Blog Recipes says
Thank you!!
Shauna | The Best Blog Recipes says
Wow! That's a tough one! I hope you all love this cookie recipe!!
Shauna | The Best Blog Recipes says
Thanks for pinning! Hope your nephew loves them!