
Last updated on
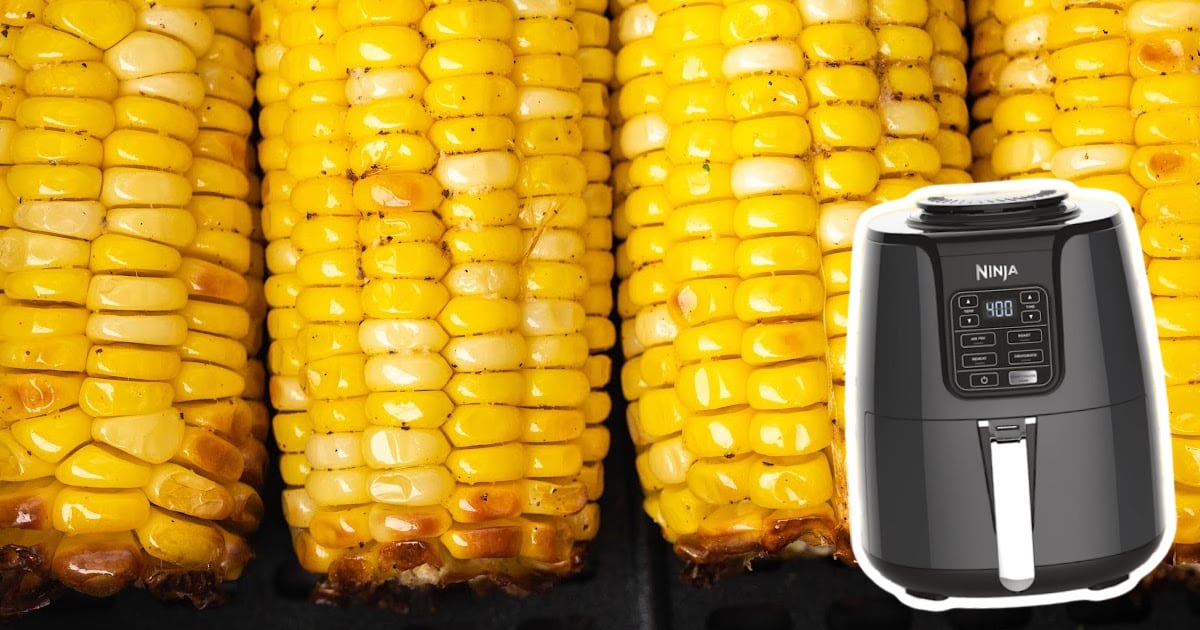
Air Fryer Corn on the Cob

Air fryer corn on the cob comes out juicy, crisp, and full of flavor in just fifteen minutes. Skip the boiling water and make this easy side dish anytime.
Jump to RecipeTable of Contents

Make air fryer corn on the cob in just minutes with this easy recipe. It comes out juicy, golden, and crisp every time. You only need fresh corn, oil, and seasoning for big flavor and zero mess. Serve it with dinner, at a cookout, or as a quick weeknight side.
This recipe is simple to make—just follow the step-by-step directions below. We’ve included helpful photos, pro tips, and smart tricks. You’ll also find answers to the most frequently asked questions about air fryer corn on the cob.

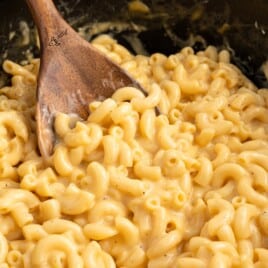
More Recipes ⭐ Bacon Wrapped Corn on the Cob | Honey Butter Skillet Corn | Air Fryer Carrots
You can make this corn in air fryer recipe in only fifteen minutes, with no boiling or grilling needed. It turns out hot, crispy, and full of fresh corn flavor every single time.
This easy side dish works great for dinner, barbecues, or any summer party. Add butter and seasoning for a quick, crowd-pleasing recipe everyone loves.
Ingredients for Air Fryer Corn
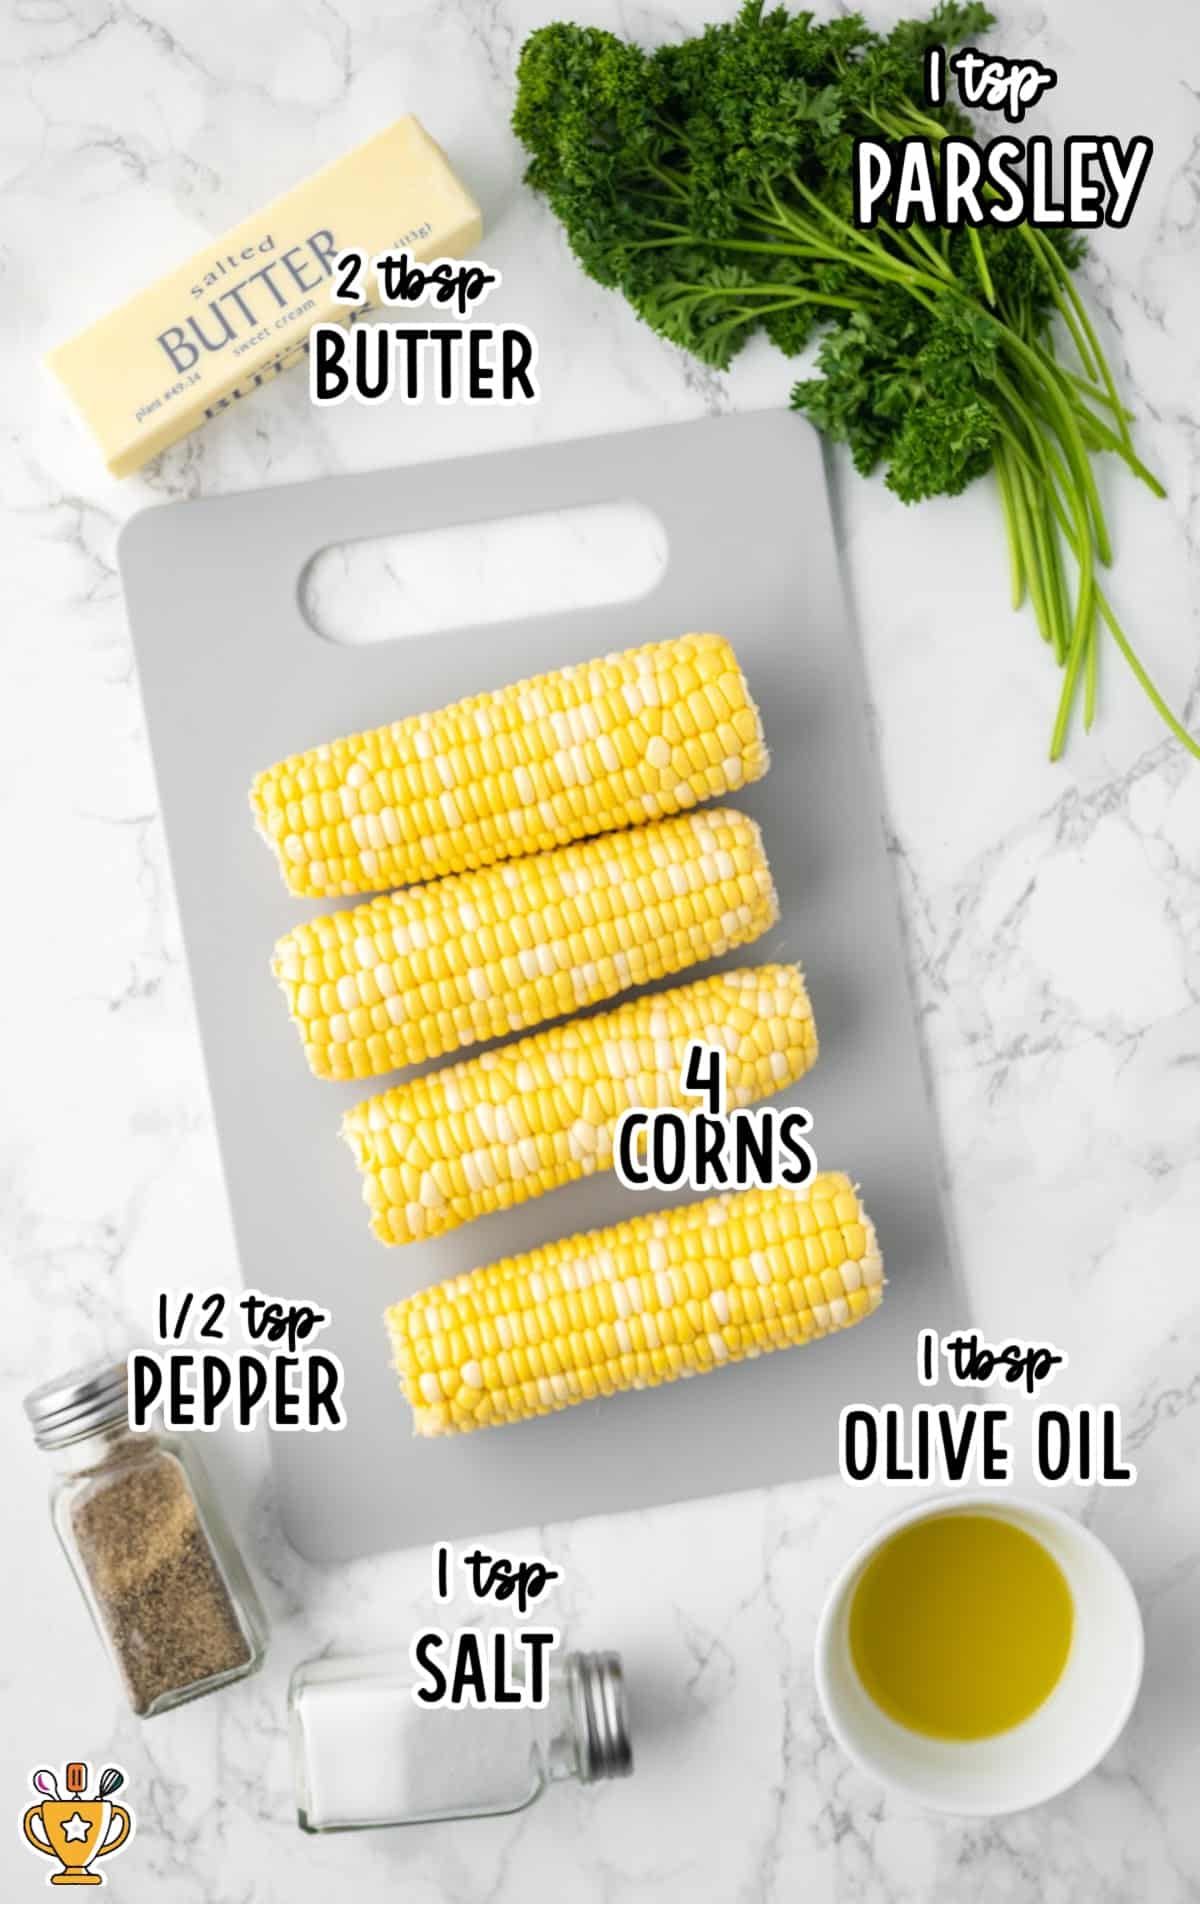
What you'll need to make this air fried corn recipe:
- 1 tablespoon of olive oil
- 1 teaspoon of salt
- ½ teaspoon of black pepper
- 4 ears of corn
- 2 tablespoons of butter, melted
- 1 teaspoon of chopped parsley (for garnish)
Substitutions and Additions
Make your air fried corn on the cob your own by swapping out ingredients and adding personal favorites! These easy changes keep it fun and tasty. Here are some top substitutions and additions:
- Substitute Olive Oil: Use melted butter instead of olive oil for a rich, classic flavor on your corn.
- Add Parmesan Cheese: Sprinkle grated Parmesan after cooking for a salty, cheesy crunch that sticks to the kernels.
- Substitute Seasoning: Try garlic salt or Cajun seasoning instead of salt and pepper for bold, flavorful corn.
- Add Fresh Herbs: Mix in chopped parsley or cilantro after air frying for a fresh pop of color and flavor.
- Add Lime Juice: Squeeze fresh lime over the corn right before serving for a zesty, bright finish.
How to Make Air Fryer Corn on the Cob
Pro Tip
Make sure to check your air fryer manual for cooking time guidelines for your specific model, as times and temperatures vary depending on the type of air fryer you have.
Follow along with our step-by-step instructions and helpful pictures to make the best air fry sweet corn. Use the tips and tricks listed below to get perfect results every time. Let’s get started!
FIRST STEP: Preheat your air fryer to 400°F.
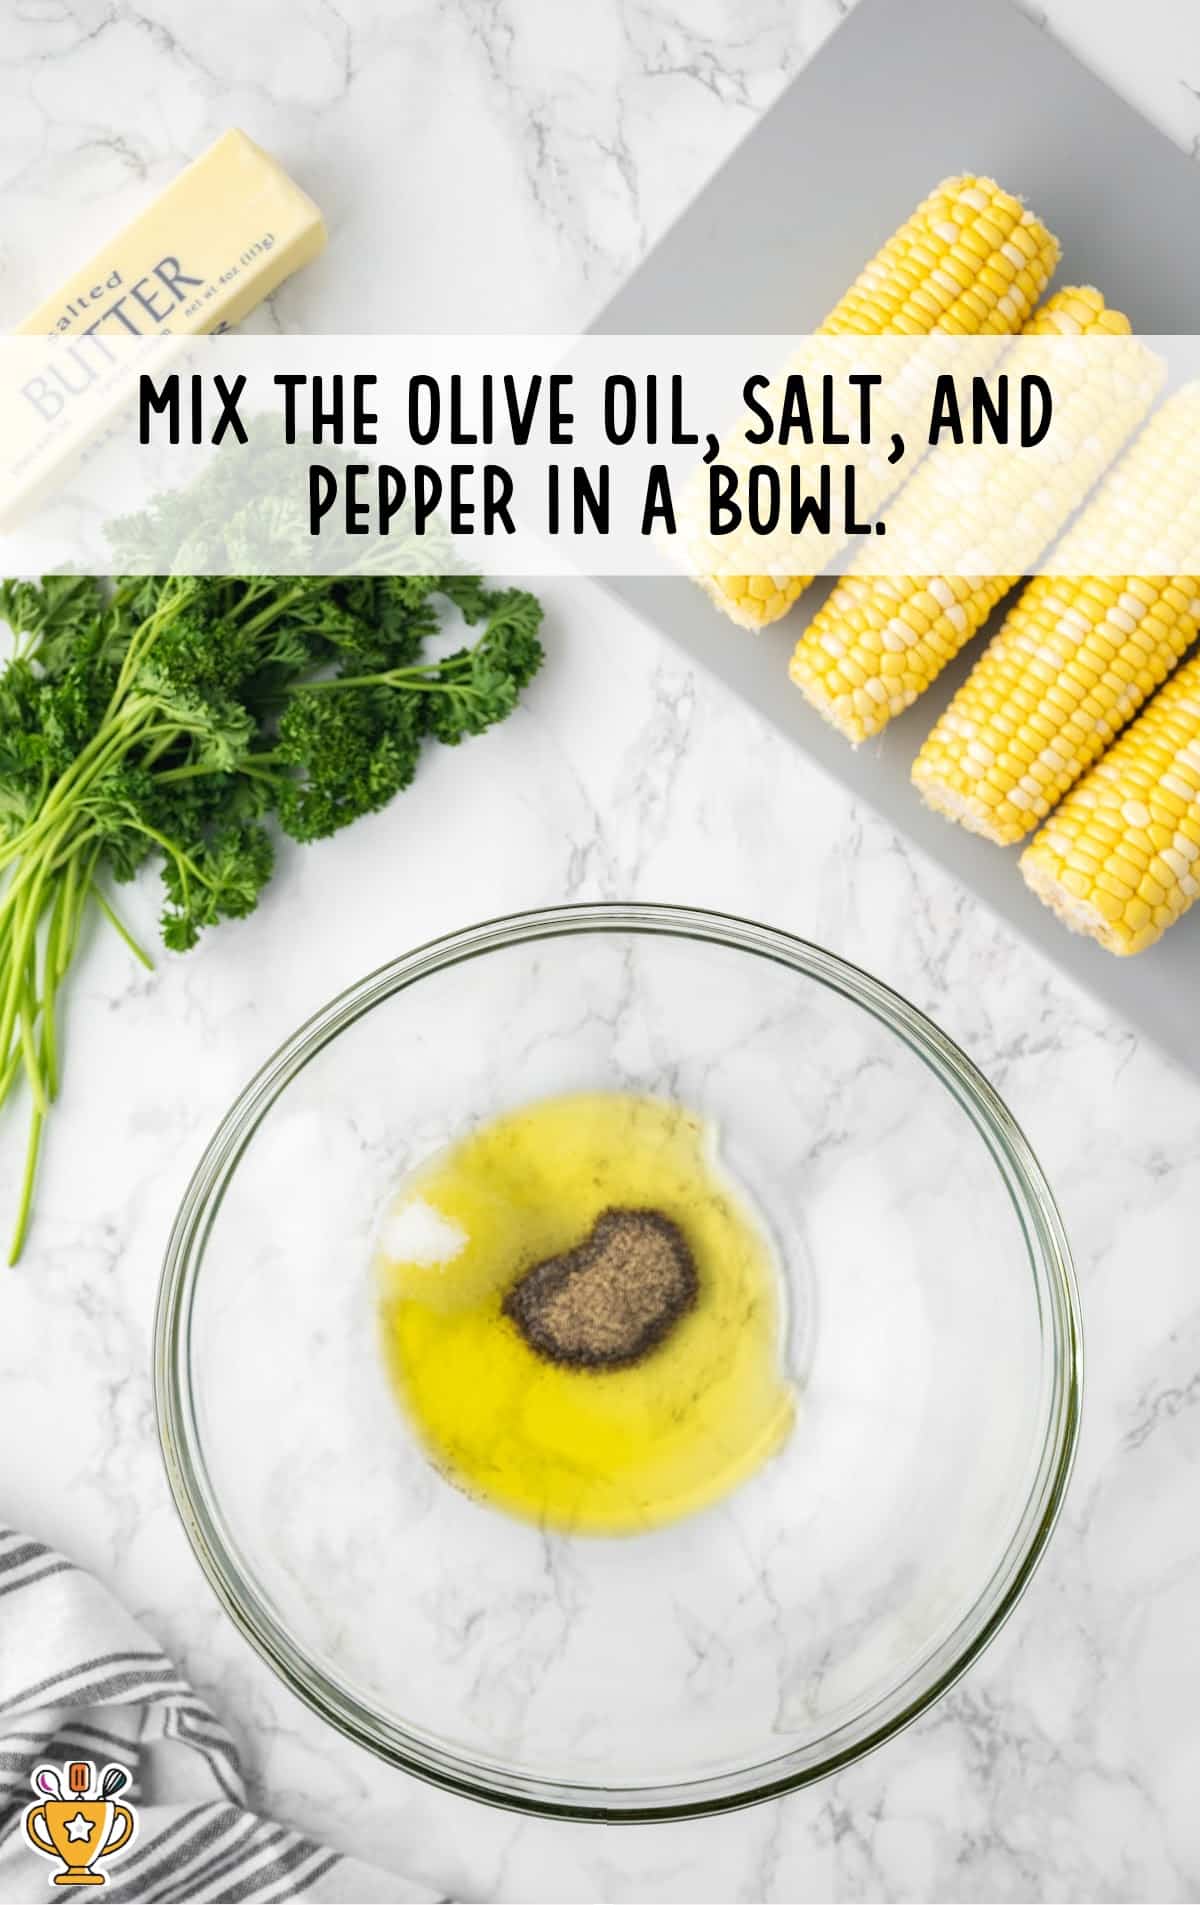
SECOND STEP: Mix the olive oil, salt, and pepper in a small bowl.
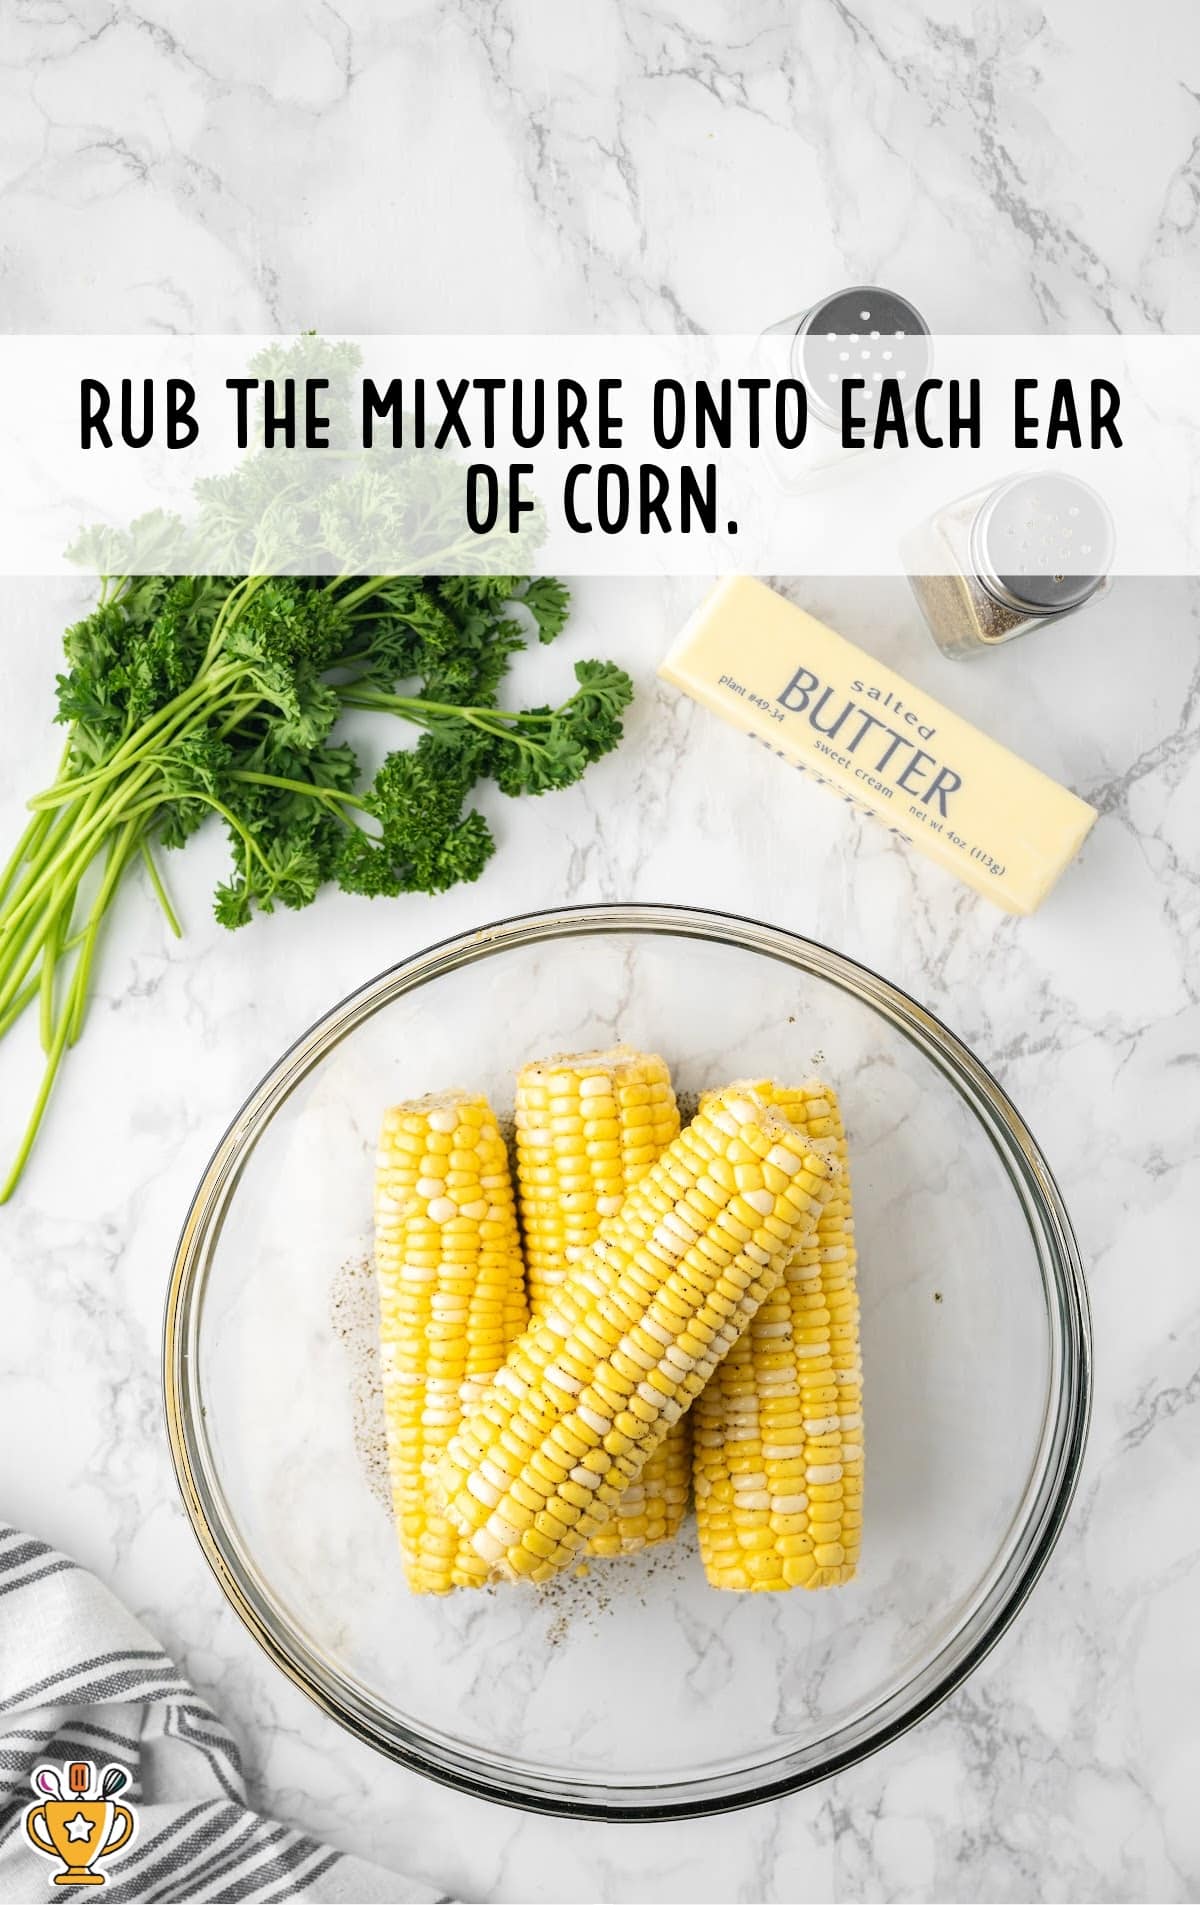
THIRD STEP: Rub the mixture onto each ear of corn.
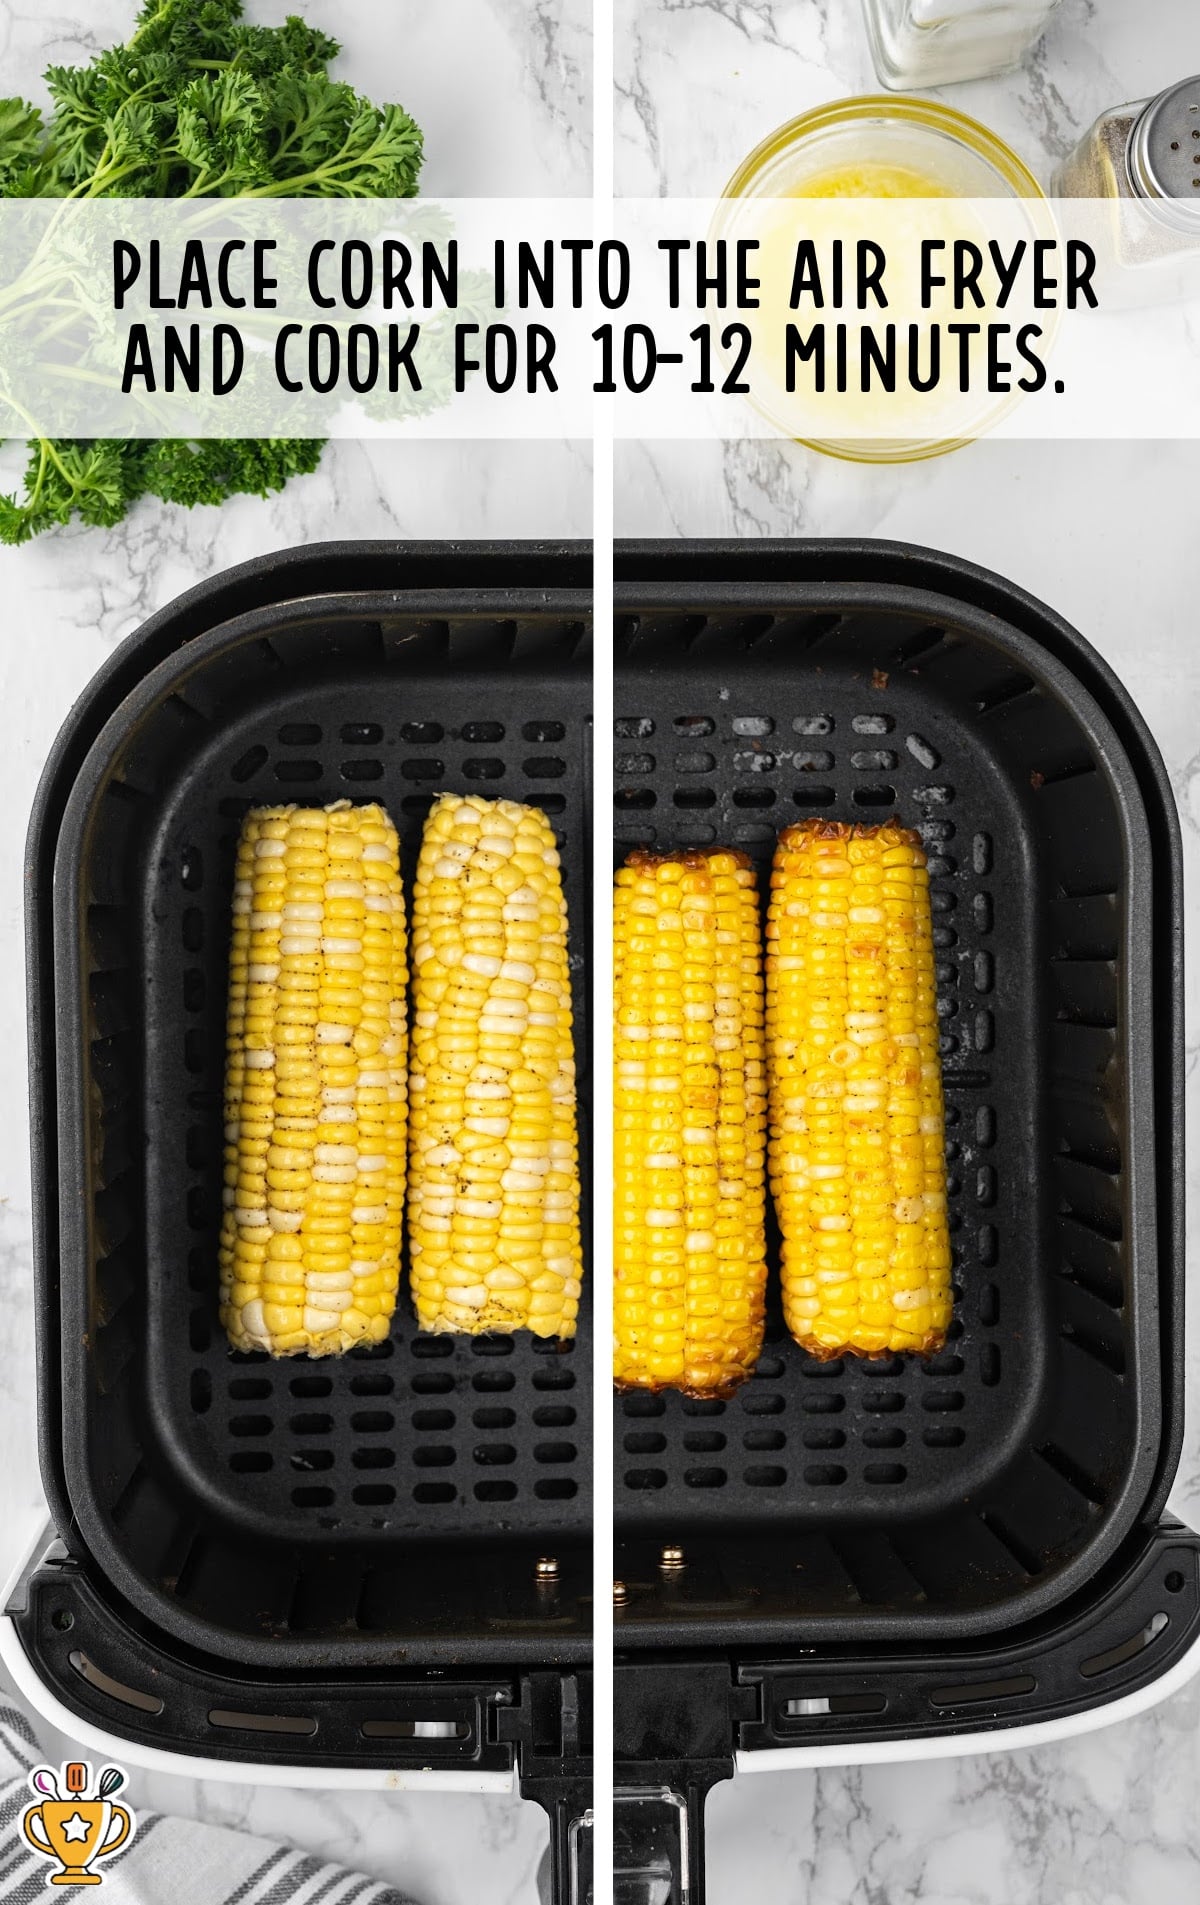
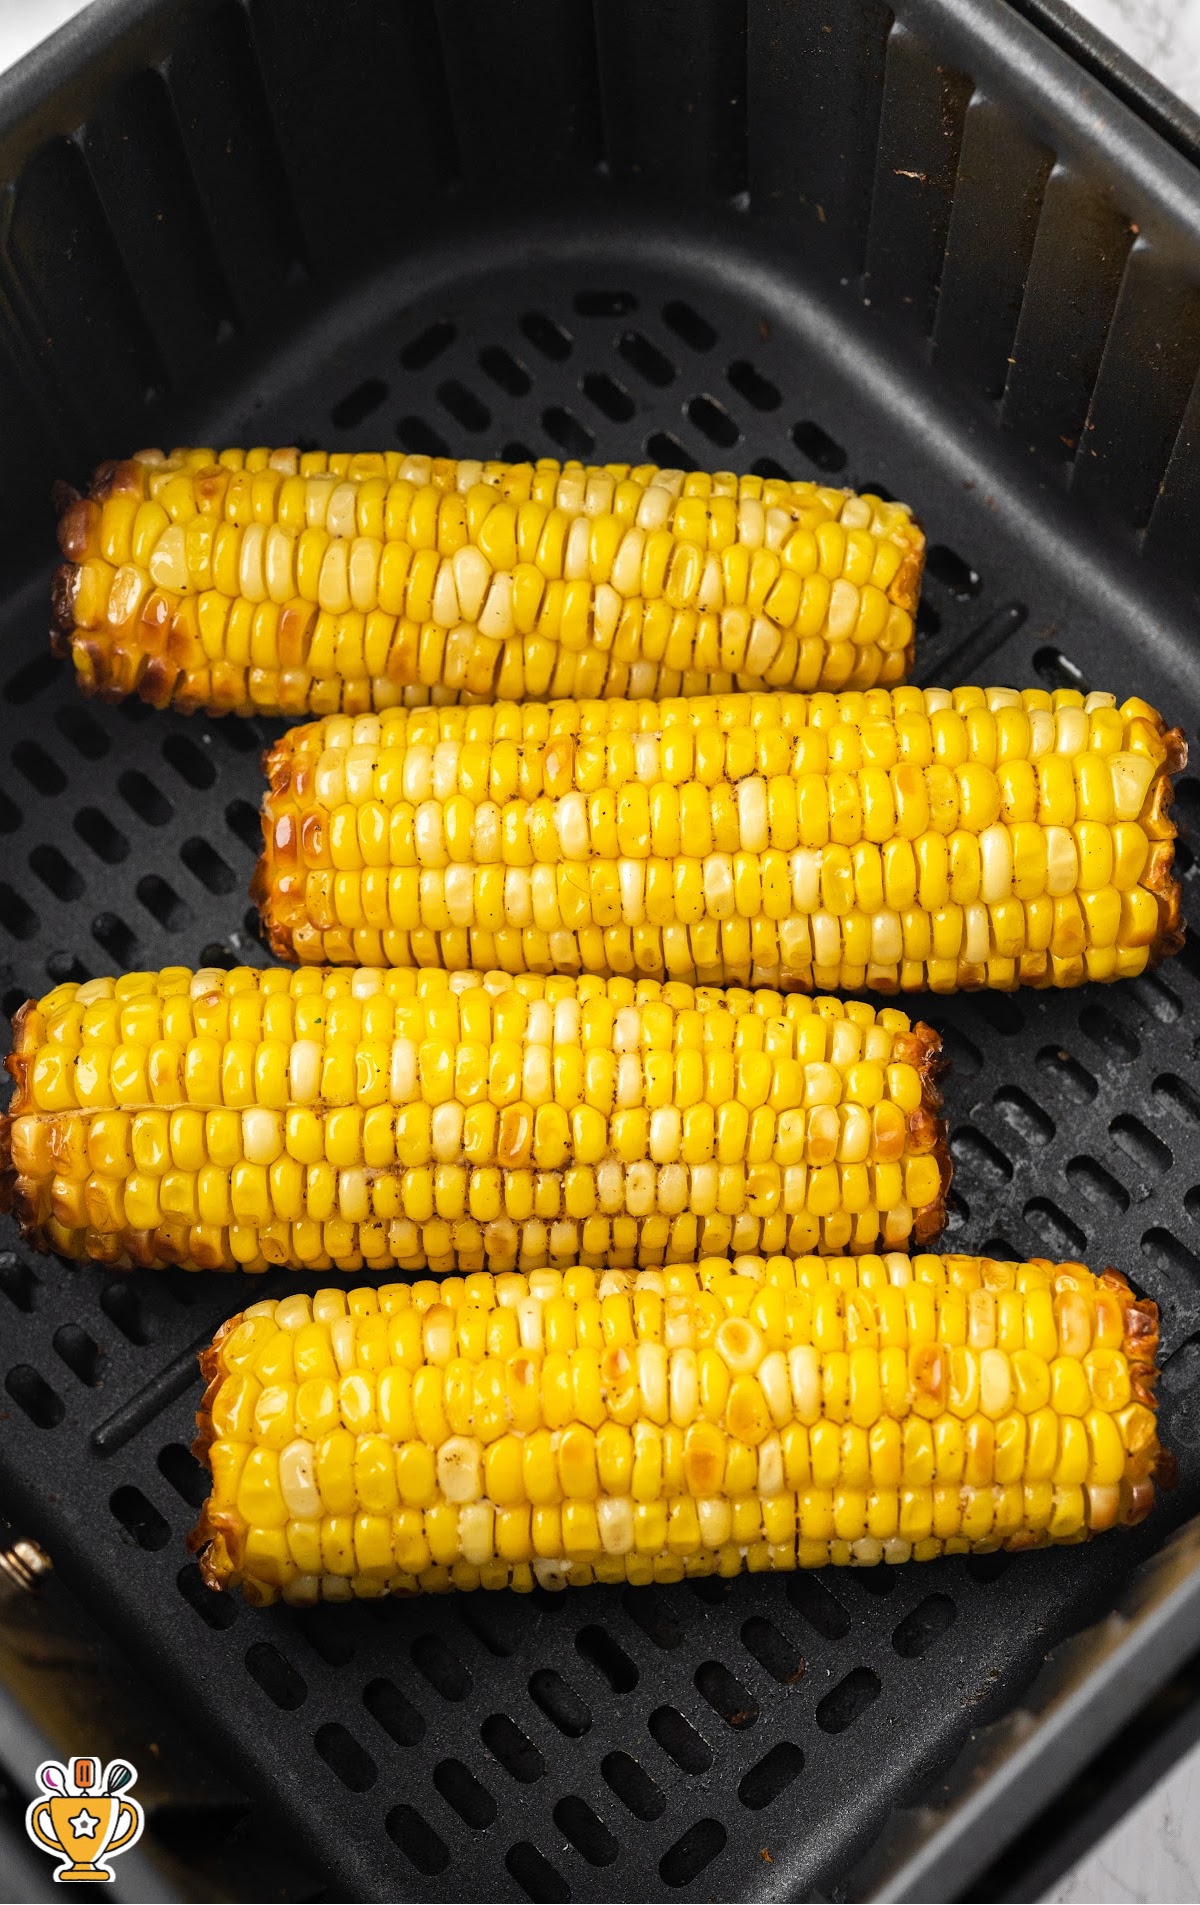
FOURTH STEP: Place corn into the air fryer basket in a single layer and cook for 10-12 minutes, turning halfway through or until the kernels are tender and slightly charred.
If using frozen corn, increase the cooking time to 15-17 minutes.
Pro Tip
Depending on the size of your air fryer and how many cobs of corn you are cooking, you may need to air fry corn in more than one batch.
FIFTH STEP: Melt the butter in the microwave while the corn is cooking.
SIXTH STEP: Brush each ear of cooked corn with the melted butter and sprinkle with a little more salt and pepper if you like.
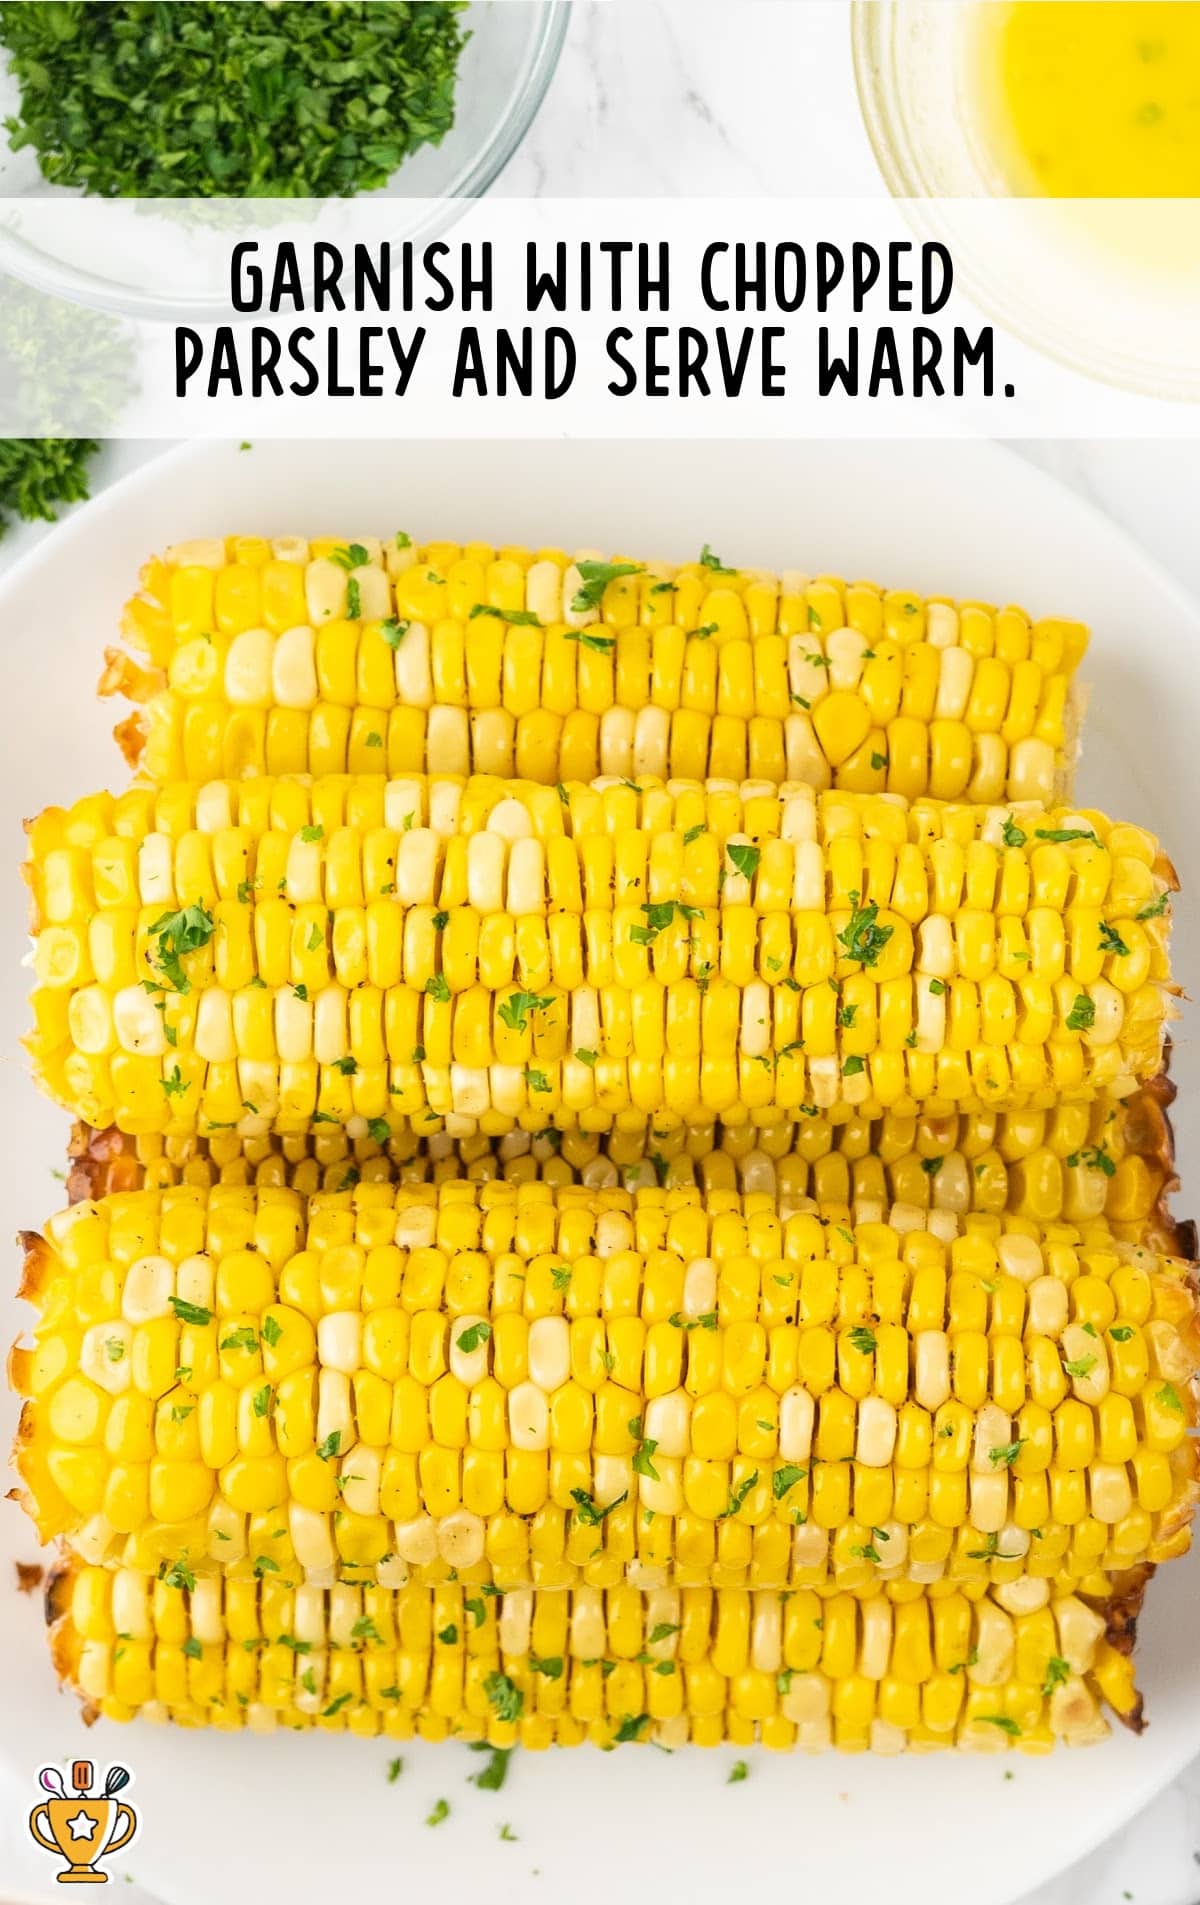
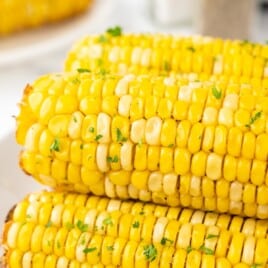
SEVENTH STEP: Garnish with chopped parsley and serve warm.
How To Serve Air Fryer Corn on the Cob
You can serve air fry corn on the cob with all kinds of meals, anytime of year. It’s kid-friendly, party-ready, and always a hit.
- Backyard cookouts and BBQs: This corn makes the perfect side dish for grilled meat and smoky flavors. Serve it with BBQ chicken sliders or apple pie baked beans for a tasty summer meal.
- Weeknight family dinners: Make dinner easy and fast with juicy air fried corn. Pair it with sloppy Joes or Coca Cola chicken drumsticks to keep things simple.
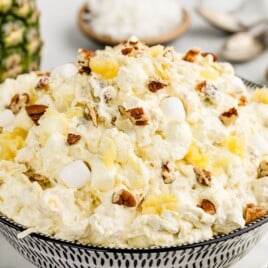
- Potlucks and holiday gatherings: Bring a big batch to your next potluck or holiday dinner. Try it next to kielbasa and potato casserole or a roasted ham.
Why You'll Love This Corn on the Cob Air Fryer Recipe
Air fryer corn on the cob is always a hit with our readers. It’s fast, fresh, and turns out perfectly every single time.
Here are the reasons why this side dish is a favorite:
- Quick and Simple: You only need fifteen minutes, and the corn comes out juicy and golden every time. Just season, pop it in the air fryer, and serve—no boiling or grilling needed. Cleanup stays quick and easy. Corn on the cob fits in at family dinners, cookouts, or potlucks without any fuss.
- Perfect for Any Season: Fresh summer corn or off-season ears both turn out great. The air fryer gives you crisp edges without drying out the kernels.
- Kid-Approved: Even picky eaters go for buttery corn with crispy edges.
- Easy to Personalize: Add seasoning, cheese, or herbs to make each cob your own.
We know your crew will love this air fryer favorite just as much as our readers do!
Recipe FAQ
What is the easiest way to shuck corn?
Cut off the stalk end just above the first row of kernels using a sharp knife. Microwave 3 to 4 ears for 30 to 60 seconds. Hold each ear by the top and shake until the cob slips out, leaving the husk and silk behind.
Can I cook frozen corn on the cob in the air fryer?
Yes, you can air fry frozen corn on the cob. Just add 2 to 3 extra minutes to the cooking time.
Can I stack corn on the cob in the air fryer?
No, you shouldn’t stack corn in the air fryer. The hot air needs to circulate for even cooking.
Is it okay to use foil in the air fryer for this recipe?
Yes, you can use foil in the air fryer for corn, but leave the top open for better browning.
How do I know when air fryer corn on the cob is ready?
Your corn is ready when the kernels look bright and roasted and feel tender when poked with a fork.
Can I season the corn before air frying?
Yes, you can season corn before air frying. Add salt, pepper, or any spice blend after coating it with oil.
Serving FAQ
What’s the best way to serve air fryer corn on the cob at a cookout?
Serve the corn hot off the air fryer with melted butter and seasoning. Stack it on a tray with napkins nearby. Everyone can grab a cob and dress it how they like. Cook several cobs in batches ahead of time for a large group. Wrap the cobs in foil to keep them warm.
Should I cut the corn cobs before serving to kids?
It's not necessary, but cutting each cob in half or into thirds for smaller portions can be easier and safer for little hands.
Storage FAQ
After enjoying your air fryer corn on the cob, you might want to prep some ahead or save a few leftovers.
How should I keep air fryer corn in the fridge? Store leftover corn in an airtight container in the fridge. It stays fresh for three to four days.
Can I freeze corn on the cob? Let the corn cool fully, then wrap each cob in foil and place it in a freezer-safe bag. Freeze for up to three months.
What's the best way to reheat air fryer corn on the cob? For best results, thaw the corn in the fridge overnight. Reheat in the air fryer for about five minutes until warm and crisp. You can also microwave frozen corn. Wrap it in a damp paper towel and heat for two to three minutes, turning once.

Air Fryer Corn on the Cob
Air fryer corn on the cob comes out juicy, crisp, and full of flavor in just fifteen minutes. Skip the boiling water and make this easy side dish anytime.
Did you try this recipe?Let our readers know how it turned out by Leaving a Review!
Ingredients
- 1 tablespoon olive oil
- 1 teaspoon salt
- ½ teaspoon black pepper
- 4 ears of corn
- 2 tablespoons butter (melted)
- 1 teaspoon chopped parsley (for garnish)
DIRECTIONS
- Preheat your air fryer to 400°F.
- Mix the olive oil, salt, and pepper in a small bowl.
- Rub the mixture onto each ear of corn.
- Place the ears of corn into the air fryer basket and cook for 10 to 12 minutes, turning halfway through, or until the kernels are tender and slightly charred. If using frozen corn, increase the cooking time to 15 to 17 minutes.
- While the corn is cooking, melt the butter in the microwave.
- Once the corn is cooked, brush each ear with the melted butter and sprinkle with a little more salt and pepper if you like.
- Garnish with chopped parsley and serve warm.
Notes
- Make sure to check your air fryer manual for cooking time guidelines for your specific model, as times and temperatures vary depending on the type of air fryer you have.
- Depending on the size of your air fryer and how many cobs of corn you are cooking, you may need to air fry corn in more than one batch.
Nutrition
Calories: 159kcal | Carbohydrates: 17g | Protein: 3g | Fat: 10g | Saturated Fat: 4g | Polyunsaturated Fat: 1g | Monounsaturated Fat: 4g | Trans Fat: 0.2g | Cholesterol: 15mg | Sodium: 640mg | Potassium: 248mg | Fiber: 2g | Sugar: 6g | Vitamin A: 347IU | Vitamin C: 6mg | Calcium: 5mg | Iron: 1mg
HAVE YOU TRIED THIS RECIPE?Follow me on Pinterest @bestblogrecipes
Comments
Paula G. says
Took less than 15 minutes from start to finish. And I liked how it tasted. glad to have the recipe now