
Last updated on
Butterfinger Cupcakes

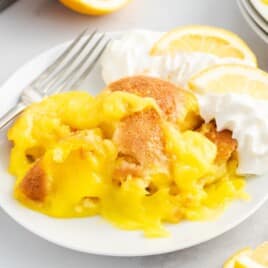
These Butterfinger Cupcakes combine moist chocolate cake with creamy peanut butter frosting and crunchy Butterfinger pieces for a fun, delicious treat. Perfect for parties or special occasions, they’re easy to make and always a hit!
Jump to RecipeTable of Contents

Whip up these irresistible Butterfinger Cupcakes for a fun and delicious treat! Moist chocolate cupcakes topped with creamy peanut butter frosting and crunchy Butterfinger pieces make every bite unforgettable. They’re perfect for parties, holidays, or a sweet family dessert, and ready in under an hour. Get ready to impress with this simple yet decadent recipe!
This recipe is super easy to make, with step-by-step photos and directions to guide you. We’ve included pro tips and tricks to help you along the way, plus answers to the most frequently asked questions for foolproof results!

More Recipes ⭐ Rolo Fudge | Cream Cheese Frosting | Gender Reveal Cupcakes
These Butterfinger Cupcakes are ready in under an hour, making them perfect for any party or special occasion. The moist chocolate base and creamy peanut butter frosting combine perfectly with the crunchy Butterfinger pieces for an unforgettable treat. Whether you’re serving them for a family dinner or bringing them to a potluck, these cupcakes are sure to be a hit. Make this fun and easy recipe at home to wow everyone with its delicious flavor and simple steps!
Ingredients

What you'll need to make these Butterfinger Cupcakes:
For The Brownie Cupcake Batter:
- ½ cup + 2 tablespoons of salted sweet cream butter
- 4 ounces of chopped semi-sweet chocolate baking bar
- ½ cup of granulated sugar
- ½ cup of light brown sugar, tightly packed
- 2 large eggs, room temperature
- 2 teaspoons of pure vanilla extract
- ½ cup + 2 tablespoons of all-purpose flour, spooned and leveled
- 1¼ cups of milk chocolate chips
For The Peanut Butter Buttercream Frosting
- 1 cup of creamy peanut butter (I used Reese’s creamy peanut butter)
- ⅔ cup of salted sweet cream butter, softened
- 1 teaspoon of pure vanilla extract
- 2 cups of powdered sugar
- 3 tablespoons of heavy cream
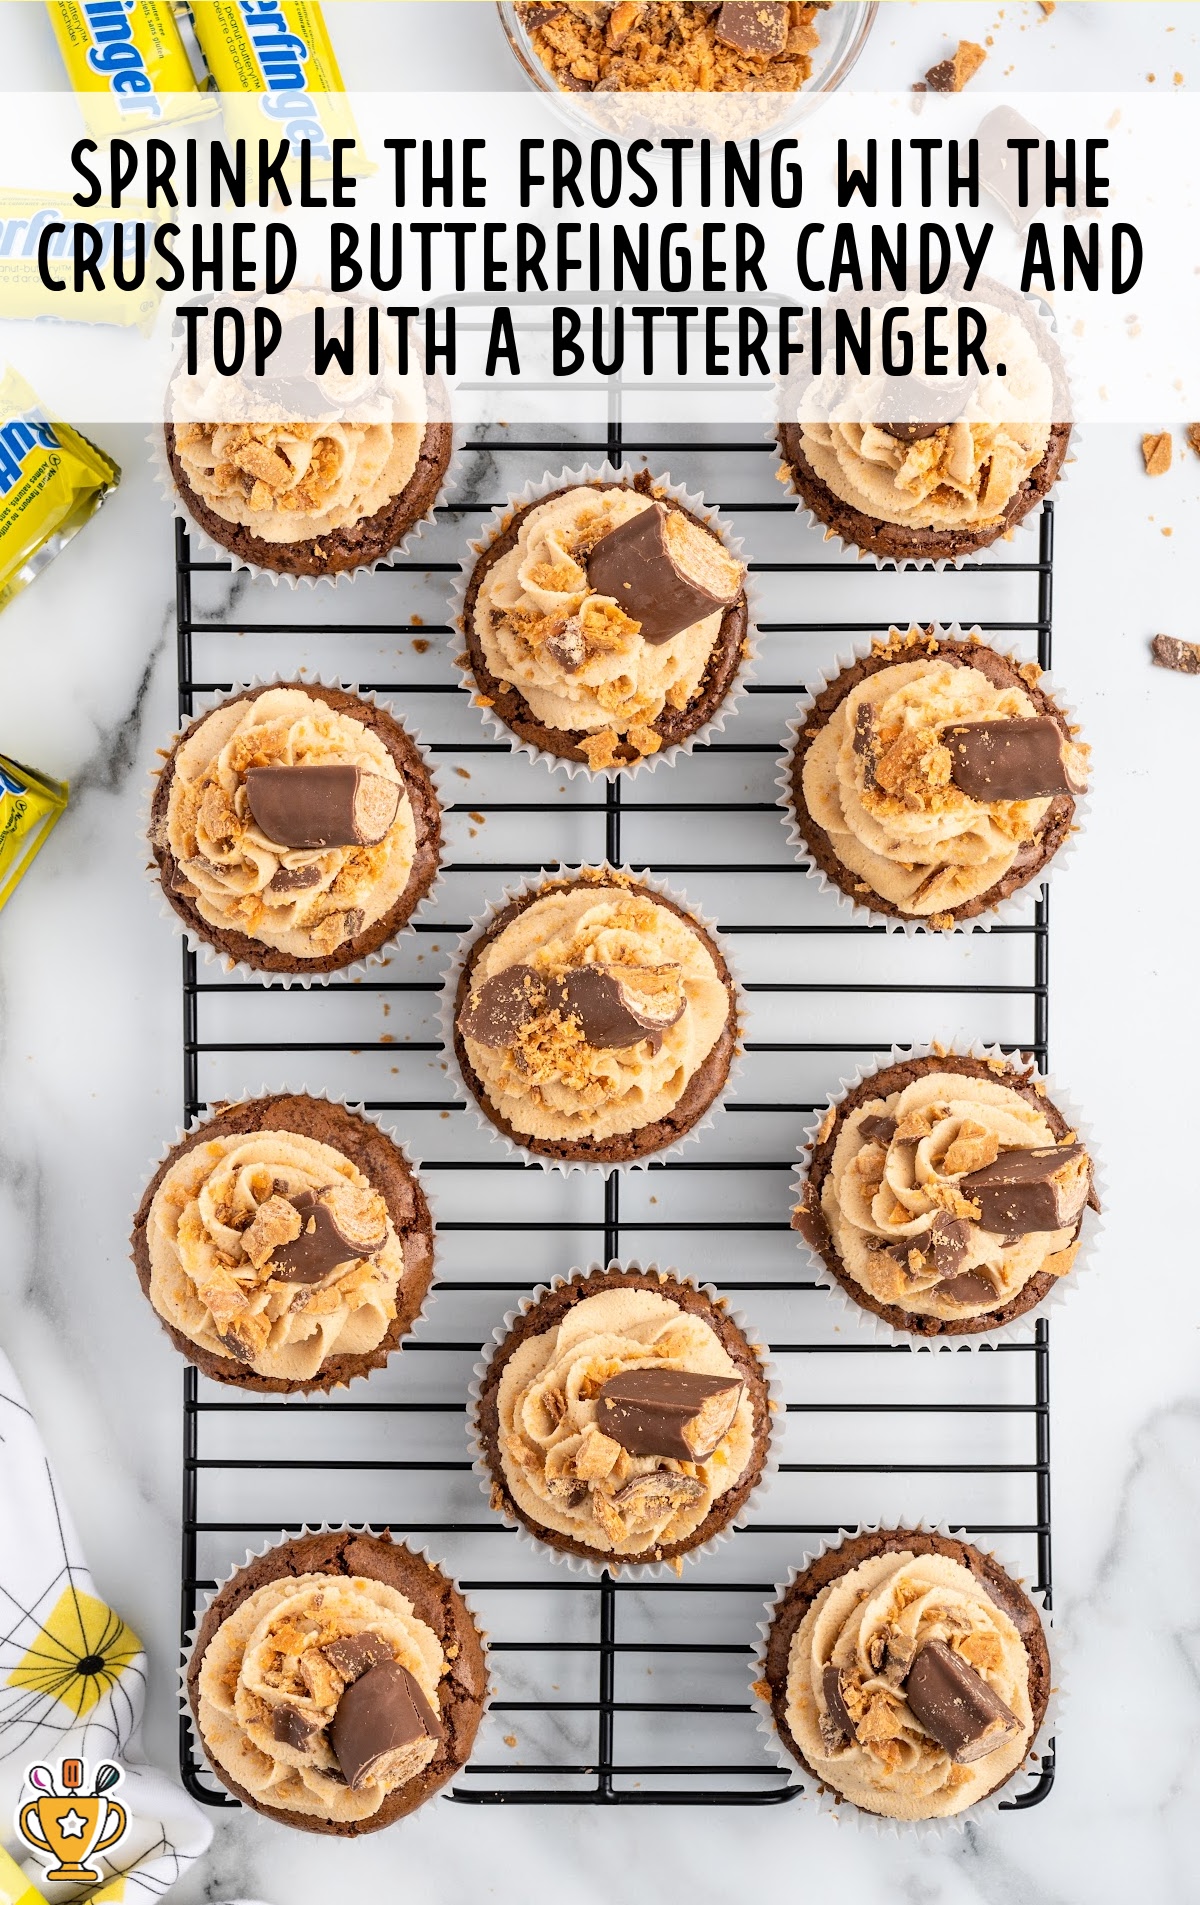
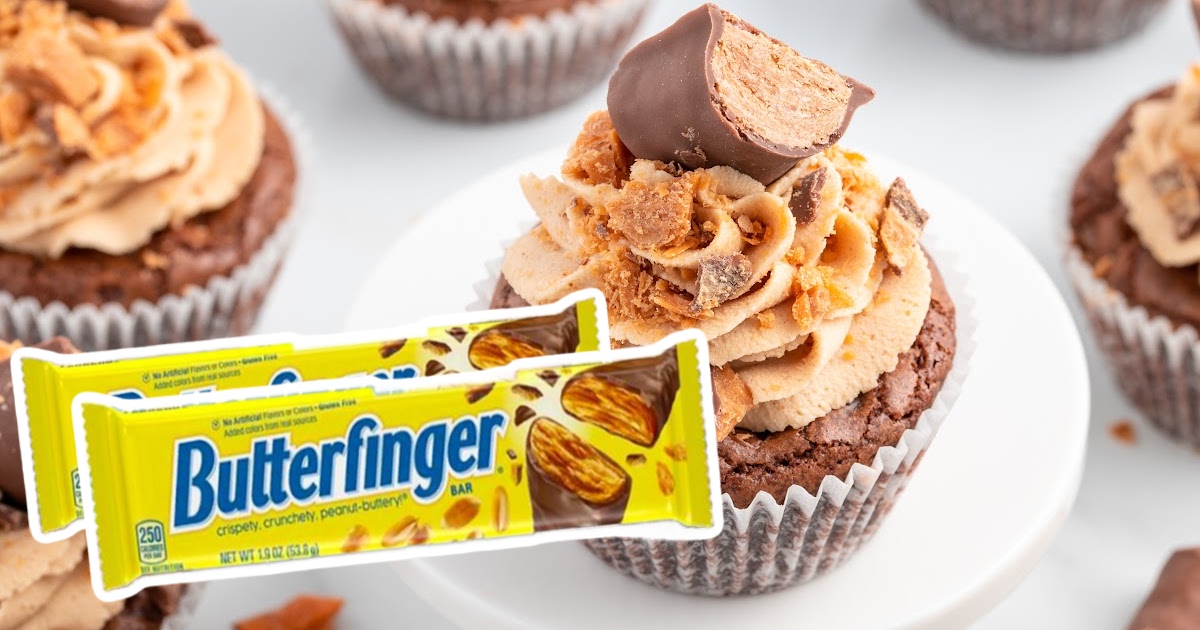
- ½ cup of crushed Butterfinger candy bars (garnish)
- 6 halved fun-size Butterfinger candies (garnish)
Pro Tip
It’s easiest to crush the Butterfinger bars in a food processor, but if you don’t have one available, you can also crush them in a Ziploc bag with a rolling pin.
Substitutions and Additions
Personalize your Butterfinger Cupcake recipe by swapping out ingredients and adding delicious extras! These simple changes can make your cupcakes uniquely yours. Here are some top substitutions and additions:
Substitute Butterfinger: Use crushed Reese’s Pieces or chopped Snickers for a fun twist on your Butterfinger Cupcakes.
Substitute Peanut Butter Frosting: Try cream cheese frosting for a tangy flavor or Nutella frosting for a rich, chocolaty spin.
Add Chocolate Chips: Fold mini chocolate chips into the batter for extra chocolaty goodness in every bite.
These swaps will help you create a unique and delicious version of this candy bar cupcake recipe!
How to Make Butterfinger Cupcakes
Follow along with our pictures, step-by-step instructions, and helpful tips and tricks to make these candy bar cupcakes. Let’s get started on this delicious recipe and create a dessert everyone will love!
FIRST STEP: Preheat the oven to 350°F. Line a standard muffin tin with cupcake liners. Set it aside.
SECOND STEP: Add the butter and chopped chocolate baking bar to a microwave-safe bowl.
Heat in 30-second intervals, stirring well after each interval, until the butter and chocolate are melted and smooth.
THIRD STEP: Stir in the granulated and light brown sugar.
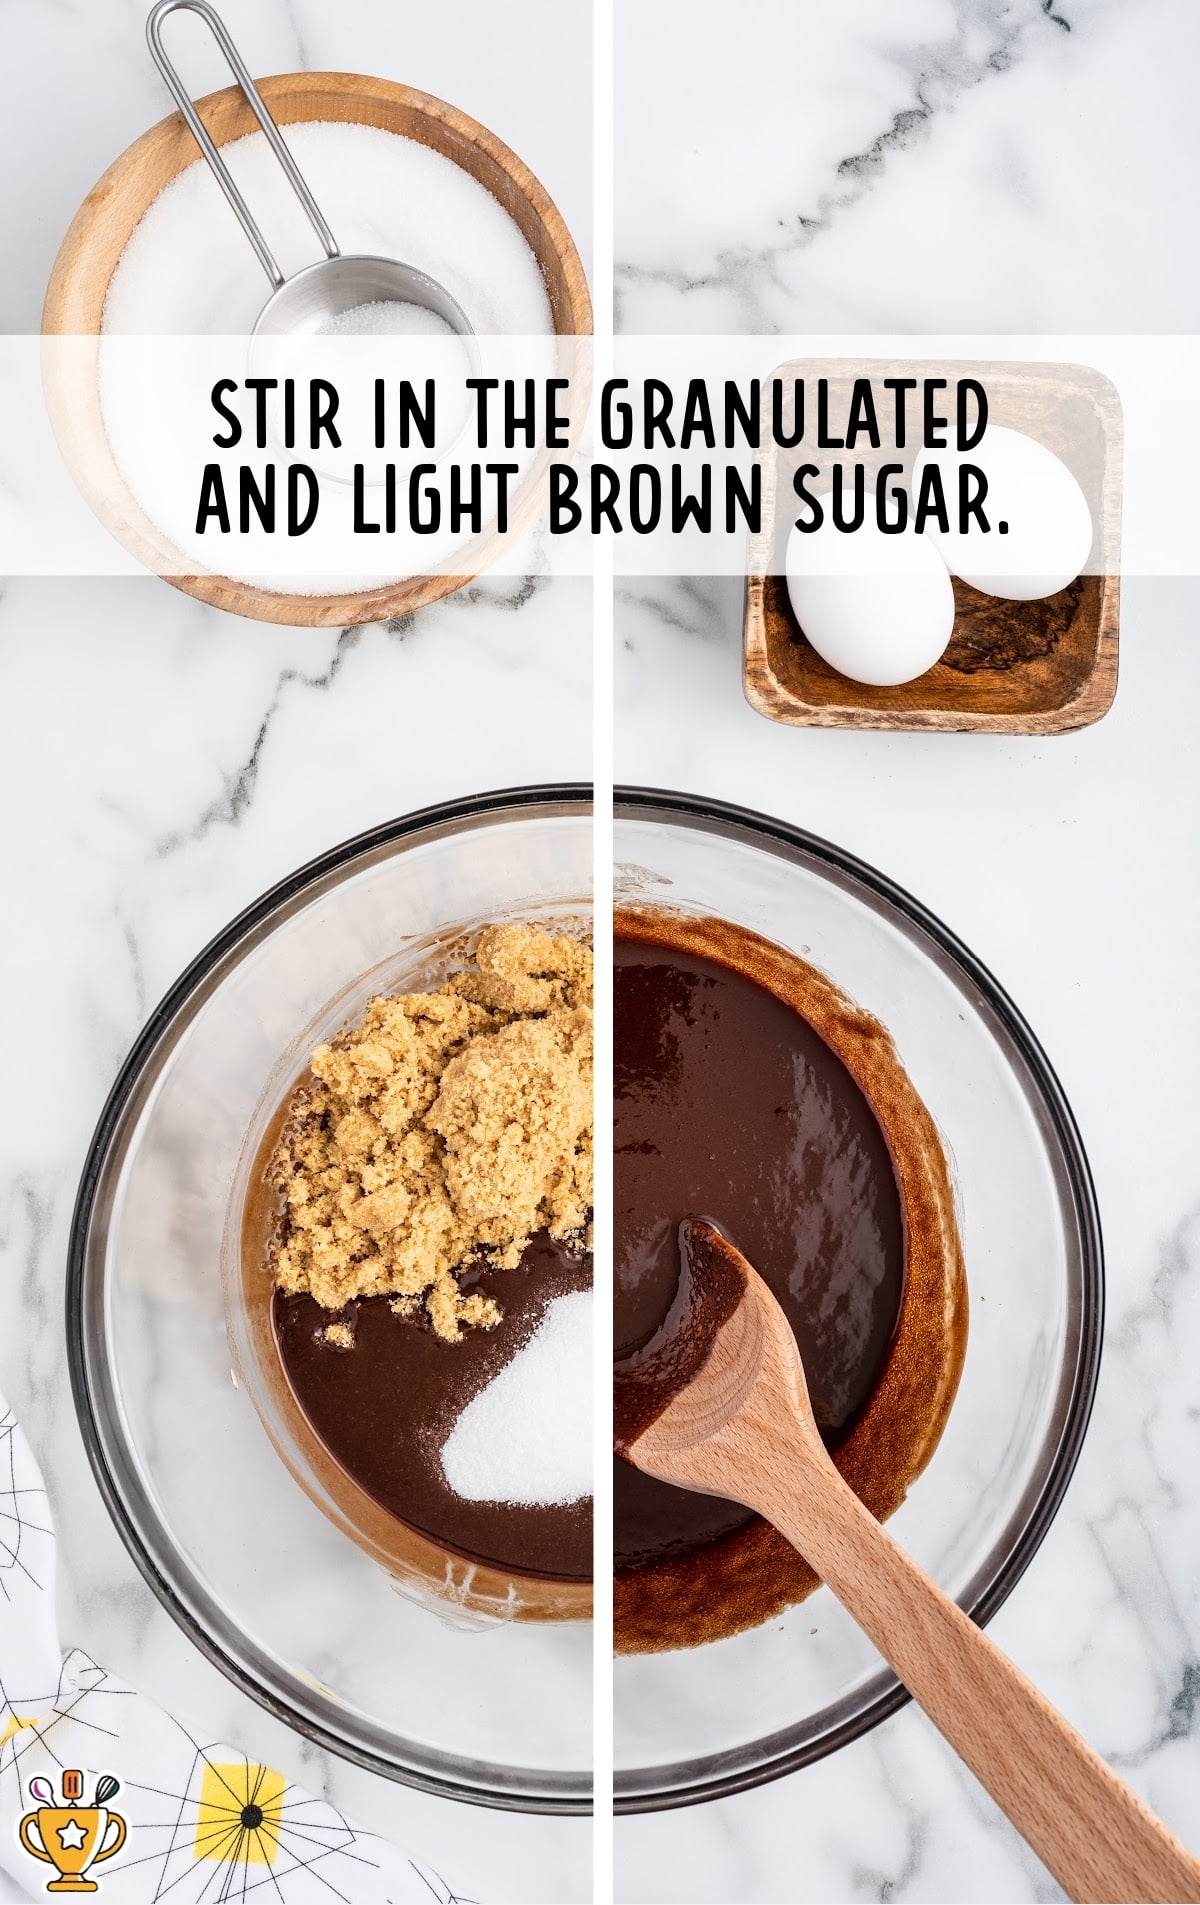
FOURTH STEP: Stir in the eggs, mixing well after each egg until well incorporated.
FIFTH STEP: Stir in the vanilla extract.
SIXTH STEP: Add the flour and stir just until combined.
Pro Tip
Be sure not to over mix the cupcake batter. It can make the texture of the cupcakes tough.
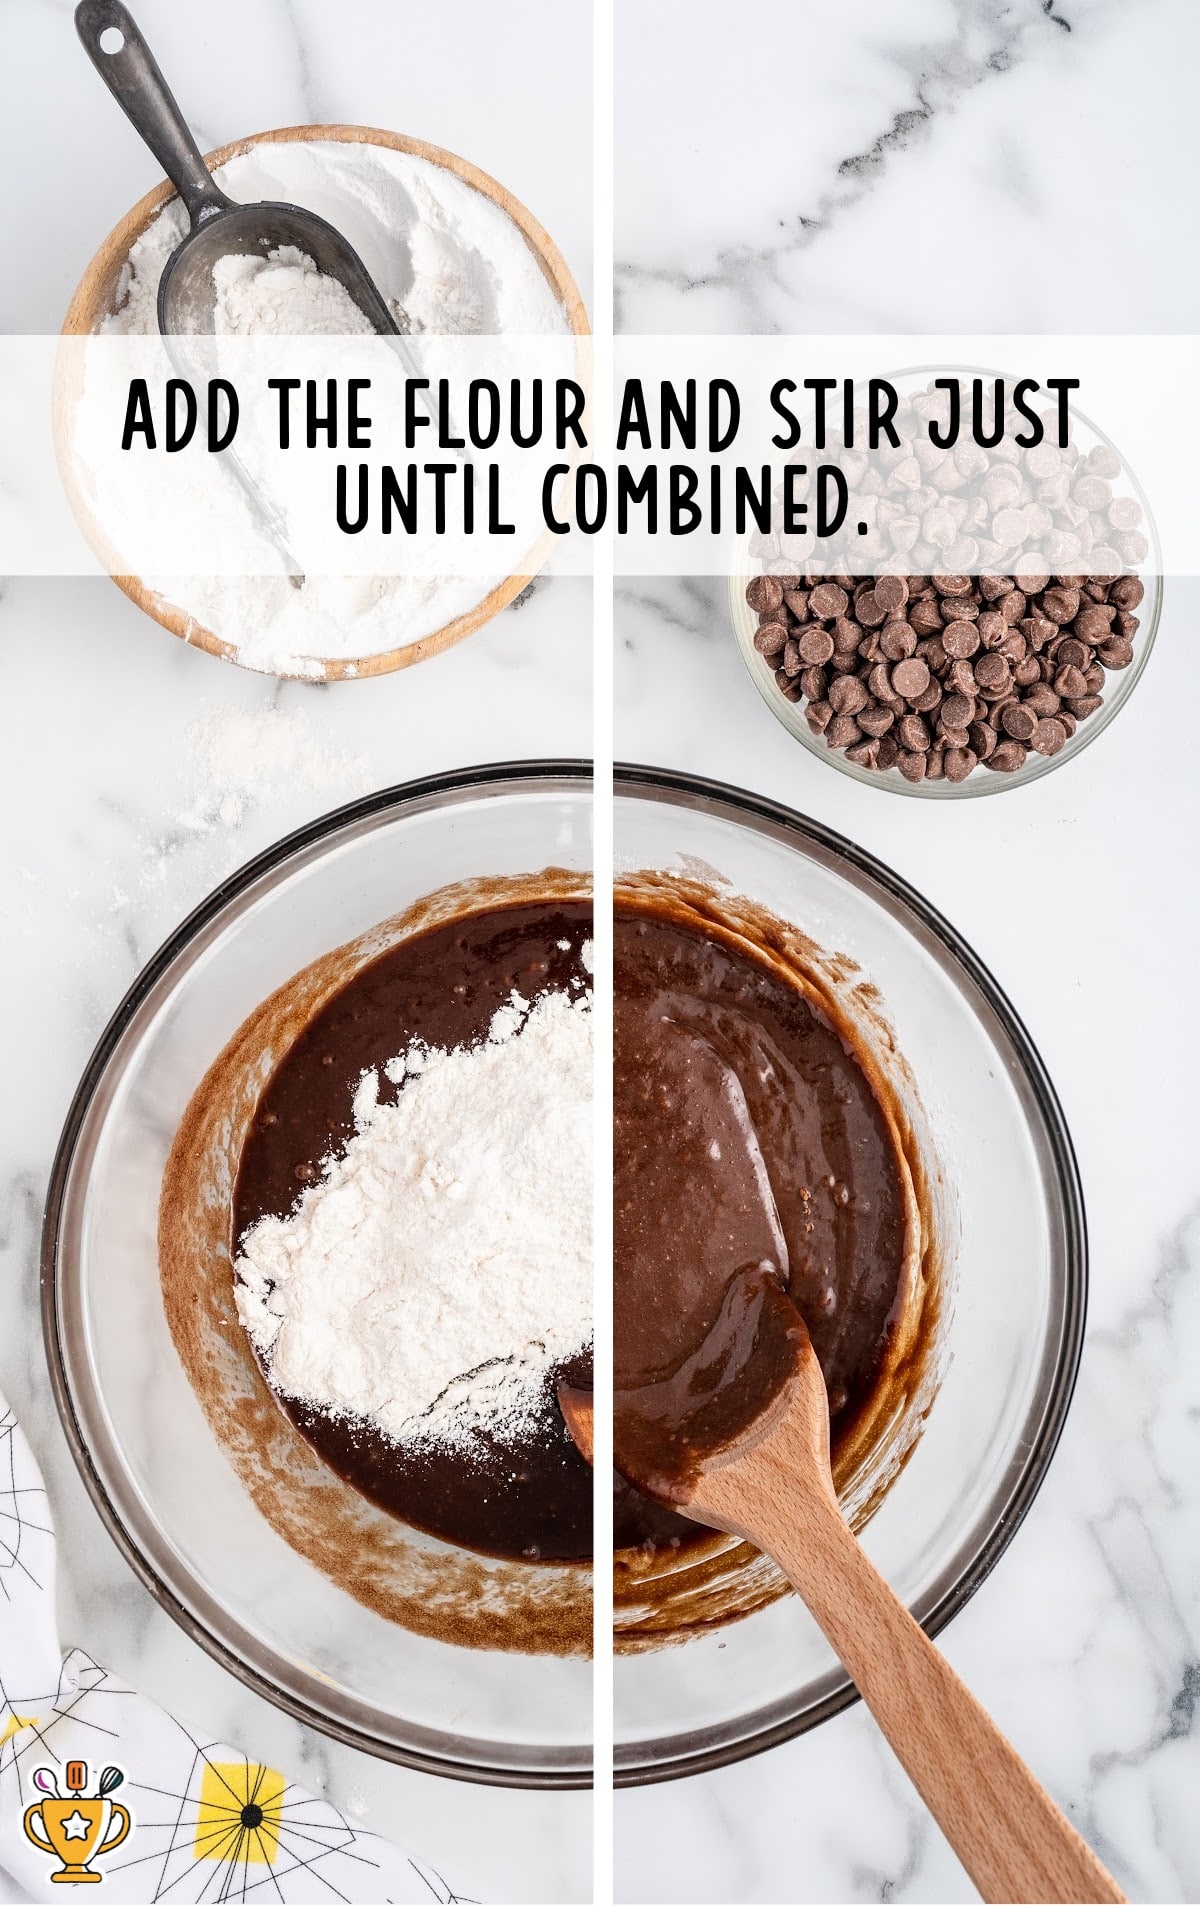
SEVENTH STEP: Fold in the chocolate chips. Divide batter evenly between the lined muffin cups.
Bake for 22 to 25 minutes, or until a toothpick inserted comes away with a few moist crumbs. Allow the cupcakes to cool completely.
Pro Tip
Oven temperatures vary and may need to be recalibrated periodically to ensure they are accurate. Make sure to check your cupcakes at the lower end of the recommended baking time.

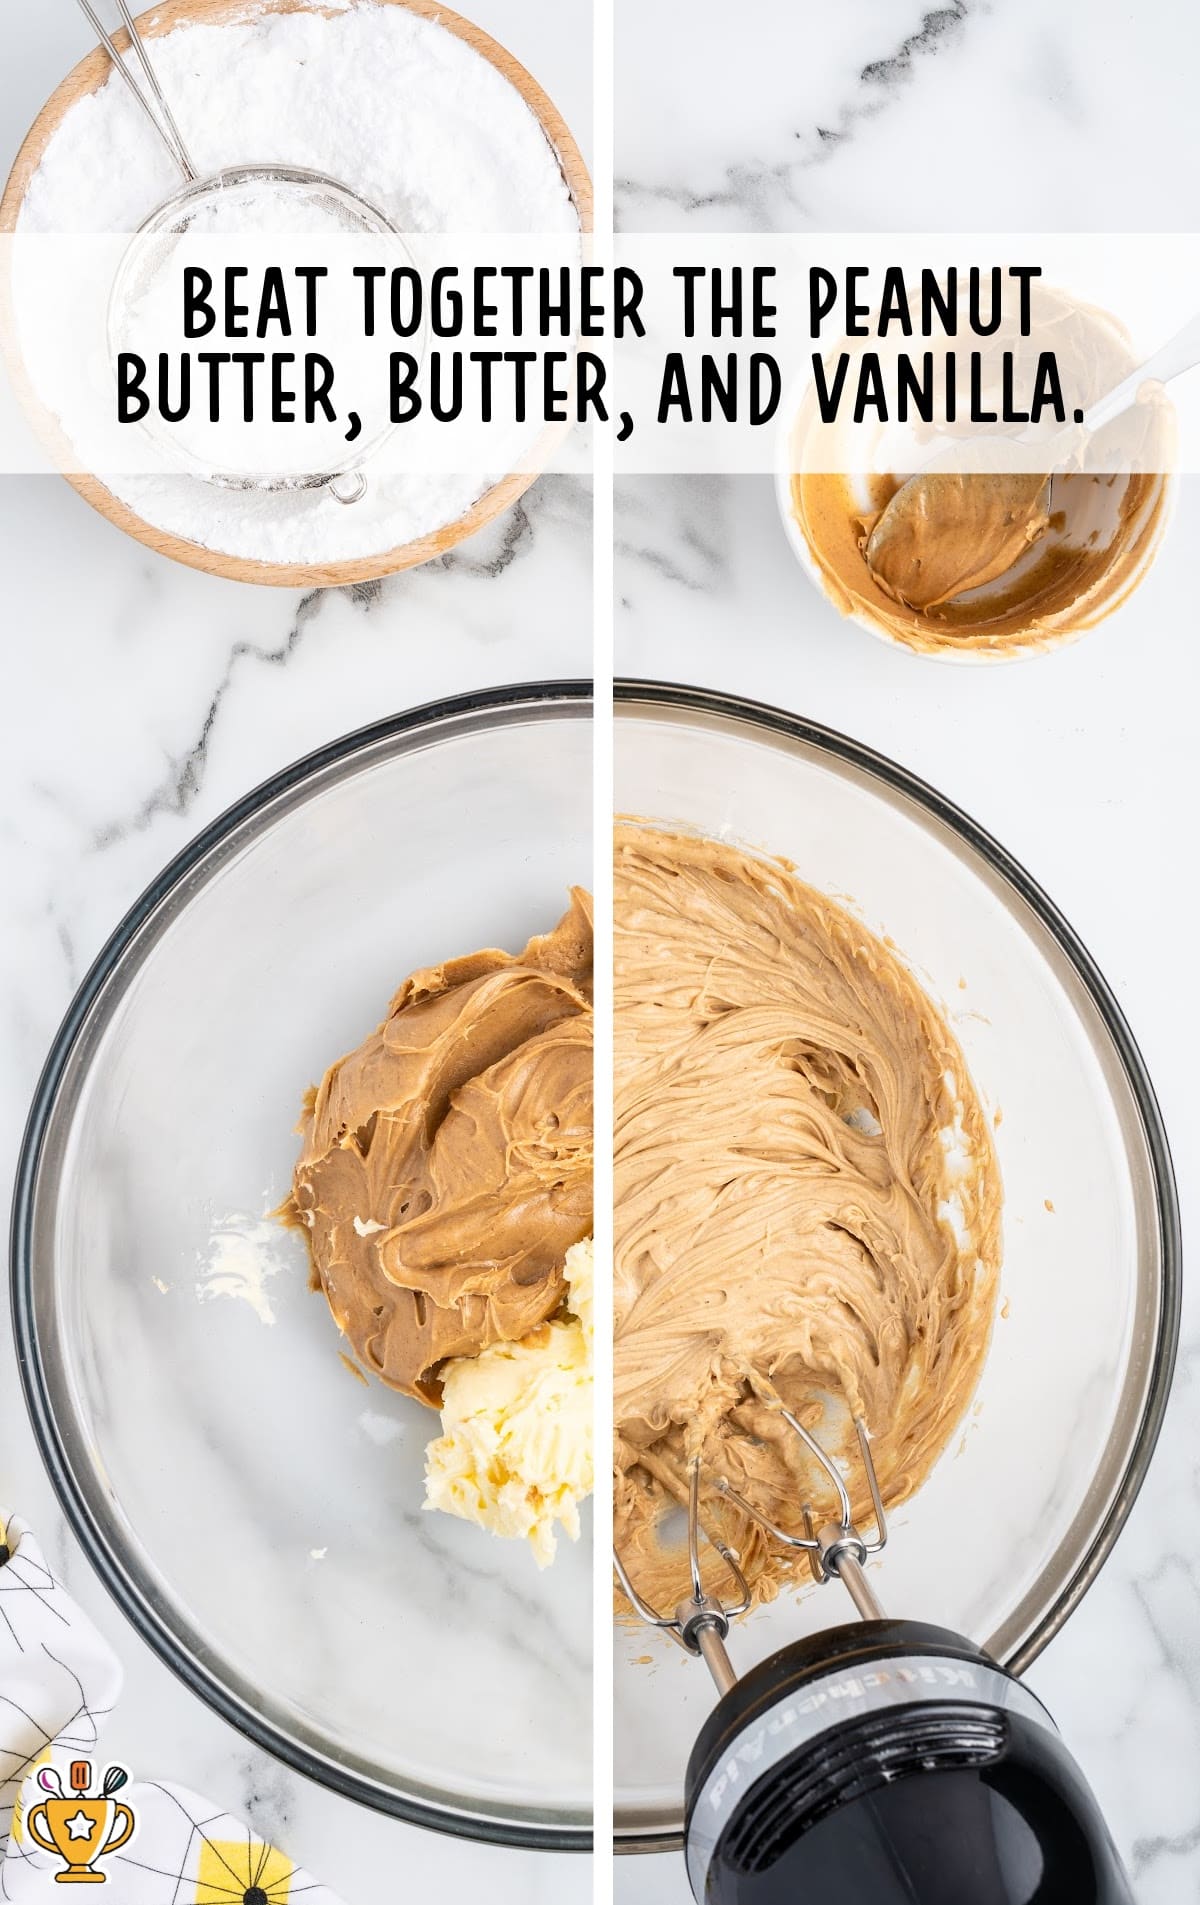
EIGHTH STEP: Using a stand mixer or a medium bowl and a handheld mixer on medium-high speed, beat together the creamy peanut butter, softened butter, and vanilla extract for 1 to 1½ minutes until smooth.
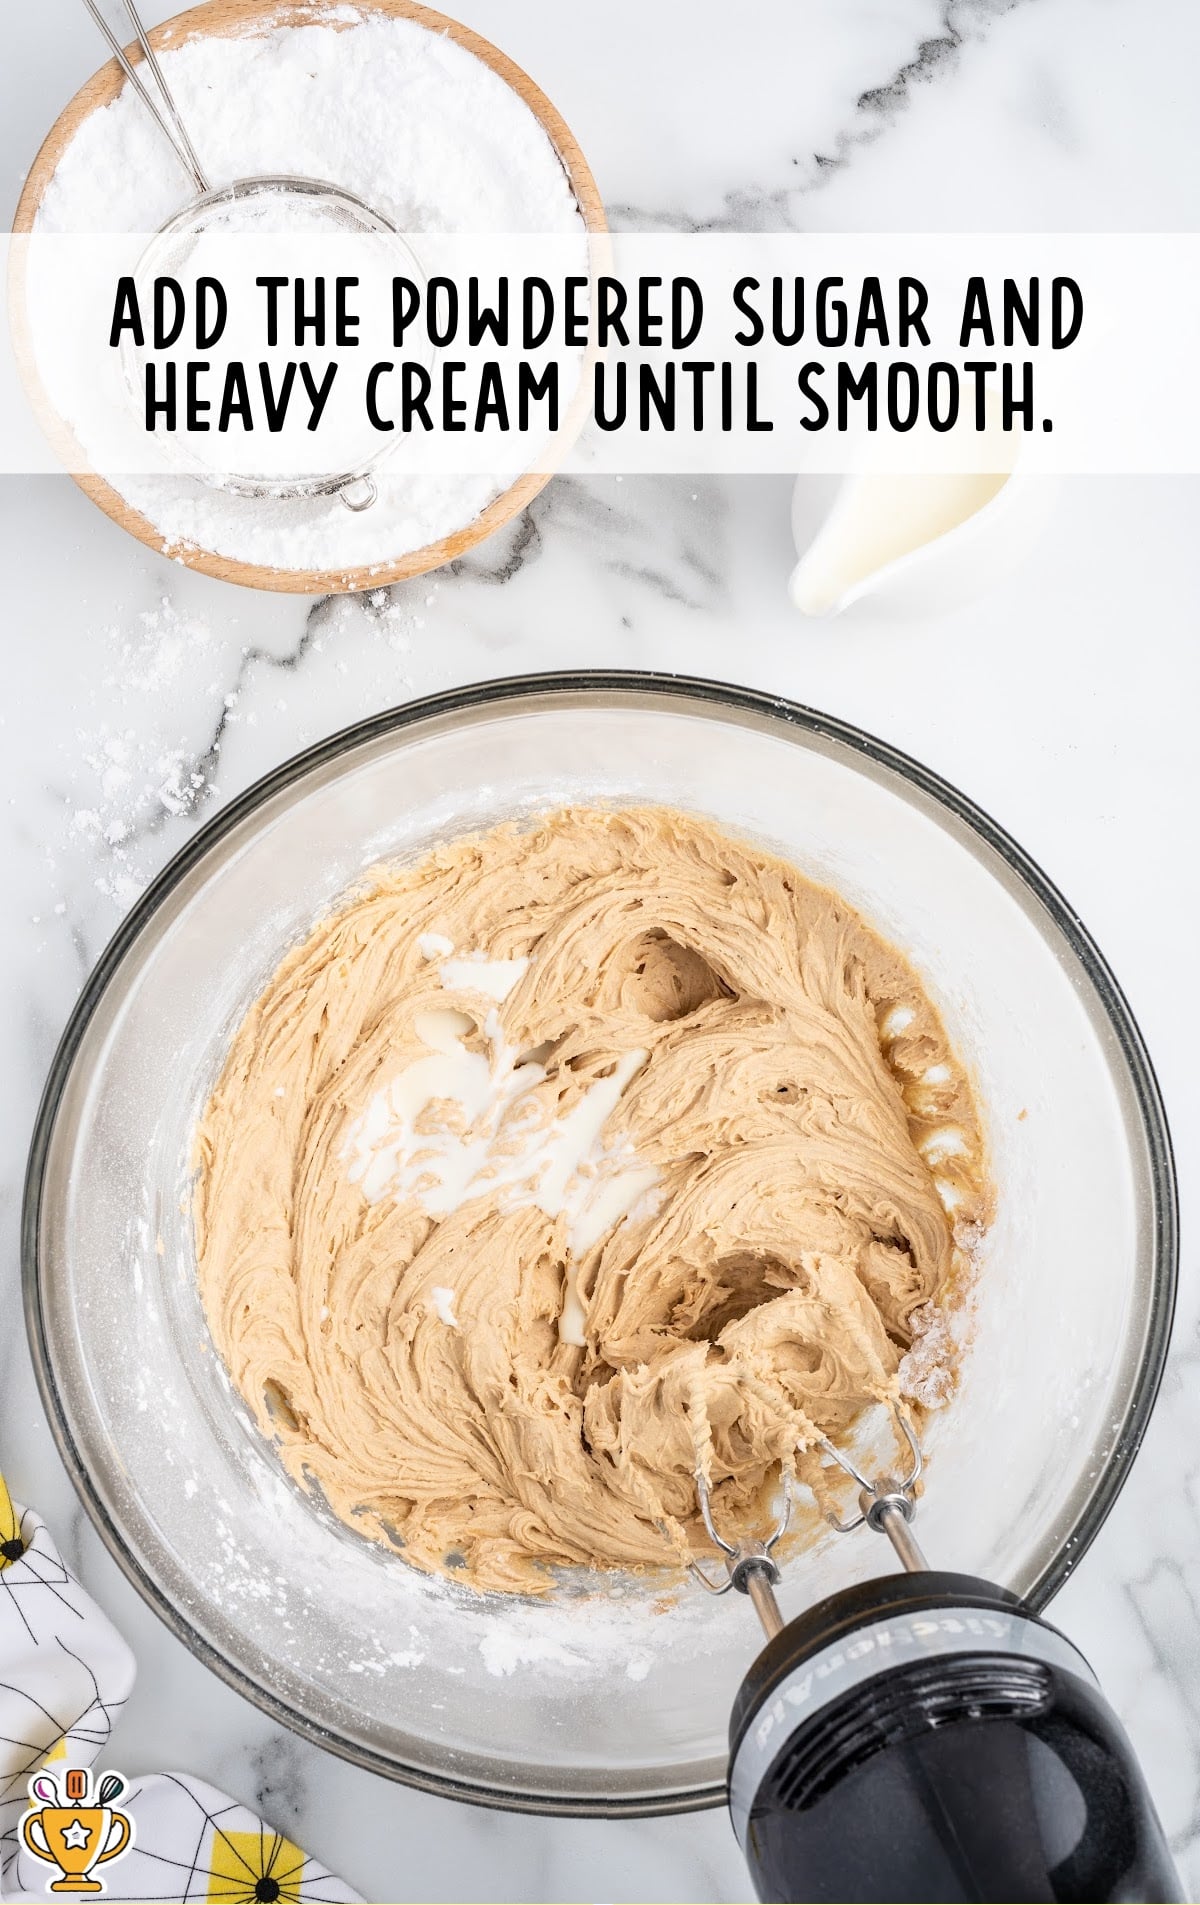
NINTH STEP: Add the powdered sugar a half cup at a time, alternating with the heavy cream until completely incorporated and smooth.
TENTH STEP: Once the cupcakes are completely cooled, fill a piping bag fitted with an open star tip (Wilton’s 1M decorating tip) or a gallon-size ziplock bag with the corner snipped off with the frosting.
ELEVENTH STEP: To frost the top of the cupcakes, hold the piping bag about ½ inch from the center surface of the cupcake.
Use even pressure, and squeeze to form the center of the star swirl.
Keeping the tip elevated and using the same pressure, follow the outer line of the star-swirl, making a C shape around the star-swirl until the outer swirl lines connect. Repeat for the remaining cupcakes.
Sprinkle the frosting with the crushed Butterfinger bits and top with a halved fun-size Butterfinger.
How To Serve Butterfinger Cupcakes
Butterfinger Cupcakes are versatile and perfect for any occasion. Whether it’s a holiday, party, or family gathering, these cupcakes always impress. Here’s how to serve this fun and delicious recipe.
Birthday Parties: These cupcakes are a hit with kids and adults alike. Their sweet, crunchy topping and rich frosting make them a party favorite. Pair them with Oreo milkshakes for a fun treat!
Holiday Gatherings: Serve these cupcakes at your next holiday dinner, and they’ll be the star of the dessert table. Their indulgent flavor goes perfectly with Homemade Hot Chocolate during cooler months.
Game Night: Butterfinger Cupcakes add a sweet twist to your game night snacks. Everyone loves their bite-sized, easy-to-eat appeal! Pair them with popcorn for a winning combination.

Why You'll Love This Butterfinger Cupcake Recipe
Butterfinger Cupcakes are a crowd favorite for so many fun reasons! Here’s why our readers can’t get enough of them.
A Perfect Flavor Combo: These cupcakes combine rich chocolate with creamy peanut butter frosting and crunchy Butterfinger topping for an irresistible bite. The blend of textures and flavors creates a fun, delicious dessert.
Easy to Make: This recipe is simple, with easy-to-follow instructions that even beginner bakers can enjoy. In under an hour, you’ll have homemade cupcakes that taste bakery-fresh!
A Treat for Any Occasion: Whether it's a birthday, holiday, or casual treat, these Butterfinger Cupcakes fit the bill. Their playful crunch and sweet frosting make them a perfect dessert for any celebration.
Butterfinger Cupcakes aren’t just delicious—they’re a go-to treat that always brings smiles!

Recipe FAQ
How do you keep Butterfinger pieces crunchy on cupcakes?
To keep Butterfinger pieces crunchy, add them to the frosting just before serving. This helps prevent them from softening.
Can I use a boxed cake mix for Butterfinger Cupcakes?
Yes! A chocolate boxed cake mix works perfectly for this recipe and saves time without sacrificing flavor.
How do you make peanut butter frosting smooth and creamy?
Ensure your butter and peanut butter are softened at room temperature before mixing. This creates a smooth, creamy consistency.
Can I make these cupcakes ahead of time?
Yes, bake the cupcakes a day in advance and frost them before serving. This keeps them fresh and delicious.

Serving FAQ
Can I serve Butterfinger Cupcakes for special occasions?
Yes, these cupcakes are perfect for birthdays, holidays, or any celebration with their fun, crowd-pleasing flavor.
How should I serve Butterfinger Cupcakes at a party?
Serve them on a dessert platter, or individually wrapped for easy grabbing. Guests love their crunchy and creamy texture.
Are Butterfinger Cupcakes good for kids' parties?
Absolutely! Kids love the sweet combination of chocolate and peanut butter frosting with the crunchy Butterfinger pieces on top.
Should I frost the cupcakes right before serving?
For the best texture, frost the cupcakes shortly before serving. This ensures the Butterfinger topping stays crunchy and fresh.

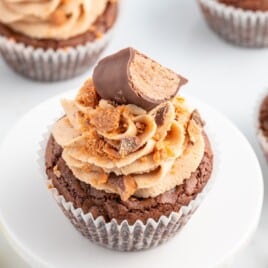
Butterfinger Cupcakes
These Butterfinger Cupcakes combine moist chocolate cake with creamy peanut butter frosting and crunchy Butterfinger pieces for a fun, delicious treat. Perfect for parties or special occasions, they’re easy to make and always a hit!
Did you try this recipe?Let our readers know how it turned out by Leaving a Review!
Ingredients
Brownie Cupcake Batter
- ½ cup salted sweet cream butter
- 2 tablespoons salted sweet cream butter
- 4 ounces chopped semi-sweet chocolate baking bar
- ½ cup granulated sugar
- ½ cup light brown sugar (tightly packed)
- 2 large eggs (room temperature)
- 2 teaspoons pure vanilla extract
- ½ cup all-purpose flour (spooned and leveled)
- 2 tablespoon all-purpose flour
- 1¼ cups milk chocolate chips
Peanut Butter Frosting
- 1 cup creamy peanut butter (I used Reese’s creamy peanut butter)
- ⅔ cup salted sweet cream butter (softened)
- 1 teaspoon pure vanilla extract
- 2 cups powdered sugar
- 3 tablespoons heavy cream
- ½ cup crushed Butterfinger candy (garnish)
- 6 halved fun-size Butterfinger candies (garnish)
DIRECTIONS
- Preheat the oven to 350°F. Line a standard muffin pan with cupcake liners. Set it aside.
- Add the butter and chopped chocolate baking bar to a microwave-safe bowl. Heat in 30-second intervals, stirring well after each interval, until the butter and chocolate are melted and smooth.
- Stir in the granulated and light brown sugar.
- Stir in the eggs, mixing well after each egg, until well incorporated.
- Stir in the vanilla extract.
- Add the flour and stir just until combined. Be sure not to overmix the batter.
- Fold in the chocolate chips. Divide the batter evenly between the lined muffin cups. Bake for 22 to 25 minutes, or until a toothpick inserted comes away with a few moist crumbs. Allow the cupcakes to cool completely.
- Using either a stand mixer or a medium-sized mixing bowl and a handheld mixer on medium-high speed, beat together the creamy peanut butter, softened butter, and vanilla extract for 1 to 1½ minutes until smooth.
- Add the powdered sugar ½ cup at a time, alternating with the heavy cream until completely incorporated and smooth.
- Once the cupcakes are completely cooled, fill a piping bag fitted with an open star tip (Wilton’s 1M decorating tip) or a gallon-size ziplock bag with the corner snipped off with the frosting.
- To frost the cupcakes, hold the piping bag about ½ inch from the center surface of the cupcake. Use even pressure, and squeeze to form the center of the star swirl. Keeping the tip elevated and using the same pressure, follow the outer line of the star-swirl, making a C shape around the star-swirl until the outer swirl lines connect. Repeat for the remaining cupcakes. Sprinkle the frosting with the crushed Butterfinger candy and top with a halved fun-size Butterfinger.
Notes
- It’s easiest to crush the Butterfinger bars in a food processor, but if you don’t have one available, you can also crush them in a Ziploc bag with a rolling pin.
- Be sure not to overmix the cupcake batter. It can make the texture of the cupcakes tough.
- Oven temperatures vary and may need to be recalibrated periodically to ensure they are accurate. Make sure to check your cupcakes at the lower end of the recommended baking time.
Nutrition
Calories: 7097kcal | Carbohydrates: 712g | Protein: 81g | Fat: 459g | Saturated Fat: 230g | Polyunsaturated Fat: 43g | Monounsaturated Fat: 134g | Trans Fat: 10g | Cholesterol: 1008mg | Sodium: 3166mg | Potassium: 2586mg | Fiber: 14g | Sugar: 600g | Vitamin A: 8455IU | Vitamin C: 0.3mg | Calcium: 544mg | Iron: 11mg
HAVE YOU TRIED THIS RECIPE?Follow me on Pinterest @bestblogrecipes

Leave a Comment