
Last updated on
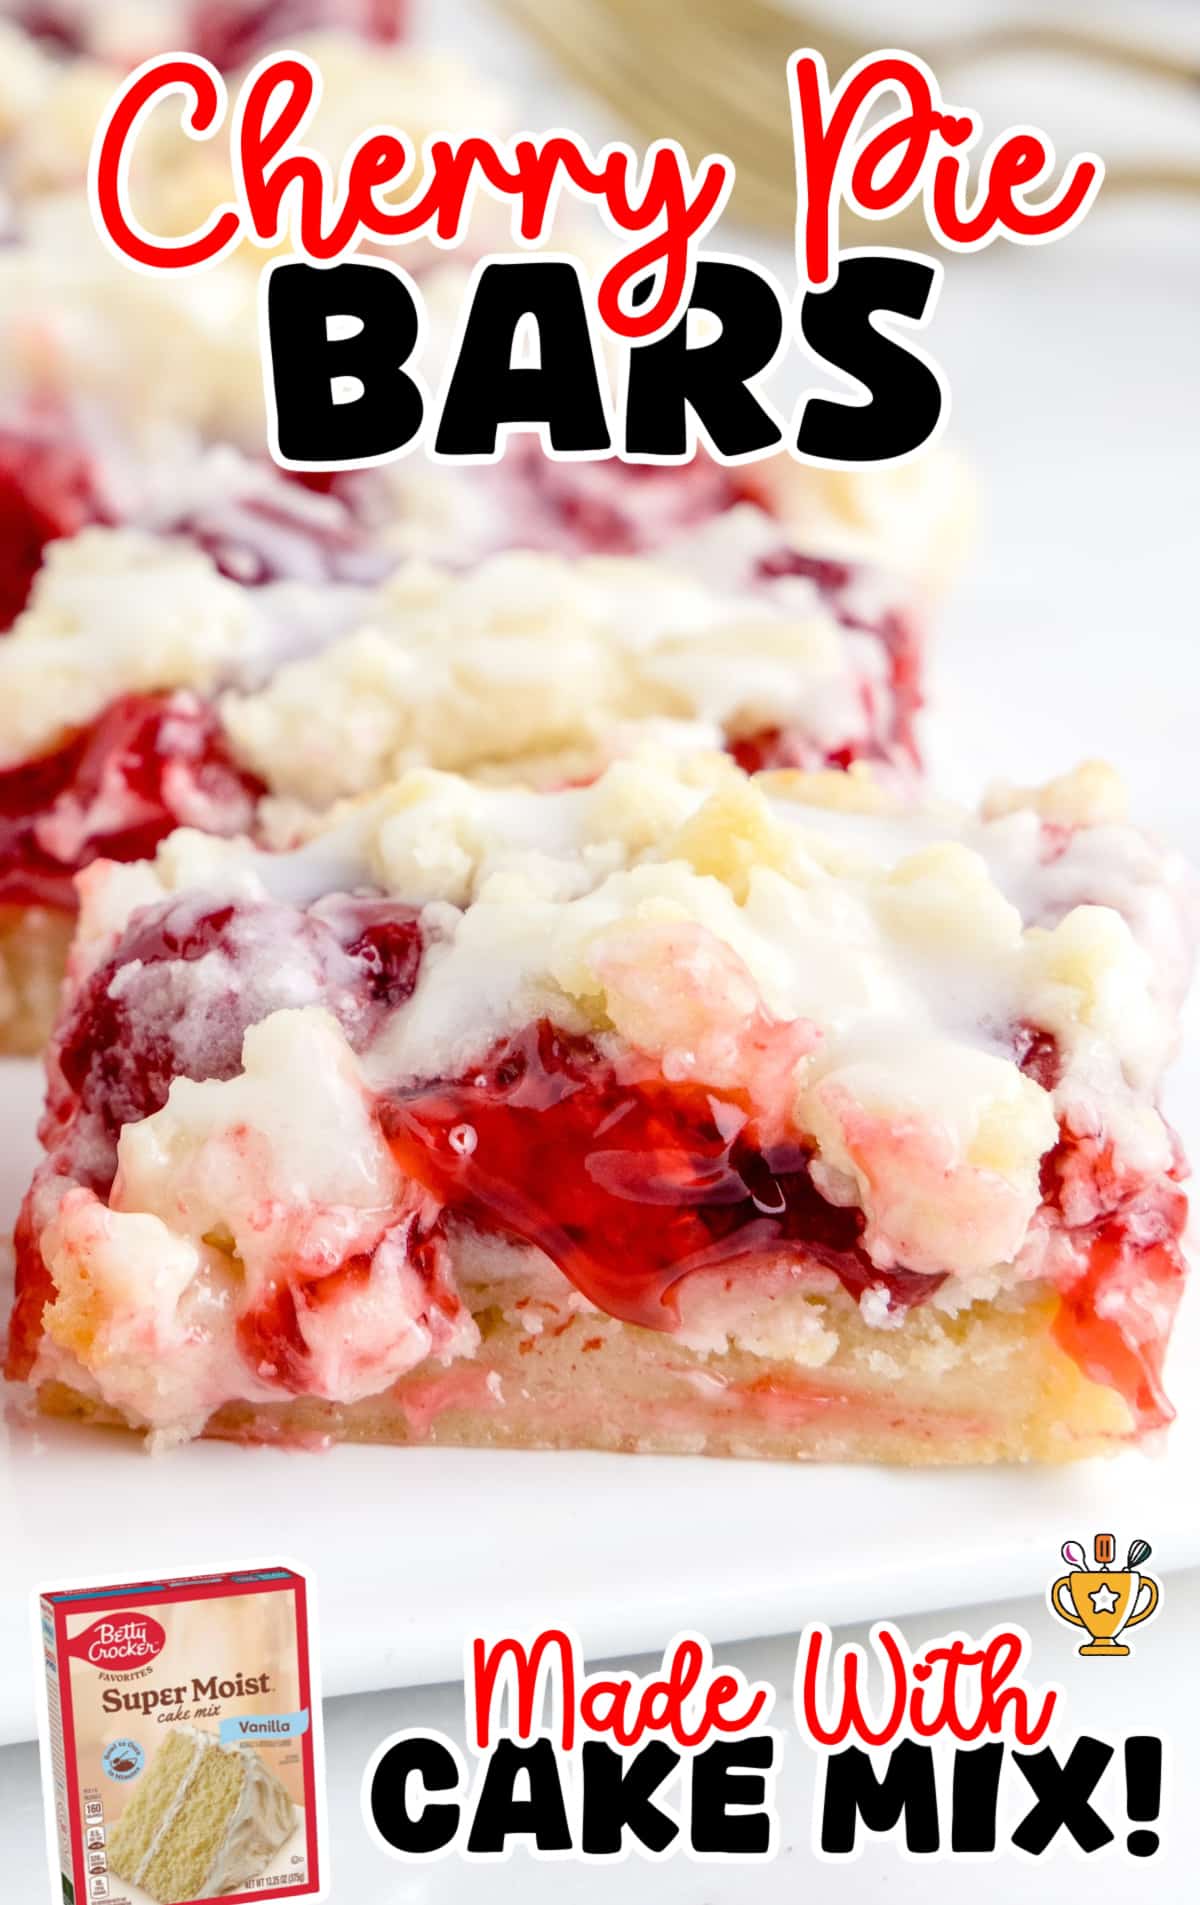
Cherry Pie Bars
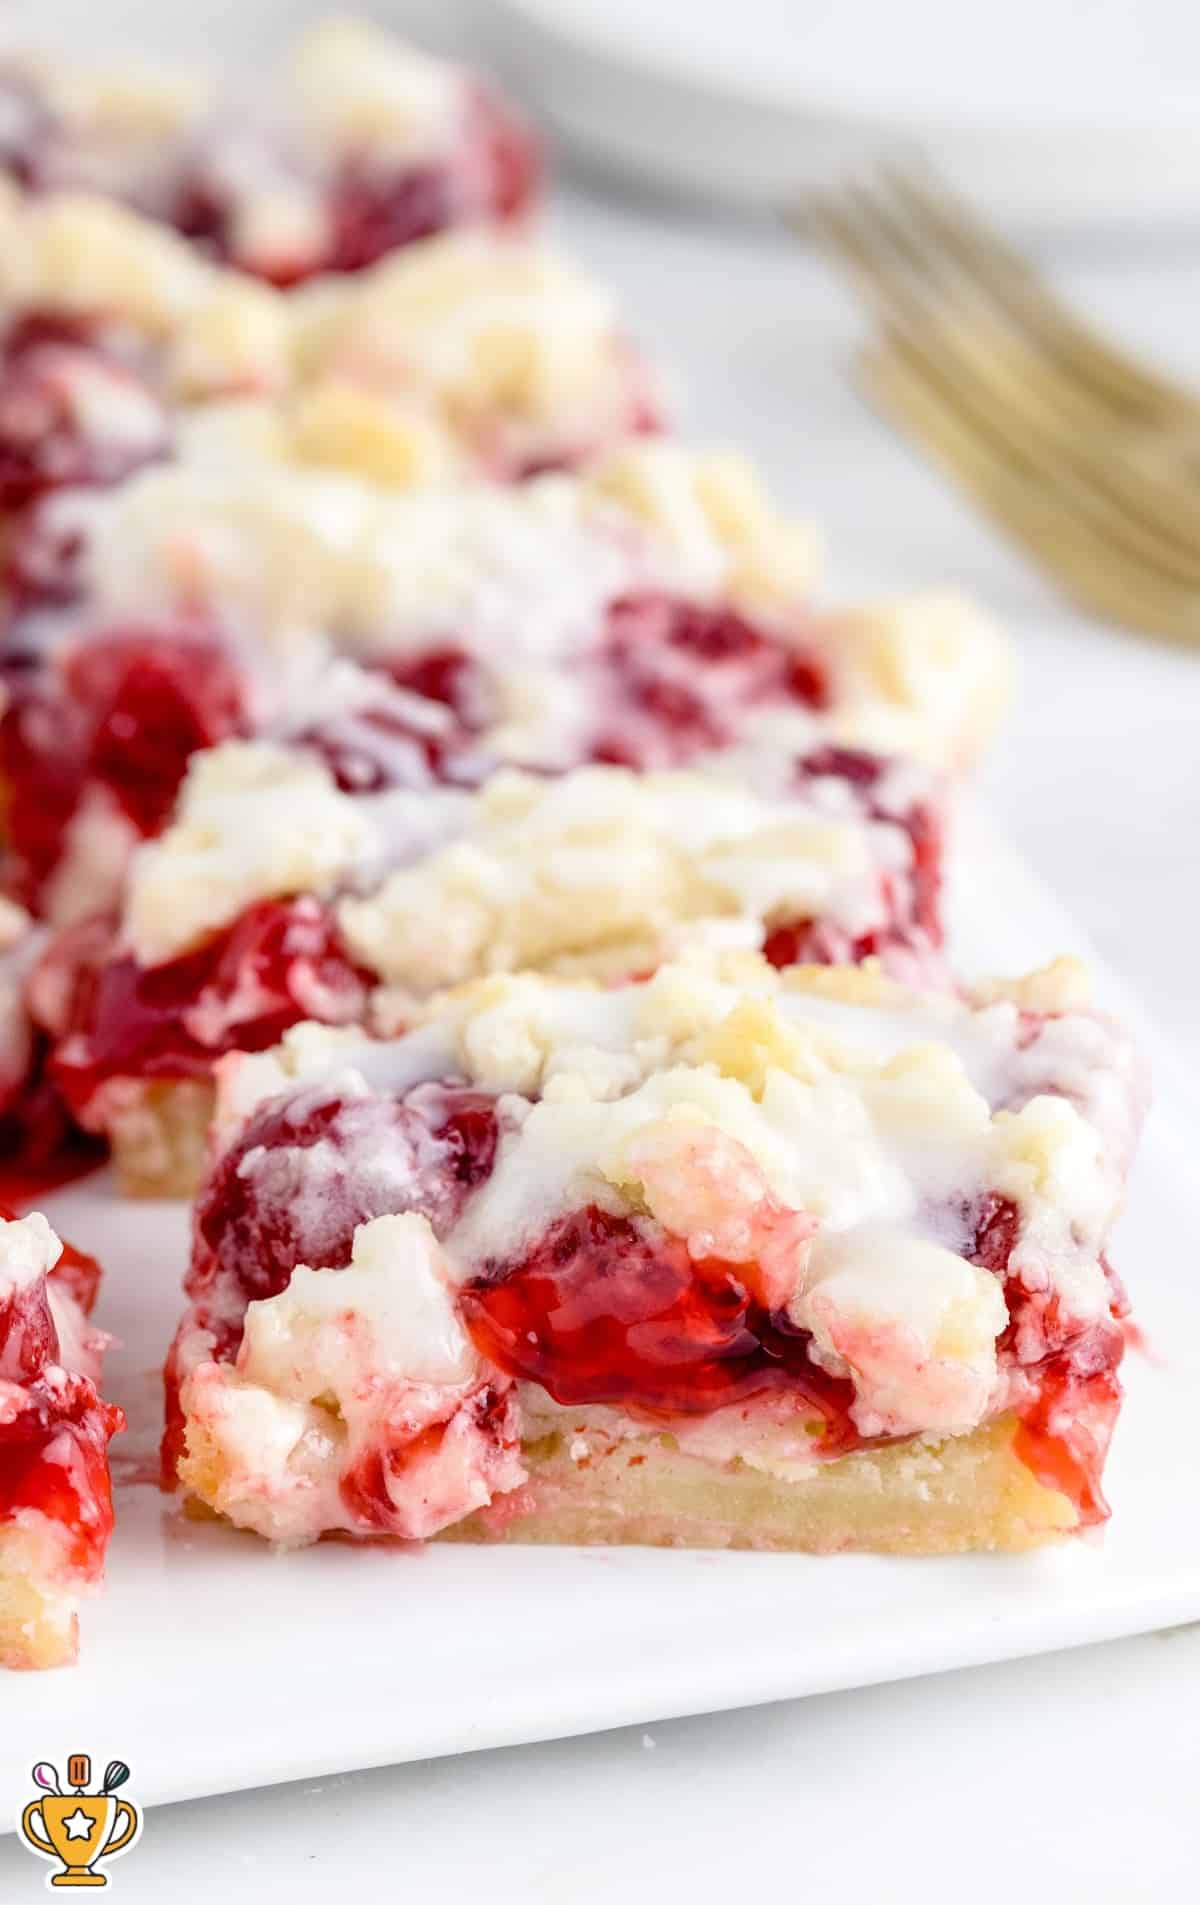
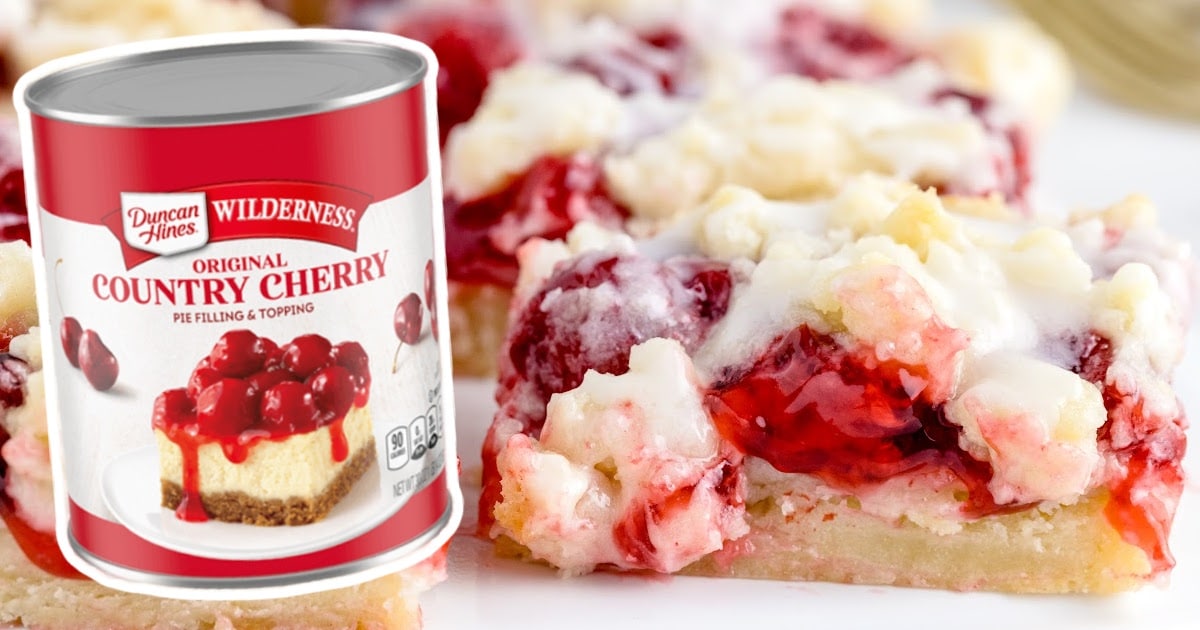
Cherry pie bars have a buttery crust, sweet cherry filling, and a crumbly topping that bakes into a delicious handheld treat. They’re easy to make, perfect for any occasion, and ready in just forty-five minutes!
Jump to RecipeTable of Contents

Cherry pie bars are the perfect way to enjoy all the flavor of cherry pie without the hassle of rolling dough. A buttery crust, sweet cherry filling, and crumbly topping make every bite delicious. They bake up golden brown and slice easily into handheld treats. Perfect for potlucks, holidays, or just a quick dessert craving.
This recipe is easy to make, and you can follow the simple steps below. We include step-by-step photos and clear directions to help you get perfect results. Be sure to check out our pro tips and tricks, plus answers to the most frequently asked recipe questions!
More Recipes ⭐ Cherry Danish | Cherry Pie Bombs | Cherry Kiss Cookies
Cherry crumble bars bring all the goodness of homemade cherry pie without the extra work. A buttery crust, sweet cherry filling, and crumbly topping make them the perfect dessert for any occasion. They bake in just 40 minutes and slice into easy-to-serve squares.
Make a batch for potlucks, family gatherings, or a simple treat at home. The soft, chewy texture and rich cherry flavor make them hard to resist.
Ingredients for Cherry Pie Bars
What you'll need to make these cherry dessert bars:
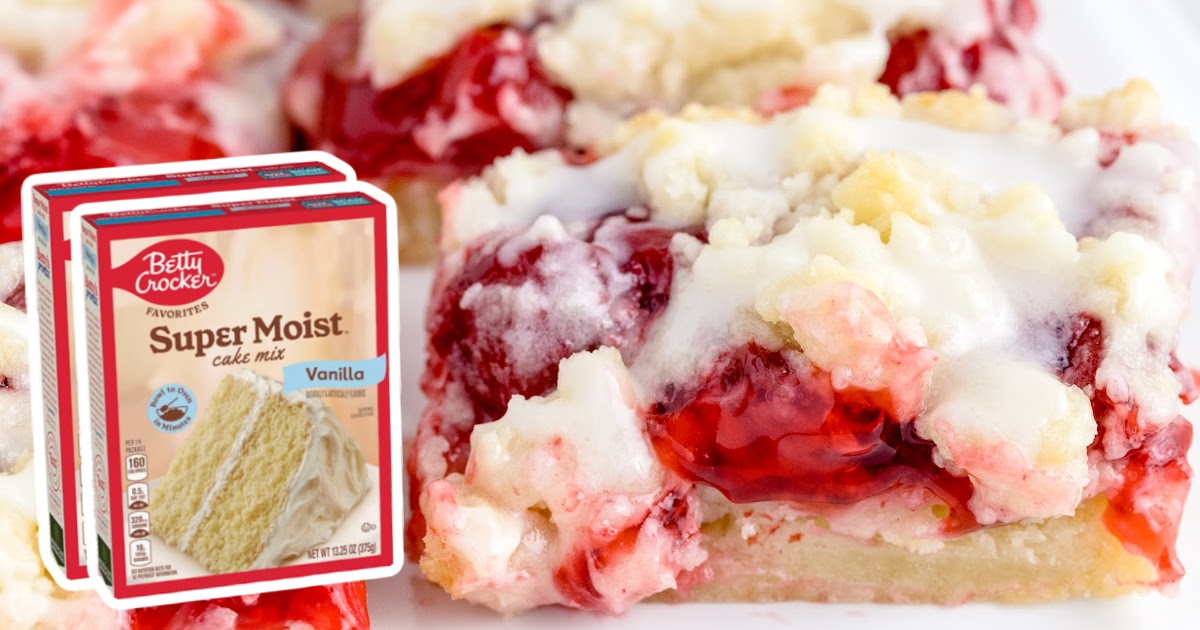
- 2 packages of vanilla cake mix
- 2 large eggs
- ⅔ cup of vegetable oil
- 1 to 2 (21-ounce) cans of cherry pie filling
- ½ cup of powdered sugar
- ½ teaspoon of almond extract
- 1 to 2 tablespoons of whole milk or cream
Substitutions and Additions
If you're missing an ingredient or want to change up the recipe, here are some easy replacements:
- Cake Mix - You can use a different flavor of cake mix if you prefer, like butter cake or white cake.
- Cherry Pie Filling - You can use a different flavor of pie filling to turn these cherry squares into a different flavor. Try blueberry or strawberry.
Pro Tip
We used about 1½ cans of cherry pie filling for these bars. This made a nice bar with a cherry in every bite. One can of pie filling would be sufficient for a less saucy bar.
How to Make Cherry Pie Bombs
Follow along with our step-by-step pictures, clear instructions, and helpful tips and tricks to make the best cherry pie squares. Each bite has a buttery crust, sweet cherry filling, and a crumbly topping that’s easy to make at home. Let’s get started!
Pro Tip
Keep in mind that you will get a different shape and depth of corner bars depending on the baking pan you are using.
If you are using a baking pan with rounded corners, like many glass pans, your corner pieces will not come out quite so defined. Metal pans tend to have clean-cut corners that will give you better-formed corner bars.
FIRST STEP: Preheat the oven to 350°F. Grease a 9×13 baking dish.
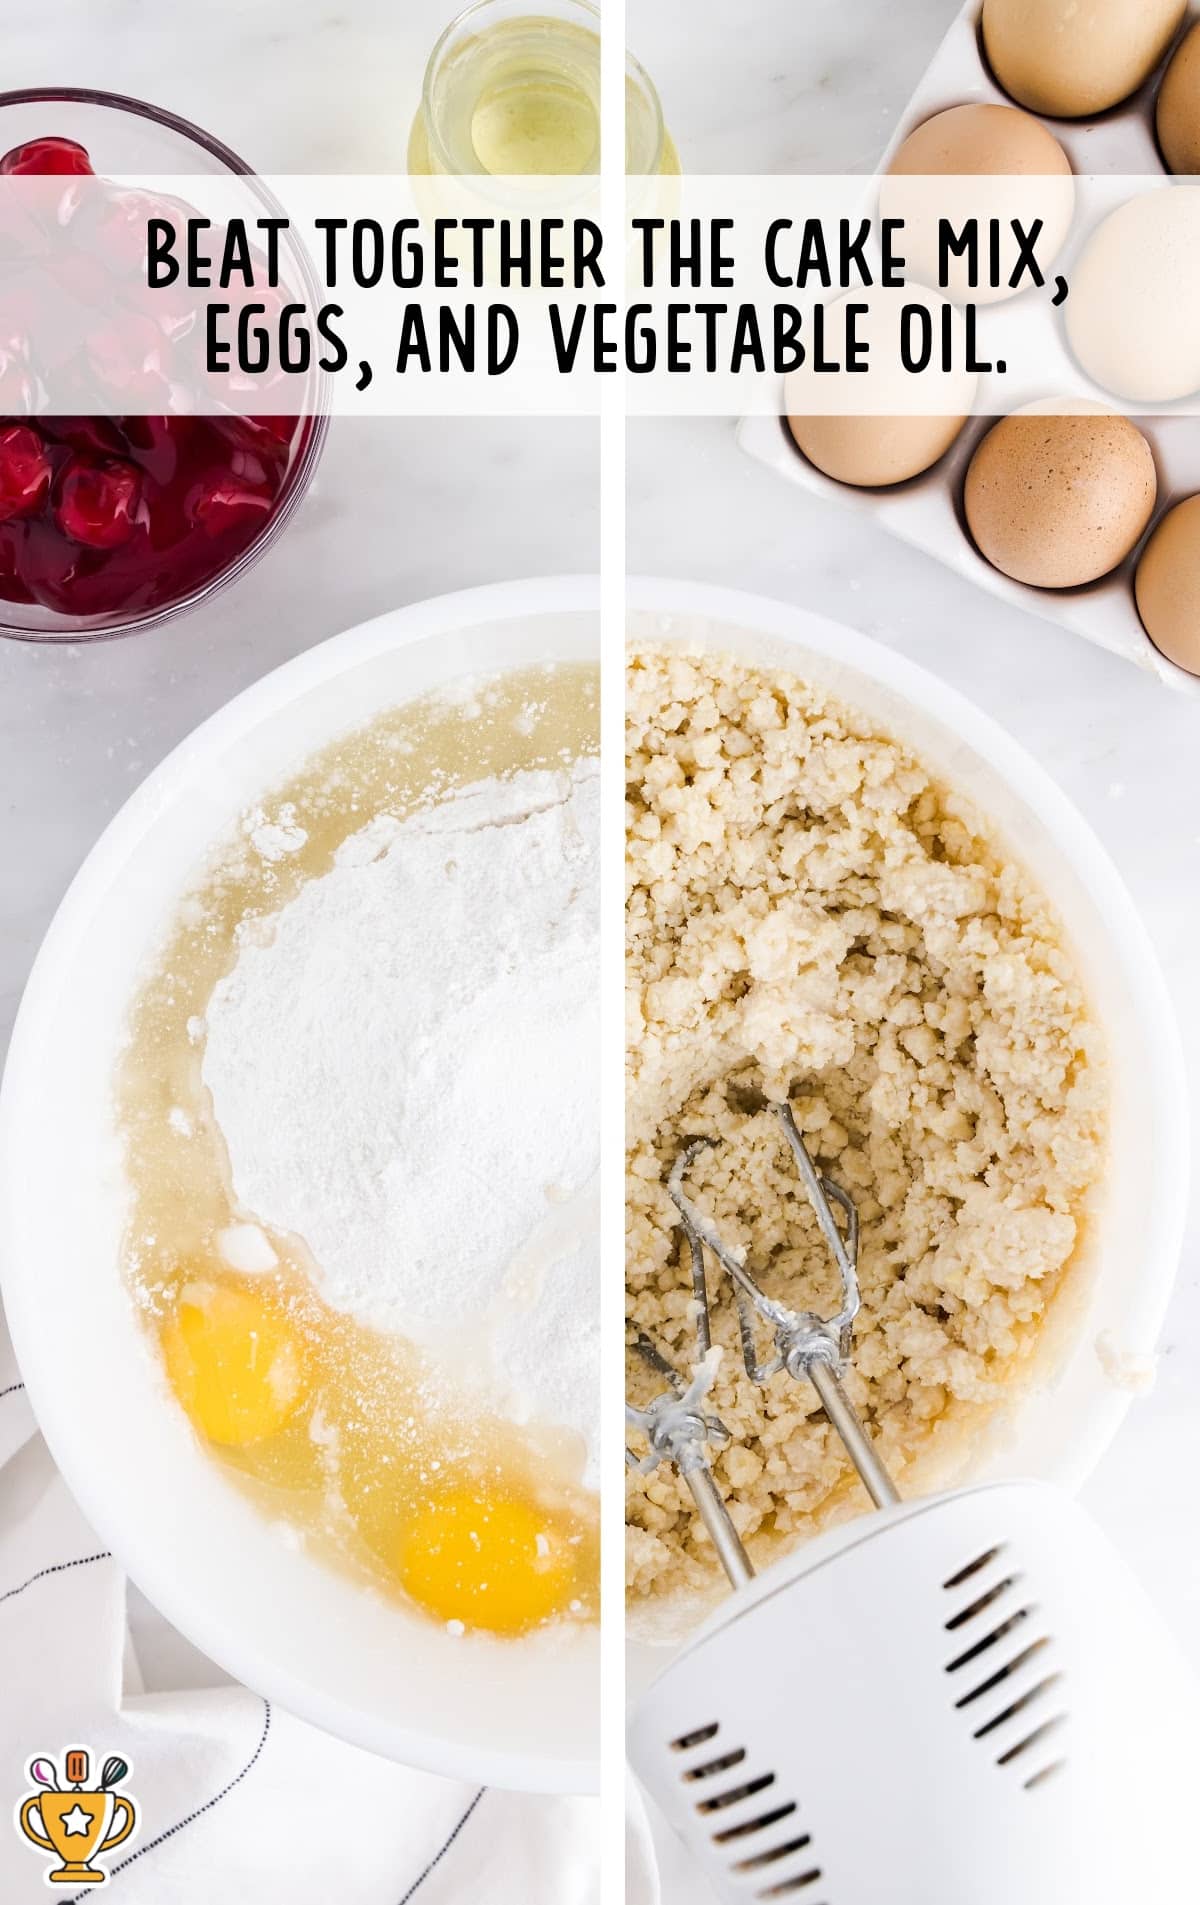
SECOND STEP: In the bowl of a stand mixer, beat together the cake mix, eggs, and vegetable oil. The mixture will be thick.
You could also use a medium mixing bowl with a hand mixer.
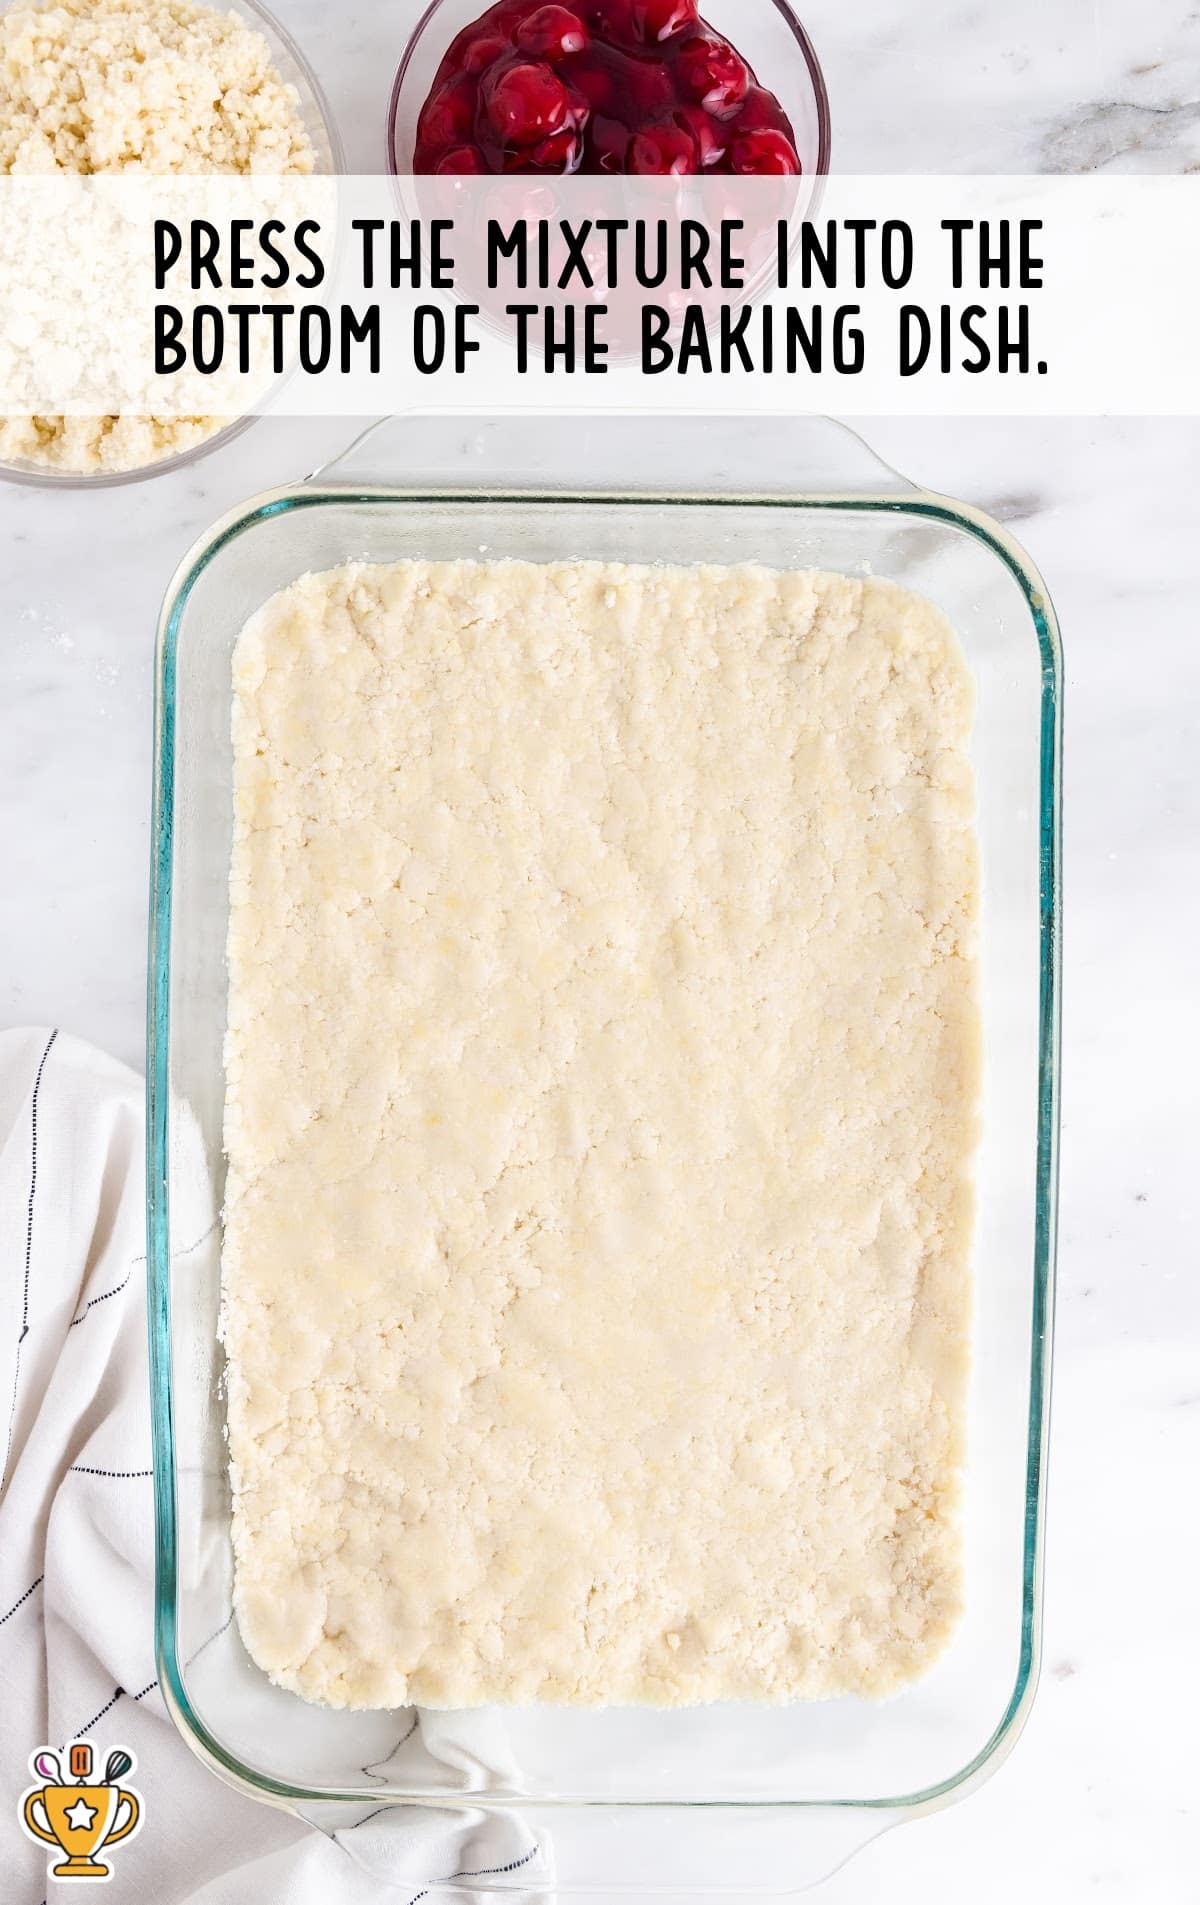
THIRD STEP: Remove half of the mixture and set aside. Press the remaining dough into the bottom of the prepared baking dish.
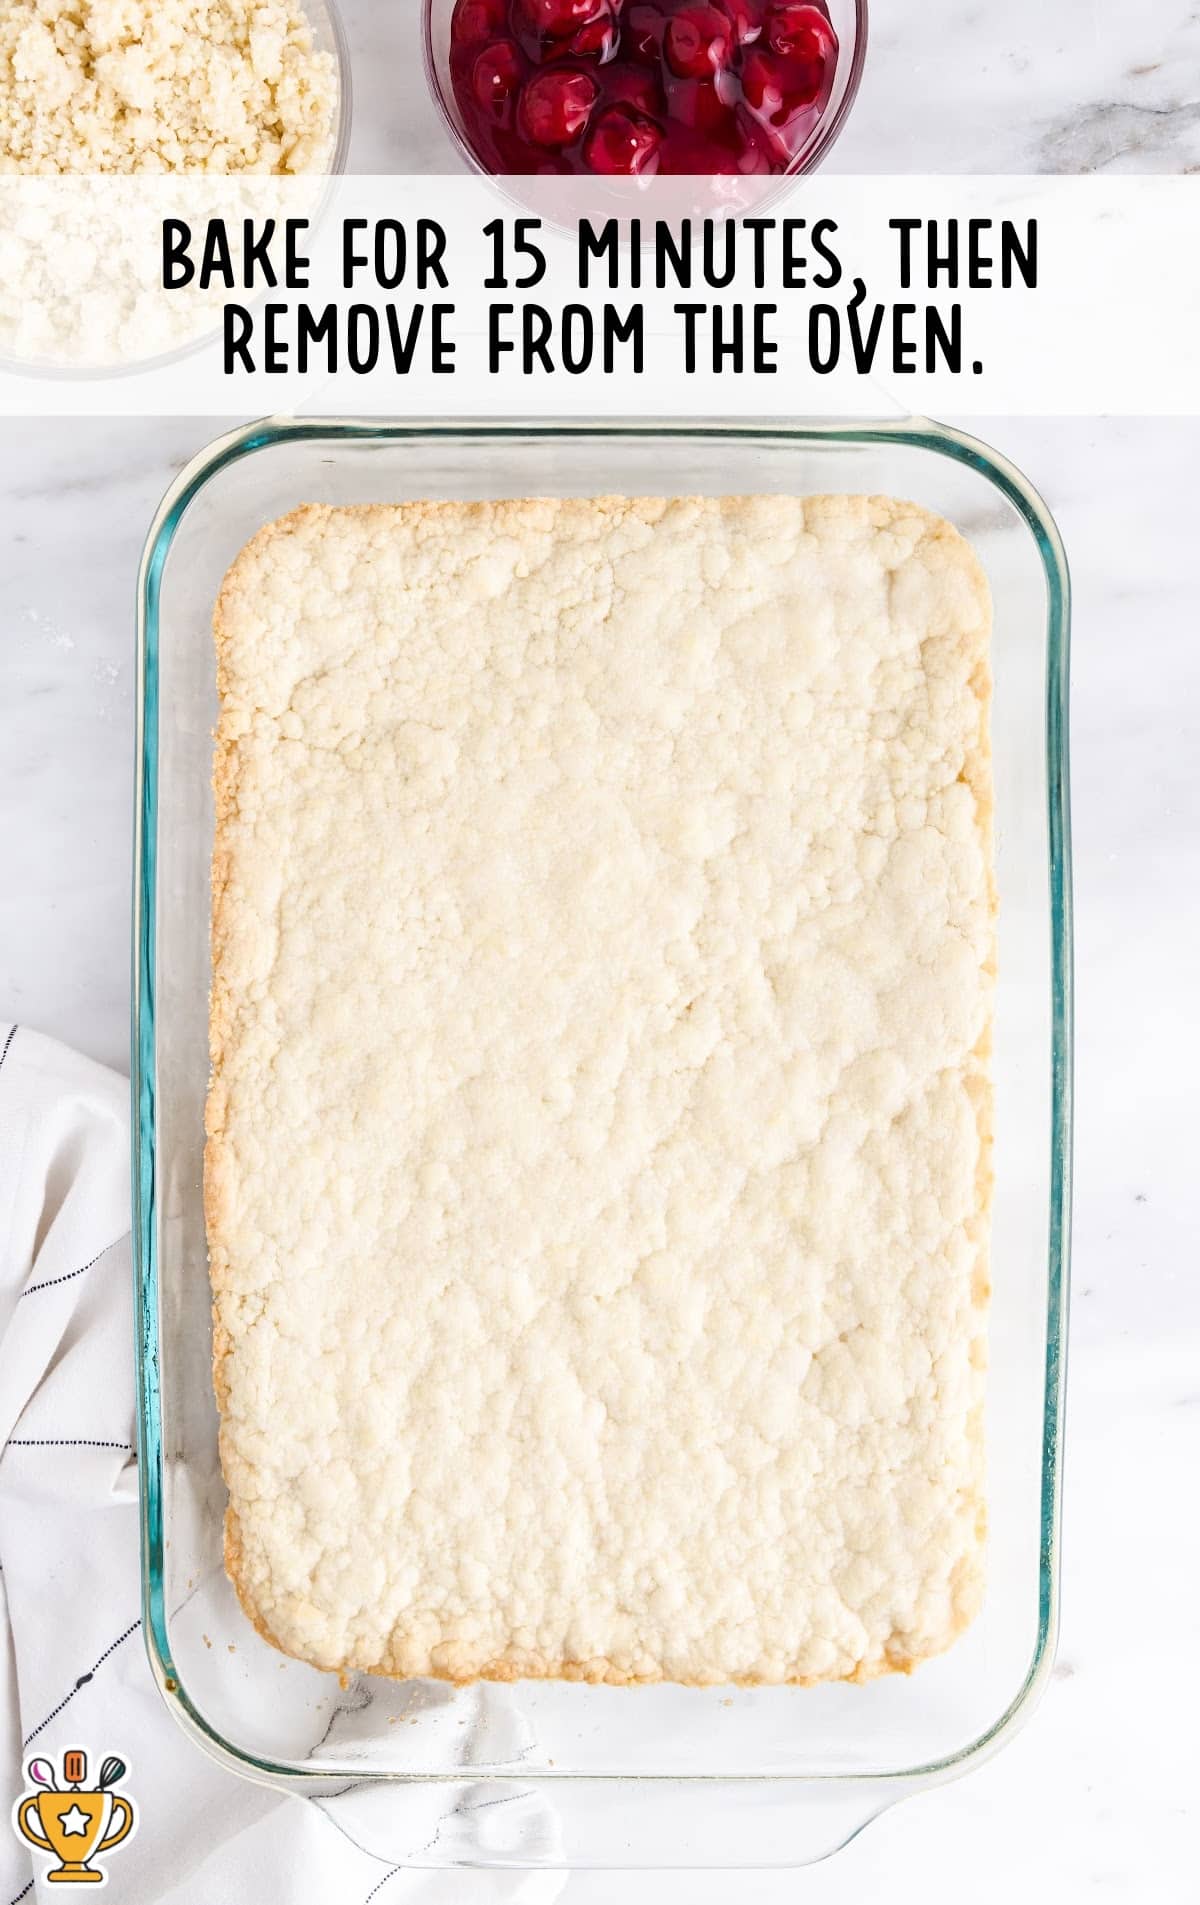
FOURTH STEP: Bake in the preheated oven for 15 minutes, then remove from the oven.
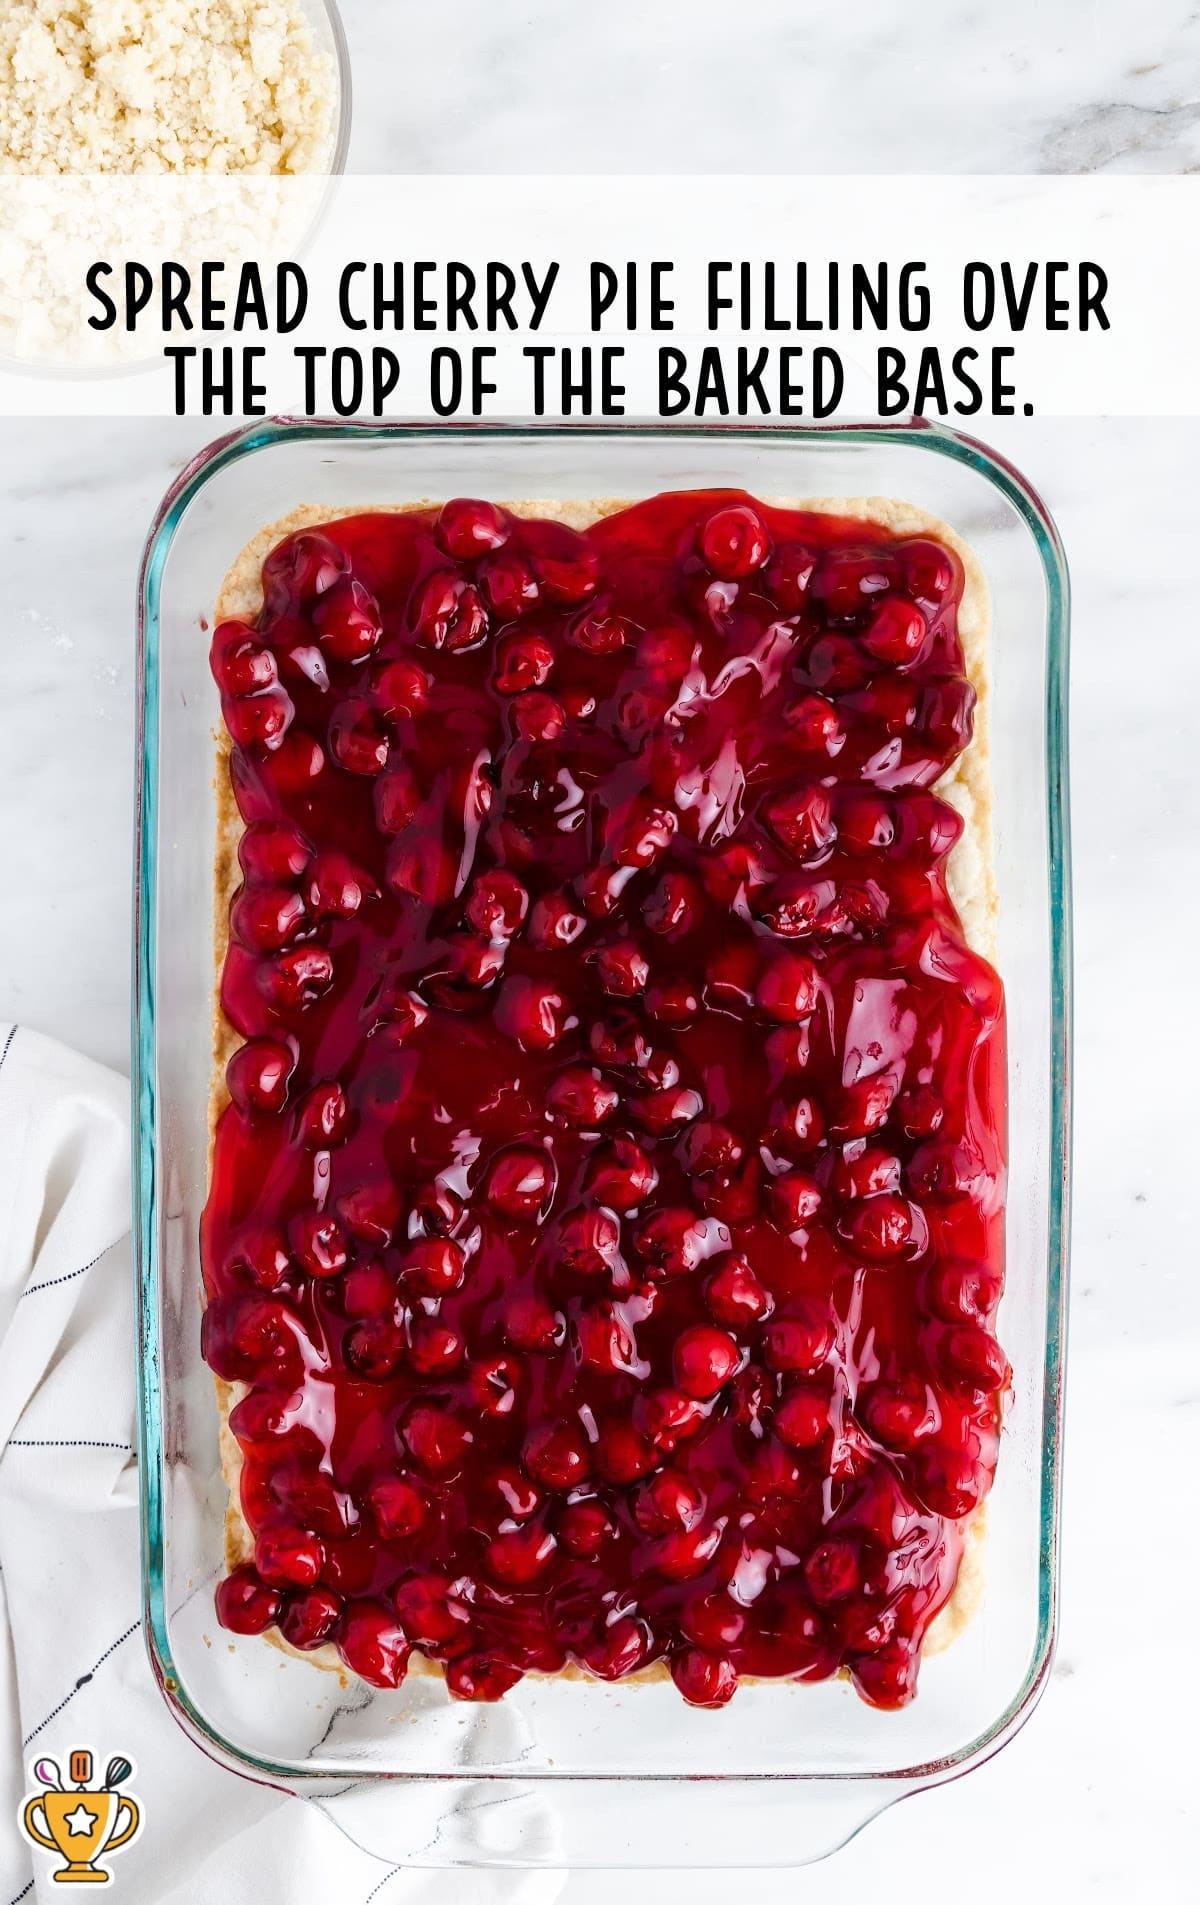
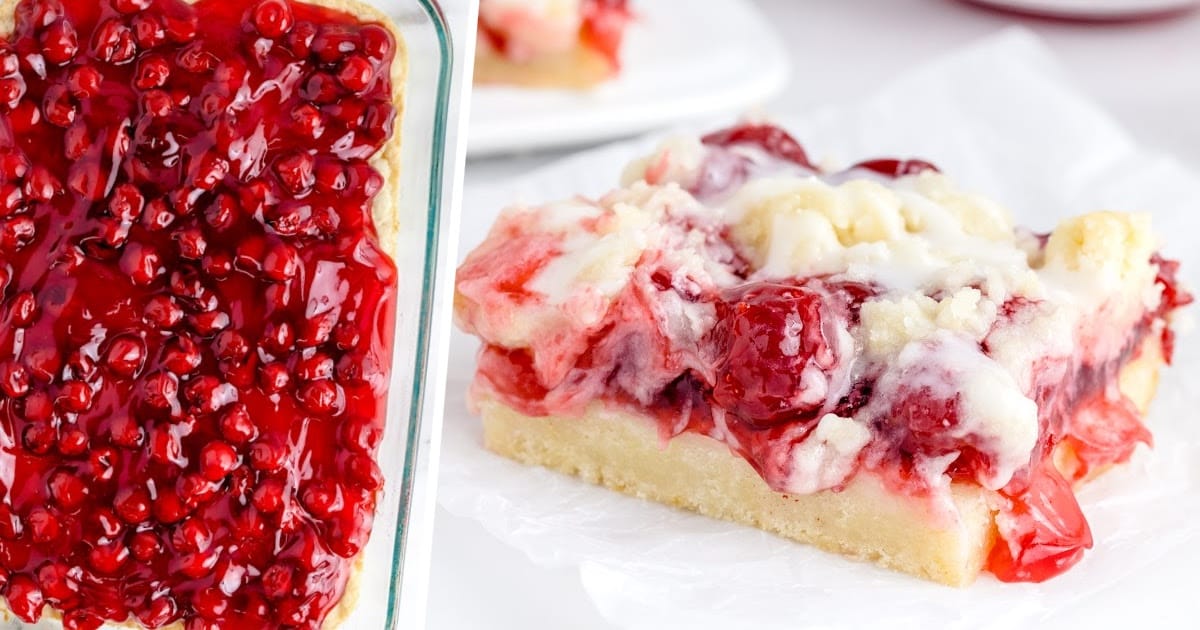
FIFTH STEP: Spread the cherry filling over the top of the bottom crust.
Pro Tip
One can of pie filling will cover the pie bars lightly. Use up to two cans of pie filling for extra cherry-filled pie bars.
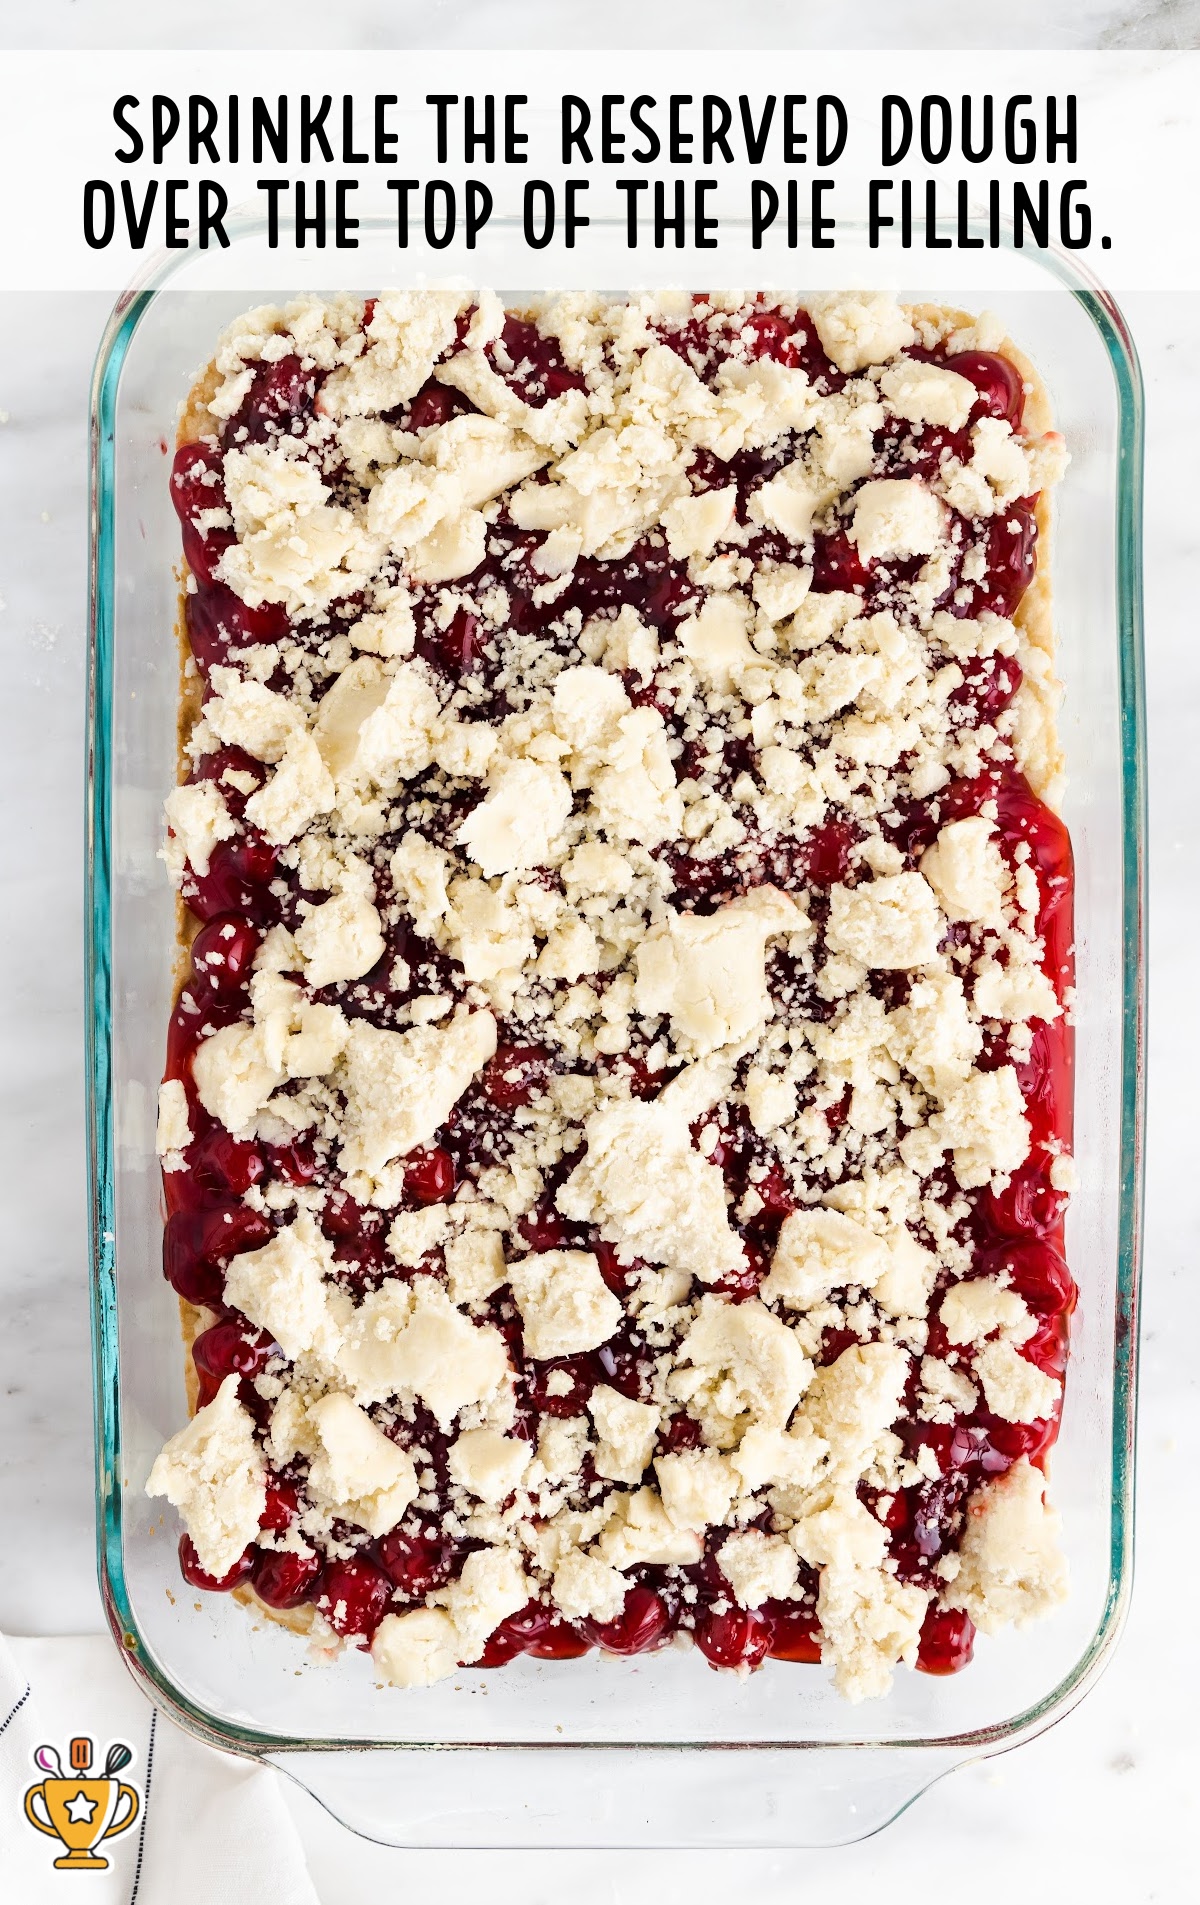
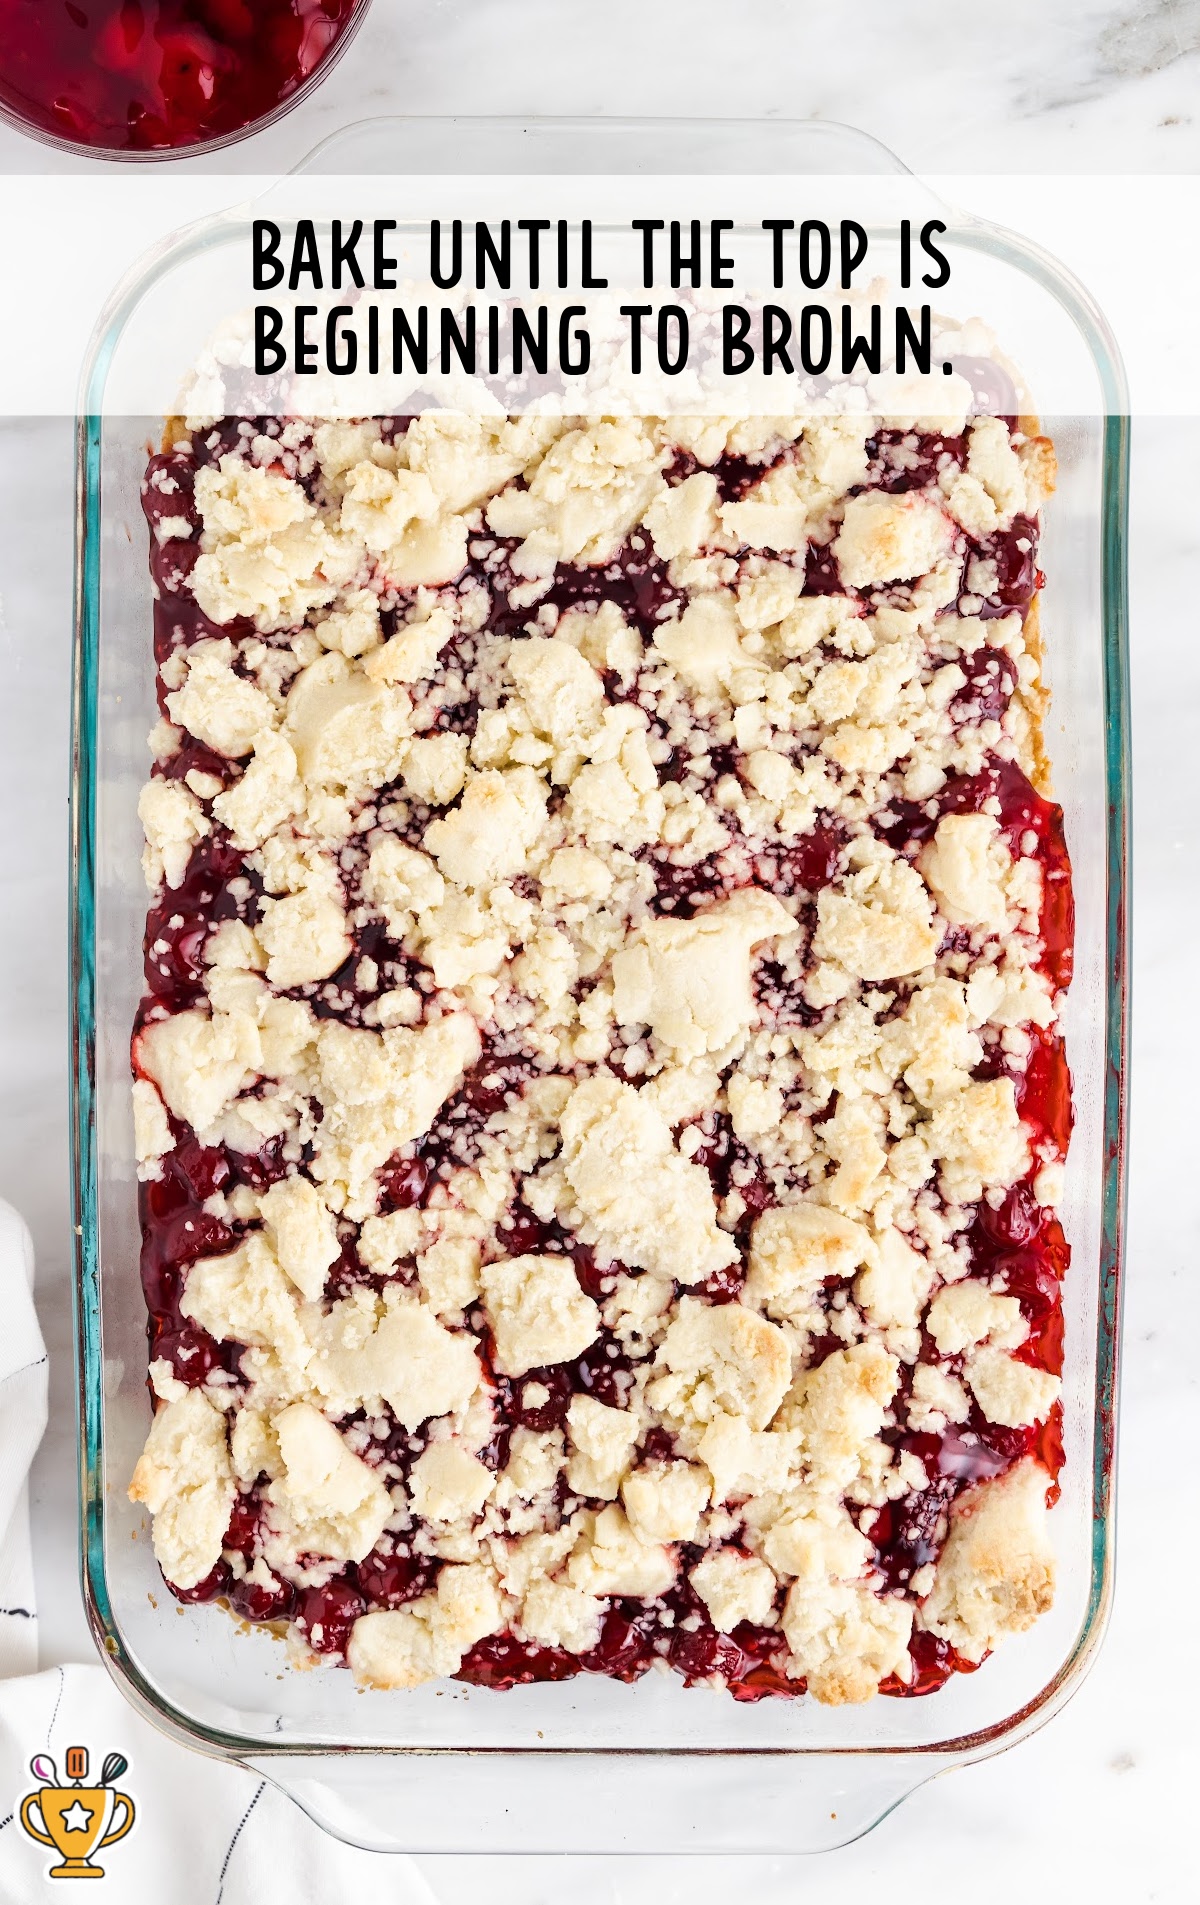
SIXTH STEP: Sprinkle the reserved dough in clumps over the top of the pie filling.
SEVENTH STEP: Return the baking dish to the oven and bake for 15 to 20 minutes longer until the top of the bars is just beginning to brown.
EIGHTH STEP: Cool bars completely.
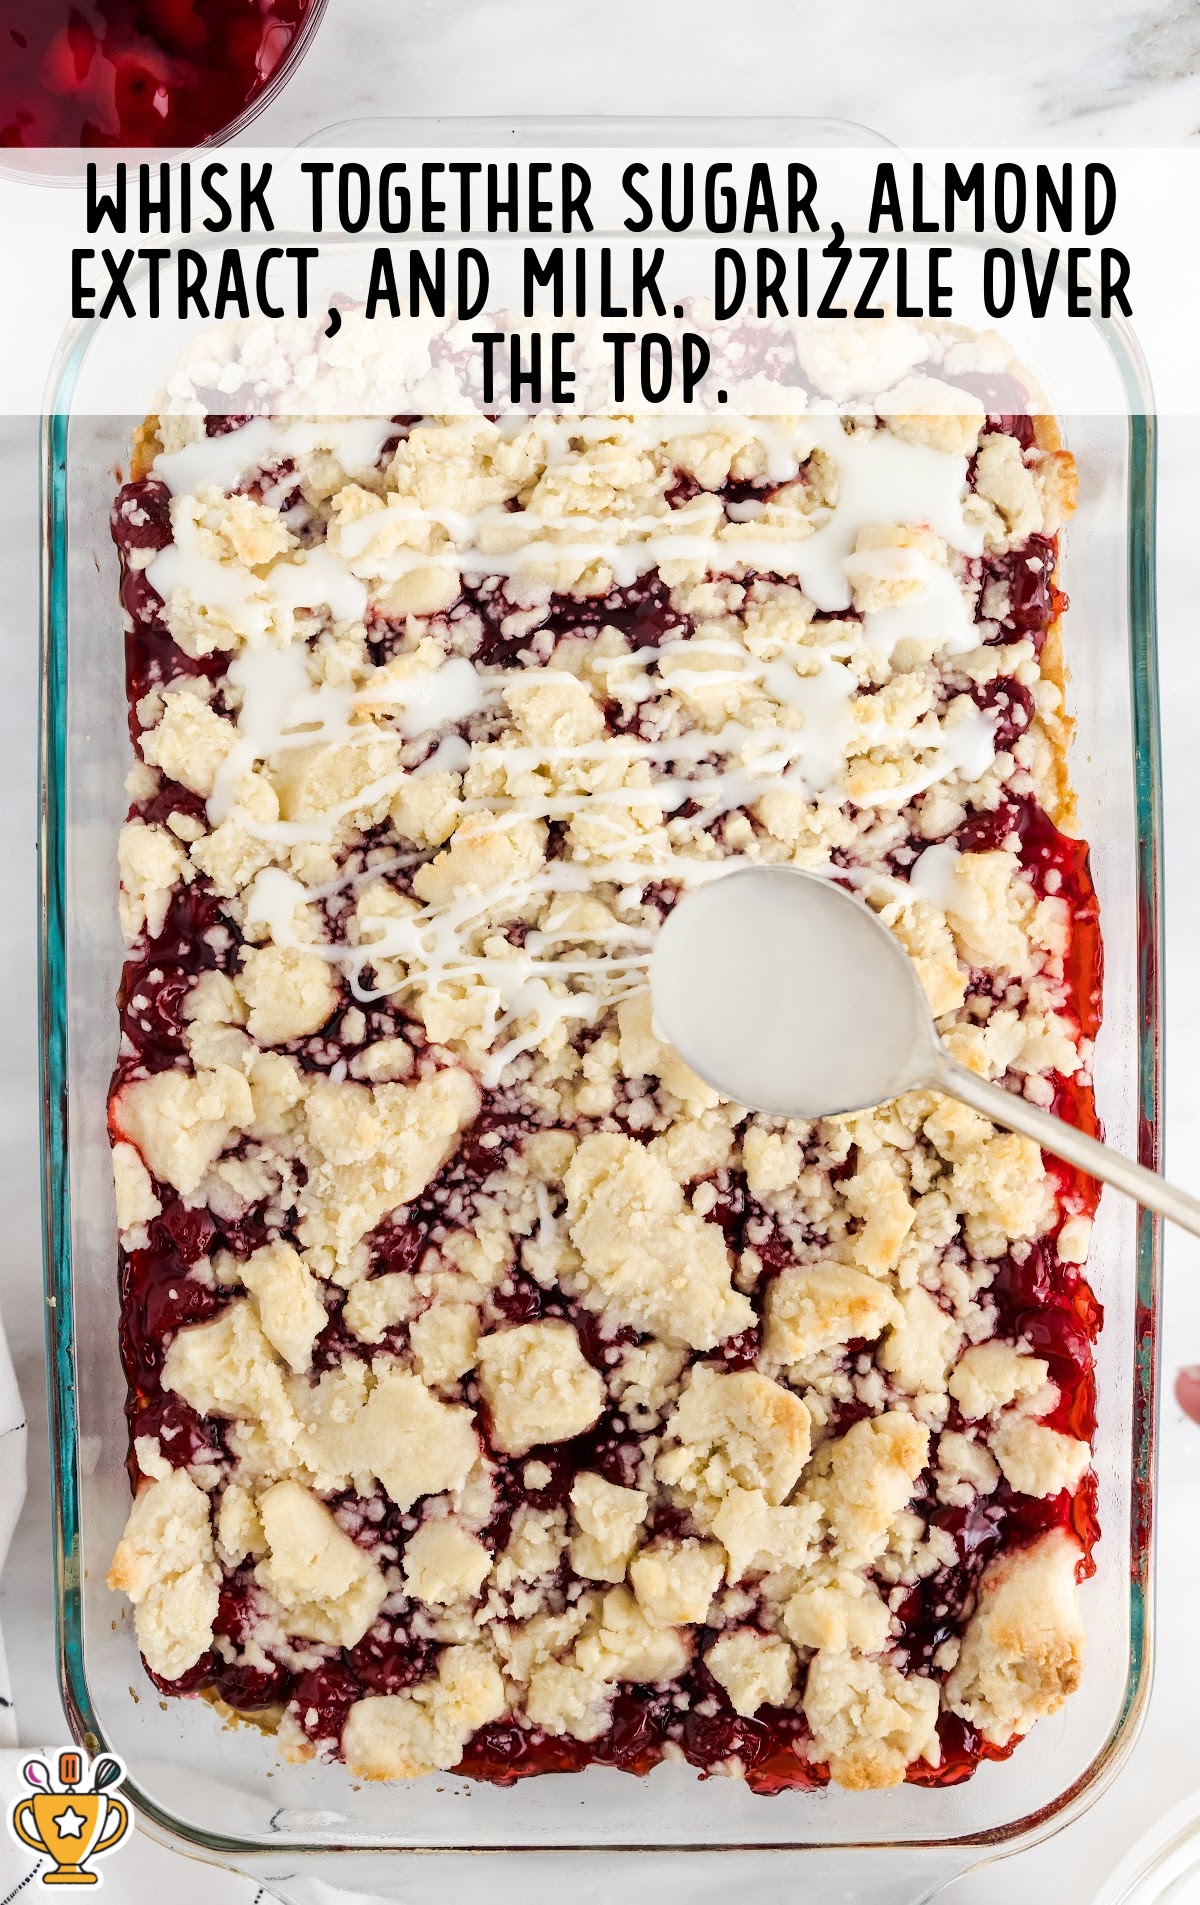
NINTH STEP: In a small bowl, whisk together powdered sugar, almond extract, and enough milk to make a sugar glaze. Drizzle over the top of the cooled cherry pie bars.
TENTH STEP: Cut into bars and serve.
How To Serve Cherry Bars
You can serve cherry pie bars for any occasion, from casual get-togethers to holiday celebrations. These sweet, buttery bars work for every season and are always a crowd favorite. Kids and adults love the rich cherry filling and crumbly topping.
- Holidays and special occasions: Make a batch for Thanksgiving, Christmas, or Easter dessert tables. The bright cherry filling adds a festive touch to any celebration. Pair them with frozen hot chocolate, eggnog, or add homemade chocolate whipped cream for an extra treat.
- Summer picnics and BBQs: These bars are easy to transport and don’t need plates or forks, making them perfect for outdoor gatherings. Serve them with homemade raspberry lemonade, ice cream sandwiches, or strawberry shortcake ice cream cake for a refreshing summer spread.
- Afternoon snacks and lunchbox treats: Pack them in lunchboxes or serve them as an afternoon treat with spiced iced coffee. Their soft texture and sweet cherry filling make them a fun treat. Pair them with peanut butter lava cookies, banana chocolate chip muffins, or a cold glass of milk.
Why You'll Love This Cherry Pie Bars Recipe
Cherry pie filling desserts have become a reader favorite for so many reasons. They’re easy to make, full of sweet cherry goodness, and perfect for any occasion. Whether you need a quick dessert or something special for a celebration, this recipe delivers.
- Easy to Make: Simple steps and no pie crust rolling make this a stress-free dessert.
- Perfect for Any Occasion: Great for potlucks, holidays, or just a sweet snack at home.
- Handheld and Shareable: No need for plates and forks—just grab a bar and enjoy.
- Sweet and Buttery: The rich cherry filling and crumbly topping create the best balance of flavors and textures.
- Crowd-Pleasing Favorite: Kids and adults both love these chewy, fruit-filled bars.
Cherry pie bars are one of those desserts you’ll want to make again and again!
Recipe FAQ
Can I use fresh cherries instead of canned pie filling?
Yes, you can use fresh cherries, but you need to cook them with sugar and cornstarch to create a thick filling.
Do I need to grease the baking dish before adding the crust?
Yes, grease the baking dish lightly to prevent sticking and make it easier to remove the cherry pie bars.
How do I know when cherry pie bars are done baking?
The top should look golden brown, and the filling should bubble slightly around the edges.
Can I double this recipe for a larger batch?
Yes, double the ingredients and bake in a larger dish, but add extra baking time to make sure it cooks through.
Why did my crust turn out too hard?
Overmixing the dough or baking too long can make the crust too hard, so mix gently and watch the baking time.
Can I use a different fruit filling instead of cherry?
Yes, you can swap the cherry filling for blueberry, apple, or raspberry pie filling without changing the recipe.
Serving FAQ
What’s the best way to serve cherry pie bars at a party?
Cut the bars into small squares for easy grabbing. Arrange them on a serving platter so guests can help themselves.
Should I serve cherry pie bars warm or cold?
They taste great both ways! Serve them warm for a soft, gooey texture or chilled for a firmer bite.
Can I add a topping before serving cherry pie bars?
Yes, dust them with powdered sugar, drizzle icing, or add a dollop of whipped cream for extra sweetness.
How do I keep cherry pie bars from crumbling when serving?
Let them cool completely before slicing. Use a sharp knife and wipe it clean between cuts for neater squares.
Are cherry pie bars good for bake sales?
Yes, they hold their shape well, stack easily, and don’t need refrigeration, making them perfect for bake sales and fundraisers.
Can I serve cherry pie bars with ice cream?
Yes, a scoop of vanilla or chocolate ice cream pairs perfectly with the buttery crust and sweet cherry filling.
Storage FAQ
To keep your cherry pie bars fresh and tasty, follow these storage tips:
How should I store cherry pie bars at room temperature?
Place the bars in an airtight container and keep them at room temperature for up to two days.
Can I refrigerate cherry pie bars to extend their freshness?
Yes, store them in an airtight container in the refrigerator to keep them fresh for up to five days.
Is it possible to freeze cherry pie bars for longer storage?
Yes, wrap individual bars tightly in plastic wrap, place them in a freezer-safe container, and freeze for up to three months.
How do I thaw frozen cherry pie bars before serving?
Thaw the bars in the refrigerator overnight or at room temperature for about an hour before serving.
What's the best way to reheat cherry pie bars?
Warm individual bars in the microwave for 10-15 seconds or in a preheated oven at 300°F for 5-10 minutes.
Should I add the glaze before or after freezing cherry pie bars?
For best results, add the glaze after thawing the bars to maintain the optimal texture and flavor.
By following these storage tips, you can enjoy your cherry pie bars at their best, whether freshly baked or saved for later.
Pie Bars Recipes

Cherry Pie Bars
Cherry pie bars have a buttery crust, sweet cherry filling, and a crumbly topping that bakes into a delicious handheld treat. They’re easy to make, perfect for any occasion, and ready in just forty-five minutes!
Did you try this recipe?Let our readers know how it turned out by Leaving a Review!
Ingredients
- 2 packages vanilla cake mix
- 2 large egg
- ⅔ cup vegetable oil
- 1 to 2 cans cherry pie filling (21-ounce cans)
- ½ cups powdered sugar
- ½ teaspoon almond extract
- ½ tablespoon tablespoons whole milk (or cream)
DIRECTIONS
- Preheat the oven to 350°F. Grease a 9×13 baking dish.
- In a medium mixing bowl, beat together the cake mix, eggs, and vegetable oil. Beat with a hand (or stand) mixer until combined. The mixture will be thick.
- Remove half of the mixture and set aside. Press the remaining dough into the bottom of the prepared baking dish.
- Bake for 15 minutes, then remove from the oven.
- Spread cherry pie filling over the top of the baked base. One can of pie filling will cover the pie bars lightly. Use up to 2 cans of pie filling for extra cherry-filled pie bars.
- Sprinkle the reserved dough in clumps over the top of the cherry pie filling.
- Return the baking dish to the oven and bake for 15 to 20 minutes longer, until the top of the bars is just beginning to brown.
- Cool bars completely.
- Whisk together powdered sugar, almond extract, and enough milk to make a sugar glaze. Drizzle over the top of the cooled cherry pie bars.
- Cut into bars and serve.
Notes
- We used about 1½ cans of cherry pie filling for these bars. This made a nice bar with a cherry in every bite. One can of pie filling would be sufficient for a less saucy bar.
- Keep in mind that you will get a different shape and depth of corner bars depending on the baking pan you are using. If you are using a baking pan with rounded corners (usually glass), your corner pieces will not come out quite so defined, while metal pans tend to have clean-cut corners that will give you better-formed corner bars.
- One can of pie filling will cover the pie bars lightly. Use up to 2 cans of pie filling for extra cherry-filled pie bars.
Nutrition
Calories: 229kcal | Carbohydrates: 38g | Protein: 2g | Fat: 8g | Saturated Fat: 2g | Polyunsaturated Fat: 4g | Monounsaturated Fat: 2g | Trans Fat: 0.2g | Cholesterol: 14mg | Sodium: 304mg | Potassium: 32mg | Fiber: 0.5g | Sugar: 21g | Vitamin A: 20IU | Vitamin C: 0.002mg | Calcium: 97mg | Iron: 1mg
HAVE YOU TRIED THIS RECIPE?Follow me on Pinterest @bestblogrecipes
Cherry Recipes


Comments
Peggy Jane says
So easy and delicious, I used lemon cake and blueberry pie filling and they were delicious. One can of Walmart pie filling was sufficient.
Melay R. says
I baked these bars yesterday and they came out great! Thanks for sharing!